


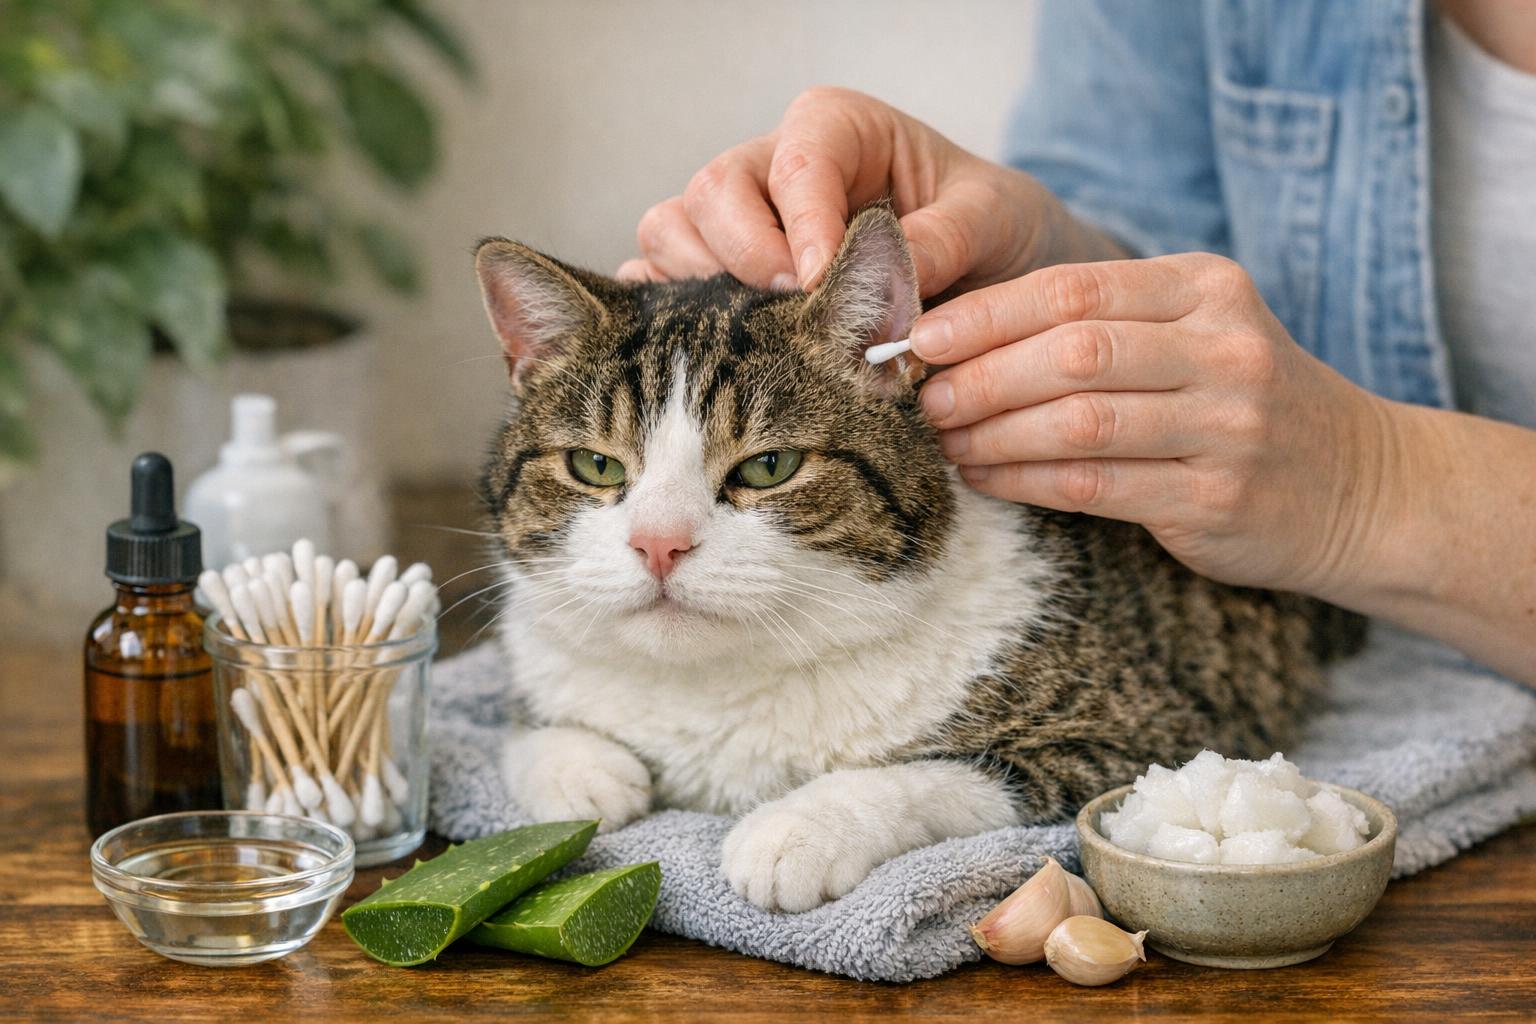
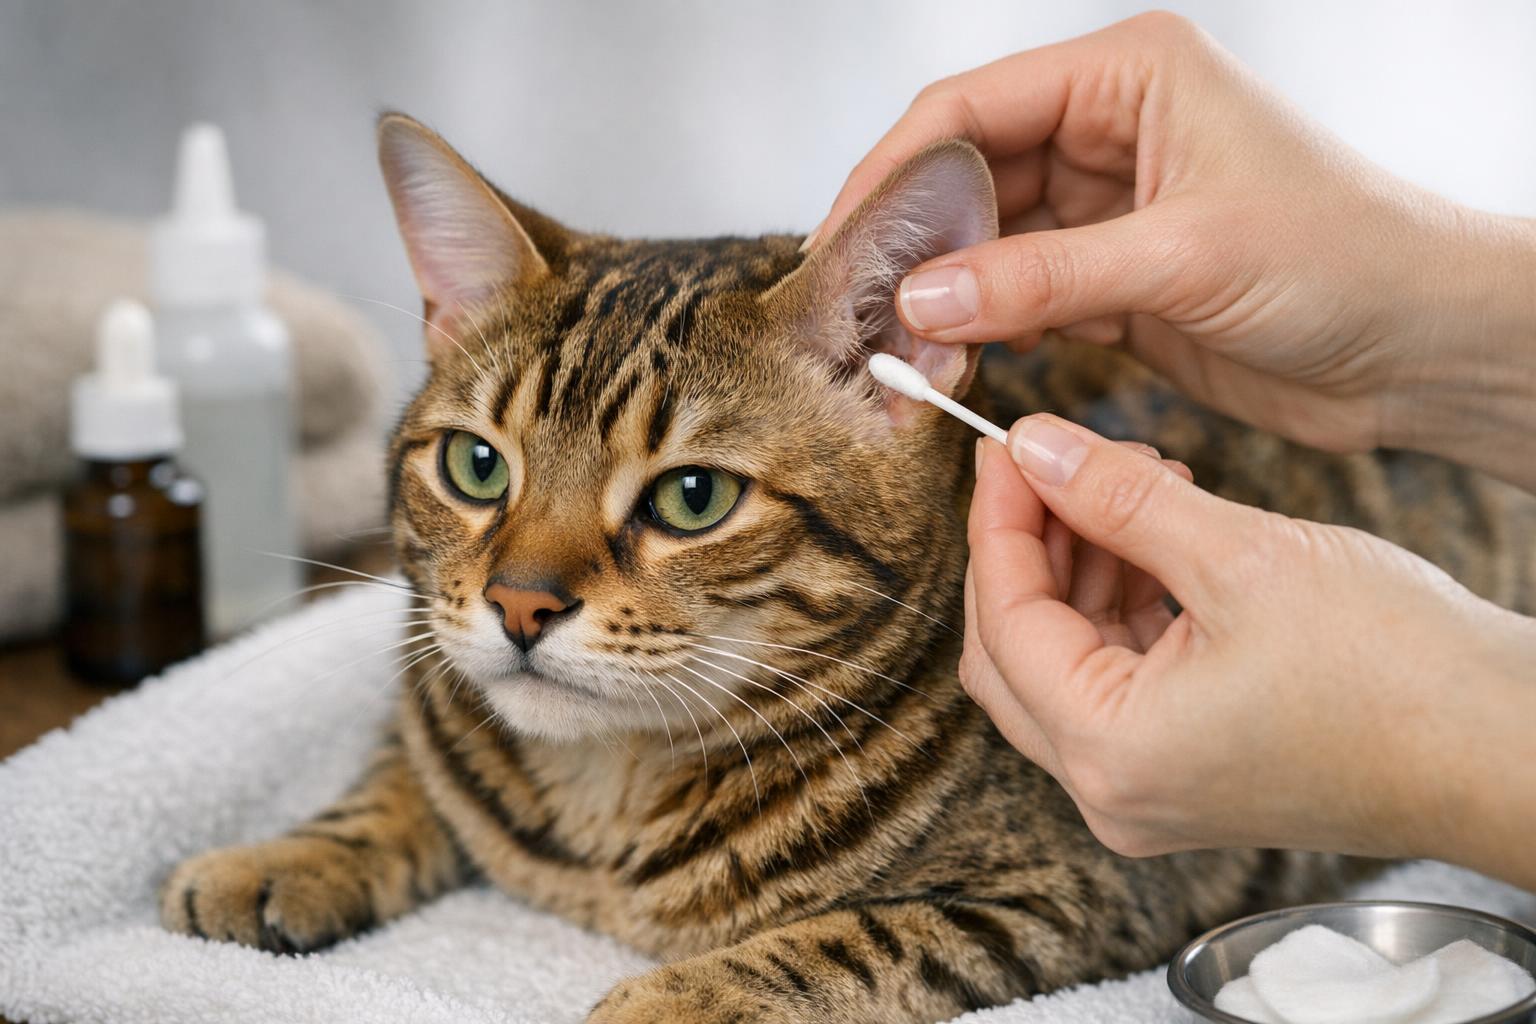
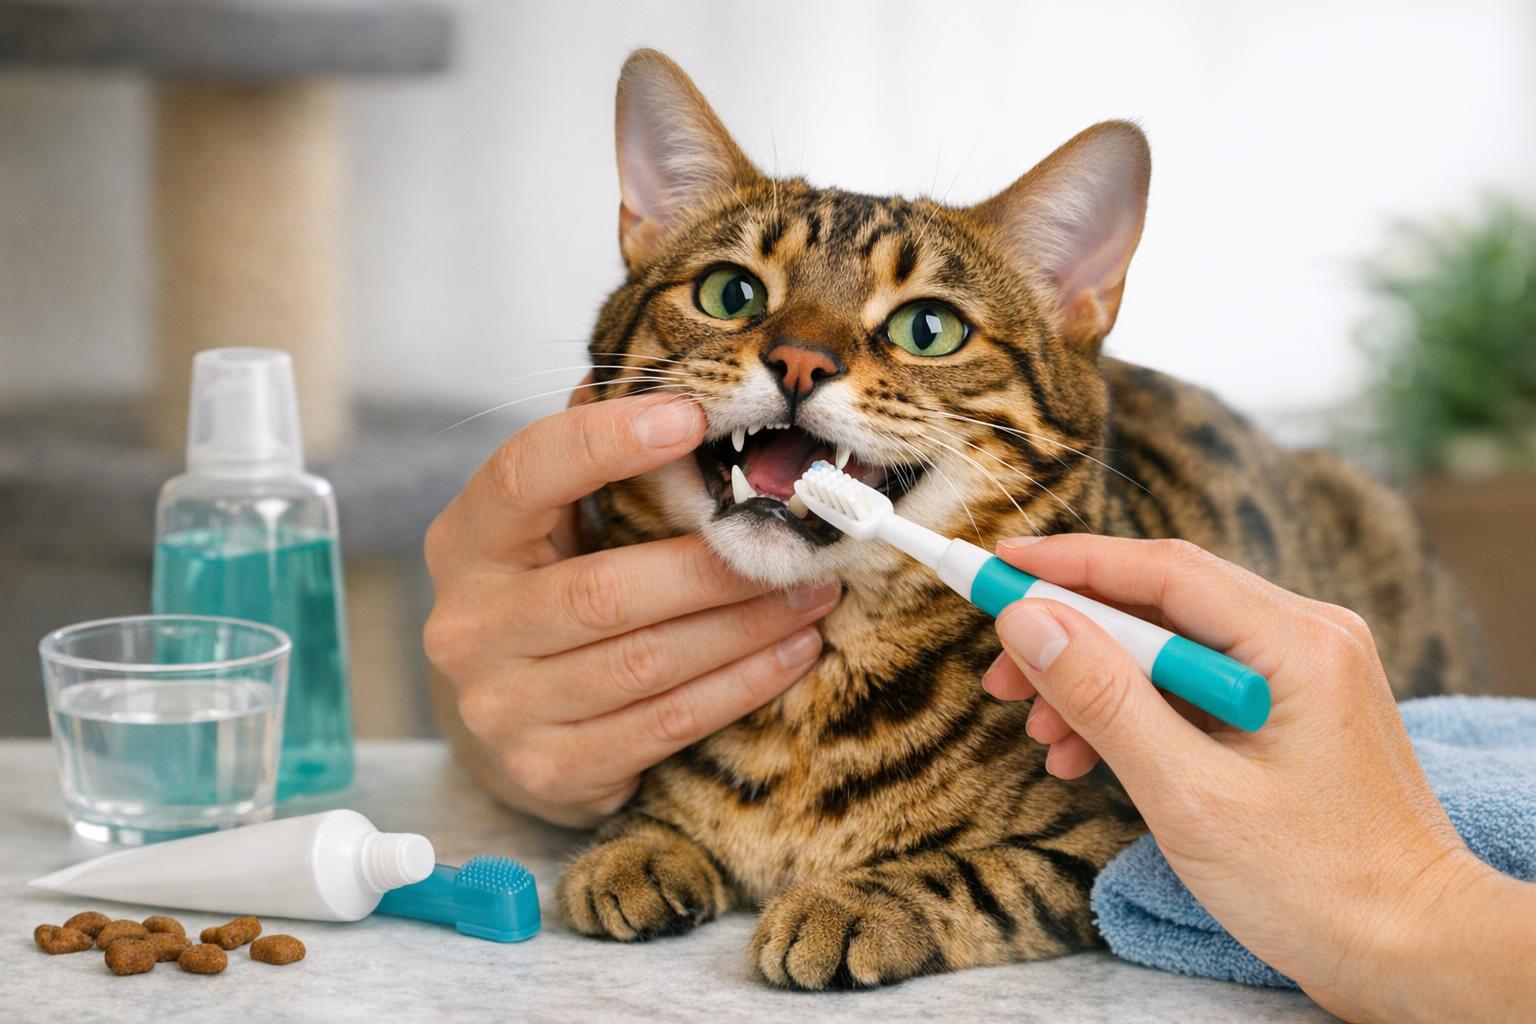
## Why Ear Care Matters For Cats
Cats are masters of looking aloof while secretly plotting to knock your favorite mug off the counter. One less dramatic villain they don’t usually appreciate is ear gunk. Regular cleaning keeps infections, mites, and odor at bay and helps you spot trouble early. A gentle feline ear cleaning solution used properly can make a big difference — and no, it doesn’t have to involve cotton swabs and a wrestling match (though you might still need treats and a willing lap).
### How Often Should You Clean Ears
Most healthy adult cats only need ear attention every few weeks to a couple of months. If your cat has a history of ear issues, a vet might advise more frequent cleaning. Don’t overdo it: over-cleaning can irritate the skin in the ear canal.
## Remedy 1: Feline Ear Cleaning Solution — Gentle Vinegar Formula
This is a widely used, vet-recommended-at-home approach for mildly dirty ears and occasional yeast or bacterial buildup. If your cat has active pain, bright red swelling, bleeding, a foul smell, or thick discharge, stop and see a vet first.
Ingredients/Materials
– 1/2 cup distilled water
– 1/2 cup white vinegar (or apple cider vinegar diluted if preferred)
– 1 teaspoon gentle baby shampoo (optional, very sparing and only for heavy wax)
– Clean dropper or squeeze bottle
– Cotton balls or gauze squares
– A towel and a helper (or a calm cat who likes bribery)
Creation And Application (Formal Instructions)
1. Prepare The Solution: In a clean container, mix 1/2 cup distilled water with 1/2 cup white vinegar. If you choose to add shampoo for stubborn wax, add a teaspoon and mix until evenly dispersed. Label the bottle and store it in a cool, dark place for up to one week.
2. Warm The Mixture: Place the bottle in your hands for a minute to take the chill off. Cold liquid in the ear is unpleasant and can spook your cat.
3. Secure The Cat: Wrap your cat loosely in a towel with one front paw free for treats; this reduces sudden movement. Enlist a helper to gently hold the head if needed.
4. Apply The Solution: Using a dropper, place 3–4 drops into the ear canal for a small cat or up to 6–8 for a larger one. Do not insert the dropper into the ear — hover near the opening and squeeze gently.
5. Massage The Base Of The Ear: Hold the ear flap closed and gently massage the base of the ear for about 20–30 seconds to allow the solution to work on lifting debris and wax.
6. Let The Cat Shake: Allow your cat to shake its head; this helps dislodge softened wax.
7. Wipe Clean: Use a cotton ball or gauze to wipe away loosened debris from the outer ear and the ear flap. Do not push anything deep into the canal.
8. Repeat If Necessary: If the ear remains dirty, you can repeat once more during the same session, but avoid repeated applications that could irritate the ear skin.
Use this method no more than once every 7–10 days unless otherwise directed by your veterinarian.
## Remedy 2: Olive Oil Softening Feline Ear Cleaning Solution
For waxy ears without signs of infection, warmed oil can soften and help remove buildup. This is especially friendly for nervous cats because it’s smooth and soothing.
Ingredients/Materials
– 1 tablespoon extra-virgin olive oil or mineral oil (do not use essential oils)
– A clean dropper or small syringe without a needle
– Cotton balls or gauze
– A towel and treats
Creation And Application (Formal Instructions)
1. Warm The Oil: Place the sealed bottle of oil in warm (not boiling) water for a few minutes until lukewarm. Test temperature on your wrist — it should be comfortably warm, never hot.
2. Administer Drops: Secure your cat as above. Using the dropper, place 2–4 drops of oil into the ear canal for small cats or 4–6 for larger cats.
3. Massage The Ear: Gently massage the base of the ear for 20–30 seconds. The oil will loosen wax and soothe inflamed skin.
4. Wait And Wipe: Allow the oil to sit for up to 10–15 minutes, then let your cat shake its head. Wipe the outer ear with cotton or gauze to remove softened wax. Repeat every 3–5 days if wax is persistent.
5. Frequency: Do not use oil-based cleaning more than once a week unless recommended by your vet, as oil can trap moisture if overused.
### Signs You Should Stop And See A Vet
If you notice any of the following, do not use at-home solutions and make an appointment:
– Strong, foul odor coming from the ear
– Thick, colored discharge (yellow, green, dark brown)
– Excessive scratching, head shaking, or sensitivity/pain
– Swelling, bleeding, or open sores in the ear
– Sudden hearing loss or balance problems
#### Why These Signs Matter
These symptoms can indicate an active infection, ear mites, a ruptured eardrum, or a foreign body. Applying a home remedy to an infected or injured ear can worsen the problem and delay proper treatment.
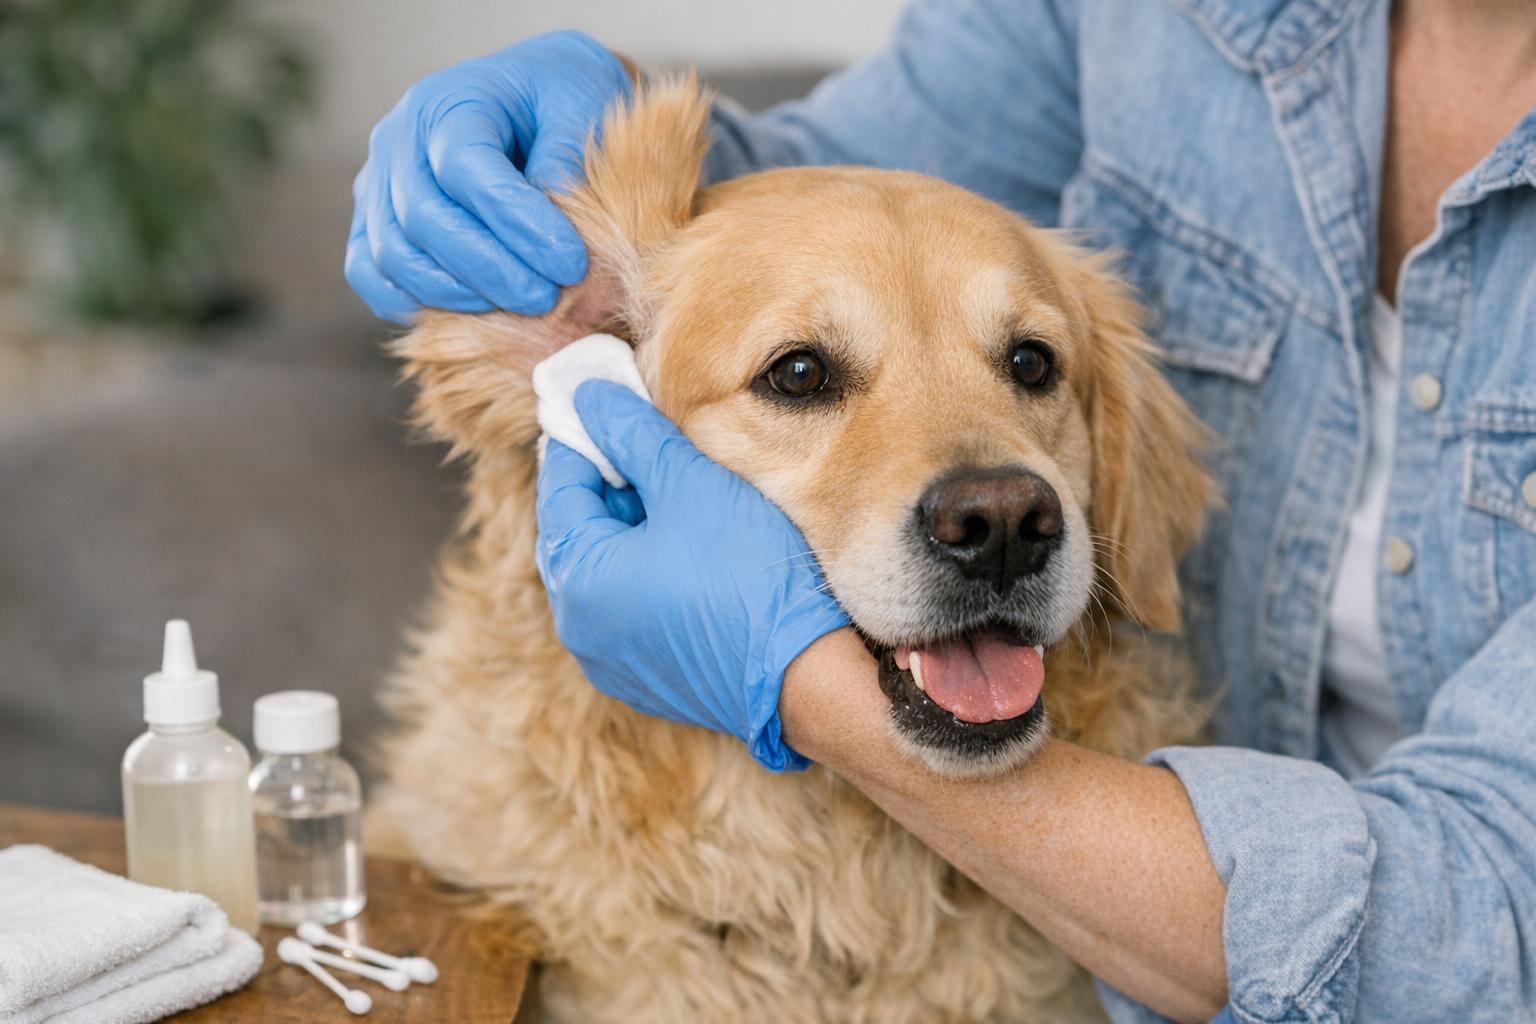
### Tools And Handling Tips
– Never insert cotton swabs (Q-tips) into the ear canal. They push debris deeper and risk perforating the eardrum.
– Cotton balls or gauze are adequate for wiping the outer ear.
– Use a calm voice, treats, and positive reinforcement. If your cat becomes stressed or aggressive, pause and try another time.
– For cats who strongly resist, consider having a vet or groomer demonstrate a technique or use a professionally made ear cleansing product recommended by your veterinarian.
## Safety, Frequency, And When To Call The Vet
A proper feline ear cleaning solution can be effective and safe when used correctly. Never administer human ear drops, alcohol, hydrogen peroxide, or essential oils into a cat’s ear — these can harm the delicate skin and inner structures. If your cat is a kitten under 12 weeks, immunocompromised, or has preexisting ear disease, consult your veterinarian before trying any DIY remedy.
If your cat’s symptoms persist more than 48–72 hours after a single at-home treatment, if symptoms worsen, or if your cat shows systemic signs like lethargy or fever, contact your vet promptly. Before using any feline ear cleaning solution on a kitten or a cat with chronic ear problems, ask the clinic for guidance — they may want to examine the ear or recommend prescription drops.
### Aftercare And Monitoring
After cleaning, monitor the ear for redness, swelling, or renewed discharge. Keep your cat away from bathing and swimming for 24–48 hours to reduce moisture exposure. If you notice increased irritation after using a product, discontinue use immediately and consult your veterinarian.
#### Common Questions Owners Ask
Q: Can I use hydrogen peroxide?
A: No. Hydrogen peroxide can be irritating and damaging to ear tissues and should be avoided.
Q: How do I know if it’s ear mites?
A: Ear mites often cause dark, coffee-ground-like debris and intense scratching. A vet can confirm mites and prescribe insecticidal treatment — do not treat mites at home without veterinary confirmation.
Q: What about over-the-counter ear cleaners?
A: Some vet-formulated OTC ear cleaners are safe and effective. Look for products labeled for feline use and ask your vet for a recommendation.
## Final Safety Note
If your cat reacts badly at any point — vocalizes in pain, pulls away, or shows swelling or discharge — discontinue use and seek veterinary advice. If you’re ever unsure whether to try a home remedy, it’s better to make a quick call to your vet than to risk making a delicate ear issue worse. A well-chosen and correctly applied feline ear cleaning solution is a simple, effective tool in routine cat care — used thoughtfully, it keeps ears healthy and your cat happier (and less likely to audition for drama queen roles during grooming).


Leave a Reply