


A cascade of feathers, a glinting perch, and the invisible whisper of a palace reclaimed from grime—your aviary can radiate like a jewelbox if you dare to unlock the secrets of dazzling upkeep! This is not ordinary housekeeping; this is high-drama, obsessive luxury for feathered monarchs. Below you will find electrifying tips, surgical cleaning protocols, and two formal, step-by-step remedies to elevate your bird cage care to an artform.
## Bird Cage Care Essentials For Daily Sparkle
Keeping a cage pristine is not just vanity—it’s veterinary prevention. Excellent bird cage care reduces respiratory risk, curbs bacterial and fungal growth, and keeps behavior problems linked to poor environment at bay. Aim for consistency: small daily rituals prevent big, stressful overhauls.
### The Science Of Shine
Feathers produce dander and biological byproducts constantly. Accumulated droppings, wet food, and damp bedding create ideal microclimates for mold and bacteria. Regular removal of debris and controlled disinfection interrupt pathogen life cycles. Proper ventilation and sunlight exposure help reduce airborne microbes and odor.
### Top Five Daily Habits
1. Spot-Clean Droppings And Food Debris: Remove obvious messes once or twice daily. This reduces ammonia build-up and pest attraction.
2. Refresh Water And Food Dishes: Replace water and scrape food trays each day to prevent bacterial bloom.
3. Rotate And Inspect Toys: A quick visual check for wear, frayed ropes, or oxidized metal keeps your bird safe.
4. Wipe Perches And High-Contact Surfaces: A damp cloth through the day prevents hardened grime.
5. Monitor Behavior And Smell: Lethargy, fluffed feathers, or pungent odors signal the need for more than routine bird cage care.
## 2 DIY Remedies For Immaculate Cage Hygiene
Below are two formal remedies—one for routine cleaning and one for periodic disinfection. Both include materials and precise step-by-step instructions. Follow safety notes closely: remove birds from the room during treatments, rinse thoroughly, and allow complete drying before reintroducing pets.
### Remedy 1: Vinegar And Baking Soda Cage Cleaner
This remedy is for frequent cleaning and deodorizing. It is gentle, pet-safe when used and rinsed properly, and effective for organic grime and mineral deposits.
#### Ingredients And Materials
– White distilled vinegar (1 cup)
– Baking soda (1/2 cup)
– Warm water (2–3 liters)
– Spray bottle (1 liter)
– Nonabrasive scrub brush and sponge
– Microfiber cloths or disposable paper towels
– Rubber gloves
#### Step-By-Step Preparation And Application
1. Prepare Solution: In a large container, mix 1 cup white distilled vinegar with 2 liters of warm water. Pour the solution into the spray bottle.
2. Pre-Treat Dry Debris: Remove loose bedding, seed hulls, and large debris by hand or with a light brush. Dispose of waste in a sealed bag.
3. Apply Baking Soda To Stubborn Areas: Sprinkle baking soda on dried droppings or mineral-stained areas. Let sit 3–5 minutes to loosen crust.
4. Spray Vinegar Solution: Liberally spray the vinegar solution onto the baking soda and soiled surfaces. The fizzing action will lift grime. Allow 5–10 minutes of contact time for mechanical loosening.
5. Mechanical Cleaning: Use a nonabrasive scrub brush to remove softened material. Avoid steel wool on painted surfaces or galvanized metal.
6. Rinse Thoroughly: Rinse all surfaces with clean warm water until no residue or vinegar scent remains. Use multiple rinses if necessary.
7. Dry Completely: Wipe down with microfiber cloths and allow items to air-dry in sunlight when possible. Only return dry materials and birds to the cage.
Safety Notes: Vinegar is safe for routine use but is not a broad-spectrum disinfectant. Follow with periodic disinfection (see Remedy 2) for thorough pathogen control.
### Remedy 2: Diluted Bleach Disinfectant For Occasional Deep Clean
This remedy is a formal disinfection protocol intended for monthly deep cleans or after illness. Bleach is a powerful disinfectant when used correctly. Rigorously follow dilution, contact time, rinsing, and safety precautions.
#### Ingredients And Materials
– Unscented household bleach (5–6% sodium hypochlorite)
– Clean warm water
– Measuring cup and nonmetallic mixing container
– Protective gloves, eye protection, and good ventilation (face mask recommended)
– Brushes and sponges reserved exclusively for disinfecting
– Large basin or sink for soaking removable parts
– Timer or clock
#### Step-By-Step Preparation And Application
1. Remove Birds And Perishables: Transfer birds to a secure, well-ventilated temporary enclosure away from the cleaning area. Remove toys, perches, and food/water dishes for separate cleaning.
2. Empty And Debris-Remove: Strip the cage of bedding, liners, and loose waste. Dispose of waste in a sealed bag outside the living area.
3. Prepare Bleach Solution: In a nonmetallic container, mix 1 part household bleach with 9 parts water (final concentration approximately 0.5% sodium hypochlorite). Example: 120 ml bleach to 1.08 liters water. Prepare fresh solution before use.
4. Pre-Clean Surfaces: Clean visible grime with the vinegar remedy or soapy water. Disinfectants are less effective when organic matter remains.
5. Apply Bleach Solution: Using a sponge or spray bottle, apply the diluted bleach to all cage surfaces and removable parts. Ensure thorough wetting. Maintain a contact time of at least 10 minutes.
6. Rinse Intensely: After contact time, rinse all parts thoroughly with copious clean water until no bleach odor is detected. Multiple rinses may be necessary.
7. Dry And Air Out: Allow all components to air-dry completely in sunlight if possible. Only after complete drying should you reassemble the cage and return birds.
8. Dispose Of Remaining Solution: Do not store mixed bleach solution; safely discard and rinse the container.
Safety Warnings: Never mix bleach with ammonia or vinegar—dangerous chloramine or chlorine gas can form. Use bleach sparingly and only for periodic deep disinfecting, not daily.
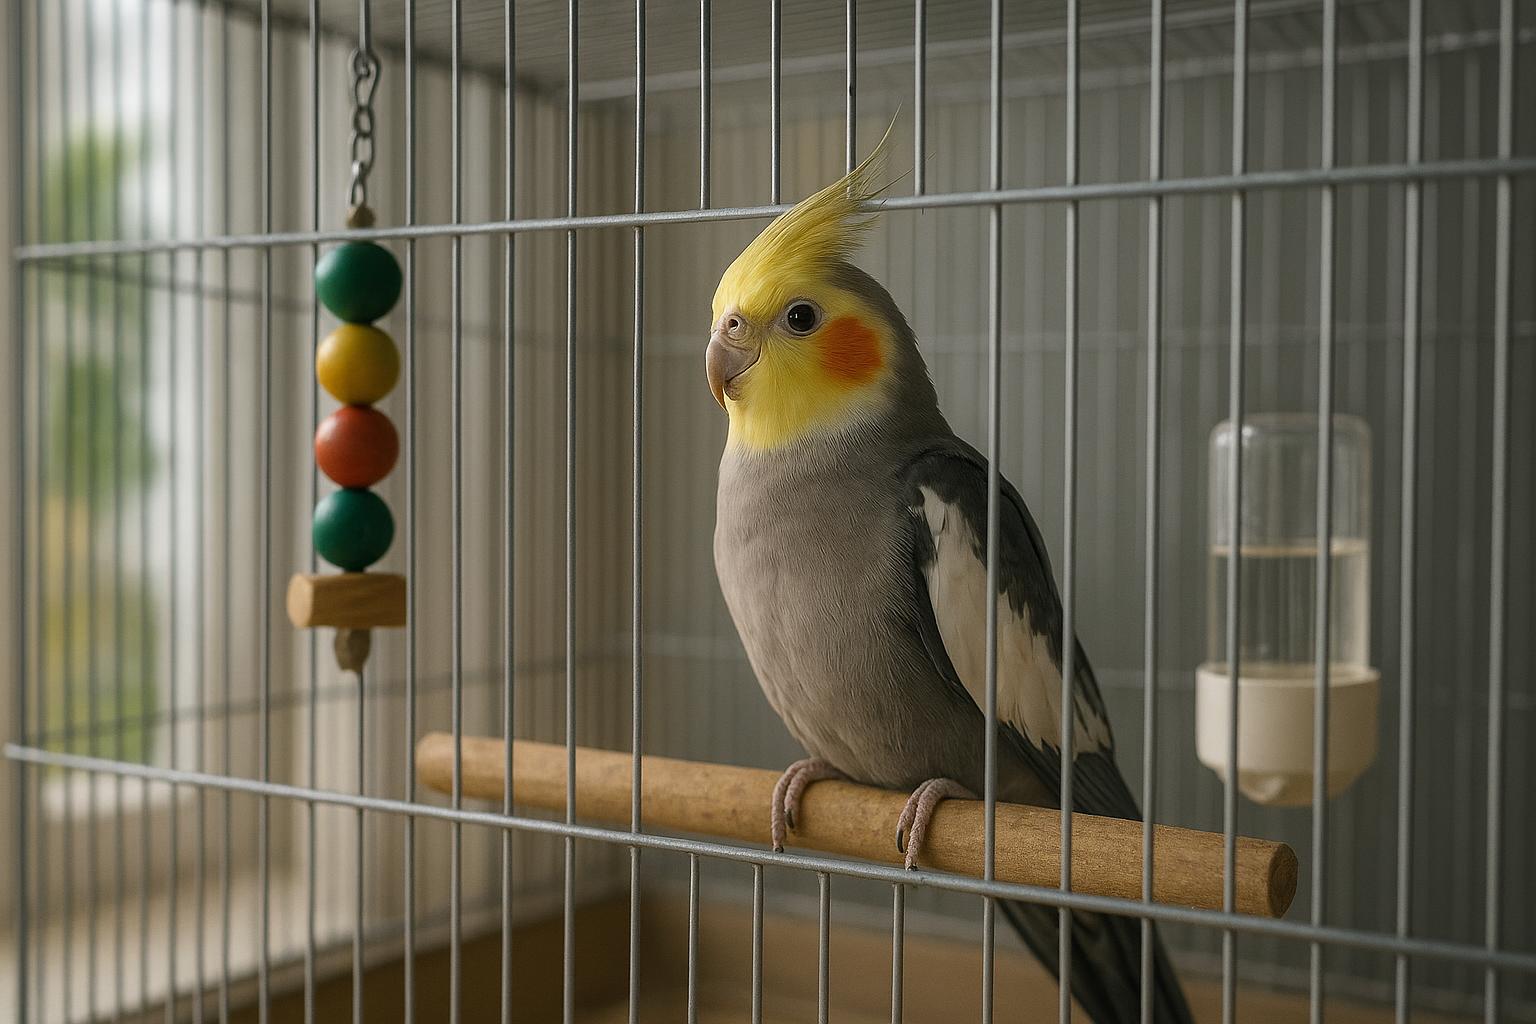
## Cage Accessories And Layout Tips For A Sparkling Aviary
Deliberate choices in perches, toys, and floor liners simplify maintenance and boost hygiene. Choose materials that resist moisture and are easy to clean.
### Perch And Toy Management
Opt for removable perches made of stainless steel, natural untreated wood, or ceramic. Avoid porous materials that harbor bacteria. Rotate toys weekly and wash them with the vinegar solution. Discard items showing mold, persistent stains, or damaged components.
### Substrate, Liners, And Waste Control
Use disposable liners for rapid waste removal; change liners daily for messy birds or with heavier droppings. For reusable trays, scrape solids off daily and perform the vinegar cleaning weekly. A grated floor in larger cages lets debris fall to a removable tray for quick cleaning without disturbing the bird.
## Odor Control, Health Signs, And Cleaning Frequency
Smell is often the first indicator of inadequate bird cage care. Managing moisture, prompt waste removal, and routine ventilation are your primary odor-defeating tools.
### Recognizing When The Cage Needs A Deep Clean
Persistent ammonia smell, visible green or black mold, increased sneezing or nasal discharge in birds, and flies or pests are clear signals. If multiple birds develop similar symptoms, deep disinfection and veterinary consultation are warranted.
### Safe Cleaning Schedule
– Daily: Spot clean droppings, refresh water and food, and remove wet food remnants.
– Weekly: Full surface wipe-down with the vinegar solution, rotate toys, and deep-clean food and water dishes with hot, soapy water.
– Monthly: Perform the diluted bleach disinfection on the entire cage and removable parts (or more often after illness).
– As Needed: Replace perches or toys that show wear or persistent contamination.
Dare to elevate your ritual. With precise remedies and a fierce commitment to routine, your aviary will not simply be clean—it will be sensationally immaculate.


Leave a Reply