


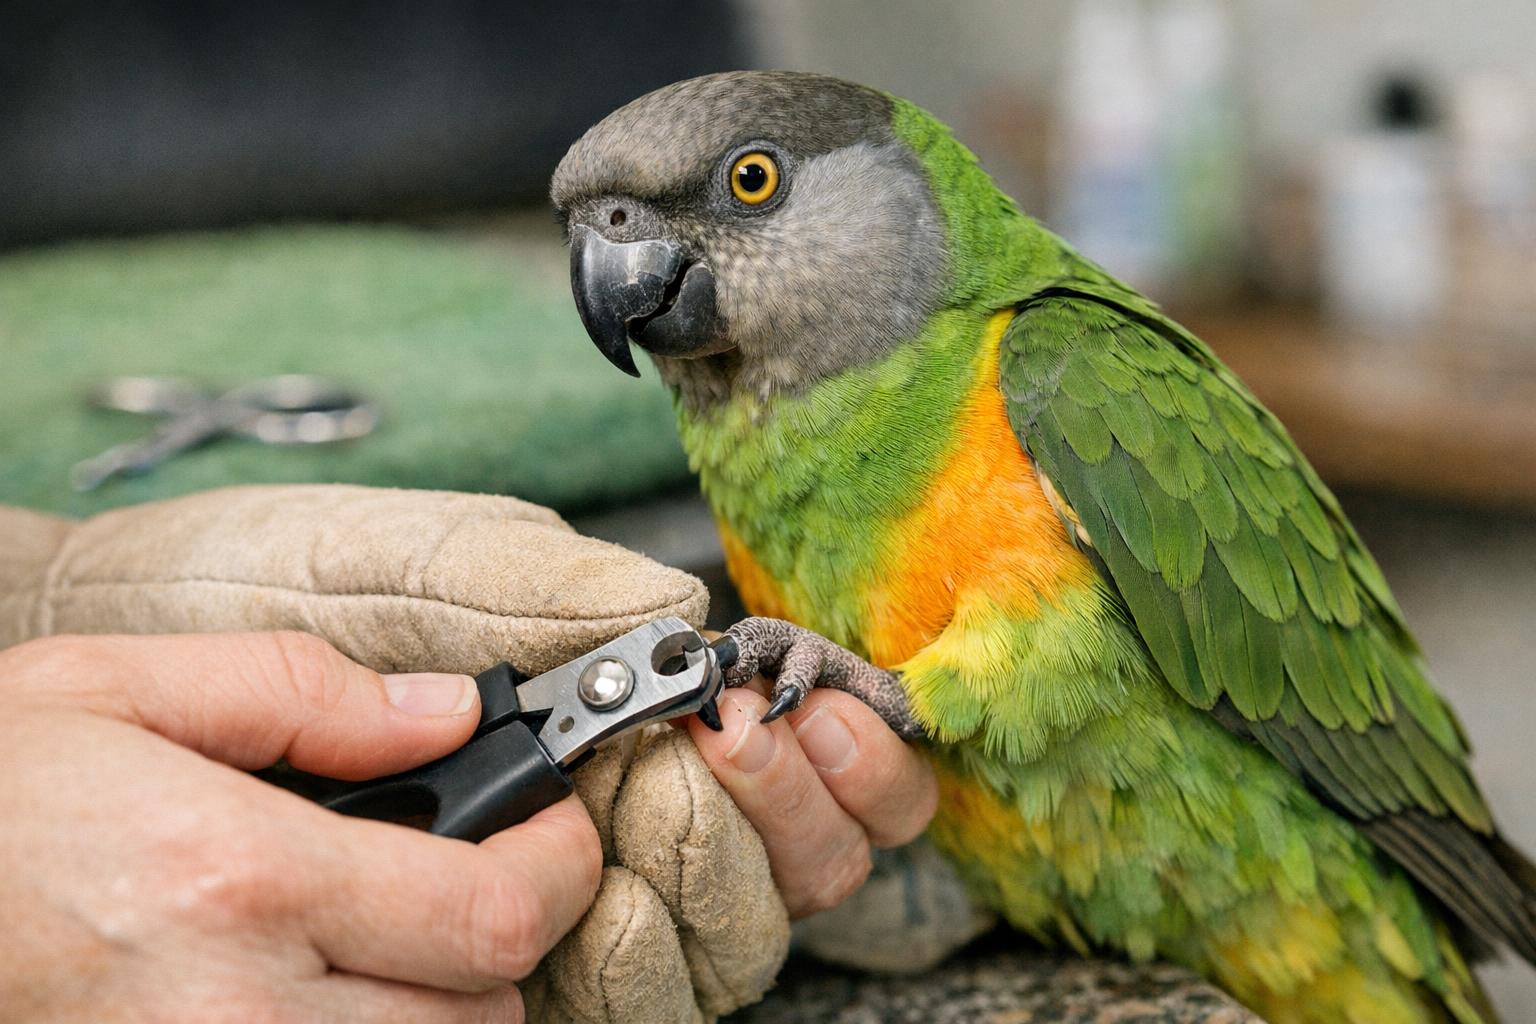
Trimming a bird’s nails doesn’t have to feel like walking a tightrope. Get the basics right and you’ll save yourself stress, your bird pain, and a messy trip to the vet.
## Avian Nail Trimming Safety Tips For Everyday Confidence
Start by accepting a simple truth: confidence comes from preparation. The most common problem I see is people rushing into bird nail trimming because the nails look long, or a guest complained about scratching. That’s when mistakes happen. Treat every session like a short procedure. Check your tools, make the environment calm, and have a plan if the quick bleeds.
### Tools To Have On Hand
Good tools are small investments that pay off every time.
– Sharp guillotine or scissor-style clippers designed for birds, plus a rotary tool (Dremel) for smoothing.
– Styptic powder or cornstarch in case of bleeding, and a clean towel.
– A flashlight for dark nails, and small treats for positive reinforcement.
You don’t need a full toolbox. But don’t use human toenail clippers; they can split or crush. For birds prone to movement, a rotary tool lets you remove tiny amounts without cutting into the quick.
### How To Read The Quick
On light-colored nails, the quick is often obvious: a pinkish tube inside the nail. On dark nails it’s not visible. Shine a flashlight along the underside of the nail to see the edge of the quick. If you still can’t tell, remove less. Shorten by tiny increments. You can always trim more later.
## How To Hold Birds Without Stress
Restraint doesn’t mean wrestling. It means controlling movement while keeping the bird calm.
### One Person Versus Two
Some birds tolerate a single handler. Others are safer with two: one person to hold, one to trim. If you’re working solo, wrap the bird in a towel with the head exposed. That limits wings and legs without squeezing. For larger parrots, a second person is helpful to steady the foot while you work.
### Build Trust First
Don’t force a full session the first time. Practice brief handling for a minute or two, then stop and treat. Gradually increase the duration. Training sessions make later nail trims a matter of habit rather than confrontation.
## Step-By-Step Trimming Technique
I teach people to follow a short, repeatable process. It reduces mistakes.
1. Inspect the nails and find the quick with a light.
2. Position the bird so you can see the nail clearly.
3. Clip the tip at a gentle angle, taking off only a small sliver.
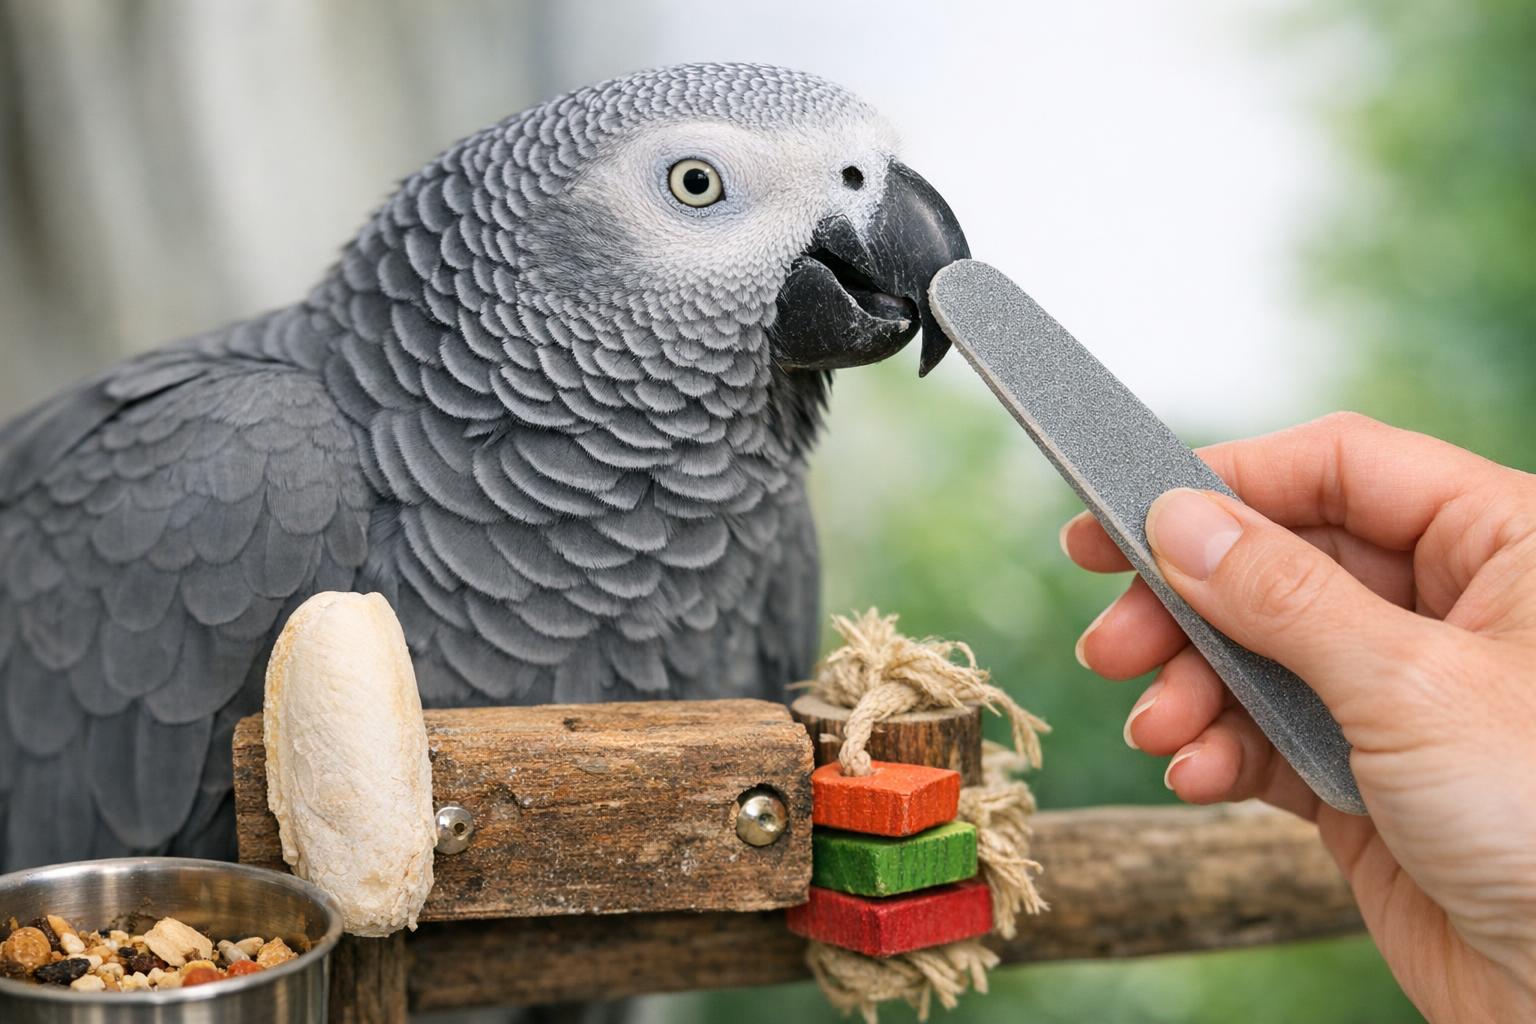
4. Smooth any rough edges with a rotary tool or file.
5. Reward the bird and stop while everyone feels fine.
If you hear or feel resistance while cutting, stop. That’s often the quick. Step back, reassess with a light, and approach more conservatively next time. The goal is to avoid the quick entirely.
### What To Do If You Hit The Quick
Remain calm. Apply styptic powder or cornstarch and hold gentle pressure for a minute. Most bleeding stops quickly. If bleeding continues after fifteen minutes, call your vet. Panic makes birds anxious and makes the job harder next time.
## Frequency And When To Schedule Trims
There’s no one-size-fits-all. Species, activity level, diet, and perching affect wear. Small parrots often need trimming every 4–8 weeks; larger birds may go longer.
Watch behavior. If your bird slips on smooth surfaces, can’t grip toys, or the nails catch on fabric, it’s time. Don’t trim by calendar alone. Regular checks are better than waiting for an obvious problem.
## Integrating Avian Nail Care Into Routine
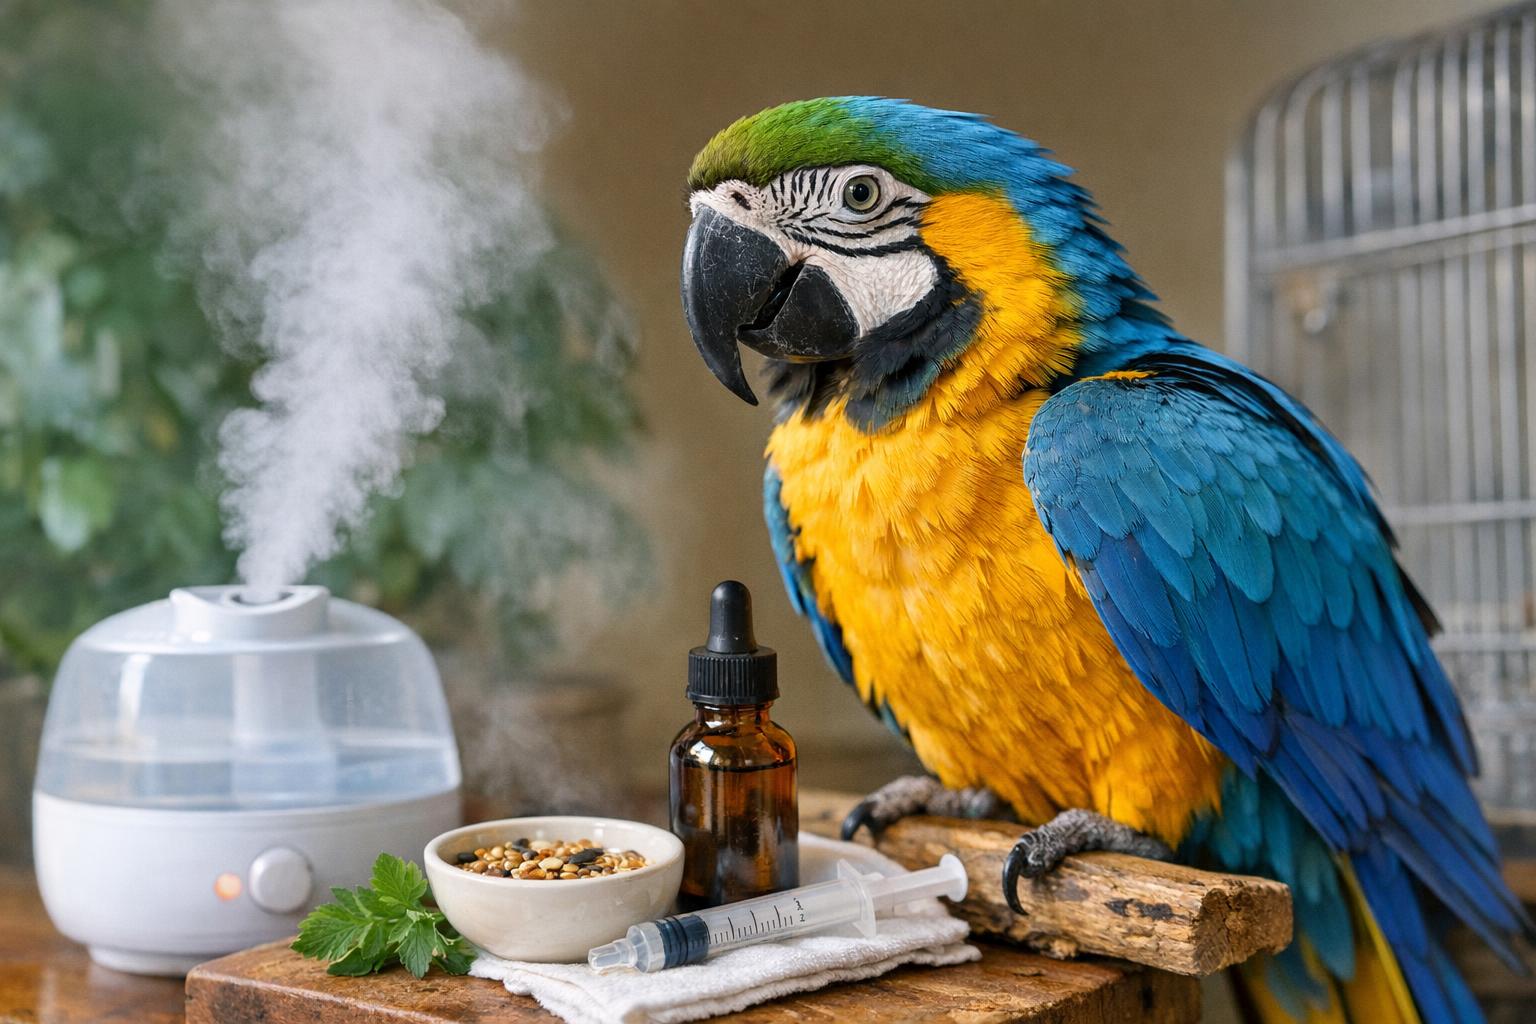
Make avian nail care part of your regular interactions rather than a rare event. Short sessions, ten minutes max, once a week for handling and foot inspection will reduce the stress for both of you. Keep a small supply kit in a labeled box so you don’t hunt for supplies when a nail needs attention.
### Perches, Toys, And Diet For Healthy Nails
Nails file themselves naturally with the right environment. Provide varied perches: natural wood, rope, and concrete-style perches placed strategically around the cage. Foraging toys that encourage gripping help too. Calcium and proper nutrition support strong nails. Be mindful: too-soft perches won’t file nails; too-rough ones can crack them.
## Training Birds To Accept Nail Trims
Training is less about teaching the bird to sit for a trim and more about teaching calm acceptance.
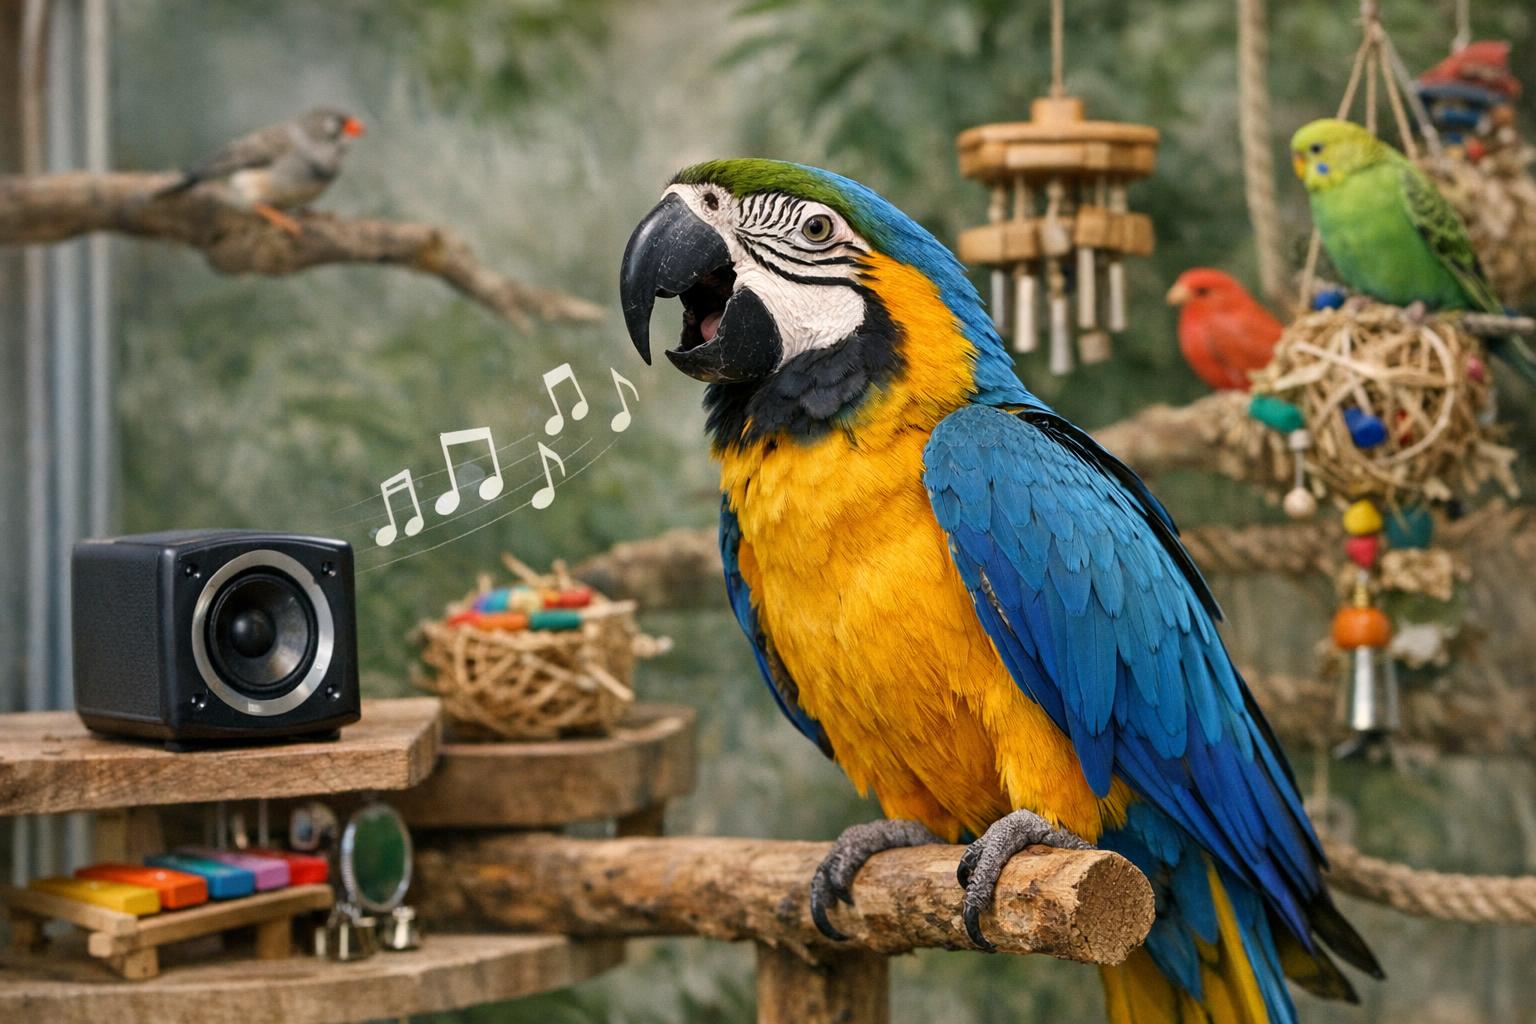
Start by offering treats for lifting a foot on cue. Reward tiny steps: touch the toe, then the foot, then hold it briefly. Use a consistent cue word such as “foot” so the bird associates the action with a predictable outcome. Combine training sessions with short nail inspections. Over time, many birds will present a foot willingly.
### Use Of Positive Reinforcement
Never scare a bird into submitting. If the bird shows stress signals — wide eyes, tongue flicking, tail flaring — stop. Reset. A calm five-minute touch session today beats a forced trim that creates fear tomorrow. Some birds respond well to favorite treats or target sticks. Others need a quiet voice and slow movements.
## When To Leave It To The Pros
If the bird is fractious, has damaged nails, or you’re worried about the quick because the nails are dark, book a vet or an experienced groomer. Professionals can trim safely and demonstrate technique. They can also check for other issues like beak abnormalities or infections that affect nail growth.
## Common Mistakes To Avoid
People often overthink the cut angle, or mirror human habits that don’t translate to birds.
– Avoid cutting nails in one big chunk. Small cuts are safer.
– Don’t use blunt clippers. They crush rather than slice.
– Don’t trim in a noisy or bright environment that startles the bird.
Also avoid trimming when the bird is wet or after an active session when feet are moving fast. Wait until the bird is relaxed.
## Tools Revisited: Clippers Versus Dremels
Each has advantages. Clippers give quick, clean cuts when you can see the quick. Dremels are less risky around the quick and let you work in tiny amounts. For birds with dark nails, a Dremel is a good choice. Practice on an artificial perch or a toy first to get the feel. Keep the tool moving to avoid heat buildup. If a Dremel vibrates the bird, try a lower speed or a different attachment.
## Link Between Nail Trimming And Beak Care Confidence
This might seem odd, but when you get comfortable trimming nails, your confidence with beak care improves too. Many same skills apply: reading anatomy, steady hands, controlling the bird calmly. Use the same incremental approach for beak filing. Small, frequent interventions prevent big problems later.
### When Beak Issues Require Veterinary Attention
An overgrown or misshapen beak could signal nutritional problems, liver disease, or trauma. If trimming or filing reveals unusual texture, bleeding at the base, or rapid regrowth, seek a vet. Don’t attempt major beak corrections at home.
## Troubleshooting Specific Scenarios
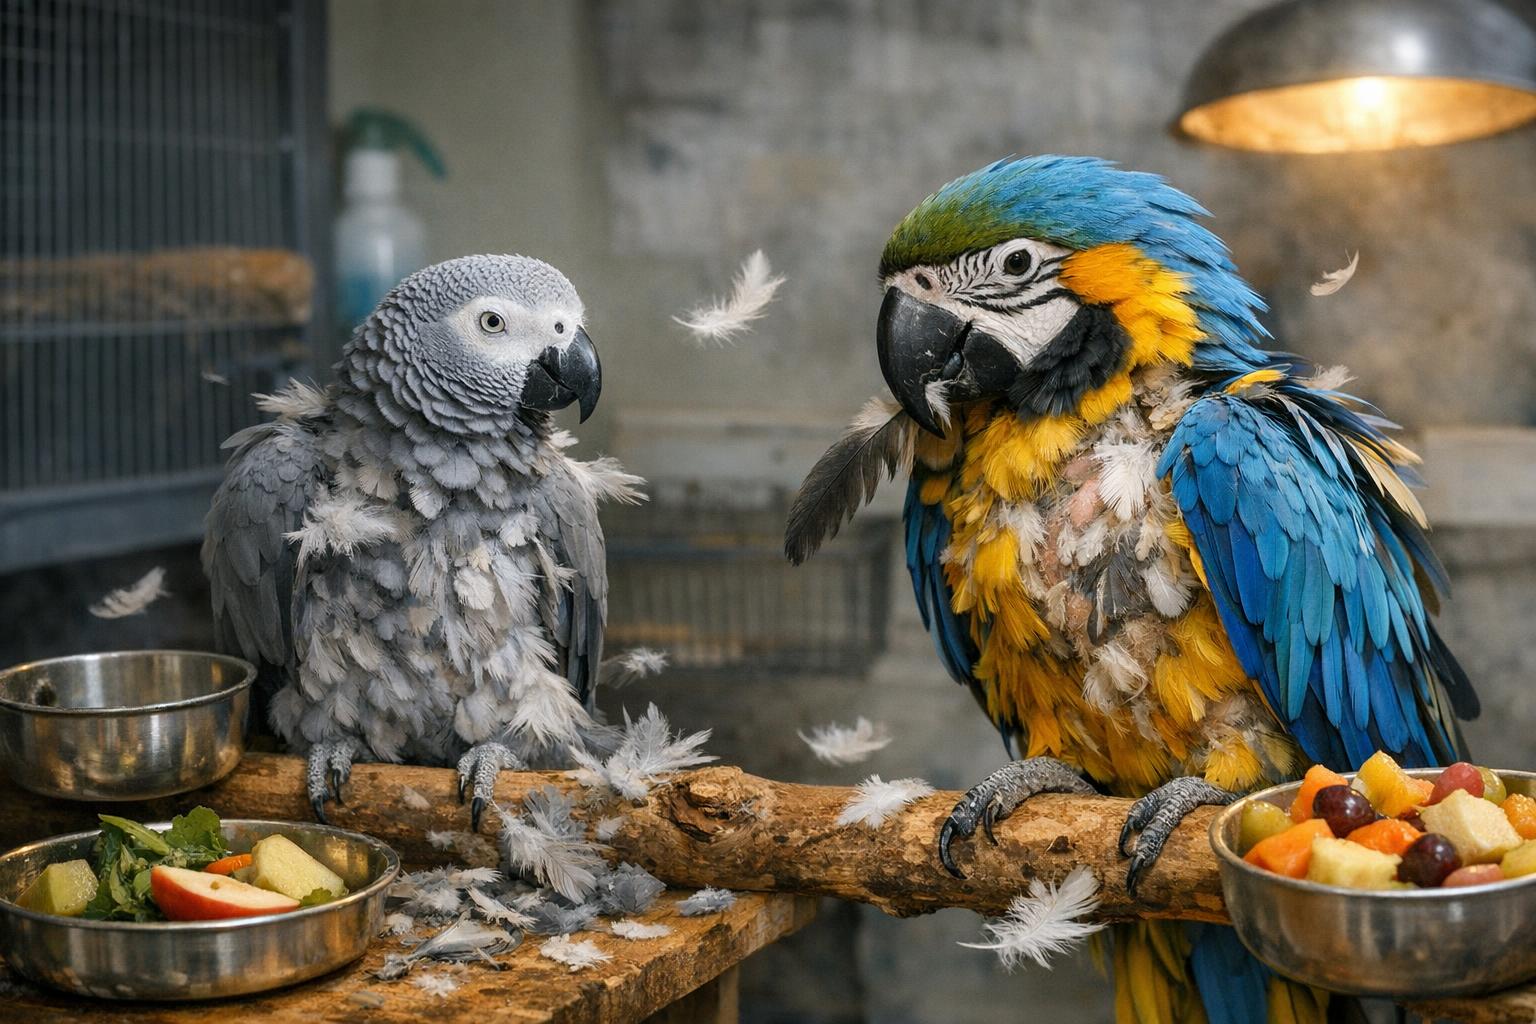
Each species brings different challenges. Cockatiels are usually forgiving and small; African greys can be anxious and have stronger beaks; macaws need two people and firm but gentle handling.
If a bird refuses to step up for foot checks, regress to basics: target training, short desensitization sessions, and more frequent, low-stakes handling. If a bird flails when you touch a foot, move to one-second touches and reward heavily. Patience is a tool as important as clippers.
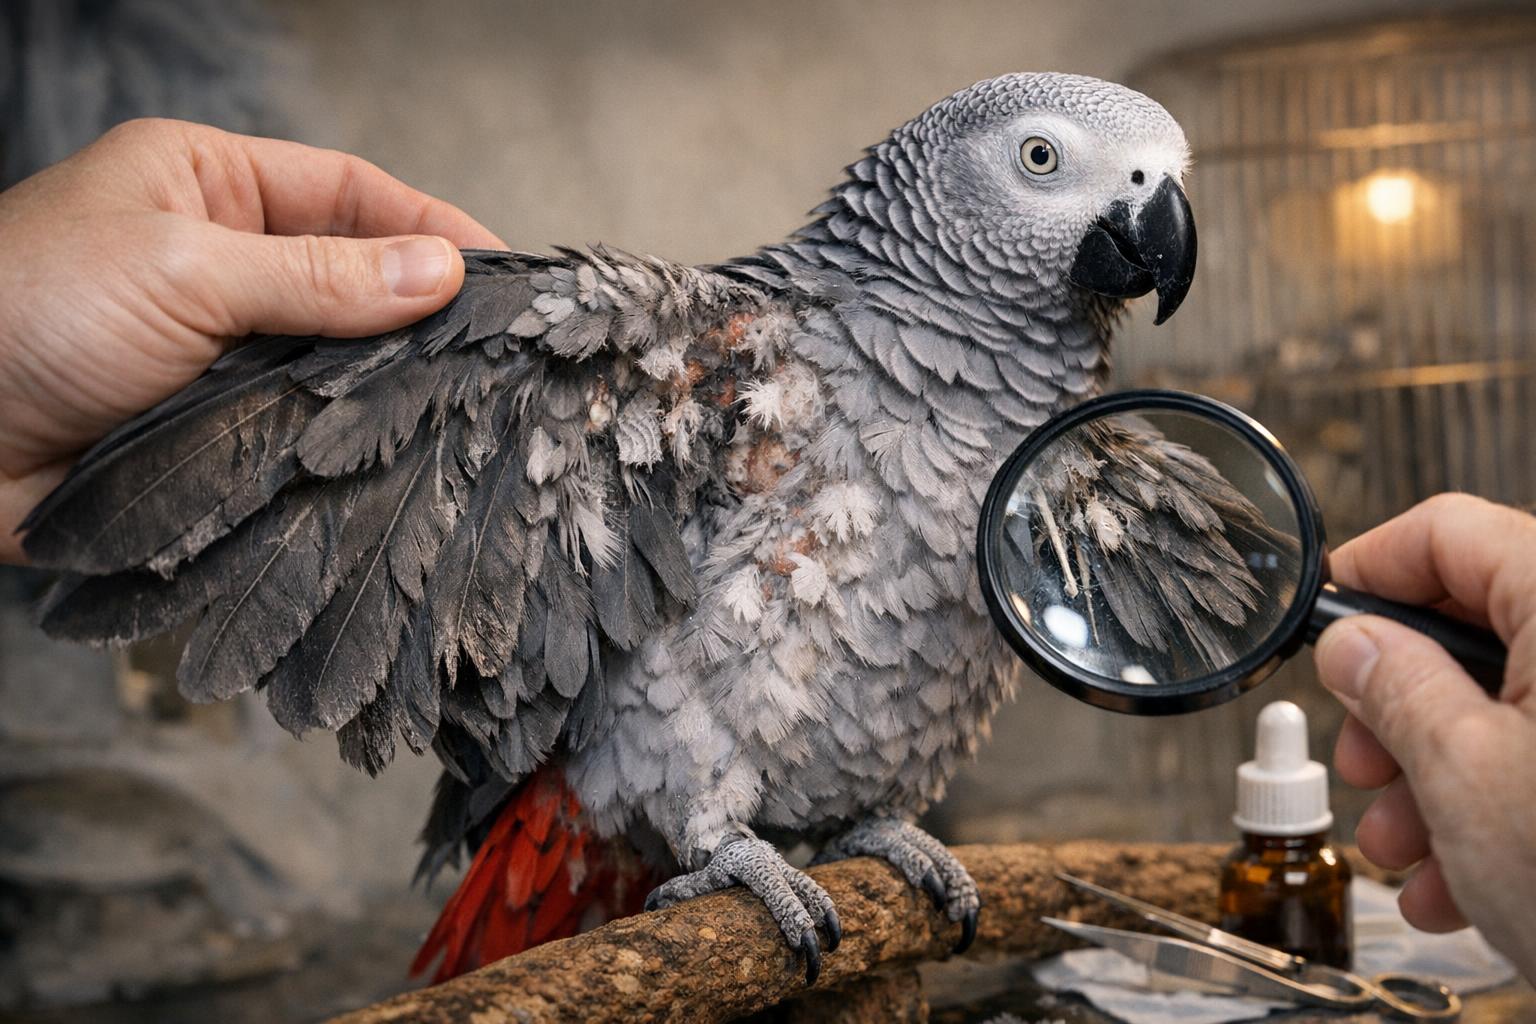
Keep an eye out for nail splitting or fungal infections. Split nails that catch on things can worsen. If you see discharge, discoloration, or foul odor, consult your vet. These are not normal.
## Record Keeping And Confidence Building
Keep a small log: date, which nails you trimmed, amount removed, and how the bird reacted. Over months you’ll see patterns. Maybe the molt season requires more frequent trims. Maybe the left foot needs more attention. This data removes guesswork and builds real confidence.
Be consistent but flexible. If a single trim goes poorly, take a break and try a shorter, simpler session the next day. Confidence grows by stacking small wins, not by forcing a perfect long session on the first try.
A final practical note: it’s fine to ask for help. Groomers and vets want birds to stay healthy. A single demonstration from a pro can save you hours of worry. And if you ever cause bleeding, you handled it. You learn from that and move on, maybe with a not-so-perfect word like mispelled on your notes, but with more calm next time.


Leave a Reply