


Many dog owners underestimate the importance of routine ear care. Proper hygiene prevents discomfort, reduces the risk of infection, and supports overall auditory health. The following guidance is formal, practical, and intended for conscientious pet owners seeking a reliable method for routine maintenance. If any step provokes concern or if clinical signs worsen, cease the procedure and consult a veterinarian.
## How To Clean A Dog’s Ears At Home: Step-By-Step Ear Cleaning
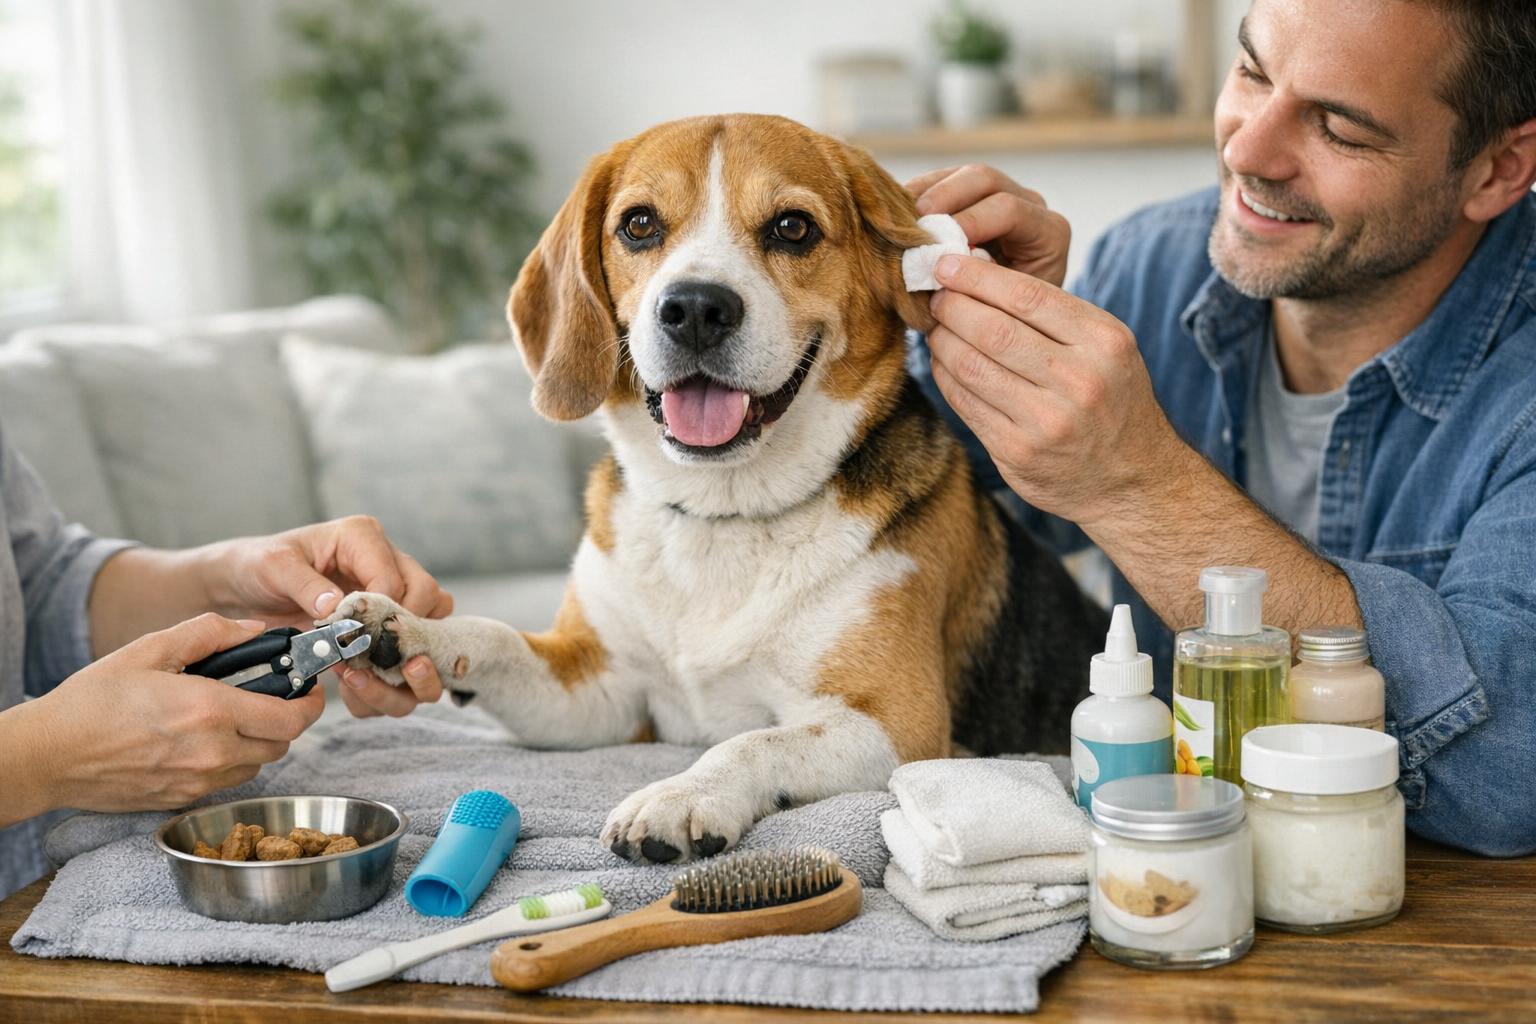
Cleaning canine ears correctly requires a calm environment, suitable materials, and attention to subtle clinical signs. This article explains how to clean a dog’s ears at home in a safe, methodical manner, provides a vetted home remedy for routine maintenance, and identifies when professional care is essential. The instructions that follow assume the external ear canal is intact and the dog is not in acute pain.
### When To Clean And When To See A Veterinarian
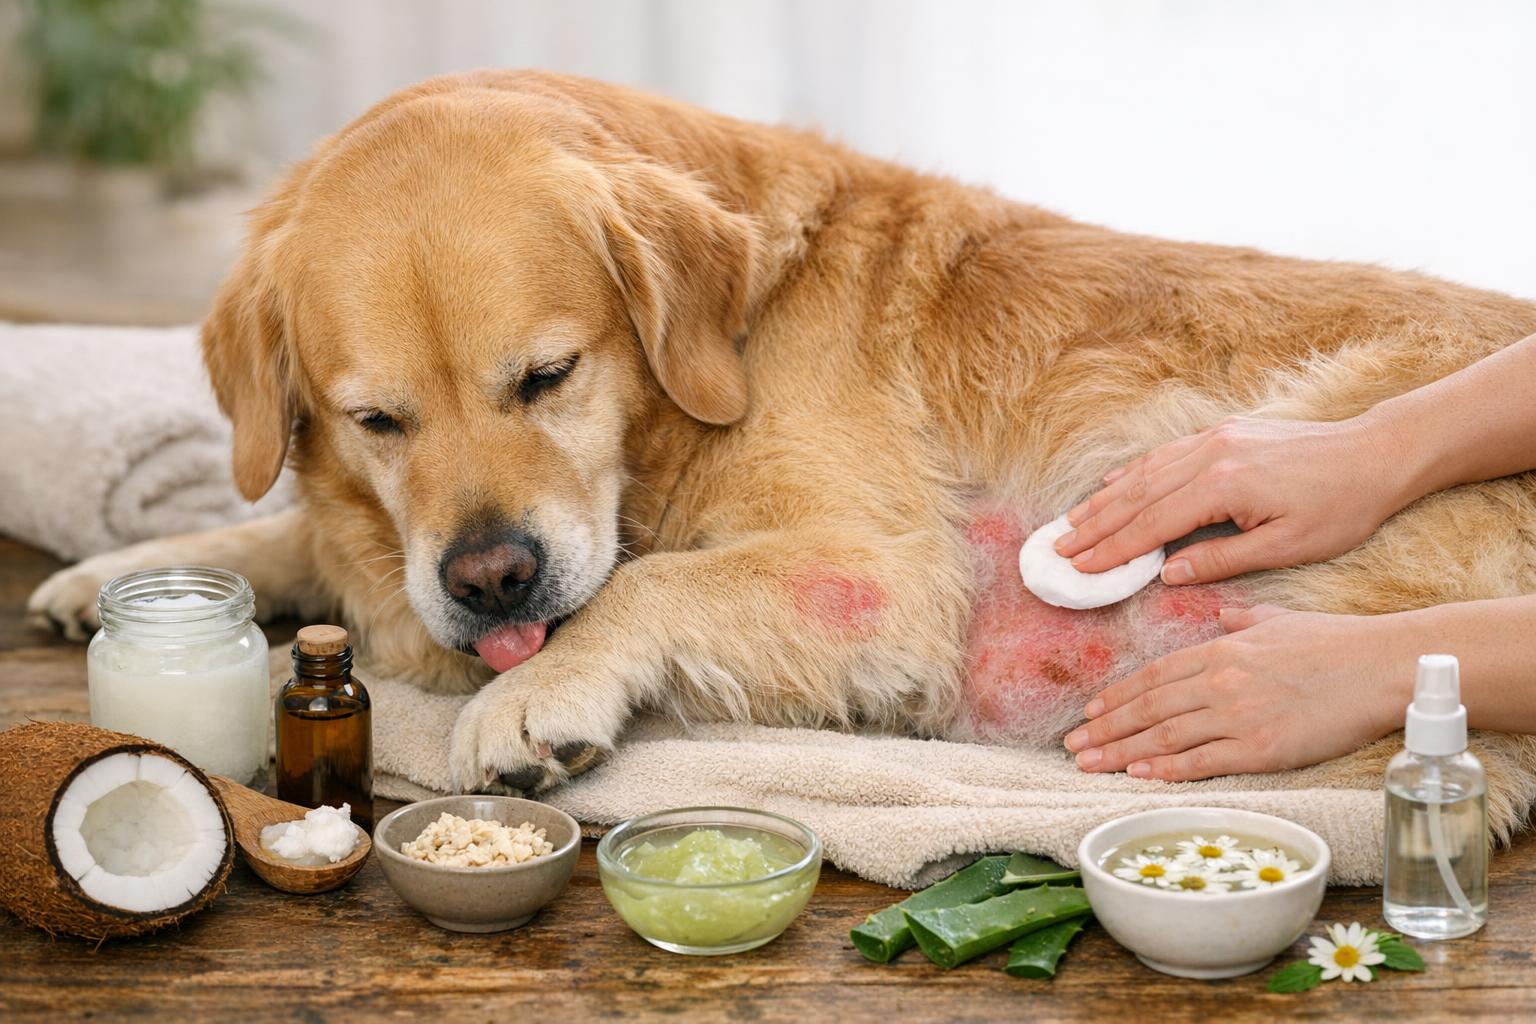
Routine dog ear cleaning is appropriate for maintenance and mild debris removal. However, if you observe persistent head shaking, dark discharge, a strong malodour, redness, swelling, bleeding, or if your pet retracts or vocalizes when the ear is touched, these are indicators to seek veterinary assessment immediately. Attempting aggressive home treatment under those conditions may exacerbate injury.
#### Signs Of Infection Or Injury
– Continuous head shaking or scratching at the ear.
– Foul odor, yellow/brown/green discharge, or visible pus.
– Swelling, heat at the base of the ear, or pain on palpation.
– Discharge containing blood or a foreign body lodged in the canal.
### Required Materials For Ear Cleaning
For safe ear cleaning dogs at home, assemble the following items in advance. Use sterile or single-use items where feasible.
– A commercially formulated canine ear cleaning solution (preferred), or a gentle homemade solution of equal parts distilled water and white vinegar (50:50) for routine maintenance—only if the ear is not inflamed or painful.
– Cotton balls or gauze pads (do not use cotton swabs inside the canal).
– Disposable towels to absorb spills.
– Treats to reward calm behavior and encourage cooperation.
– A helper to gently restrain larger or anxious dogs, if necessary.
– Latex or nitrile gloves if you prefer to avoid direct contact with debris.
Do not use hydrogen peroxide, alcohol, or undiluted vinegar in deep or inflamed ears; these agents can be irritating and delay healing.
### Step-By-Step Ear Cleaning Procedure
Follow these steps to perform thorough and safe dog ear cleaning at home. The procedure emphasizes control of volume, angle, and gentleness.
#### 1. Prepare The Environment And The Dog
Choose a quiet, well-lit area. Place towels under the dog’s head and have your helper steady the animal if needed. Speak softly and reward calm behavior to reduce stress. Confirm that the ear surface is warm but not hot, and that there is no obvious severe swelling or fresh blood.
#### 2. Inspect The Ear Carefully
Lift the ear flap and examine the pinna and the entrance to the ear canal. Note coloration, odor, and any discharge. If you detect severe signs described previously, do not proceed; consult a veterinarian.
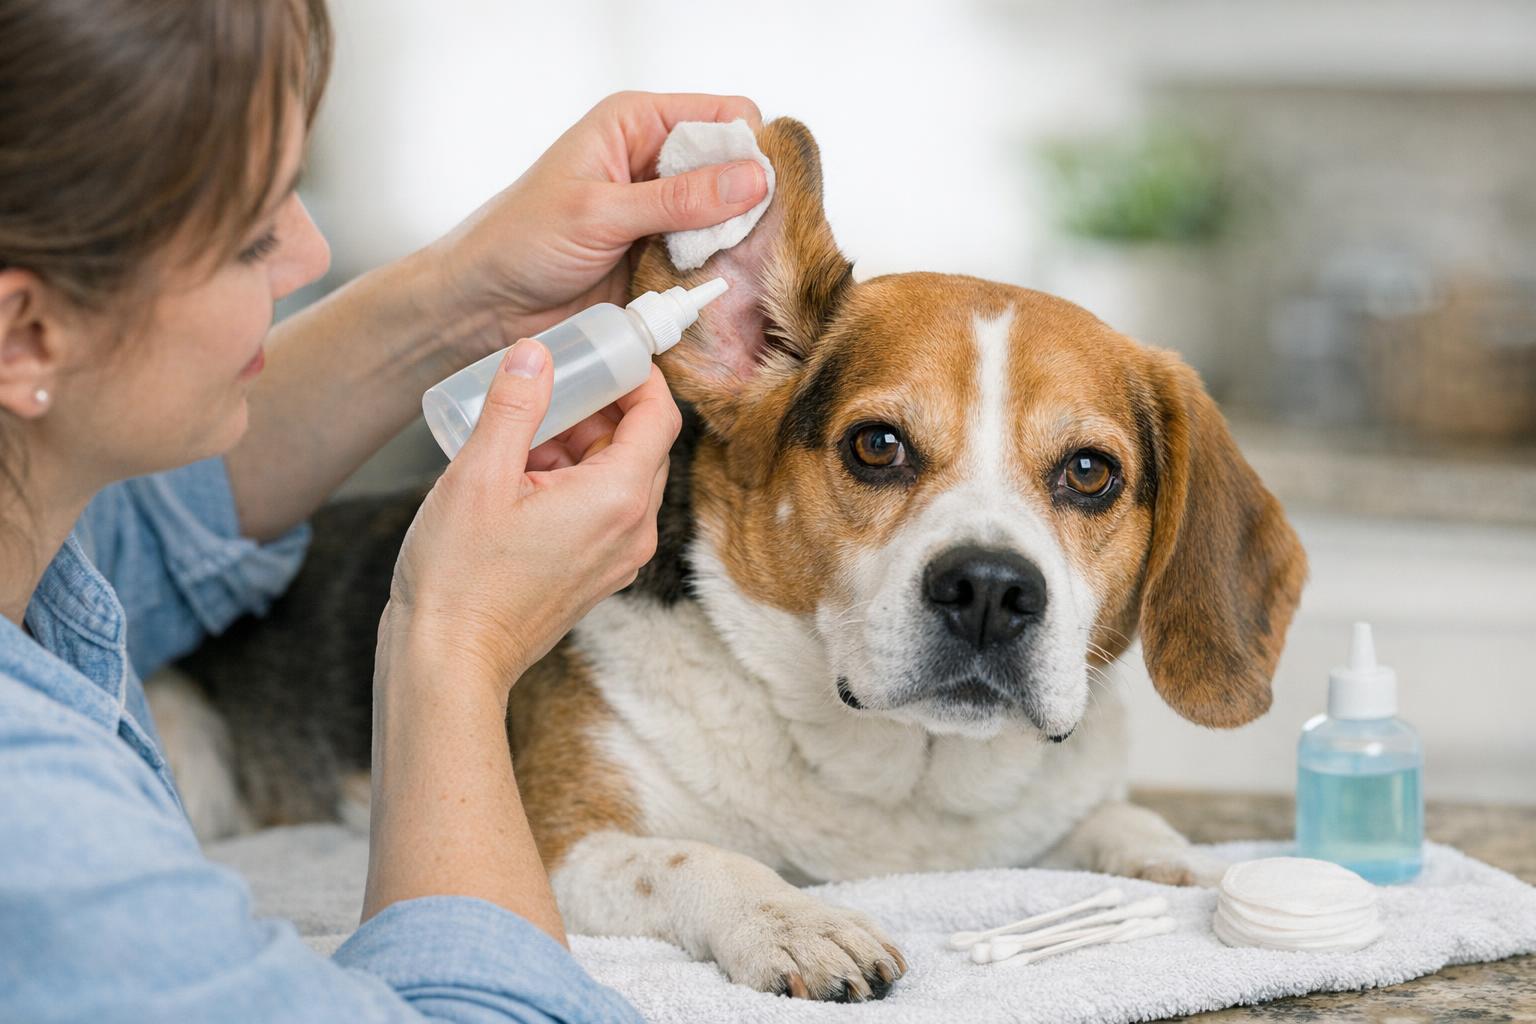
#### 3. Apply The Cleaning Solution
Gently fill the ear canal opening with the chosen ear cleaner. If using a commercial product, follow the manufacturer’s dosage instructions. For the homemade 50:50 distilled water and white vinegar solution, use a small volume—typically a few milliliters depending on the dog’s size. Avoid forceful squirting. The goal is to loosen debris without driving it deeper.
#### 4. Massage The Ear Base
With the solution in place, apply gentle pressure by massaging the base of the ear for approximately 20–30 seconds. This maneuver helps dislodge cerumen and debris from the vertical portion of the canal and allows the cleaner to reach more of the surface without penetrating deeply.
#### 5. Allow The Dog To Shake
Release your hold slightly so the dog may shake its head. This natural action expels softened debris. Stand to one side and use towels to protect your clothing and the surroundings. Repeat the massage and shake sequence once if necessary.
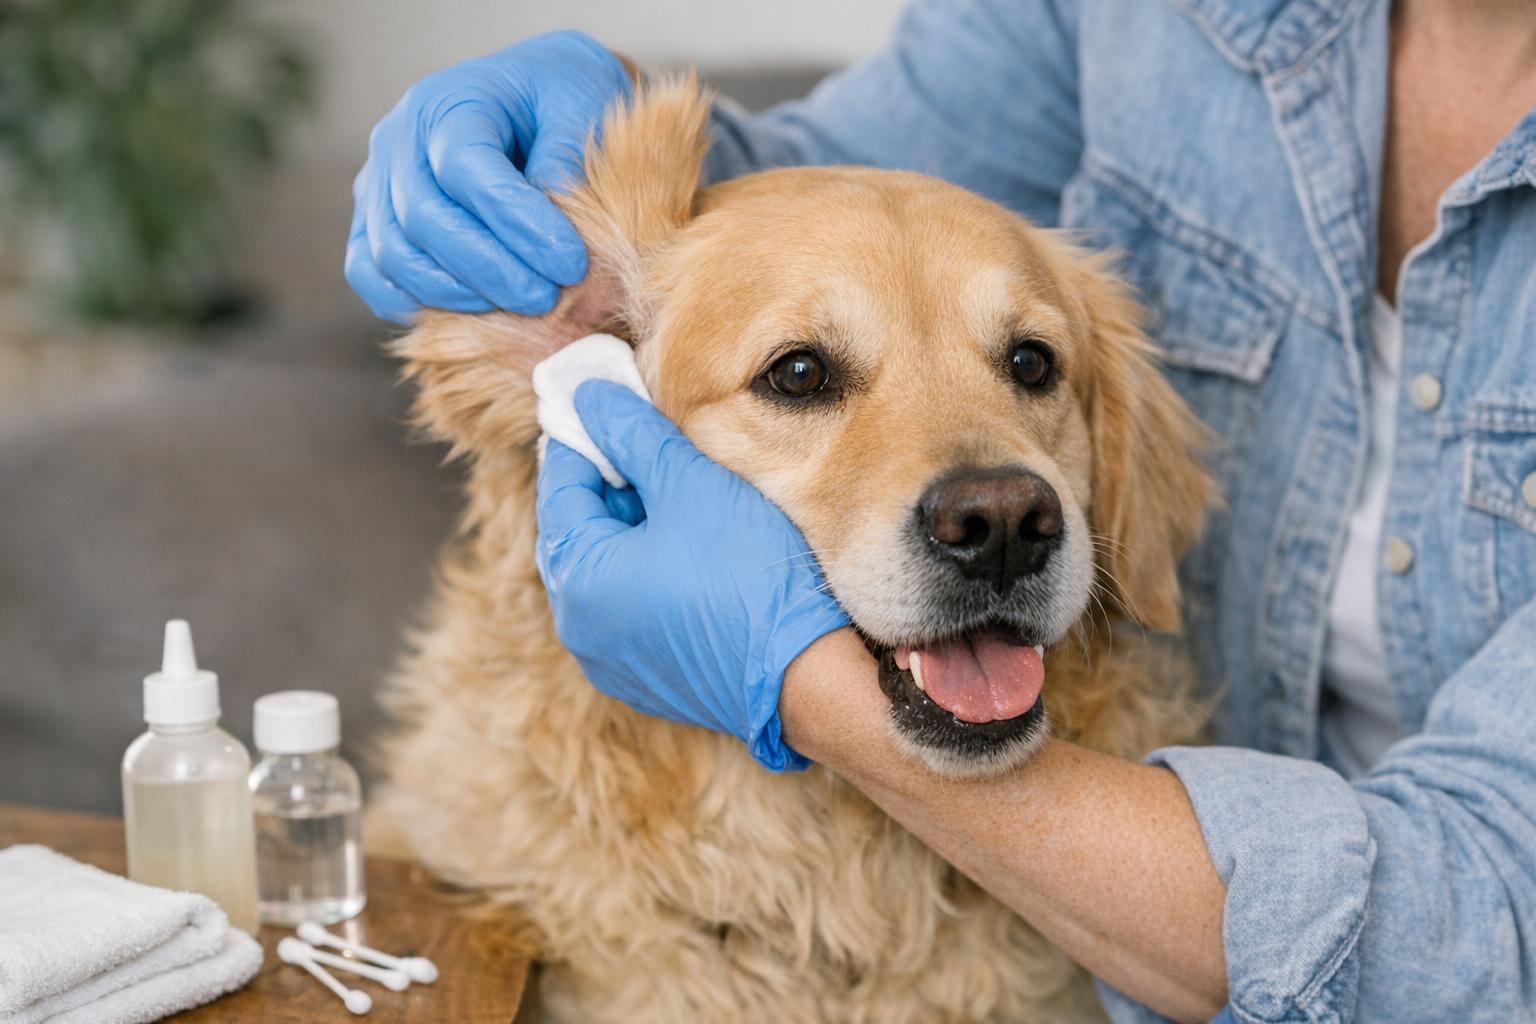
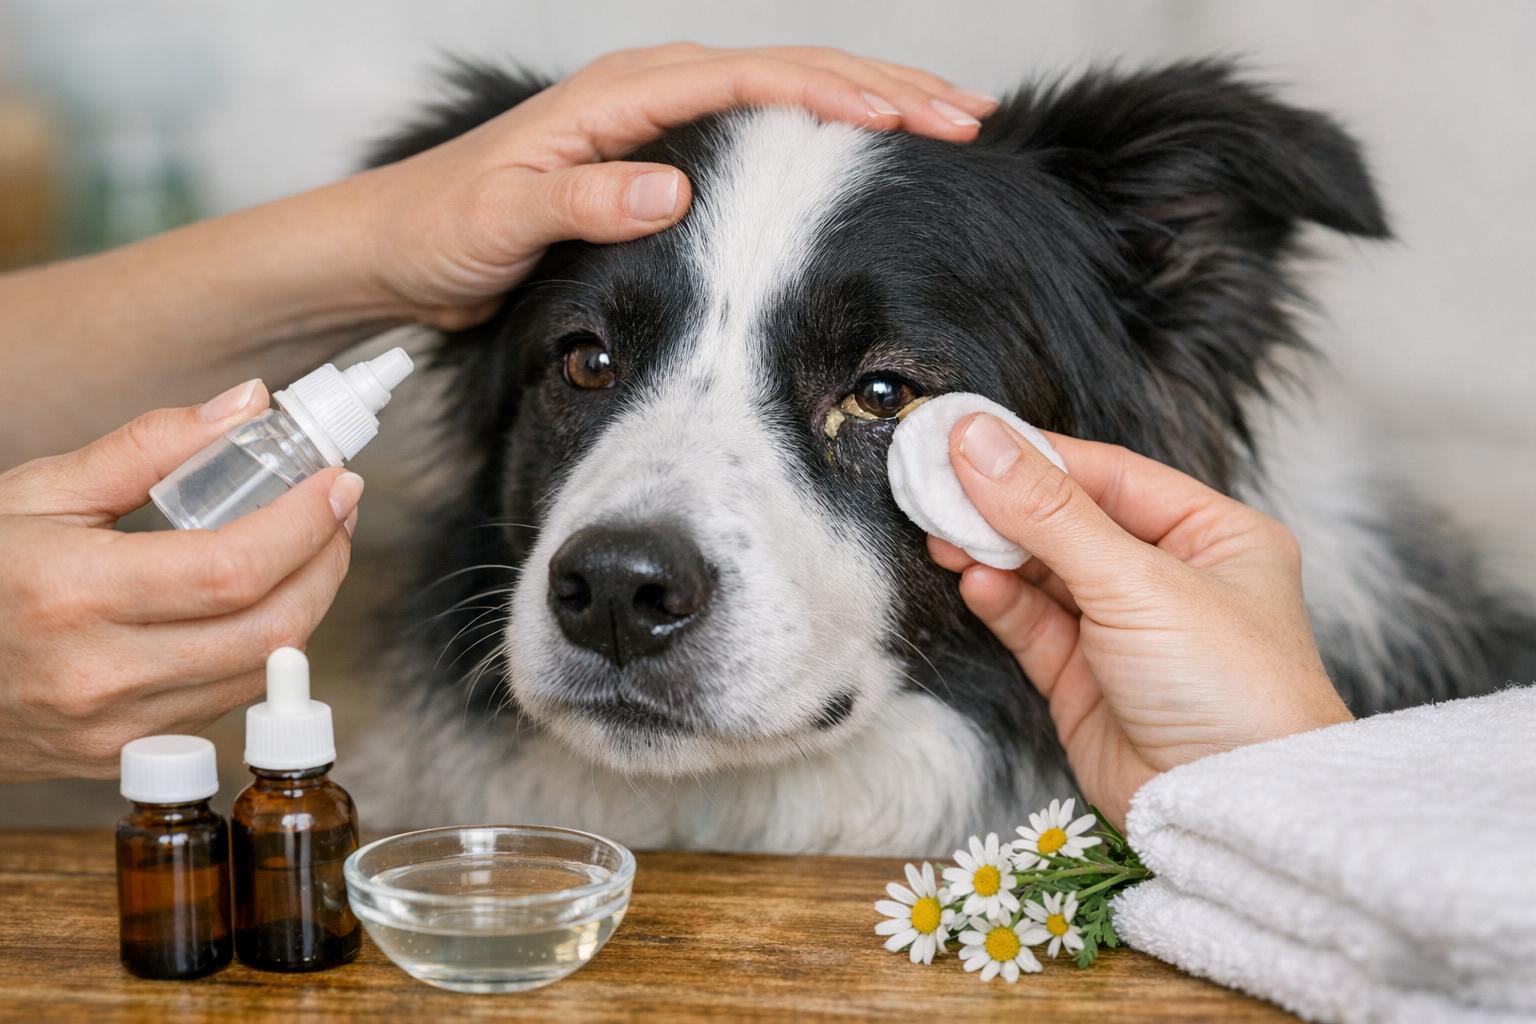
#### 6. Wipe Away Debris
Use a cotton ball or gauze to remove material from the visible part of the ear canal and the inner surface of the pinna. Wipe in a gentle outward motion; never insert cotton swabs or pointed instruments into the canal. Continue until the wipes come away relatively clean.
#### 7. Repeat For The Other Ear
Perform the identical process on the opposite ear. Observe for asymmetry: if one ear requires substantially more cleaning, document this and mention it at the next veterinary visit.
#### 8. Provide Aftercare And Rewards
Offer praise and a treat once the procedure is complete. Monitor the cleaned ears for 24–48 hours for any signs of irritation, increased head shaking, or discharge.
### Preparation And Application: Ingredients And Quantities
For owners who prefer a simple at-home preparation suitable for routine maintenance, the following formulation is commonly recommended when ears are healthy and uninflamed.
Ingredients/Materials:
– Distilled water: 50 milliliters (for small dogs, adjust proportionally)
– White distilled vinegar: 50 milliliters
– Clean storage bottle with dropper or squeeze tip
– Cotton balls or sterile gauze
– Disposable towels
Creation:
1. Combine equal parts distilled water and white distilled vinegar in a clean bottle.
2. Cap and shake gently to mix. Label the bottle with the date; discard after one week.
3. Warm the solution to room temperature prior to use. Do not heat.
Application:
Follow the Step-By-Step Ear Cleaning Procedure above, using 2–5 milliliters per ear for small dogs and 5–10 milliliters for medium to large dogs. Never use if the ear shows signs of acute inflammation or pain.
### Aftercare And Frequency
For most dogs without chronic ear conditions, ear cleaning dogs for maintenance once every two to four weeks is sufficient. Breeds with pendulous ears, excessive hair within the canal, swimming dogs, or animals prone to recurrent otitis may benefit from more frequent attention, as advised by a veterinarian. Document changes in odor, discharge, or behavior between sessions.
### Common Mistakes To Avoid During Dog Ear Cleaning
Avoid these frequent errors to ensure safety and effectiveness.
– Inserting cotton swabs or pointed objects into the ear canal, which can cause trauma.
– Using undiluted alcohol or hydrogen peroxide indiscriminately, which may irritate sensitive tissues.
– Applying a homemade solution to an ear that is inflamed, hot, or bleeding.
– Cleaning too aggressively or too frequently, which can strip protective oils and perpetuate problems.
### Safety Considerations For How To Clean A Dog’s Ears At Home
Ear cleaning dogs at home carries inherent risks if performed without care. Always prioritize a veterinary assessment when in doubt. If your pet has a history of chronic otitis, recent ear surgery, or known tympanic membrane rupture, consult a veterinarian before initiating home procedures. Observe strict hygiene and discard single-use materials to prevent contamination.
### Managing Chronic Or Recurrent Conditions
Dogs with chronic ear disease often require diagnostic evaluation, including cytology, culture, and possibly imaging. While routine dog ear cleaning supports hygiene, it is not a substitute for medical therapy in cases of persistent infection, allergic dermatitis, or other underlying disorders. Work with your veterinarian to establish an individualized ear care plan.
Throughout the process of how to clean a dog’s ears at home, maintain a formal, measured approach. Proper technique, appropriate products, and early recognition of abnormal signs will preserve comfort and reduce the likelihood of recurrent disease. If uncertainty remains at any time, professional guidance is the appropriate next step.


Leave a Reply