


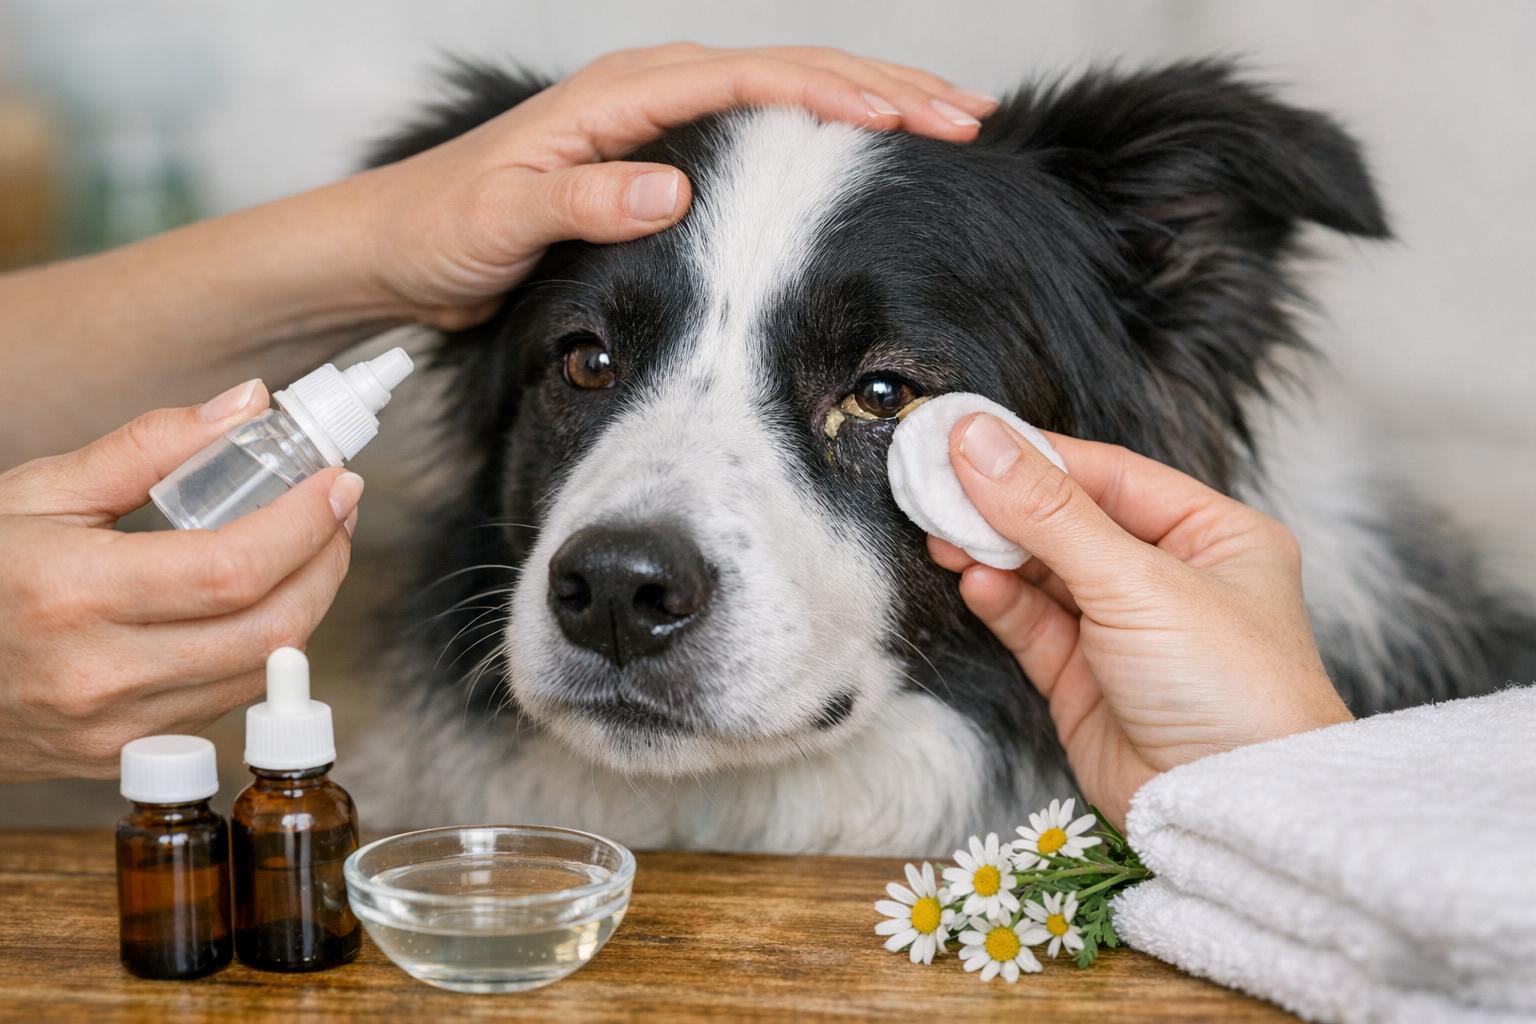
Hello there — if you’re here, chances are your pup has auditioned for a tiny percussion ensemble using your hardwood floors as a drum kit. Nail care for dogs isn’t glamorous, but it’s important, and yes, you can treat most common issues at home without calling in reinforcements. Let’s walk through how to keep your dog’s nails healthy, when a simple dog nail treatment is enough, and a few practical remedies you can do in the kitchen (and the pet-care drawer).
## Dog Nail Treatment: Basic Care And When To Start
Nails do more than click on tile; they help with traction, weight distribution, and paw protection. A regular dog nail treatment routine prevents overgrowth, painful breaks, and behavioral consequences like limping or reluctance to go on walks.
Signs your dog needs a nail check:
– Nails tapping loudly on floors.
– Visible curve or splitting.
– Snagged nails after romps through brush.
– Limping or favoring a paw.
If you see swelling, bleeding that won’t stop, pus, or severe sensitivity, skip home remedies and call your veterinarian.
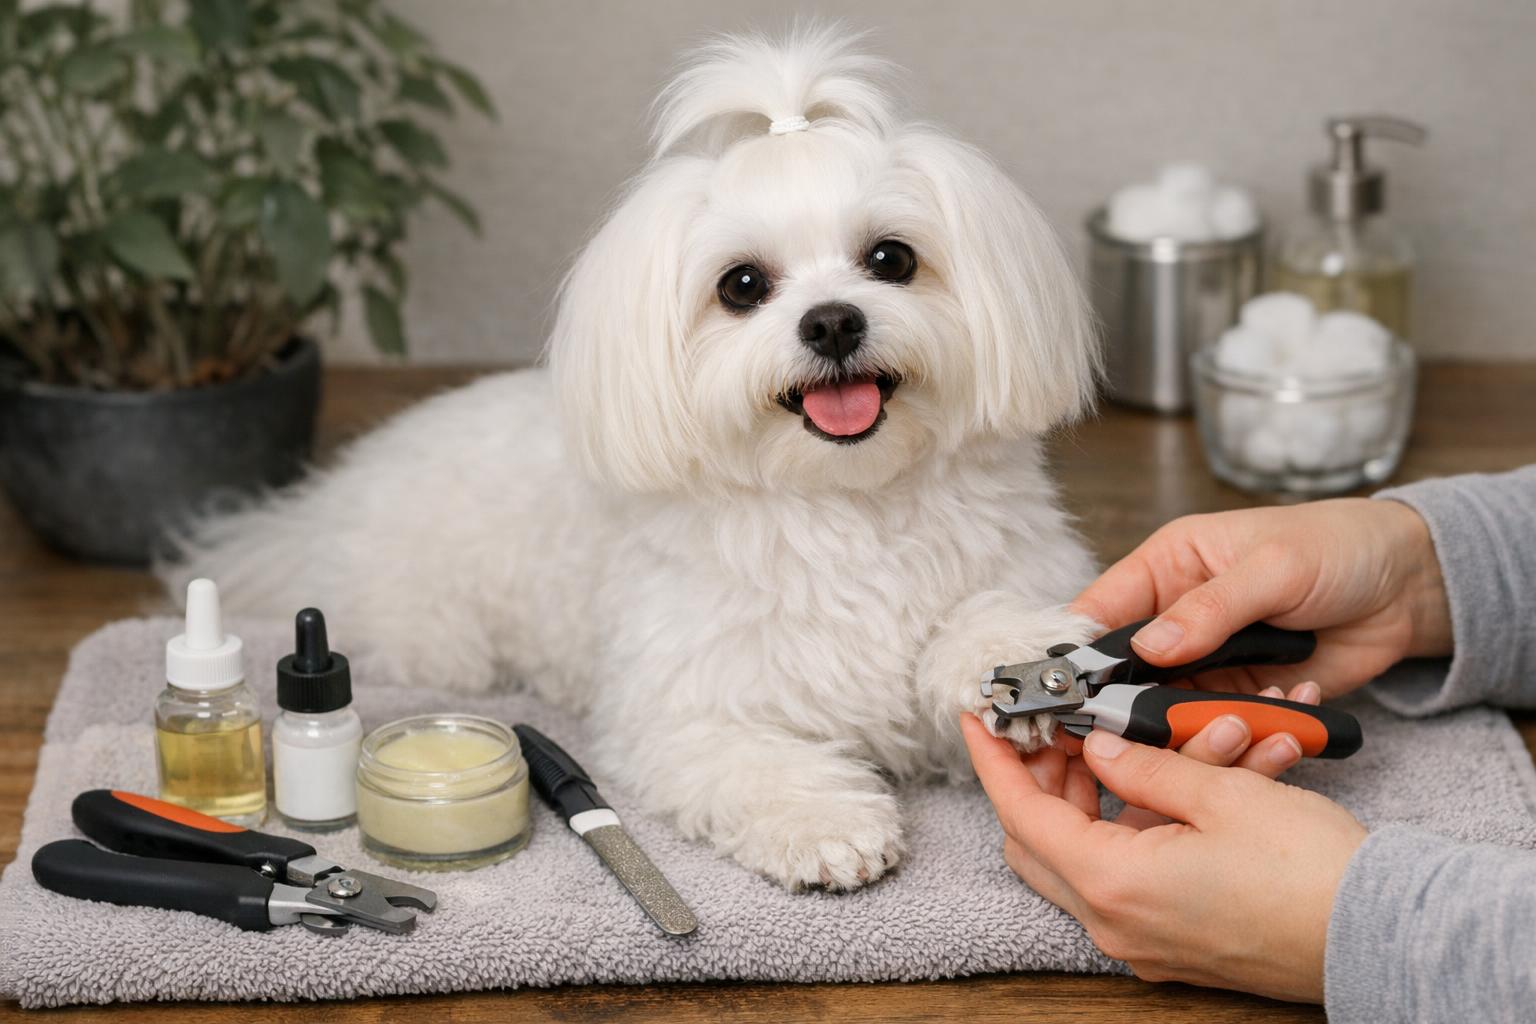
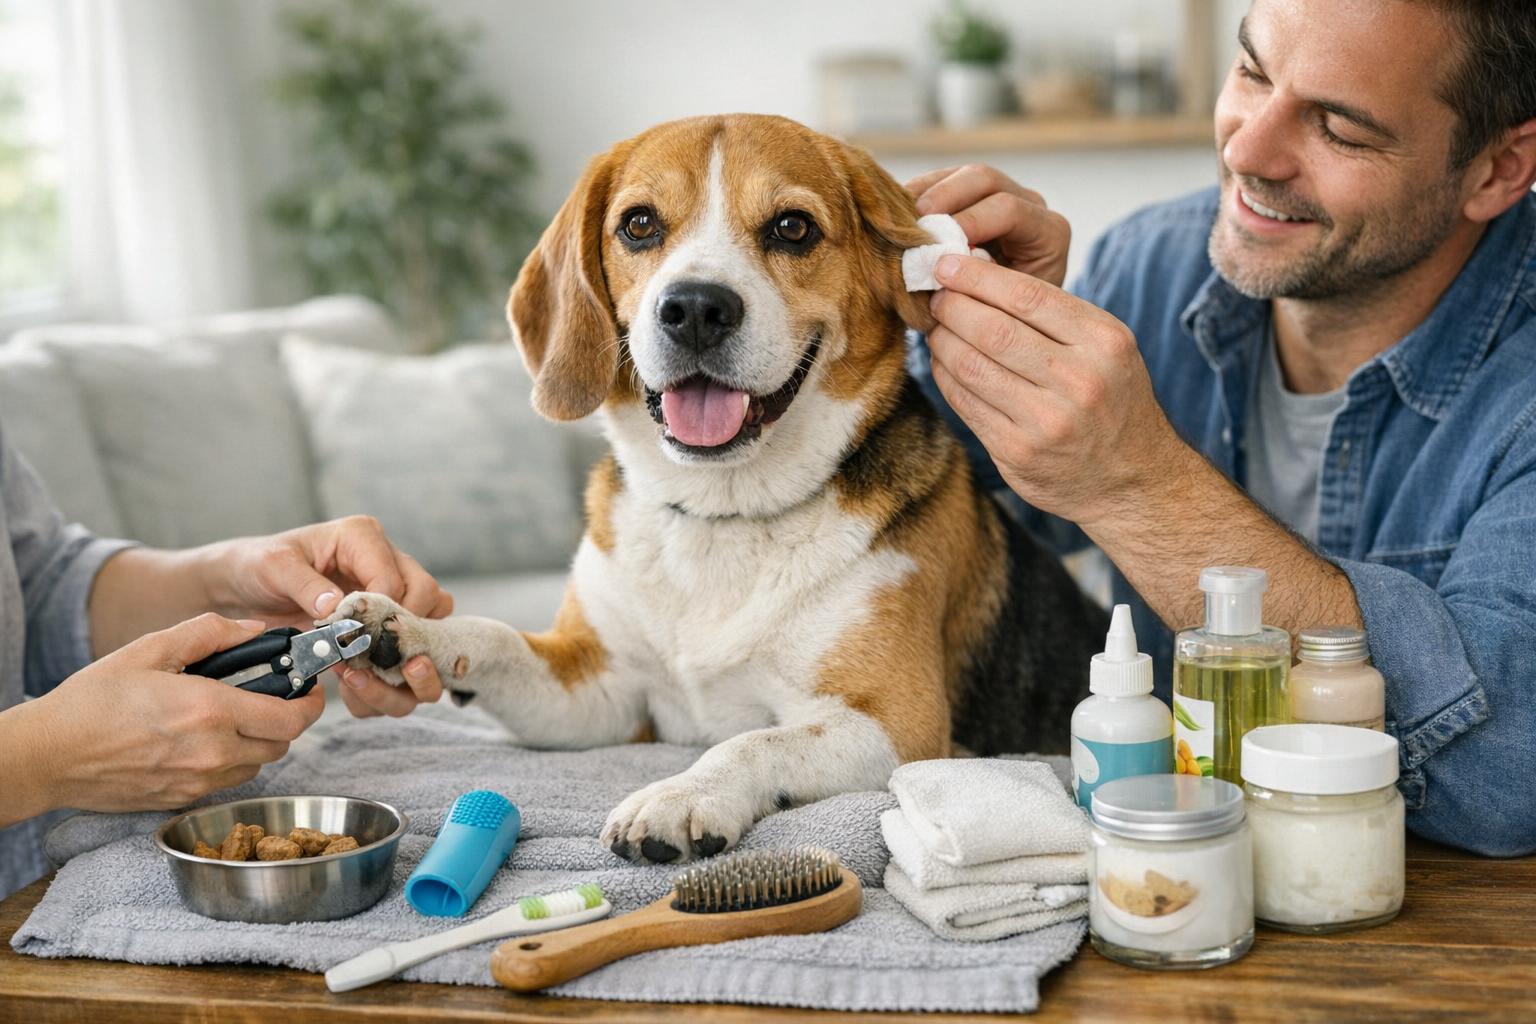
### Tools You’ll Need
Having the right tools makes dog nail treatment safer and calmer for both of you. Quality matters more than quantity.
Essential Items:
– A pair of guillotine clippers or scissor clippers sized for your dog.
– A nail grinder (Dremel-style) for smoothing and rounding edges.
– Styptic powder or cornstarch for bleeding control.
– A good light source and treats for positive reinforcement.
#### Choosing Clippers And Grinders
Clippers: Smaller dogs usually do well with scissor clippers; larger dogs often need heavy-duty guillotine or plier clippers. Avoid cheap, dull clippers — they crush rather than slice.
Grinder: Excellent for smoothing and shortening slowly, especially for dogs with dark nails where the quick is hard to see. Introduce the tool gradually so your dog accepts the vibration and noise.
### Routine Maintenance Schedule
A simple dog nail treatment schedule helps avoid emergency trims. Generally, check nails every 1–2 weeks. Trim or grind when nails touch the floor when your dog stands. Active dogs that run on gravel may wear nails down naturally, so adjust frequency accordingly.
If you’re unsure of the quick location (the pink area inside the nail), make smaller cuts and stop often. For dark nails: trim a little and grind to check the nail cross-section; a darker inner circle means you’re getting close.
## Remedy 1: Home Soothing Repair For Split Or Cracked Nails
When a nail splits or cracks but the quick isn’t exposed, a careful home repair can prevent infection and speed healing. Follow the materials and steps exactly to avoid complications.
Materials:
– Clean, well-lit workspace.
– Sterile tweezers or small scissors.
– Antiseptic solution (chlorhexidine or povidone-iodine).
– Vet-recommended antibiotic ointment.
– Small bandage or self-adherent wrap.
– Styptic powder (as precaution).
– Treats for calm behavior.
Step-By-Step Creation And Application:
1. Restrain Calmly: Have a second person gently hold your dog or use a towel for small breeds. Offer treats and speak soothingly.
2. Inspect The Nail: Clean around the paw with antiseptic. If the quick is exposed, do not attempt complex repairs at home — call your vet.
3. Remove Loose Fragments: Using sterile tweezers or scissors, carefully trim away any loose, jagged nail that could snag further. Trim only the unstable portion; avoid cutting into healthy nail unnecessarily.
4. Clean The Area: Apply antiseptic to the trimmed area to remove debris and reduce bacteria.
5. Apply Antibiotic Ointment: Dab a small amount onto the trimmed nail surface and the surrounding skin.
6. Bandage If Needed: If the dog will be active or the nail is likely to get dirty, apply a small bandage. Use self-adherent wrap around the paw, not too tight.
7. Monitor Daily: Change the dressing once daily, reapplying antiseptic and ointment. Watch for swelling, discharge, or worsening pain — if those appear, seek veterinary attention.
This structured approach reduces infection risk and supports natural healing. If bleeding occurs, apply styptic powder promptly and consult your vet if bleeding continues.
## Remedy 2: Fast Stop For Accidental Nail Bleeds
Accidental quick nicks happen. This professional-style stop method is straightforward and effective.
Materials:
– Styptic powder or a styptic pencil.
– Clean towel.
– Antiseptic wipes.
– Treats for comfort.
Step-By-Step Creation And Application:
1. Apply Pressure: With a clean towel, press gently to slow bleeding.
2. Use Styptic Agent: Dip the bleeding nail into styptic powder, or press a styptic pencil to the nail tip. Maintain gentle pressure for 1–2 minutes.
3. Cleanse: Once bleeding slows, clean surrounding area with antiseptic wipes.
4. Reward And Rest: Offer calm praise and treats. Limit activity for several hours to avoid reopening the wound.
If bleeding doesn’t stop after 10–15 minutes of pressure and styptic application, contact your veterinarian or emergency clinic.
## Remedy 3: Natural Nail Strengthening Treatment
For brittle or weak nails, a mild at-home strengthening regimen can improve resilience. This is a preventative dog nail treatment you can do weekly for a few months.
Materials:
– Coconut oil (organic, unrefined).
– Olive oil or sweet almond oil.
– Vitamin E capsules (optional).
– Small glass jar.
– Soft brush or cotton ball.
– Towel.
Step-By-Step Creation And Application:
1. Mix The Oil Blend: In a small jar, combine 1 tablespoon coconut oil with 1 tablespoon olive oil. Puncture one vitamin E capsule and squeeze contents into the mix (optional).
2. Warm Slightly: Warm the jar in a bowl of warm water for a minute to make the oils more spreadable.
3. Apply To Nails: Gently apply a small amount to each nail and the surrounding cuticle using a soft brush or cotton ball. Massage for 30–60 seconds per paw to encourage absorption.
4. Let Sit: Allow the oil to sit for 10–15 minutes. For a deeper treatment, apply at bedtime and cover paws with socks or booties for 30–60 minutes.
5. Repeat Weekly: Perform this dog nail treatment once a week for 6–8 weeks, then reassess nail strength. If nails remain brittle, consult your vet about diet, supplements, or underlying health issues.
This oil blend provides moisture and may improve nail pliability. Do not overuse oils, which can make surfaces slippery during walks.
### How To Keep Your Dog Calm During Nail Care
Most nail-related resistance comes from anxiety or unfamiliarity. Approach trimming like a spa day with fewer frills and more patience.
Tips:
– Start with short sessions and lots of treats.
– Desensitize to tools: let the dog sniff clippers and grinder while rewarding.
– Reward calm behavior, not just completion.
– Consider practicing on paws without trimming at first.
#### When To Ask For Professional Help
If your dog is extremely anxious, has recurring nail infections, has splintered nails down to the quick, or shows lameness, it’s time to see a veterinarian or professional groomer. A vet can sedate or anesthetize for safe nail treatment if necessary and check for underlying issues such as infections or systemic diseases affecting nail health.
### Common Mistakes To Avoid
– Cutting too close to the quick out of impatience.
– Using dull tools that crush nails.
– Skipping inspection — hidden infections or foreign bodies can be missed.
– Relying only on trims without addressing diet, exercise, or health issues that affect nails.
A well-executed dog nail treatment routine keeps your pup comfortable, your home quiet of percussion, and your walks pleasant. Treats, patience, and the right tools go a long way — and if you ever feel out of your depth, a quick call to your vet will keep everybody (especially the nails) happy.


Leave a Reply