


If you’ve ever watched your cockatiel practice its ninja landings on a wooden perch only to bounce off with a startled squawk, you’ve probably thought about nails. Short, well-shaped nails help your bird grip, climb and feel confident. This article gently walks you through safe at-home care, with a focus on bird nail cutting, plus the how-to materials and step-by-step technique you’ll need to keep your feathered pal comfortable. No surgical drama, just calm hands and a calm bird.
## Bird Nail Cutting Basics
Bird nail cutting is a simple, occasional grooming task that prevents overgrowth, snagging and foot problems. Unlike dogs and cats, birds’ nails have a blood supply (the quick) that varies by species, age and pigmentation. Learning the signs of nails that are too long and how to trim them safely is the first step. If you’re new to this, practice gentle handling and ask a friend to help until you feel confident.
### Signs Your Bird Needs A Nail Trim
– Nails curl over the perch or snag on fabric.
– The bird struggles to balance or slides on smooth surfaces.
– Perches show excessive grooves or the bird avoids certain grips.
– You notice wear on feet pads or abnormal walking.
#### When To Pause And Call The Vet
If the foot looks swollen, red, has an open wound, or your bird shows systemic signs (lethargy, loss of appetite), stop and call your avian vet. Also consult a vet if you’re unsure about the quick’s location—better safe than bleeding.
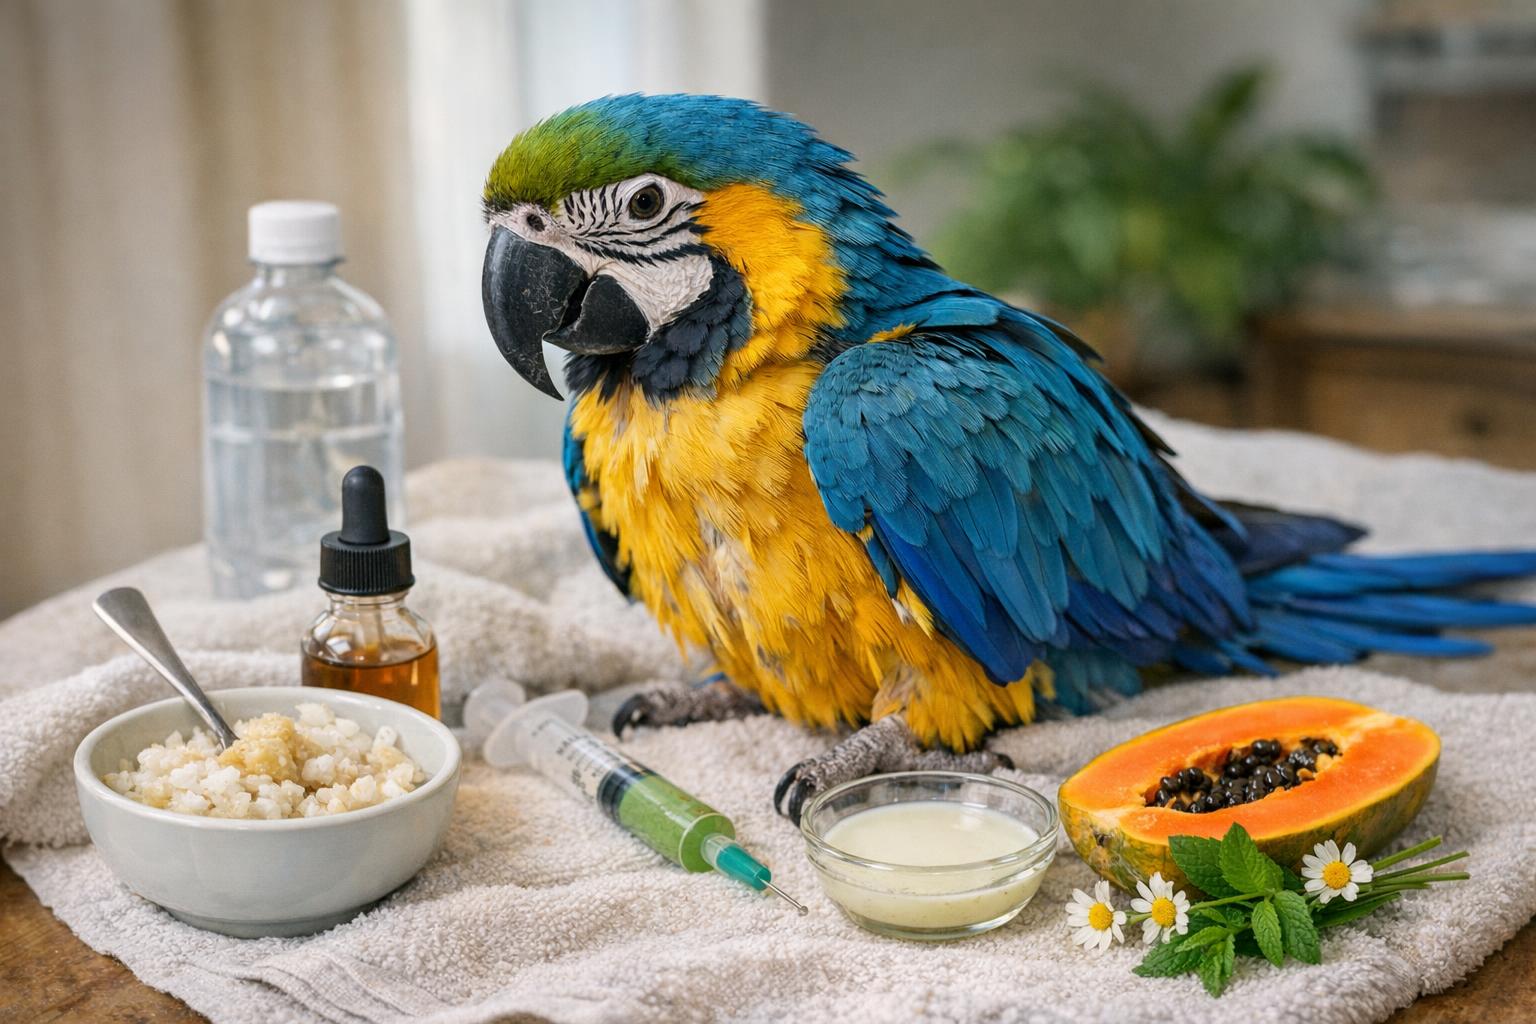
## Tools And Materials For Safe Trimming
When handling any trimming, good tools and correct restraint are as important as technique. Below is a short list of essential materials.
– Small animal nail clippers or human nail clippers with a straight cutting edge
– Fine-grit emery board or a small diamond nail file
– Styptic powder or cornstarch (for bleeding control)
– Soft towel for gentle restraint
– Treats for positive reinforcement
– Good lighting and a steady surface
Keep everything within reach before you begin. Bird nail cutting is easier when interruptions are minimal.
### Preparing Your Bird And Space
Create a calm environment. Dim noisy distractions, have one helper if possible, and place the bird on a non-slip surface. Speak soothingly and move slowly. Some birds respond well to gentle pre-handling sessions to build trust; others need just a quick, confident approach.
## Gentle Nail Trimming Procedure (Step-By-Step)
This remedy-like section describes the formal, precise steps to safely perform bird nail cutting. Follow each step in order, and don’t rush.
Ingredients / Required Materials:
– Nail clippers as listed above
– Emery board or diamond file
– Towel (for gentle restraint)
– Styptic powder or cornstarch
– Treats
– A helper (optional but recommended for larger or wriggly birds)
Step-by-Step Creation And Application:
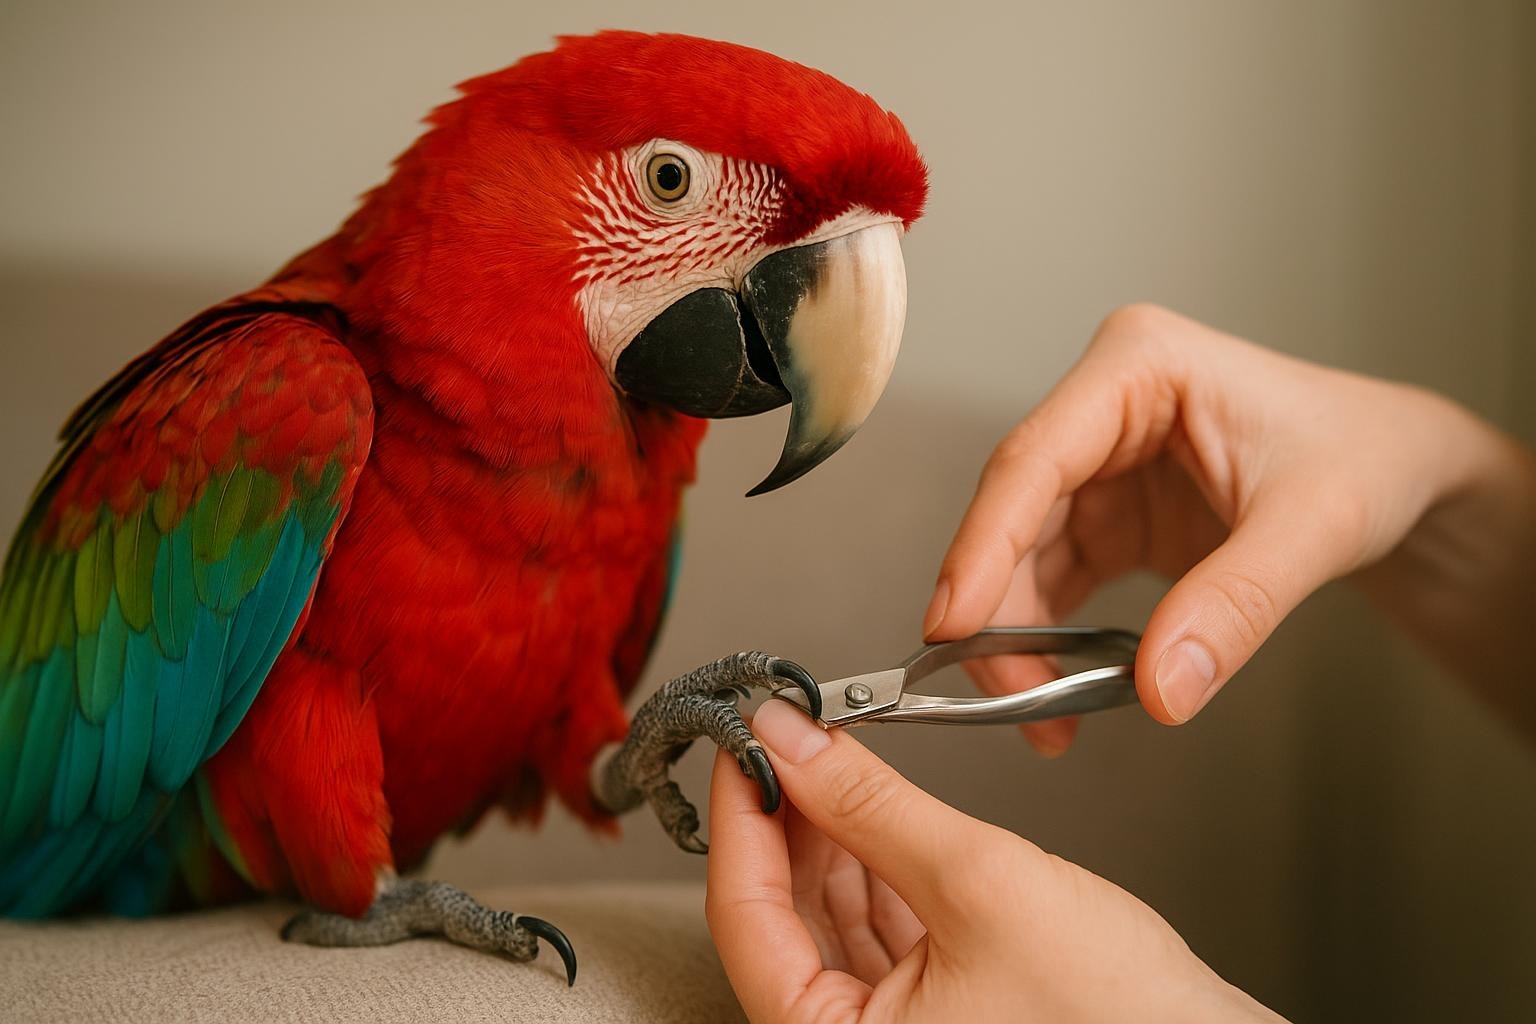
1. Inspect The Nails: Place the bird in good light and gently extend one toe at a time to assess nail length and the position of the quick. In birds with pale nails you can see the pink quick; in dark nails, work conservatively.
2. Position And Restraint: Wrap the bird in a towel to secure wings (loose but controlled). Leave the head and one foot exposed. For smaller birds, hold the foot between thumb and forefinger with the pad upward, so you’re cutting the curved tip away from the quick.
3. Trim Small Amounts: Using the clippers, make a single small cut at the very tip of the nail, perpendicular to the curve. Remove only the sharp end. Avoid cutting into the inner, thicker part. If unsure, trim less; you can always file more.
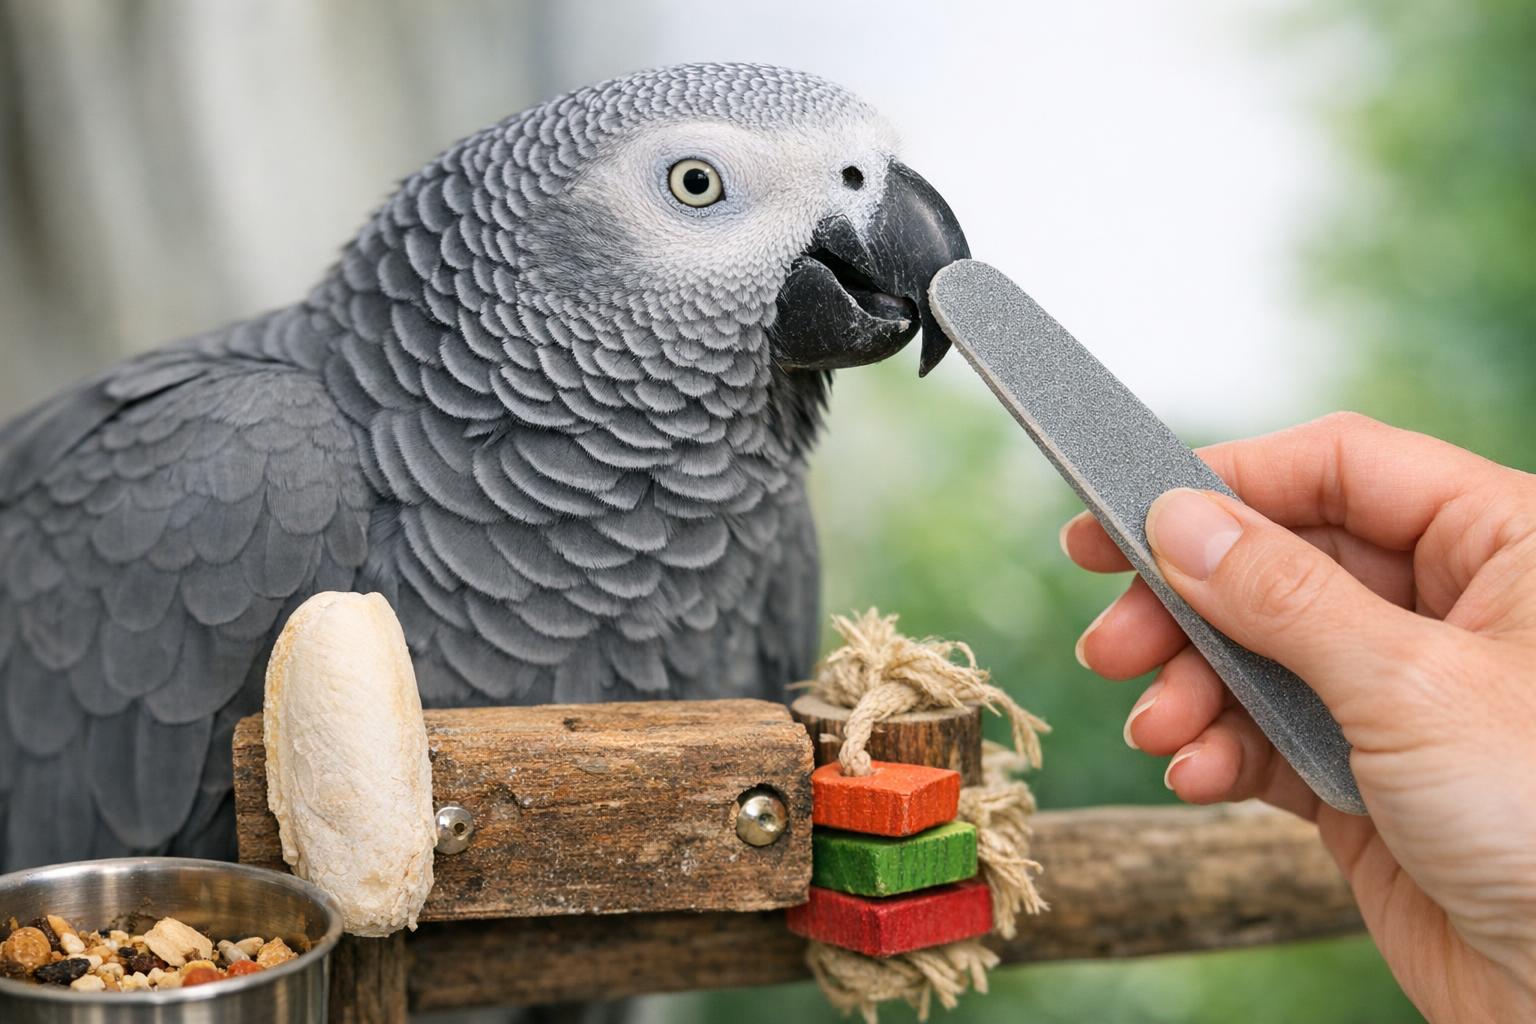
4. File Smooth: After clipping, gently file any rough edges with the emery board to prevent snagging. This also helps you reduce risk of catching the nail and pulling a flap.
5. Check For Bleeding: If you accidentally nick the quick, apply styptic powder or cornstarch with gentle pressure for a few seconds. Most minor bleeds stop quickly. Keep the bird calm and warm.
6. Reward And Rest: Offer a treat and a few minutes of calm handling before moving to the next foot. Positive reinforcement helps create a better experience next time.
#### Frequency And Records
Observe nail wear and keep a simple log (date and what you trimmed). Most indoor birds need a trim every 4–8 weeks, but active birds that chew and use varied perches may need less frequent maintenance. Adjust based on individual wear.
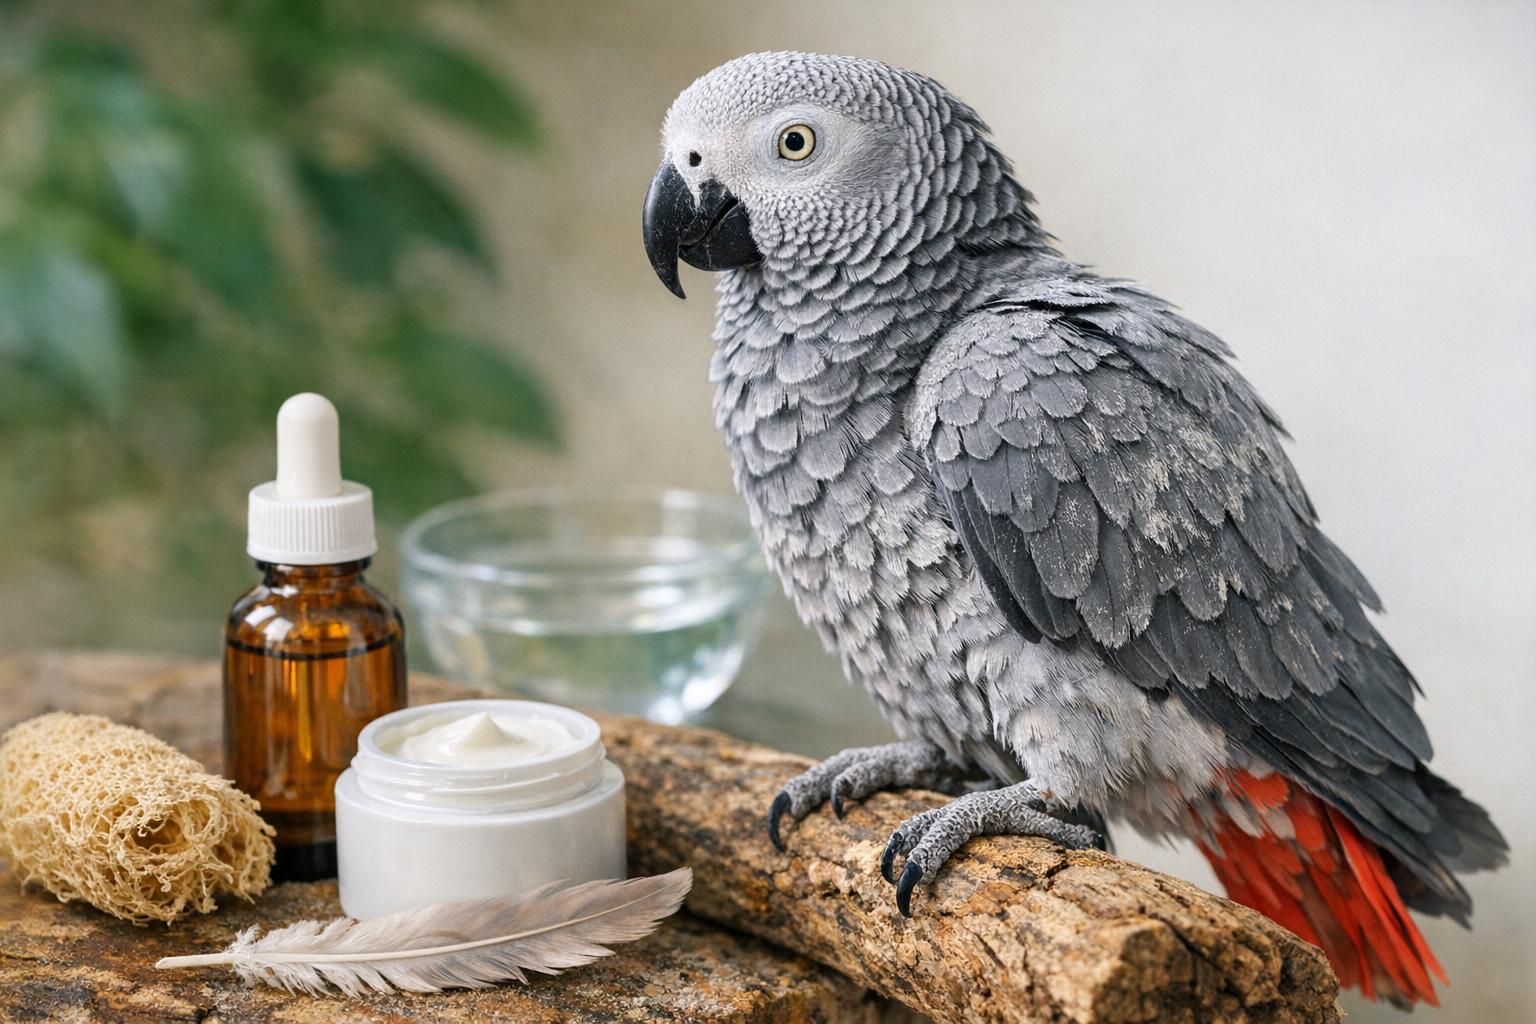
## Handling Tips For Different Species
Parrots, cockatiels, canaries and finches differ in nail thickness and behavior. Larger parrots often have thicker nails and may require stronger clippers and an assistant. Tiny birds like finches have very fine nails—consider a specialized small-animal trimmer or a trip to a groomer if you’re unsure.
### Special Notes On Dark Nails
When nails are dark, the quick is invisible. Trim small amounts and rely on the bird’s reaction and safe visual landmarks: don’t cut back to where the curve narrows toward the toe. Filing is especially valuable here; you can remove small layers at a time until you reach the desired length.
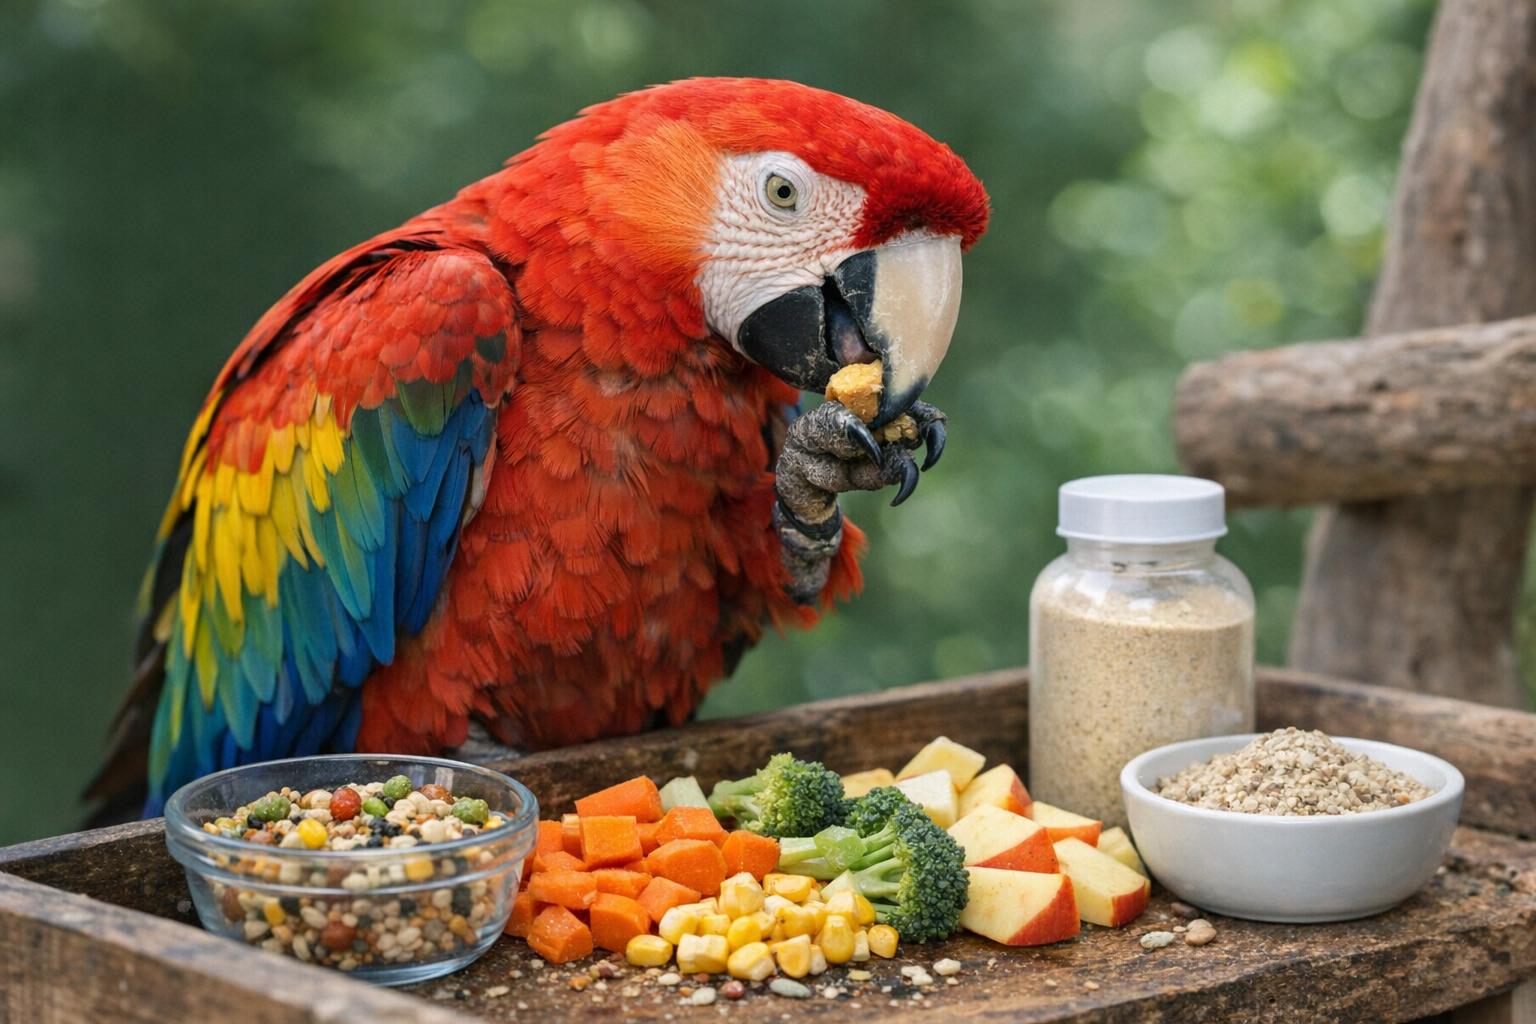
## Alternatives And Complementary Home Care
If bird nail cutting seems daunting, or you prefer complementary measures, try these home strategies to reduce trimming frequency. These are gentle, low-risk approaches that support healthy nails.
– Provide a variety of perch textures and diameters, including rough wood and natural branches.
– Add a cuttlebone or mineral block for foot exercise and beak maintenance.
– Offer supervised floor time on textured surfaces; movement helps natural wear.
– Use non-slip perches to prevent overuse of claws in one position.
## What To Do If You Cut The Quick
If the quick is cut, stay calm—this happens. Immediately apply styptic powder or cornstarch with gentle pressure for up to a minute. Keep the bird subdued and offer warmth. Most bleedings are minor and stop quickly. If bleeding persists more than 10–15 minutes or the bird appears distressed, contact your avian vet.
### When To Seek Professional Help
– Persistent bleeding despite home measures
– Suspected infection, swelling, or abnormal gait
– Repeated nail problems despite good husbandry
– If you’re uncomfortable performing bird nail cutting yourself
## Building Confidence: Practice Sessions
Make nail care a normal, low-stress part of your routine. Short handling sessions—just a minute or two—help birds become accustomed to touch. Pair these sessions with treats and praise. Over time, many birds will tolerate quick trims or even present their feet.
#### A Poke Of Humor For The Brave
Think of yourself as a spa stylist for tiny talons—minus the cucumber water. Your bird doesn’t need a robe, but a calm, confident human makes all the difference.
## Safety Checklist Before You Start
– Check lighting and have a steady surface.
– Ensure clippers are sharp and clean.
– Have styptic powder or cornstarch ready.
– Keep a helper nearby for larger birds.
– Plan for quiet, uninterrupted time.
## Record-Keeping And Long-Term Foot Health
Keep a grooming journal noting dates, what you trimmed and any reactions. Over months, patterns emerge: maybe your bird’s nails grow faster in winter, or certain perches wear them down more. This practical data helps you tailor a smart, low-stress schedule for bird nail cutting and overall foot care.
## When Routine Isn’t Enough
If nails become deformed, or your bird develops calluses or pressure sores, these are signs that routine home care isn’t enough. Your avian veterinarian can assess bone alignment, provide professional trimming, or recommend therapeutic perches and specialized care.
Now that you’ve got the basics and a formal, step-by-step approach, you’re well placed to keep toenails tidy without turning your living room into a surgical theater. Gentle practice, proper tooling and a calm atmosphere will make bird nail cutting a routine part of care—one that your bird may eventually tolerate with stoic dignity (or beg for a treat afterward).


Leave a Reply