


Welcome to the slightly nerdy—but very friendly—world of aquarium upkeep. If you love your fish (and who doesn’t love fish that do dramatic slow-motion turns), keeping the filter happy is one of the most rewarding chores. Below you’ll find practical advice, troubleshooting tips, and two formal, step-by-step DIY remedies to make fish tank filter maintenance easier, safer, and more effective.
## Fish Tank Filter Maintenance: Why It Matters
Good filtration keeps water clear, odors low, and fish healthy. The filter isn’t just a mechanical strainer; it’s a biological hotel for beneficial bacteria that process ammonia and nitrite into less harmful nitrate. Regular fish tank filter maintenance protects that hotel and ensures your system’s plumbing doesn’t get clogged with uneaten food, plant detritus, or snail parties.
### Common Signs Your Filter Needs Attention
– Flow rate drops noticeably.
– Water looks cloudy or has fluffy particulates.
– Strange noises like grinding or gurgling.
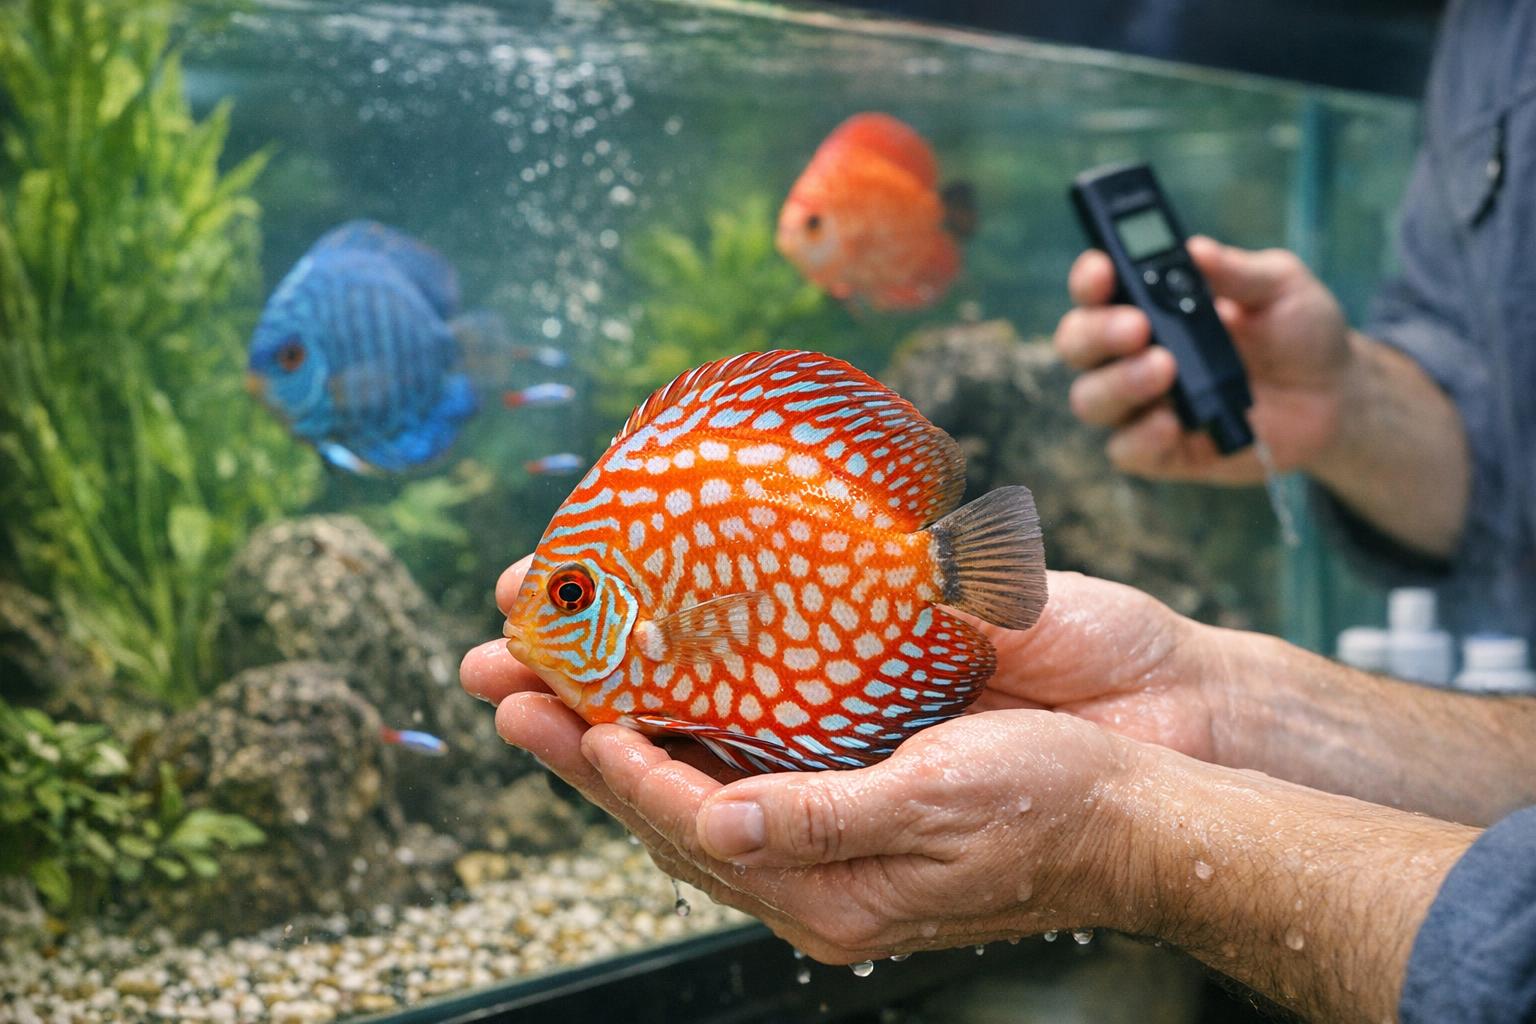
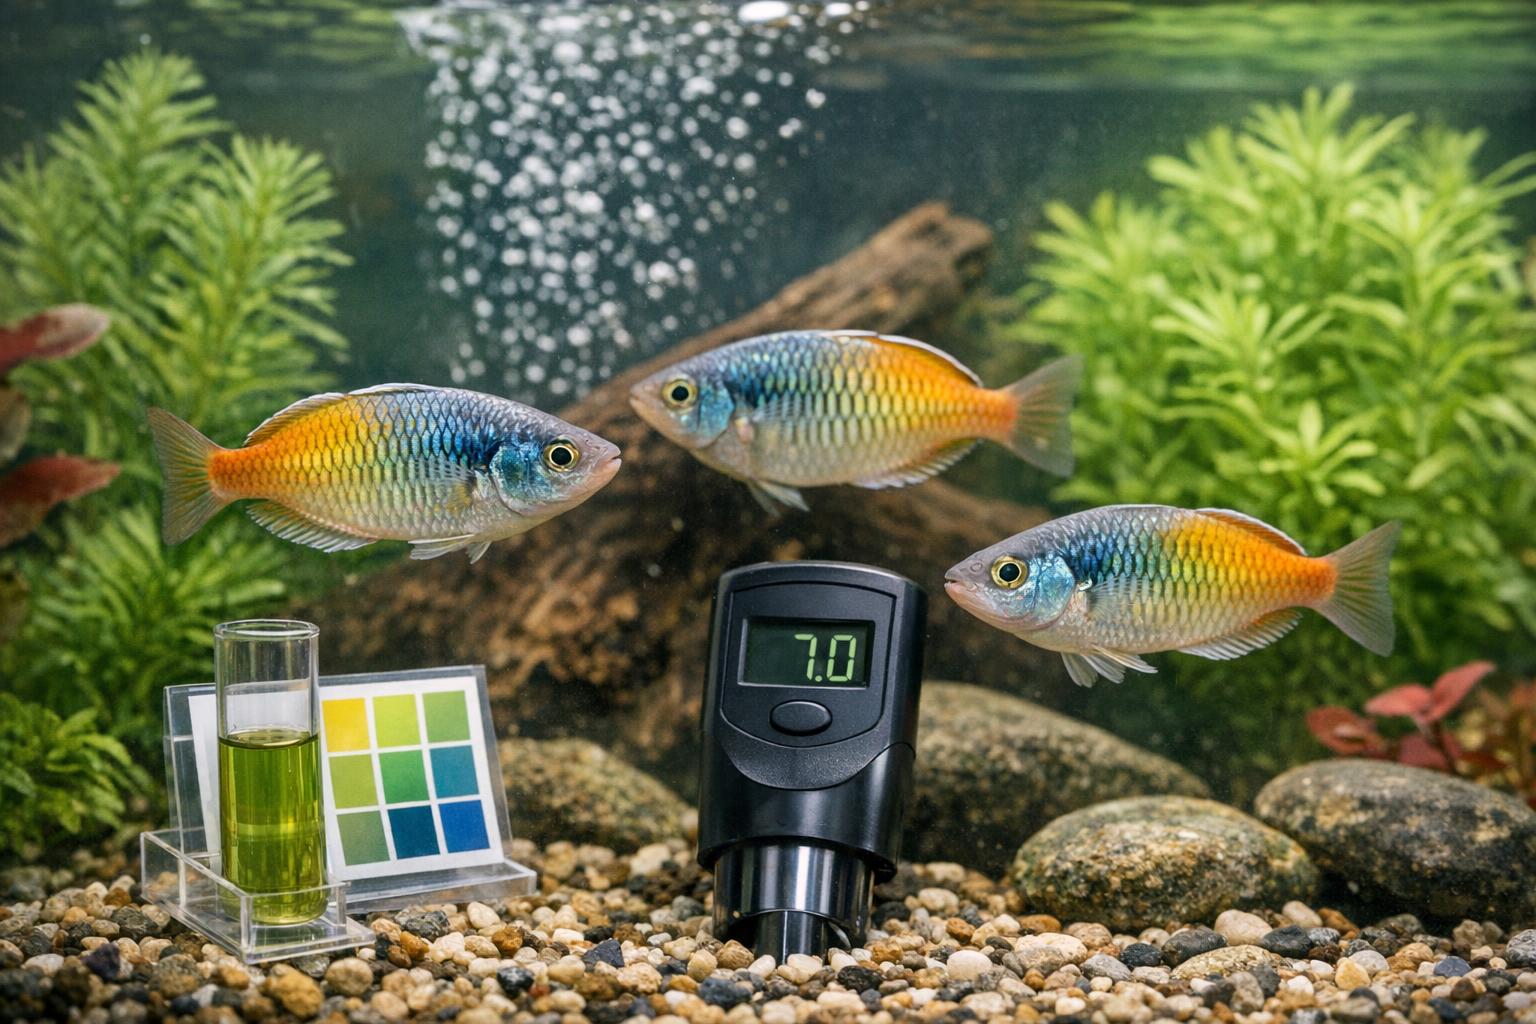
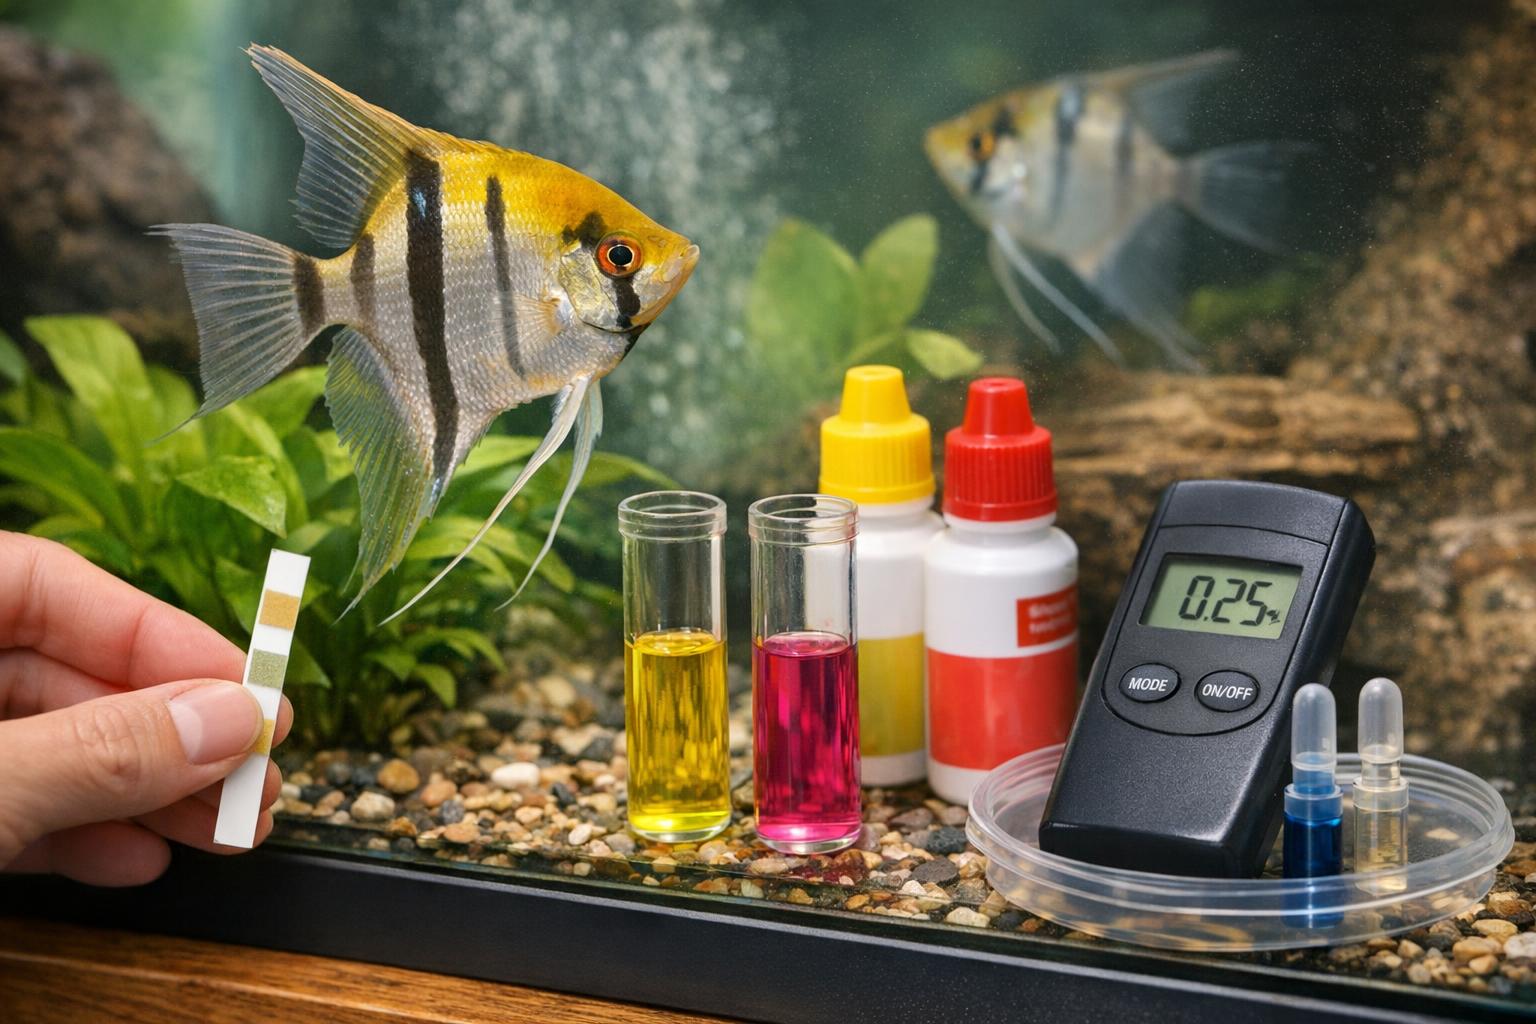
– Ammonia or nitrite levels rise on test strips.
### How Often Should You Check Your Filter
A quick visual check weekly is ideal; a more detailed inspection every 2–4 weeks keeps problems small and repair simple. Frequency depends on stocking density, feeding habits, and whether you run live plants or heavy bio-loads.
## Basic Fish Tank Filter Maintenance Tasks
Perform these core tasks to keep the filter functioning without upsetting the tank’s biology.
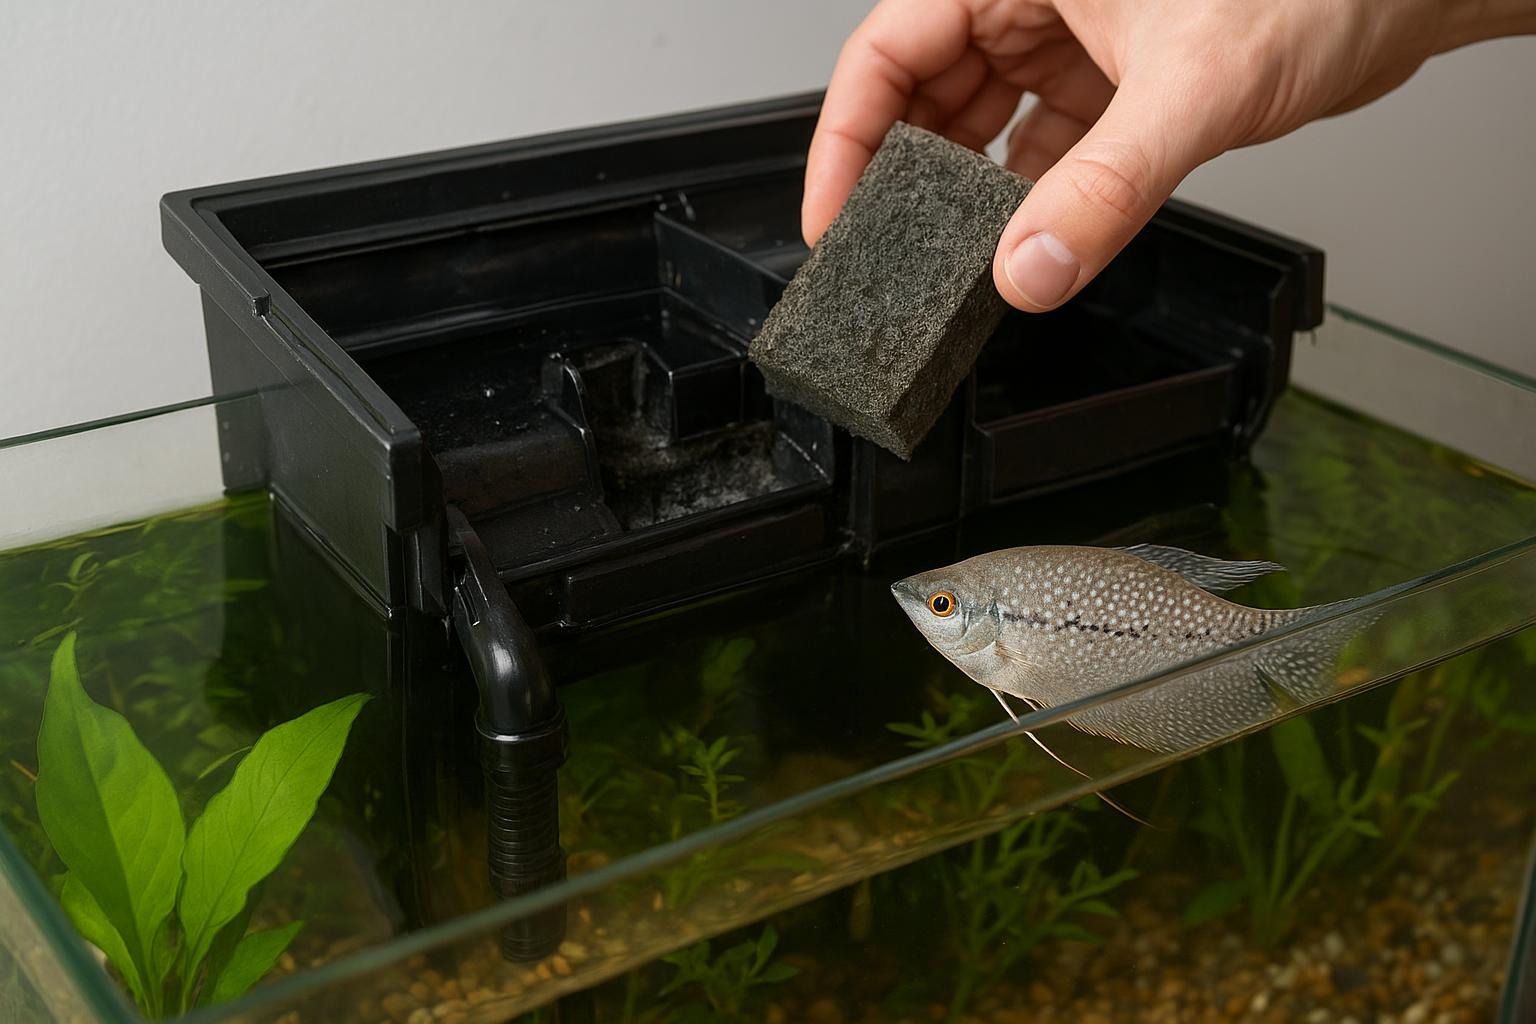
### Rinse Media Using Tank Water
When cleaning filter sponges or bio-media, always use water removed from the aquarium during a water change. Tap water and its chlorine can kill beneficial bacteria.
### Clear Impellers And Intake Tubes
Impeller housings trap hair and debris. Remove the impeller, clean gently with an old soft toothbrush, and reassemble. For strong mineral scale, soak the impeller and housing in a 1:1 solution of white vinegar and water for 15–30 minutes, then rinse thoroughly with tank water.
### Replace Chemical Media Sparingly
Activated carbon and other chemical media absorb toxins but become saturated. Replace on a schedule (every 3–4 weeks) if you use them, and always rinse new media in tank water before adding.
## DIY Remedies (1) Pre-Filter Sponge To Reduce Cleaning Frequency
### 1. DIY Pre-Filter Sponge: Materials
#### Materials Required
– Open-cell polyurethane foam (coarse aquarium-grade foam) cut to fit your filter intake
– Plastic mesh or netting (optional for securing)
– Rubber bands or zip ties (if needed)
– Scissors
### 1. DIY Pre-Filter Sponge: Step-By-Step Creation And Application
1. Measure the diameter or slot size of your filter intake. Cut the foam slightly larger than needed so it fits snugly.
2. Trim edges to ensure the foam does not block all flow—aim for a tight but not restrictive fit.
3. If your intake has a lip, slide the foam over the intake tube. For slotted intakes, wrap the foam and secure with plastic mesh and a rubber band or a zip tie.
4. Prime test: Reinstall the intake with the sponge in place and watch flow. A small decrease is acceptable; it should not starve the pump.
5. Maintenance schedule: Remove and gently squeeze the sponge in bucketed tank water every 7–14 days depending on how fast it clogs. Replace the sponge when it starts to break down, typically every 6–12 months.
Notes: This pre-filter traps large debris and protects impellers, extending the interval between full filter cleans and improving overall fish tank filter maintenance.
## DIY Remedies (2) Safe Deep Clean And Media Swap
### 2. Deep Clean And Biological Media Swap: Materials
#### Materials Required
– Two clean buckets labeled “Tank Water” and “Dirty”
– Aquarium water conditioner (dechlorinator)
– Old soft toothbrush or small brush
– Activated carbon (if used) and replacement bio-media (ceramic rings or bio-balls)
– Clean towels
– Test kit for ammonia/nitrite/nitrate
### 2. Deep Clean And Biological Media Swap: Step-By-Step Creation And Application
1. Prepare: Perform a 20–30% water change and save that tank water in the “Tank Water” bucket. Have your replacement bio-media rinsed in the bucket of tank water before use.
2. Power Down: Turn off heaters and filters. If you have multiple tanks or backup filters, move critical biological media to the secondary system quickly to avoid bacteria die-off.
3. Remove Filter Assemblies: Take out sponges, cartridges, impeller and media. Place them in the “Dirty” bucket.
4. Clean Mechanical Media: Gently squeeze sponges and foam into the “Tank Water” bucket to remove accumulated grime. Do not use tap water.
5. Address Mineral Scale: For impeller housing with calcification, soak only the impeller or plastic parts (not biological media) in a 1:1 white vinegar and water solution for 15–30 minutes, then neutralize by rinsing thoroughly in tank water. Use a toothbrush to dislodge stubborn buildup.
6. Replace Chemical Media: If you use carbon or phosphate remover, replace these on schedule. Rinse replacements in tank water before adding.
7. Partial Media Swap Technique: Replace no more than 25–50% of the biological media at once. This keeps enough bacteria to process ammonia while allowing fresh media to colonize.
8. Reassemble and Restart: Reinstall media and filter, prime as necessary, and turn equipment back on. Monitor flow and sounds. Test water at 24 and 48 hours for ammonia and nitrite spikes; perform an extra small water change if levels rise.
This formalized method supports stable biological filtration and is a central component of professional fish tank filter maintenance.
## Troubleshooting Specific Issues
### Slow Flow Despite Clean Media
Check for air trapped in the pump housing or intake snorkel. Tilt the filter slightly while running to release trapped air. Verify tubing runs are smooth and not pinched.
### Persistent Odor Or Green Water
Green water indicates a planktonic algal bloom; maintain proper light schedules, reduce feeding, and ensure mechanical removal of fine particulates via the pre-filter sponge. A short-term use of UV sterilizers can clear free-floating algae but do not substitute good routine fish tank filter maintenance.
### Noisy Filter After Cleaning
If the filter hums or vibrates, check the impeller for wear, reed positioning, and whether the filter is seated evenly on its stand. Lubrication isn’t necessary; instead, ensure components are clean and properly aligned.
## Simple Preventive Habits To Reduce Maintenance
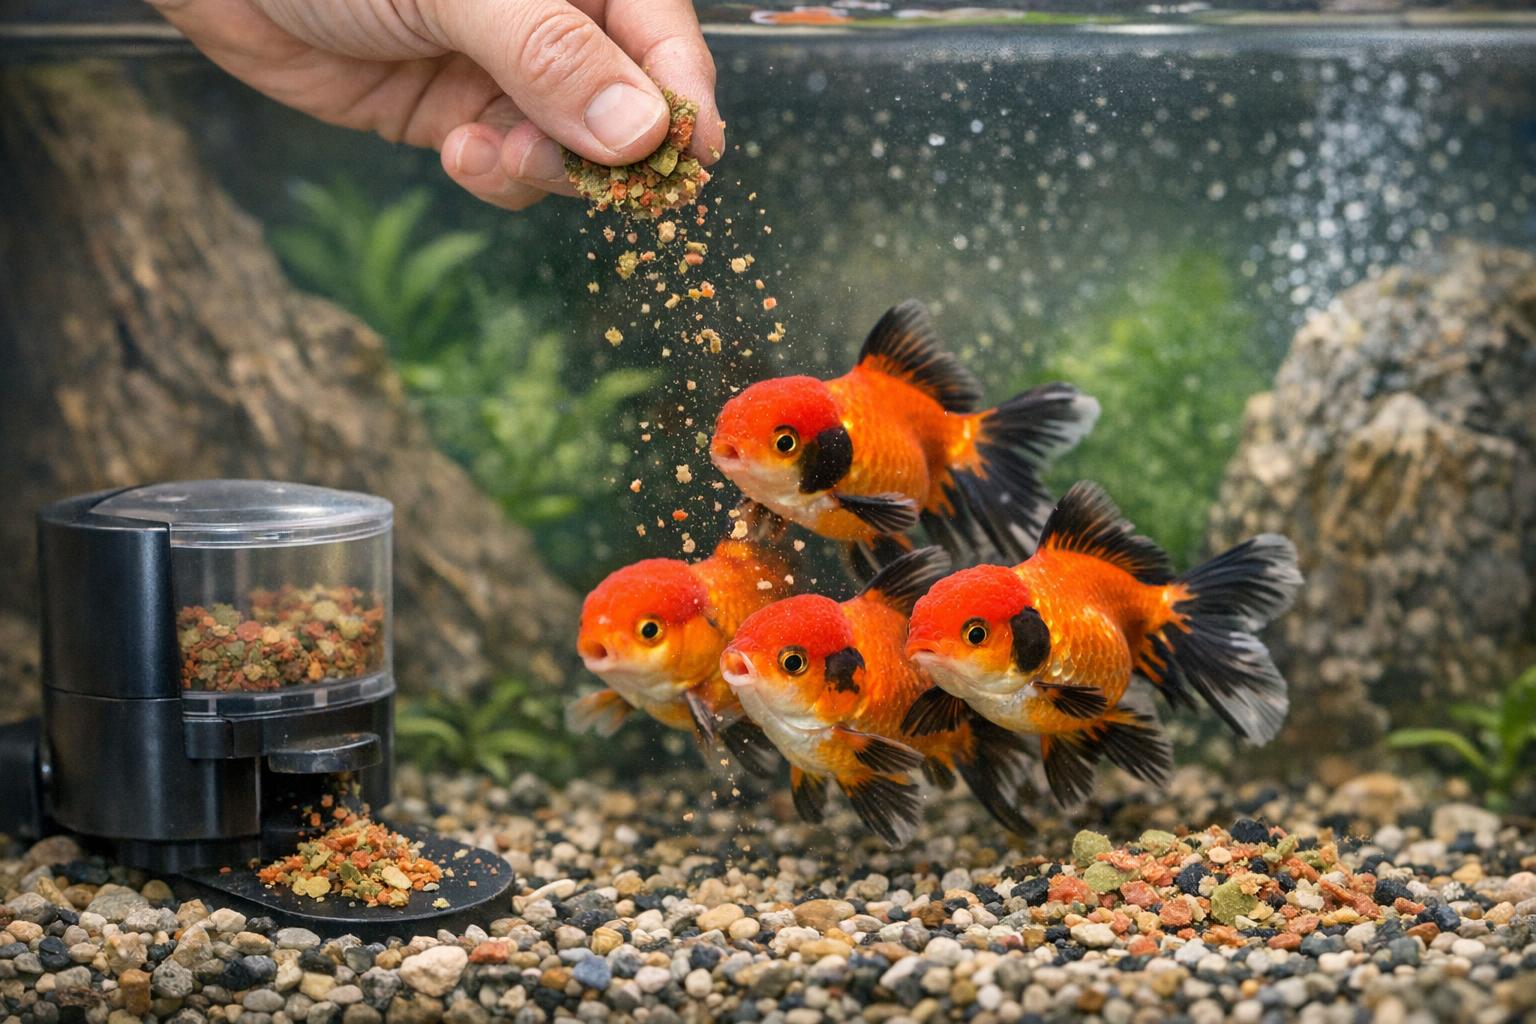
– Feed sparingly and pick up uneaten food.
– Maintain a consistent water-change schedule.
– Avoid overstocking; more fish = more waste = more cleaning.
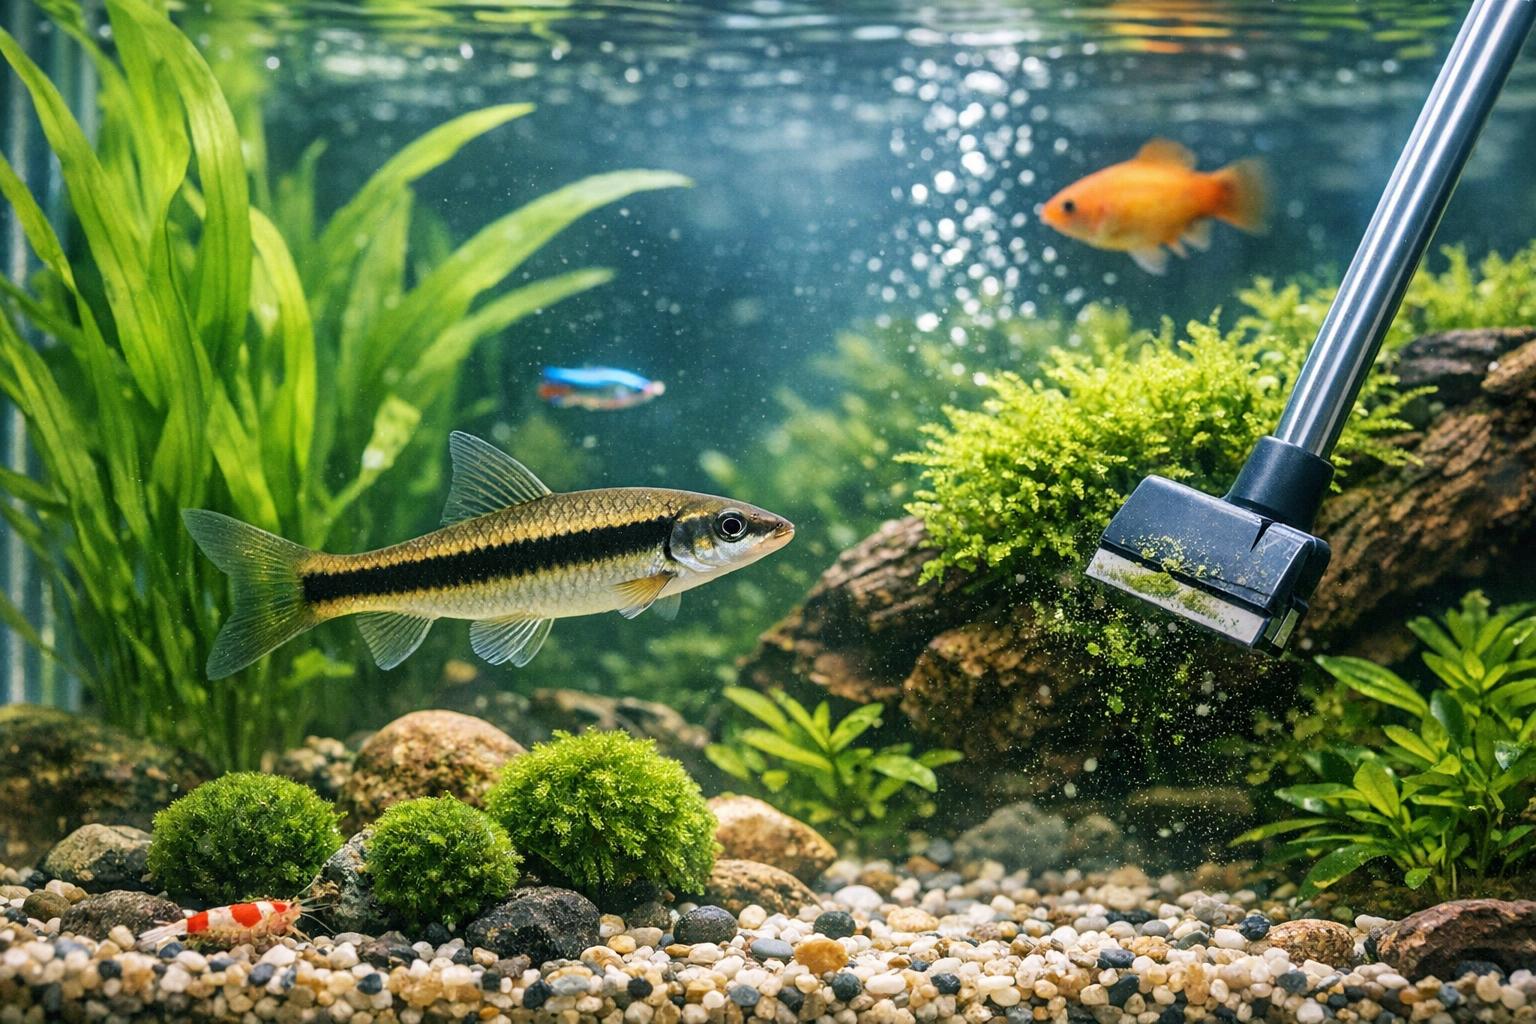
– Use live plants where possible; they consume nitrates and compete with algae.
– Keep a small maintenance log noting when media were cleaned or replaced; pattern recognition helps optimize your fish tank filter maintenance routine.
### When To Replace Versus Repair
Replace sponges and foam when they begin to crumble or lose shape. Replace impellers if they exhibit visible wear or cause wobbling. Replace any plastic housing cracked by wear. When in doubt, err on the side of preserving biological media—don’t toss ceramic rings or bio-balls unless physically damaged.
## Tools And Supplies To Keep On Hand
– Spare impeller and housing compatible with your model
– Extra pre-filter sponges cut to size
– White vinegar (for scale)
– Tank water buckets and siphon
– Test kit for ammonia/nitrite/nitrate
Having these on-hand makes adherence to fish tank filter maintenance much less stressful—and a lot quicker to perform.
If you want, I can tailor a maintenance calendar specific to your tank size, stocking level, and filter model—or walk you through choosing the right sponge foam or bio-media for your setup. Your fish will thank you by continuing their very expressive, slow-moving routines.


Leave a Reply