


## Ear Cleaning Tips For Dogs You Can Do At Home
Dogs don’t need their ears scrubbed like a bathtub. But they do need routine attention, and when you ignore that, problems pop up. This guide gives practical, safe ear cleaning tips for dogs—what to do, what to skip, and how to tell when the issue is beyond a home clean.
### Why You Should Care About Ear Health
Ears are easy to overlook. They’re tucked away, and a smelly ear or frequent head shaking can be written off as “that’s just how he is.” The reality: a lot of discomfort and chronic infections start small. Regular care prevents pain and expensive vet visits.
Ears vary by breed. Cocker spaniels, basset hounds, and other floppy-eared dogs trap moisture and debris. Terriers and huskies have upright ears that dry faster but can still develop problems from allergies or mites. Knowing your dog’s ear type shapes how you clean and how often.
### How Dog Ears Work And What Goes Wrong
Ears have three parts: the outer ear (the ear flap and canal you can see), the middle ear, and the inner ear. Most household cleaning only reaches the outer canal. That’s fine—most infections start there—but it also means you should be cautious. Poking too deep risks injury.
Common problems:
– Yeast infections are common. They cause a yeasty smell, brownish discharge, and greasy wax.
– Bacterial infections often follow yeast or injury. They cause redness, pain, and a worse odor.
– Ear mites are tiny parasites, usually in puppies or multi-pet households. They produce dark, coffee-ground debris.
– Allergies and foreign bodies (like grass awns) can set up chronic irritation.
### Recognizing Issues Before They Get Serious
Look for these signs: frequent head shaking, scratching at the ear, redness, swelling, brown or yellow discharge, a foul smell, pain when you touch the ear, or sudden tilting of the head. If your dog is suddenly reluctant to let you touch the ear, stop and consult a vet. Painful ears are not safe to probe at home.
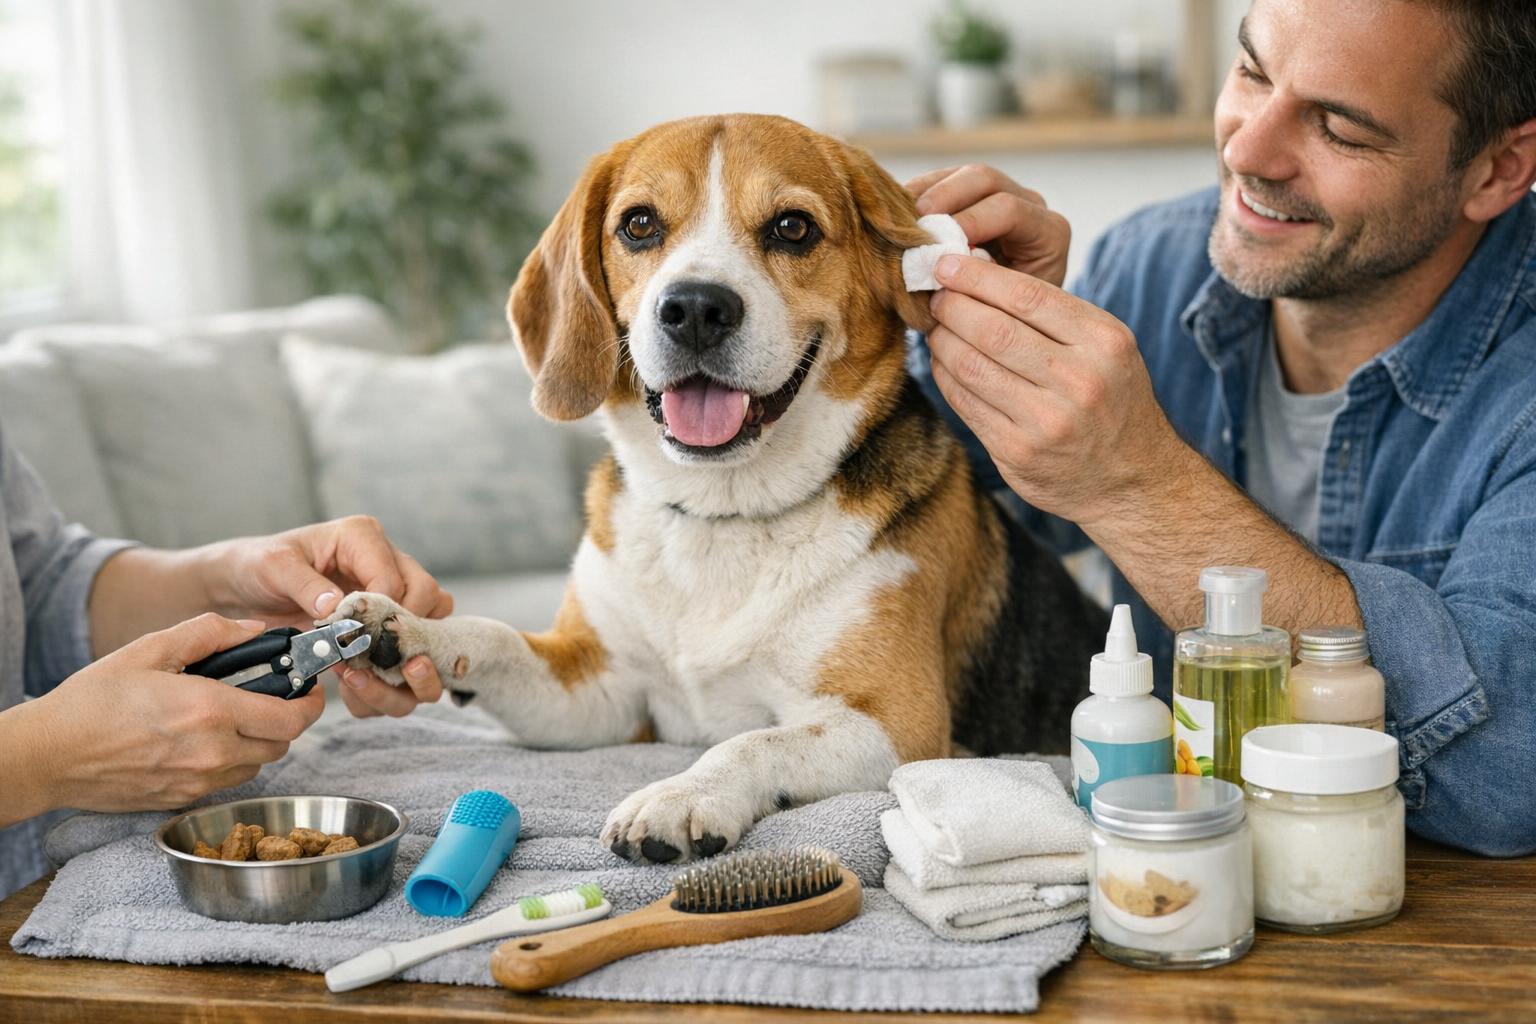
### What You Need For Basic Dog Ear Cleaning
You don’t need a cart of gadgets. The essentials:
– A vet-approved ear-cleaning solution. Don’t substitute hydrogen peroxide or alcohol; these can irritate.
– Cotton balls or gauze. Those soft, non-woven pads work best.
– Towels and treats. Cleaning is easier when the dog is comfortable and rewarded.
– Optional: a muzzle for dogs who bite, and a second person to help hold squirmy dogs.
Do not use cotton swabs inside the ear canal. Those push wax deeper and risk rupturing the eardrum. Also avoid ear powders or unvetted herbal remedies.
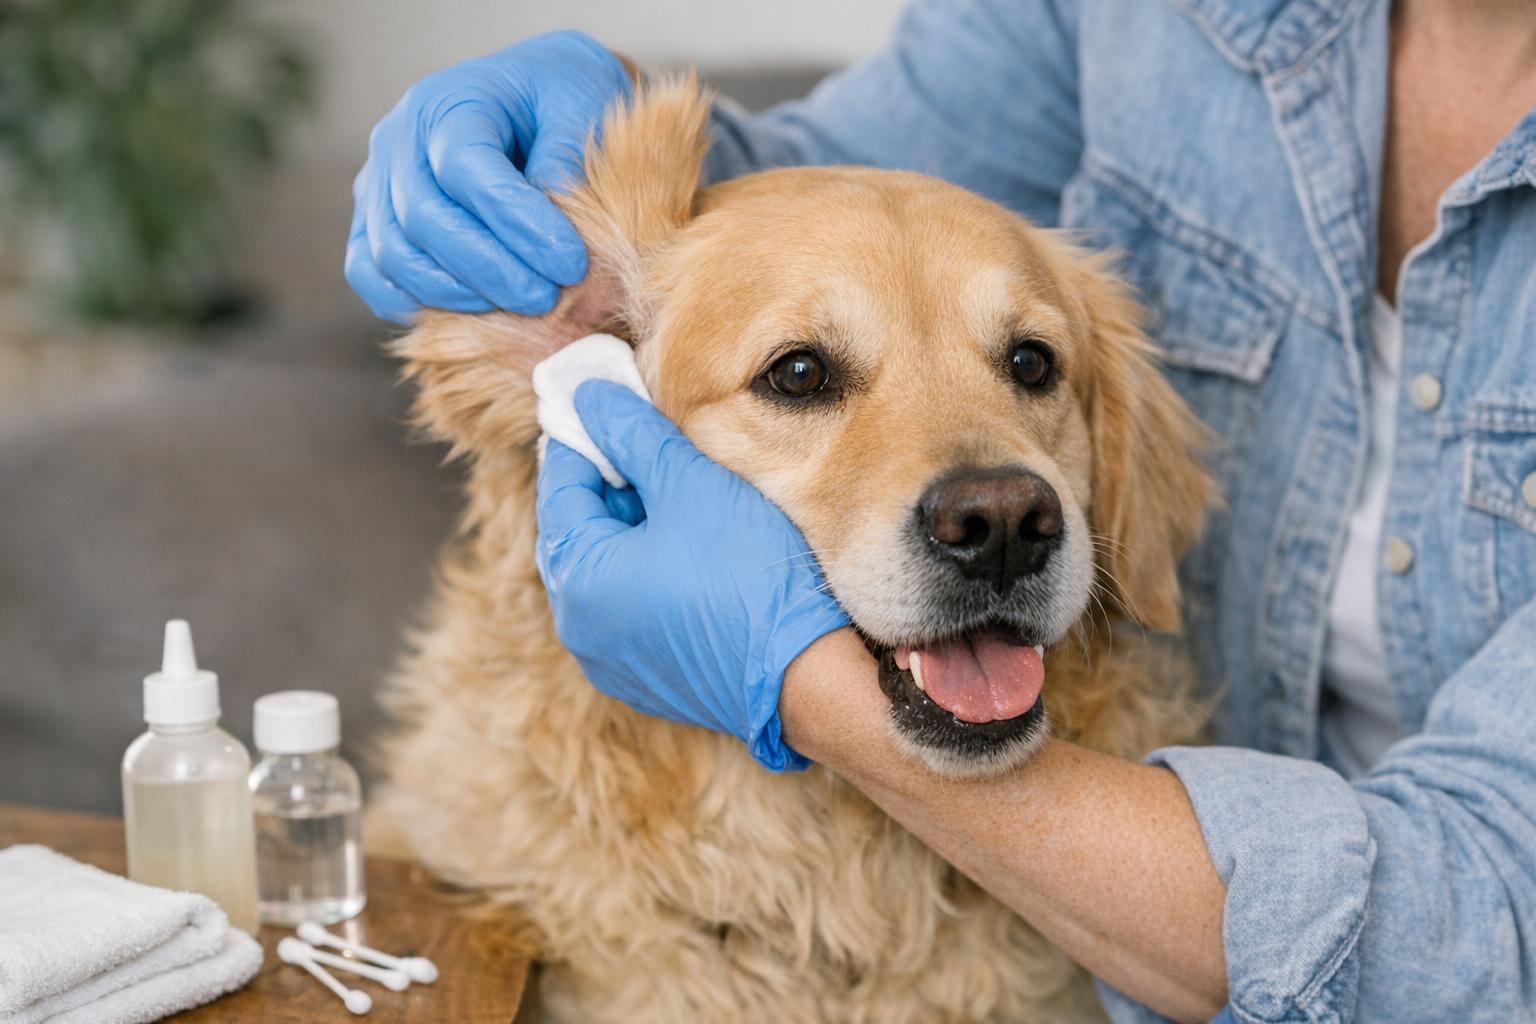
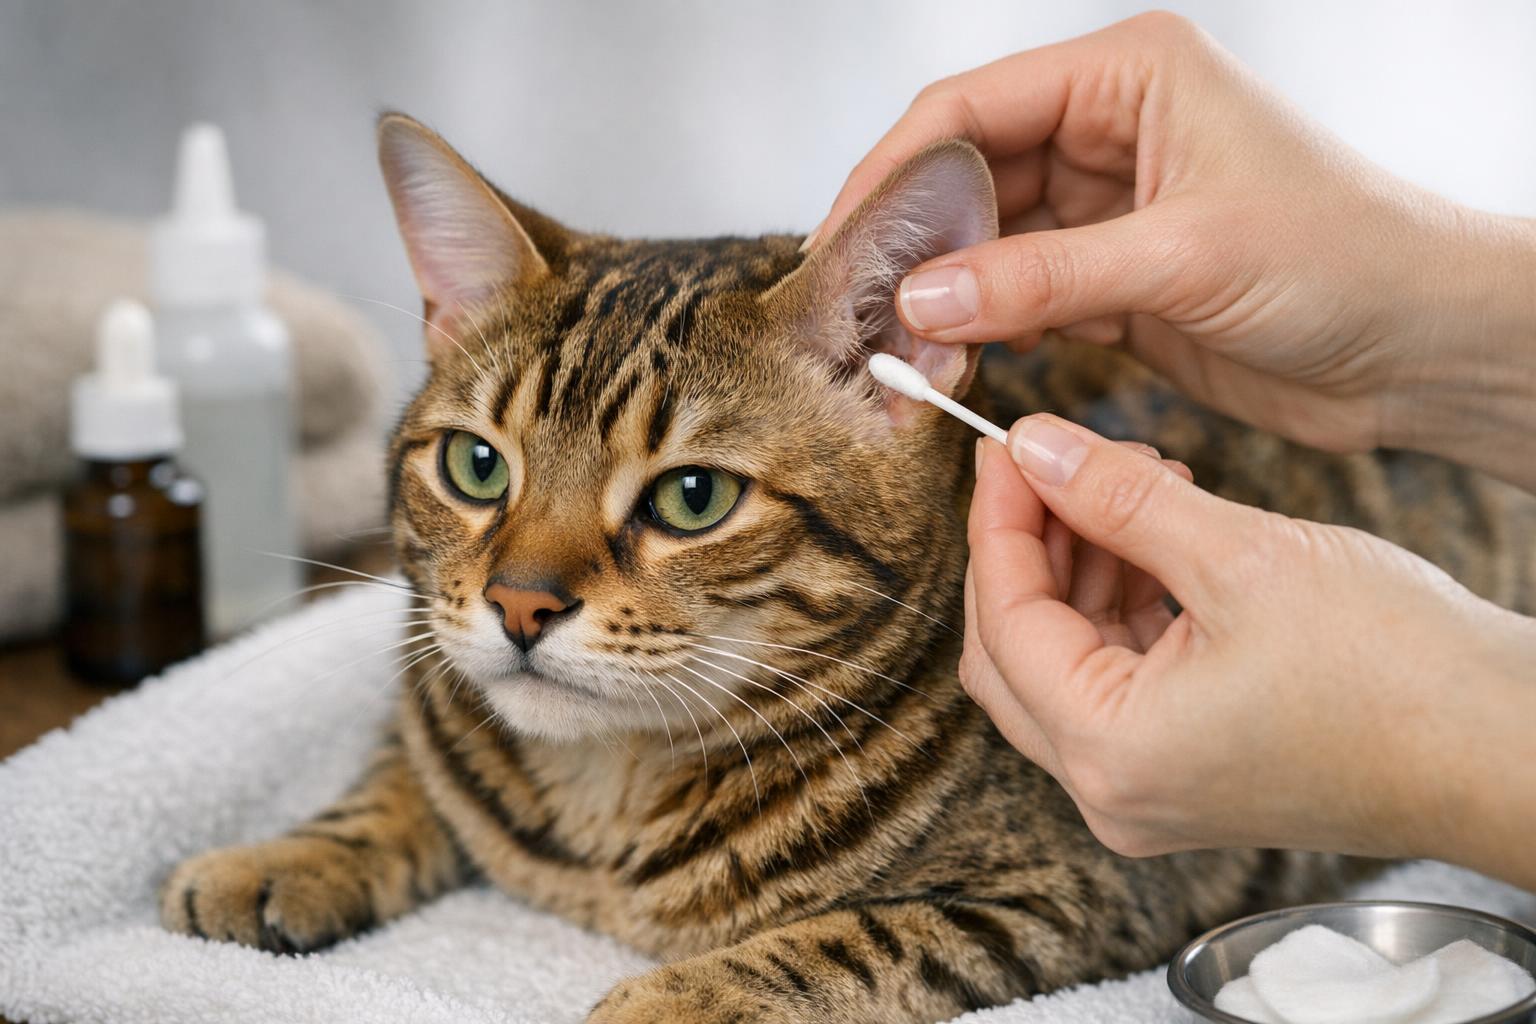
### Step-By-Step Safe Dog Ear Cleaning
1. Create a calm setting. Have treats ready, set the dog on a stable surface, and keep movements deliberate.
2. Inspect the ear. Look for redness, swelling, discharge, or a bad odor. If anything looks severe, stop and call the vet.
3. Apply the cleaner. Gently lift the ear flap, squirt the recommended amount of solution into the ear canal, and massage the base of the ear for 10–20 seconds. You’ll hear a squishing sound. That’s good: you’ve loosened debris.
4. Let the dog shake. This helps eject debris naturally. Stand back and protect yourself from enthusiastic head shakes.
5. Wipe out the loosened wax. Use a cotton ball or gauze to clean the crease and outer canal. Repeat if needed until the cotton looks reasonably clean.
6. Reward the dog. Positive reinforcement makes future cleanings much easier.
For dogs with long, hairy ear canals, you may need to gently pluck excess hair so the canal can breathe. That’s a debated topic—some pros recommend leaving hair if the dog isn’t prone to infections. If you choose to remove hair, have a vet or groomer show you the safe technique.
### How Often To Clean
There’s no one-size-fits-all schedule. A healthy dog with no history of ear problems might need a check and a gentle wipe once a month. A dog prone to infections or who swims a lot may need cleaning weekly or even twice weekly. The point is to base timing on symptoms and breed risk, not ritual. Observe, then act.
### Choosing An Ear Cleaner
Look for cleaners that:
– Are pH-balanced for dogs.
– Contain mild antiseptics or drying agents if your dog gets moist ears.
– Are free from harsh alcohols or hydrogen peroxide if your dog has irritated skin.
Some cleaners include ingredients to control yeast or bacteria. Those can help short-term, but persistent infections need veterinary diagnosis and possibly prescription meds.
### Cleaning Different Ear Types
#### Floppy-Eared Dogs
Floppy ears trap moisture and debris. They need regular inspections and, in wet weather, a quick dry after swims or baths. Clean them more often, but be gentle—floppy ears can be tender if infected.
#### Upright-Eared Dogs
Upright ears breathe better, yet they still collect wax and can suffer from allergies. Clean less frequently but inspect regularly for ticks, foreign bodies, or unusual discharge.
#### Hairy-Eared Breeds
Some breeds have dense hair inside the ear canal. That hair can trap dirt and wax. Have a groomer or vet show you how to handle this safely. Don’t yank blindly; the goal is to improve airflow, not to traumatize the canal.
### When To See The Vet
If you see any of these, get professional help:
– Severe redness, swelling, bleeding, or a very bad smell
– Thick, dark, or pus-like discharge
– Recurrent problems despite home care
– The dog shows pronounced pain or loss of balance
These signs suggest a deeper infection or a ruptured eardrum. Vets can look inside with an otoscope, take cultures, and prescribe the right antibiotics or antifungals.
### What Not To Do
– Don’t use Q-tips in the ear canal. Ever. They push debris in and can rupture the eardrum.
– Don’t use alcohol, hydrogen peroxide, or vinegar unless your vet explicitly tells you to. These can sting and delay healing.
– Don’t force cleaning on a dog in pain. Pain is a sign of infection or deeper injury.
– Don’t ignore recurring odor. Chronic smell usually means chronic infection or untreated allergies.
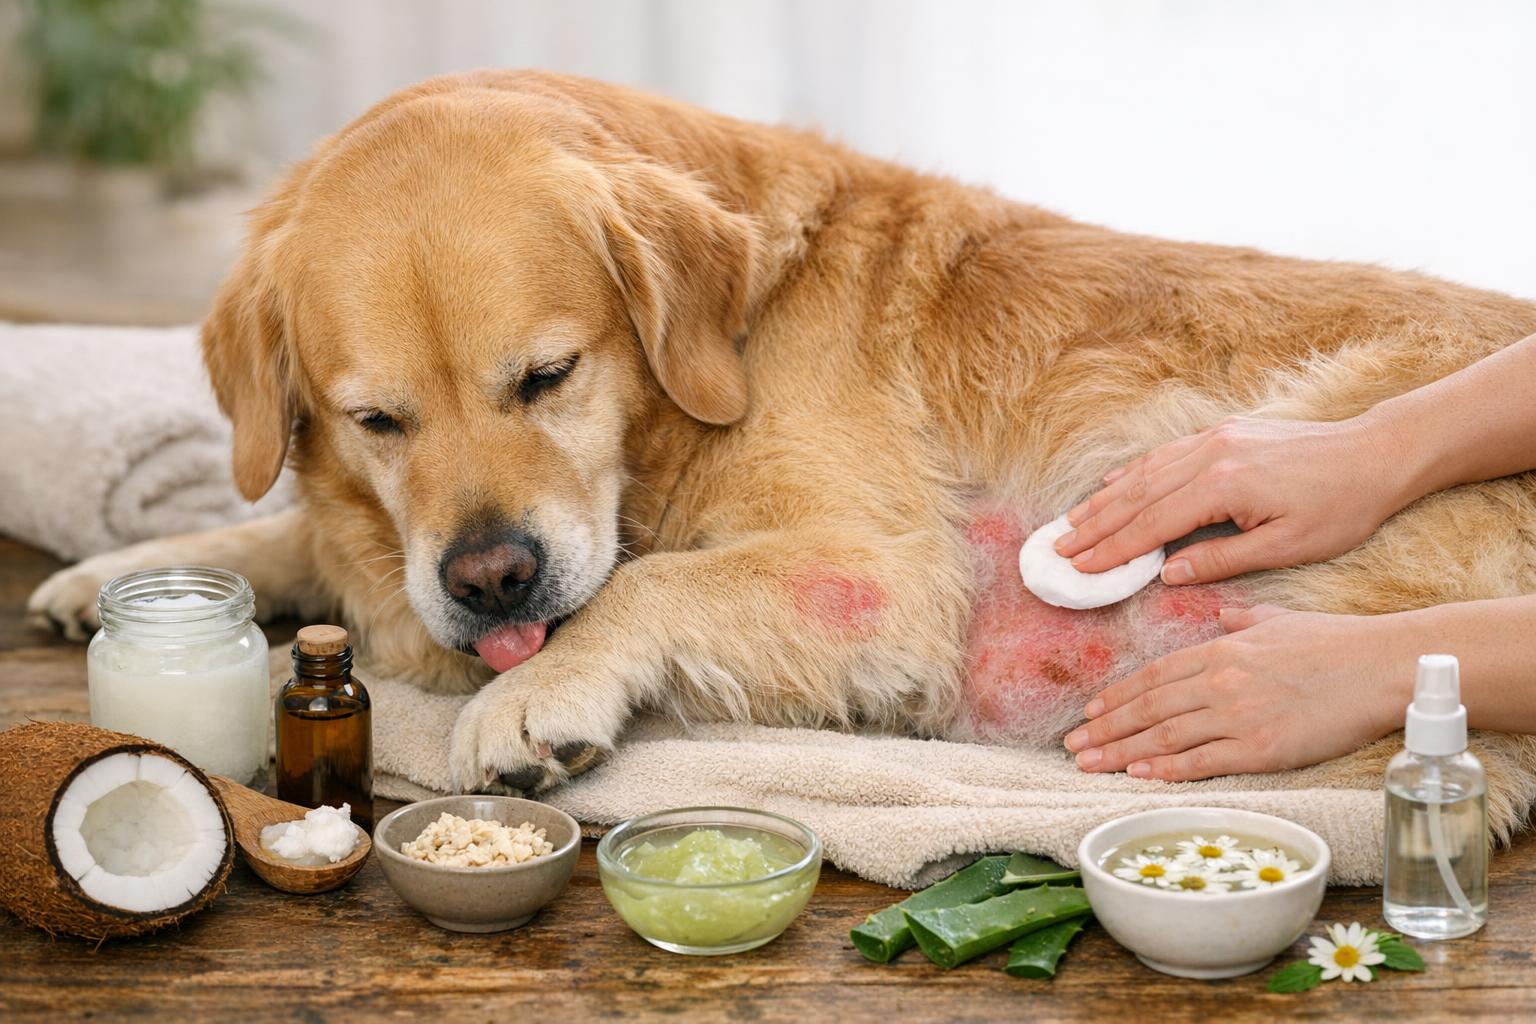
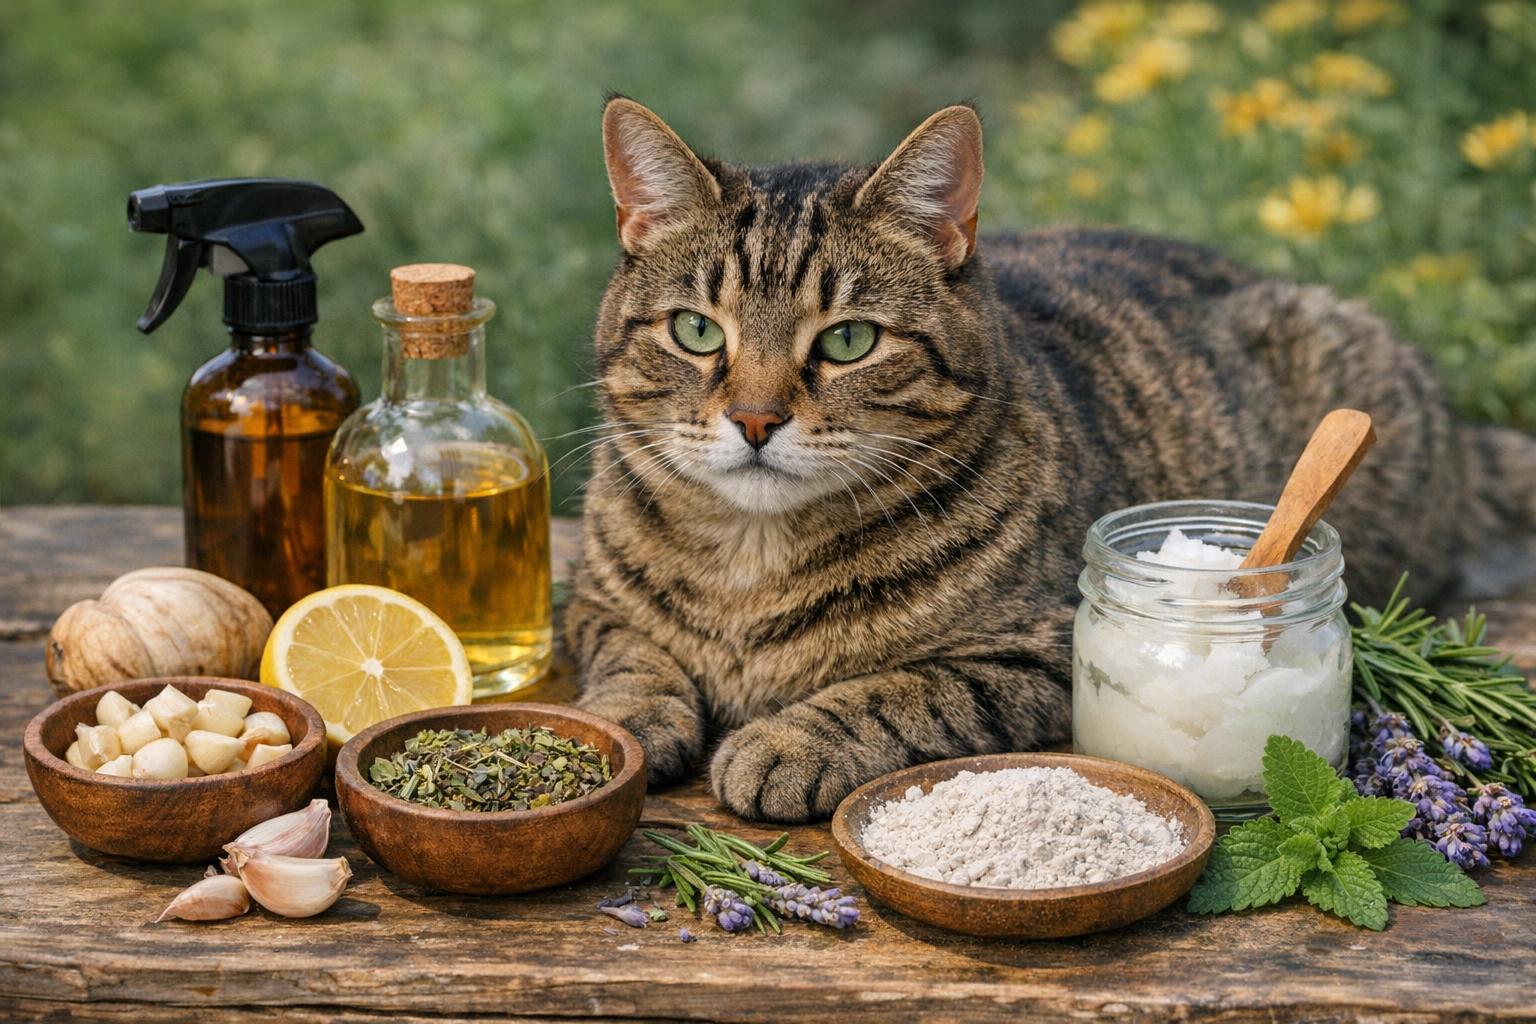
### Home Remedies To Avoid
You’ll find lots of folk tricks online: olive oil, apple cider vinegar, tea tree oil, or hydrogen peroxide. Some of these cause more harm than good. Olive oil can suffocate mites but won’t treat bacteria; vinegar might help yeast but will burn if the ear is raw. Tea tree oil is toxic to dogs when used improperly. If you want to try a home mix, run it past your vet first.
### Training Your Dog For Easier Ear Care
Start when they’re young or early in your relationship. Touch the ears briefly in a calm manner, then reward. Gradually increase handling time and introduce gentle massaging. Combine ear checks with something the dog likes: a meal, a walk, or a game. Short, regular sessions build trust. If your dog is anxious, work in tiny steps over weeks, not minutes.
### Managing Anxious Or Reactive Dogs
Not every dog accepts ear cleaning. If your dog is nervous or nips, consider these options:
– Two-person approach: one person holds and soothes while the other cleans.
– Use a calming wrap or crate training before sessions so the dog feels secure.
– Low-dose anti-anxiety measures may be prescribed by the vet for particularly stressed dogs. Always consult a professional before medicating.
– In some cases, professional grooming or veterinary cleaning under light sedation is safer.
### Addressing Chronic Ear Problems
If ear infections keep coming back, the issue often isn’t the cleaning technique. Consider these underlying causes:
– Allergies (food or environmental) that cause inflammation
– Hormonal conditions that affect skin health
– Anatomical issues like stenotic canals or excess ear hair
– Immune-mediated disease
Your vet can run tests—skin biopsies, allergy panels, hormonal bloodwork—to find the root cause. Treating the underlying problem is more effective than constant topical treatments.
### Special Cases: Puppies And Seniors
Puppies: Their ears are delicate, and mites are common. Use a mild cleaner suited for puppies and have your vet check for mites before starting a routine. Handle ears gently and reward generously.
Seniors: Older dogs may develop more wax or chronic conditions. Be mindful of arthritis or neck pain that makes holding still hard. Adjust your approach: shorter sessions, more support, and frequent positive reinforcement.
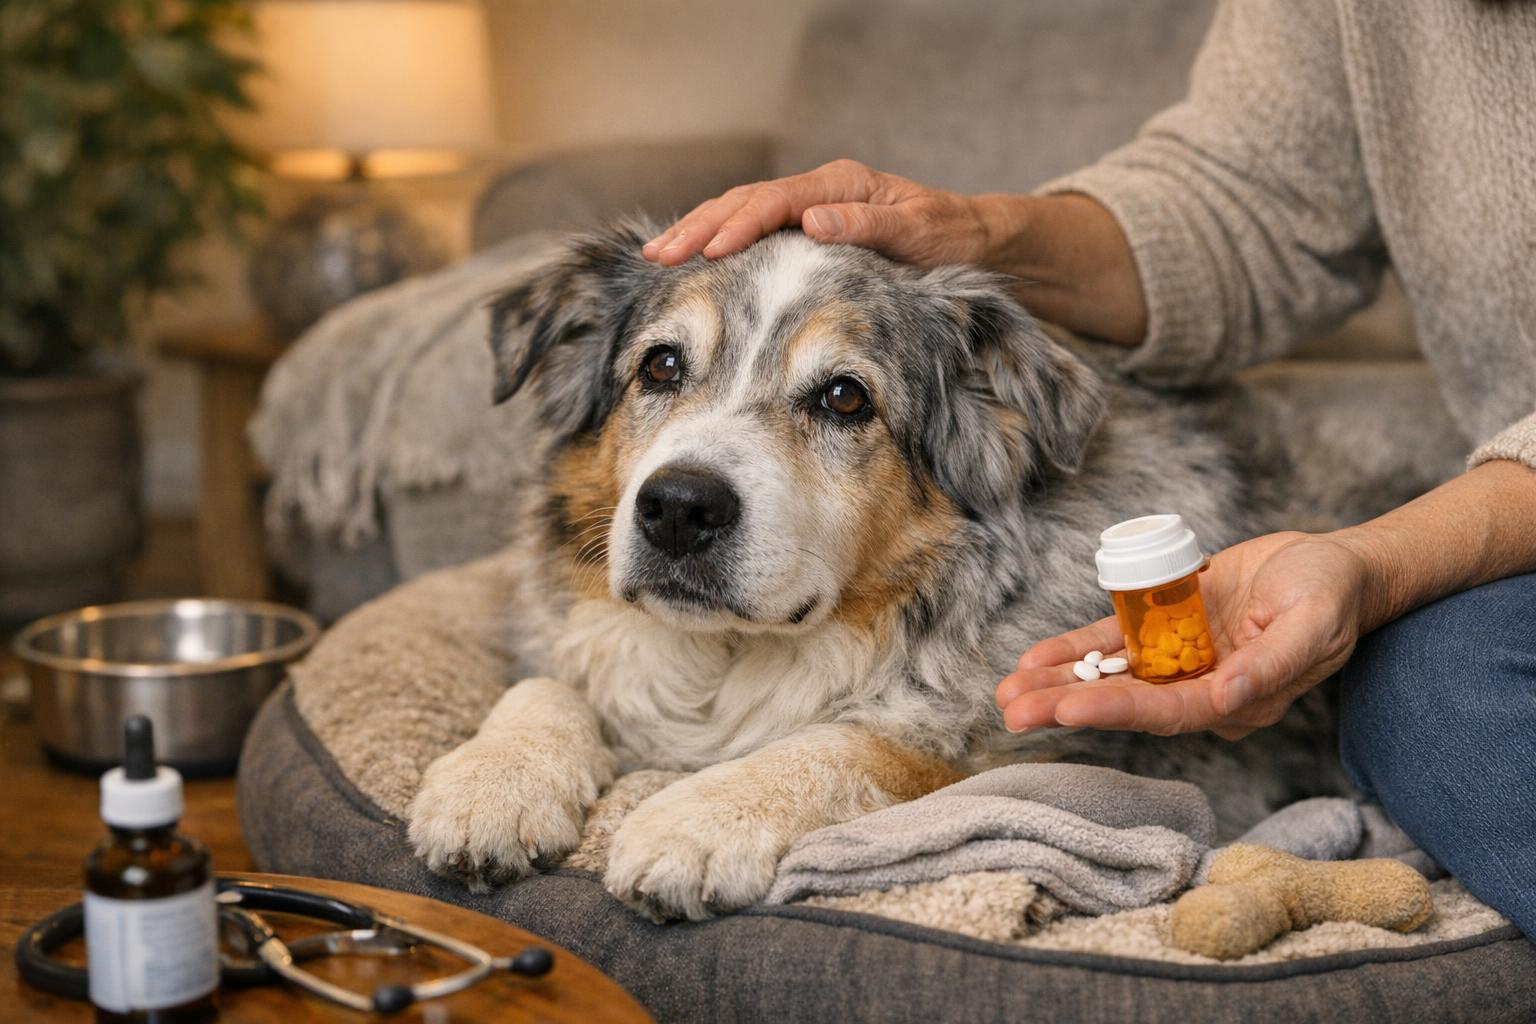
### Using Medication Safely
If your vet prescribes ear drops, follow the instructions exactly. Apply the correct dose, use the full course, and complete the treatment even if symptoms seem gone. Stopping early can lead to resistant infections. If drops cause increased redness or pain within 24–48 hours, call the vet.
### Preventing Problems After Baths And Swimming
Moisture is a top trigger. After baths or swimming:
– Gently dry the outer ear with a towel.
– For dogs prone to infection, a quick wipe with a vet-approved drying ear solution helps.
– Avoid forcing air or using hair dryers on high heat near the ear.
### Ear Hair: To Pluck Or Not To Pluck
This debate divides groomers and vets. Plucking hair can improve airflow in some dogs but may also cause microtrauma and secondary infections if done poorly. If your dog has chronic issues and a professional recommends plucking, have it done by someone experienced. Don’t yank hair unless you know what you’re doing.
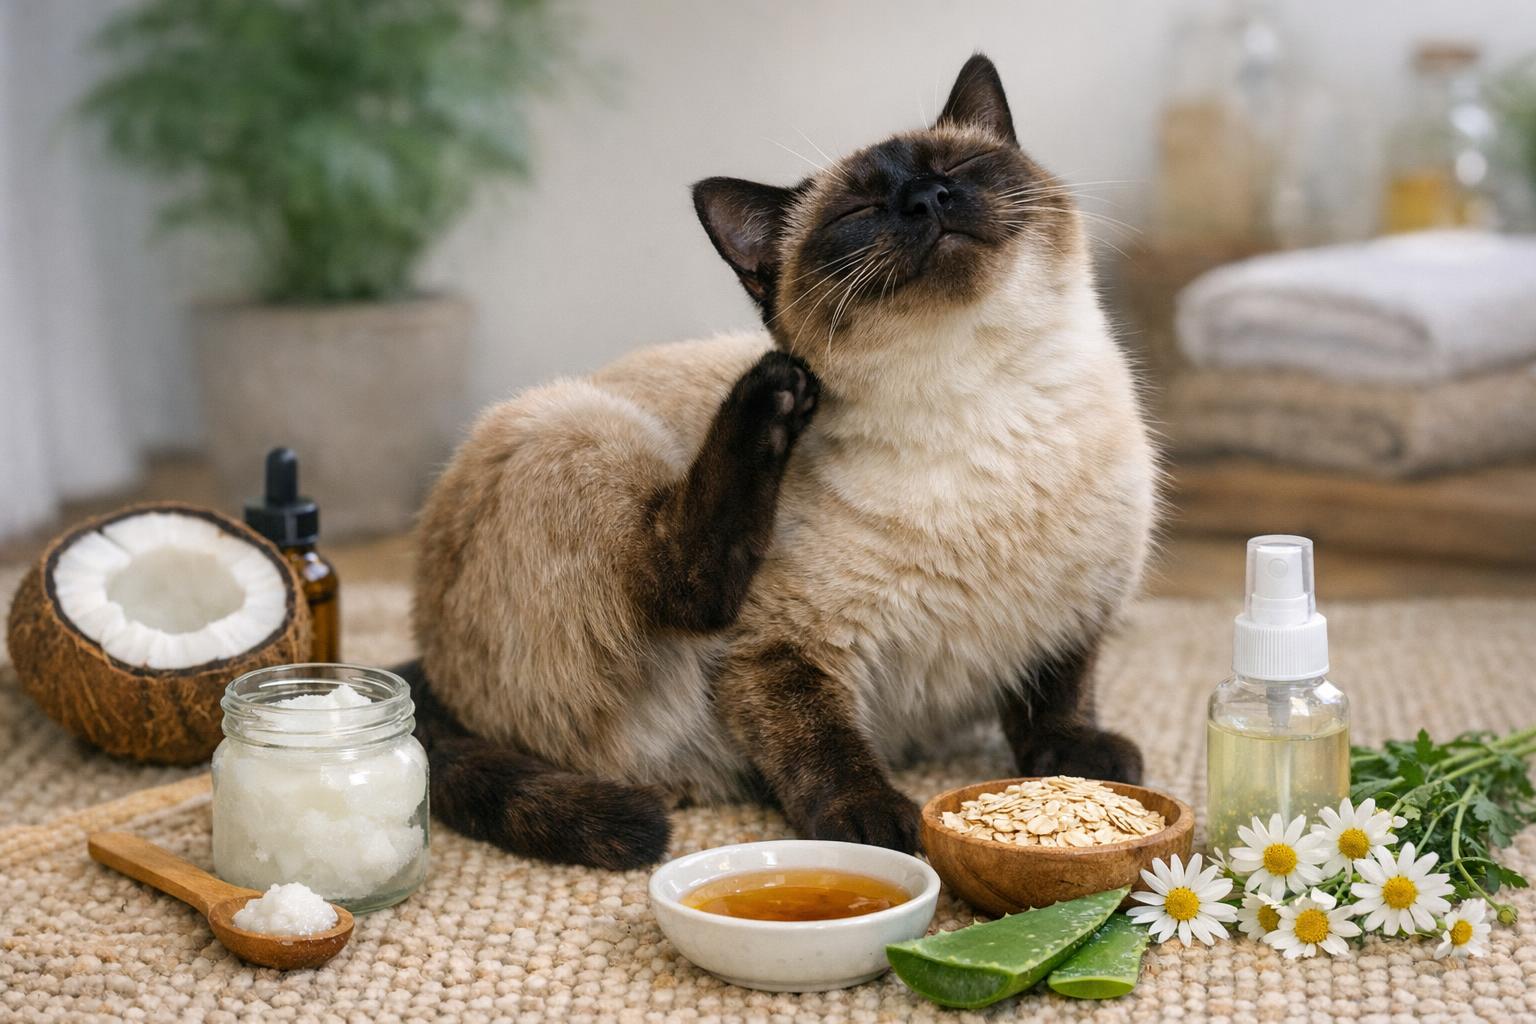
### Preventing Ear Mites And Parasites
Ear mites spread easily between animals. If one pet in a household has mites, treat all affected animals and clean bedding and common resting spots. Routine flea and tick prevention helps reduce parasite risks overall.
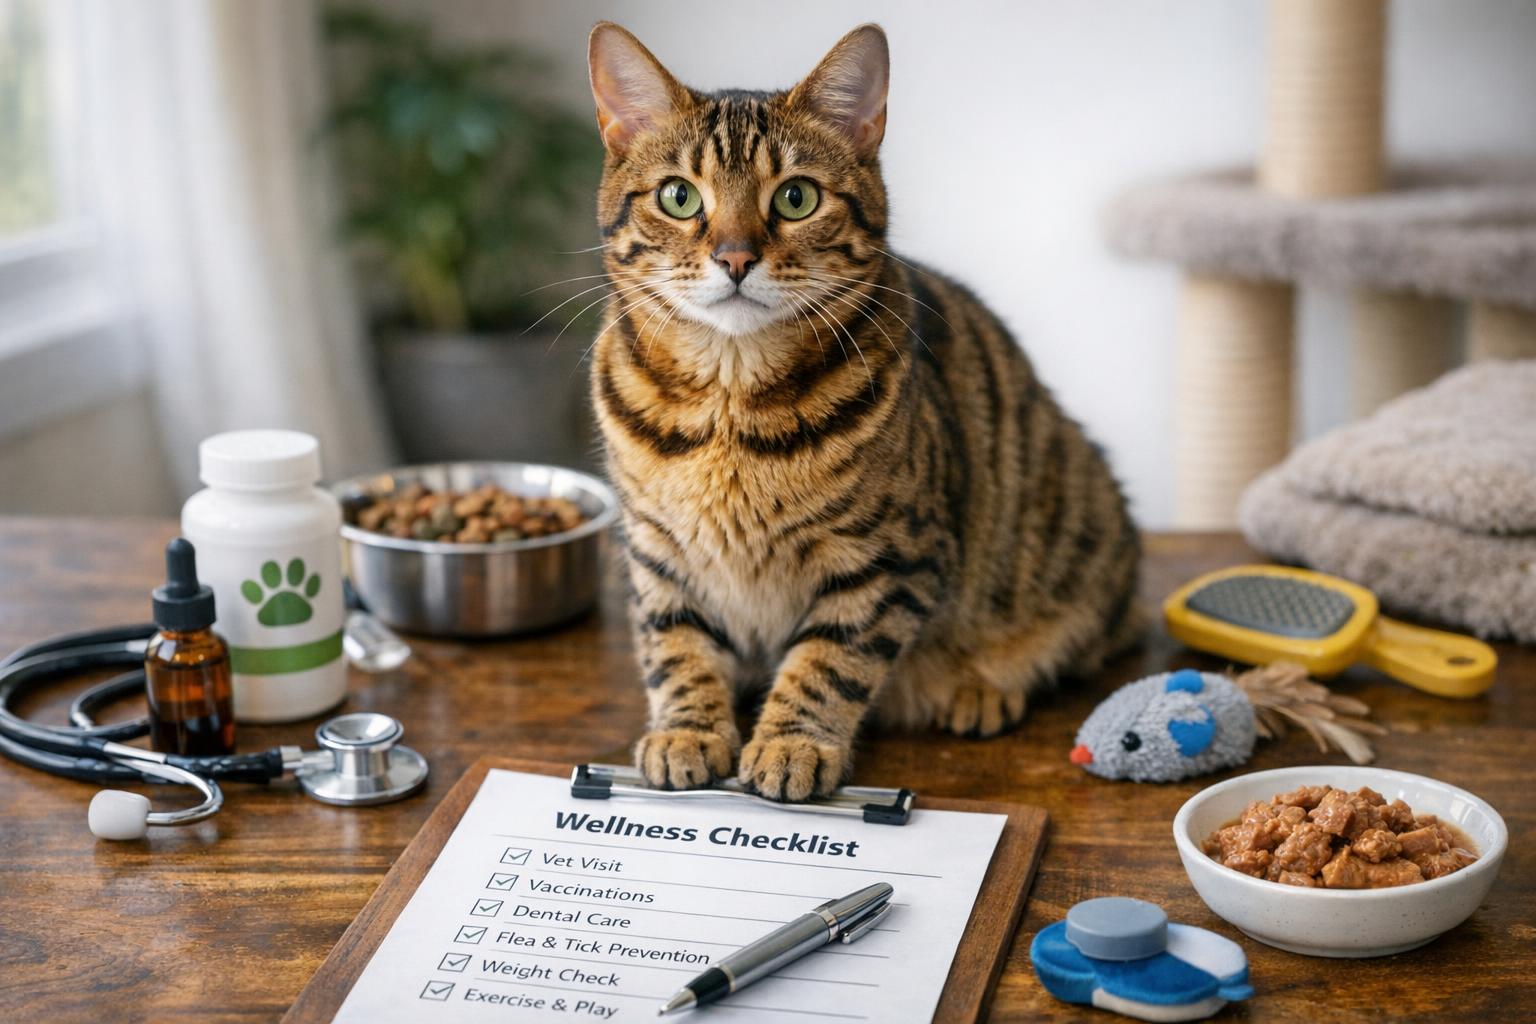
### Tracking Ear Health
Keep a simple log: date, what you saw, what you cleaned, and any treatments given. It sounds tedious, but it helps your vet see patterns. You’ll catch recurrence earlier and avoid guesswork when bringing records to your appointment.
### When Cleaning Is Not Enough
If your dog has persistent head tilting, circling, or balance issues, that suggests deeper ear or neurologic problems. These require immediate veterinary assessment. Don’t try to medicate at home for balance issues.
### Products I Often Recommend To Clients
I prefer cleaners that combine gentle cleansing with mild anti-fungal or drying agents. Look for brands with clear ingredient lists and veterinary endorsements. Avoid multi-purpose household cleaners marketed for “all pets” unless a vet confirms their safety for ears. Honest, predictable formulations are better than gimmicks.
### Real-World Examples
I once had a shepherd mix with recurrent yeast infections because her owner used a home vinegar mix whenever she smelled a funk. It helped a bit but left the skin irritated and susceptible to bacteria. When we switched to a vet-designed cleaner and treated the underlying food allergy, the infections stopped. Small changes in approach can make a big difference.
Another client had a poodle whose canal was so hairy that infections recurred monthly. Regular, careful hair management by a groomer plus a tailored cleaning schedule reduced the problem dramatically.
### Final Practical Tips
– Check the ears visually once a week, more often if prone to issues.
– Keep cleaning sessions short and positive.
– Use vet-approved solutions only.
– Don’t probe with cotton swabs.
– Treat the dog holistically: diet, environment, and parasite control matter.
– If in doubt, call the vet early rather than later.
recieve the signs early and you’ll save a lot of discomfort and vet bills down the road.


Leave a Reply