


The beak is a tool, not a toy. It grows continuously, shows health shifts, and needs a few practical habits to stay useful. Get these basics right and you avoid a lot of vet trips.
## Avian Beak Maintenance Tips For Pet Birds In Practice
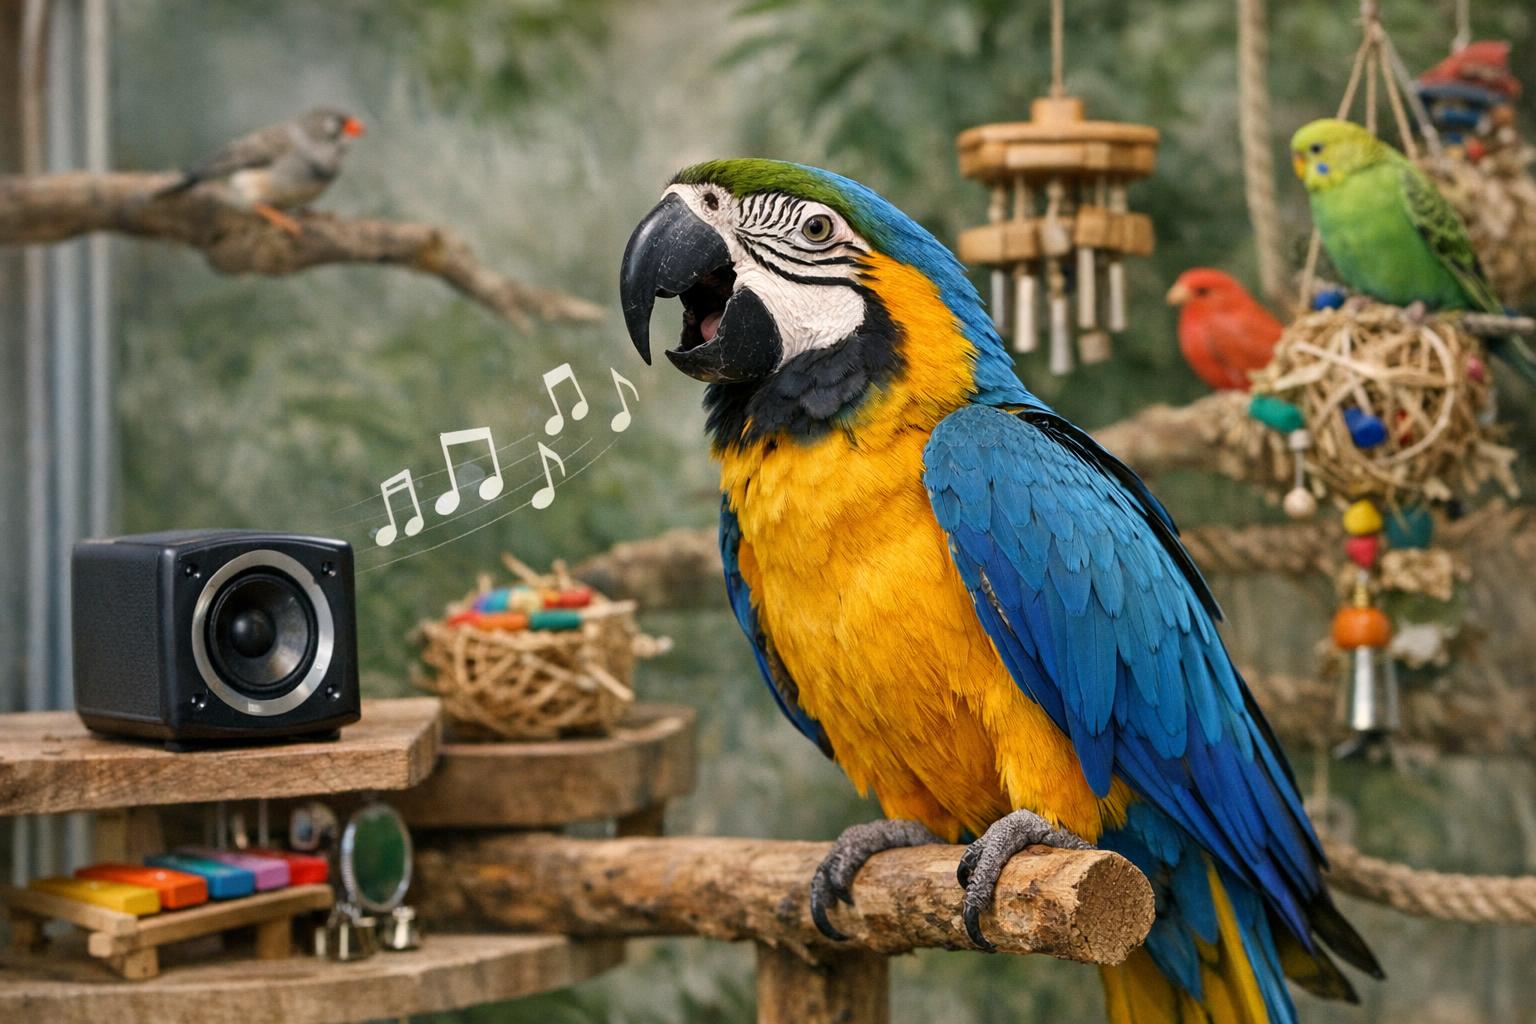
Start by watching. Every morning when you open the cage, glance at the beak. Look for chips, cracks, flaking, discoloration, or any odd growth. Those small differences are meaningful. A smooth curve with a slight tip and normal coloration is what you want. When the curve changes, or the tip looks jagged, treat it as a flag to act.
These avian beak maintenance tips for pet birds aren’t tricks. They’re routines: observe, offer the right things to gnaw, and call the vet when something doesn’t respond to basic care.
## Recognizing Real Beak Issues
Birds will wear their beaks down naturally if their environment supports it. Problems you can’t ignore include:
– Overgrowth that prevents the bird from closing its beak fully.
– A soft, spongy texture instead of hard keratin.
– Brown or black streaks that look like lesions.
– Sudden misalignment where the upper and lower mandibles no longer meet.
If you see any of those, schedule an exam. Sometimes overgrowth links to diet problems like low calcium. Other times it’s trauma, infection, or metabolic disease. Don’t guess.
### What Normal Wear Looks Like
Normal wear shows even smooth abrasion, small chips on hard surfaces the bird chews regularly, and no bleeding. The tip might get sleeker when a bird favors wooden perches and safe chew toys. That’s good wear. Keep an eye, but don’t panic over tiny nicks.
### Signs That Mean Urgent Care
If your bird can’t eat, has drooling, or seems in pain when you touch the beak area, call the vet immediately. A beak that’s cracking into the nerve or sharp enough to cut the tongue can be an emergency. Be practical: birds hide illness well, so a slight change in behavior plus beak abnormality is grounds for fast action.
## Daily Habits That Help
Small daily habits protect the beak more than occasional heroics.
– Offer a variety of textures: mineral blocks, cuttlebone, and a mix of wooden and concrete perches. These encourage natural filing.
– Rotate toys. A bird that chews only one toy will wear a spot quickly. Switch toys weekly so wear is distributed.
– Keep nails and beak aligned. When nails get too long, posture shifts and the beak can wear oddly.
One simple routine: after breakfast, check the beak while the bird is calm. That five-minute habit picks up problems early.
### Diet Is Not Optional
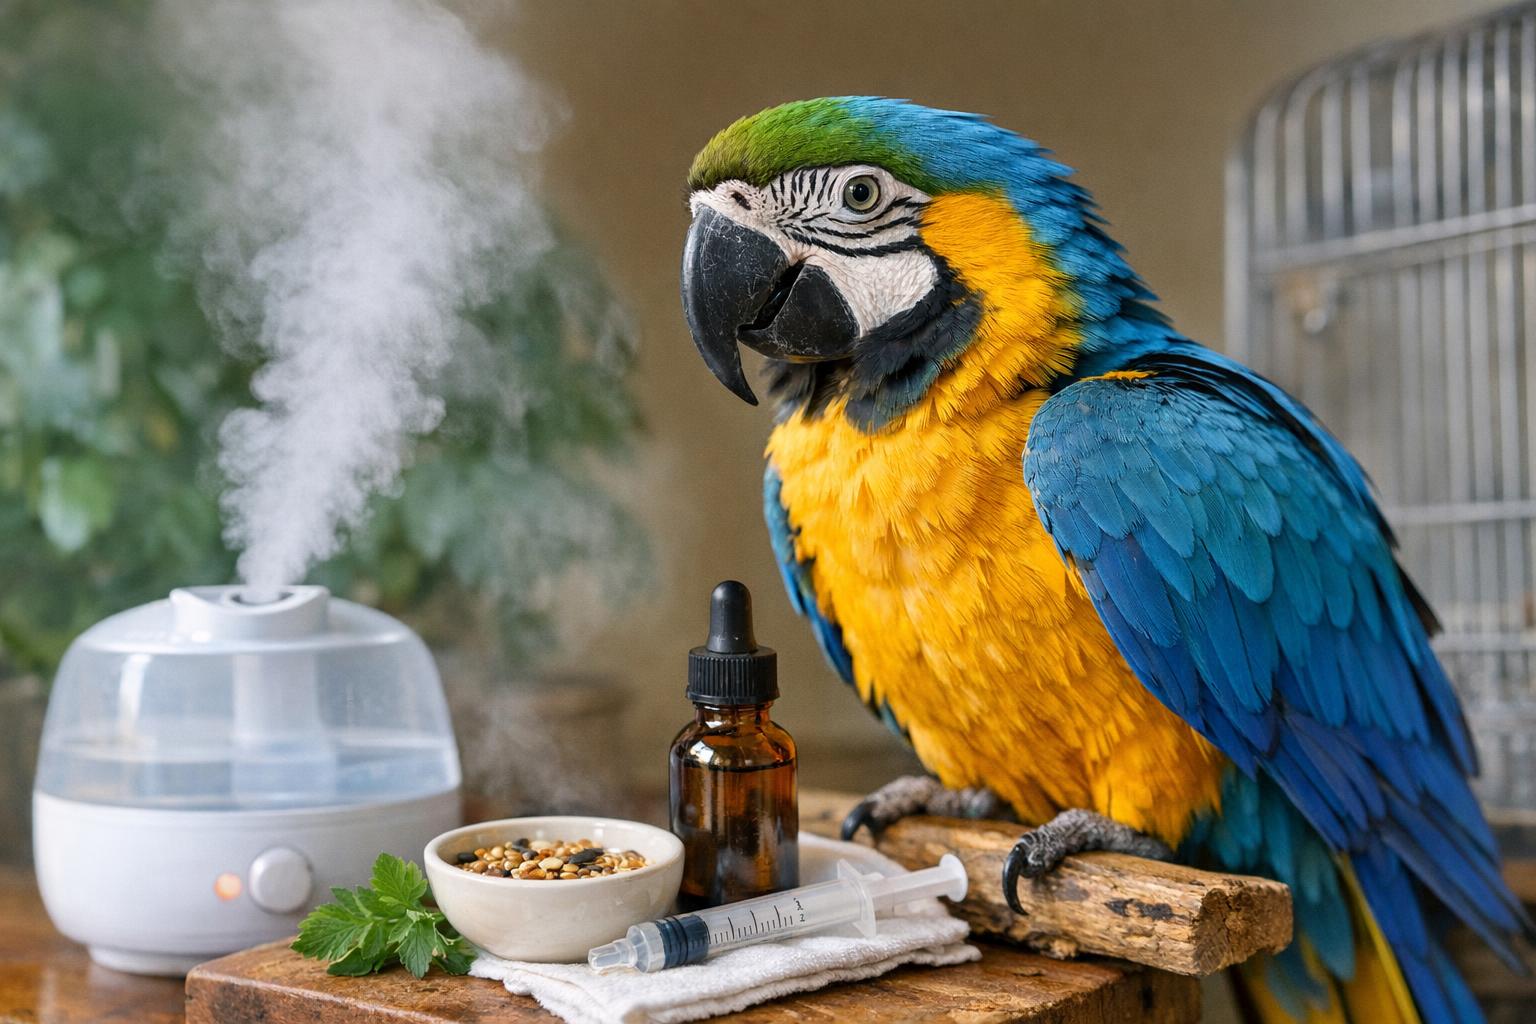
Diet plays a huge role in bird beak care. Calcium, phosphorus balance, and vitamin A influence keratin production — the material that makes up the beak. For most parrot species:
– A balanced pellet base plus measured fresh vegetables gives stable nutrition.
– Offer cuttlebone or a calcium block free choice for smaller parrots.
– Keep seeds as treats, not the main diet.
If your bird refuses pellets and eats mostly seeds, expect beak problems down the line. Good bird beak care starts at the feeder.
## Perches, Toys, And Environmental Choices
Perch material and diameter matter. A single uniform perch makes an area wear down quickly and can change the beak’s contour. Provide a spectrum:
– Natural wood perches of varied diameters.
– Rougher perches for filing.
– Manzanita or untreated hardwood for heavy chewers.
Toys that encourage pulling and shredding are valuable. Avoid plastic toys with thin edges that chip the beak into sharp fragments. Choose toys that encourage bilateral chewing; birds that favor one side can develop asymmetrical beak wear.
### Choosing Safe Chew Items
Not everything labeled “bird-safe” is ideal for shaping a beak. Choose items that:
– Don’t splinter into sharp shards.
– Offer resistance so the beak files rather than chips.
– Are non-toxic (no treated woods, glues, or dyes).
Try willow sticks, untreated softwood blocks, or woven palm for larger species. Replace heavily frayed items before they become a hazard.
## Trimming: When And How
Many owners worry about trimming. The rule of thumb: if the upper mandible significantly overlaps the lower or the bird cannot close its beak, a professional trim may be necessary. Don’t attempt aggressive trimming at home unless you’ve been trained and have the right tools.
Veterinarians use rotary tools carefully to restore shape without creating heat damage. They can assess whether trimming masks an underlying problem like improper wear or organ disease. For routine light filing, a groomer experienced with birds can help, but vet oversight is safest.
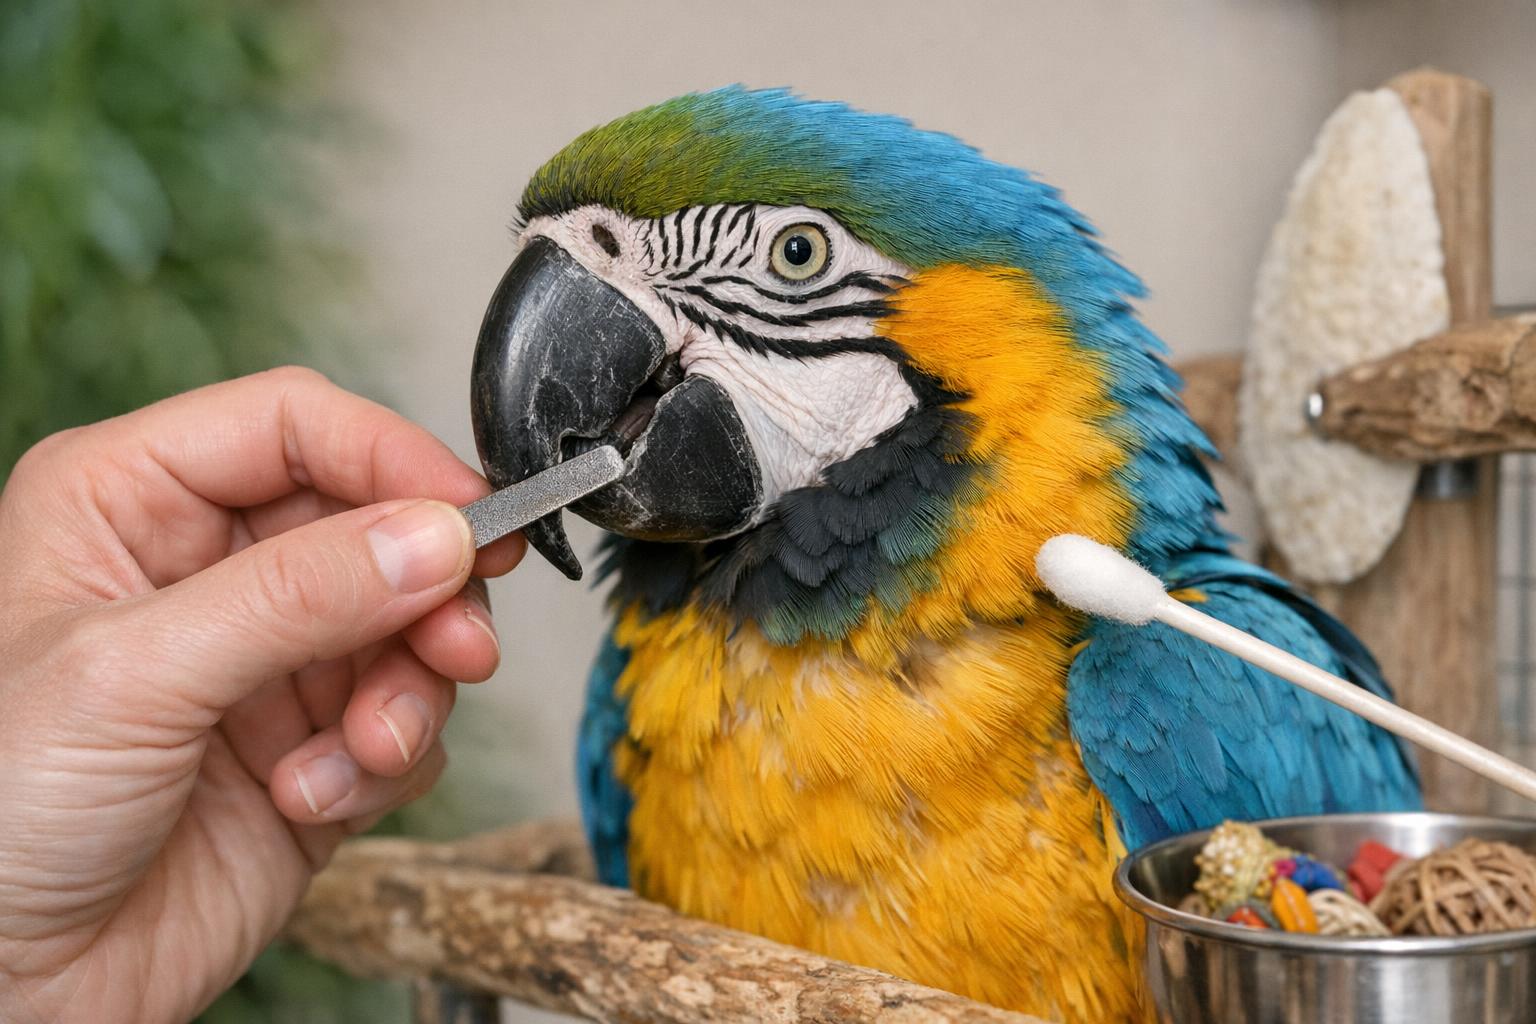
### Home Filing Tips
If you do light maintenance at home, follow conservative steps:
– Use only tools designed for birds.
– Work with a calm, properly restrained bird or have a partner hold.
– File gently, removing tiny amounts. Stop if the bird bleeds or panics.
– Never trim into the vascular quick; beaks can bleed and be painful to nerve endings.
Be honest about your skill level. One small mistake can become a major problem.
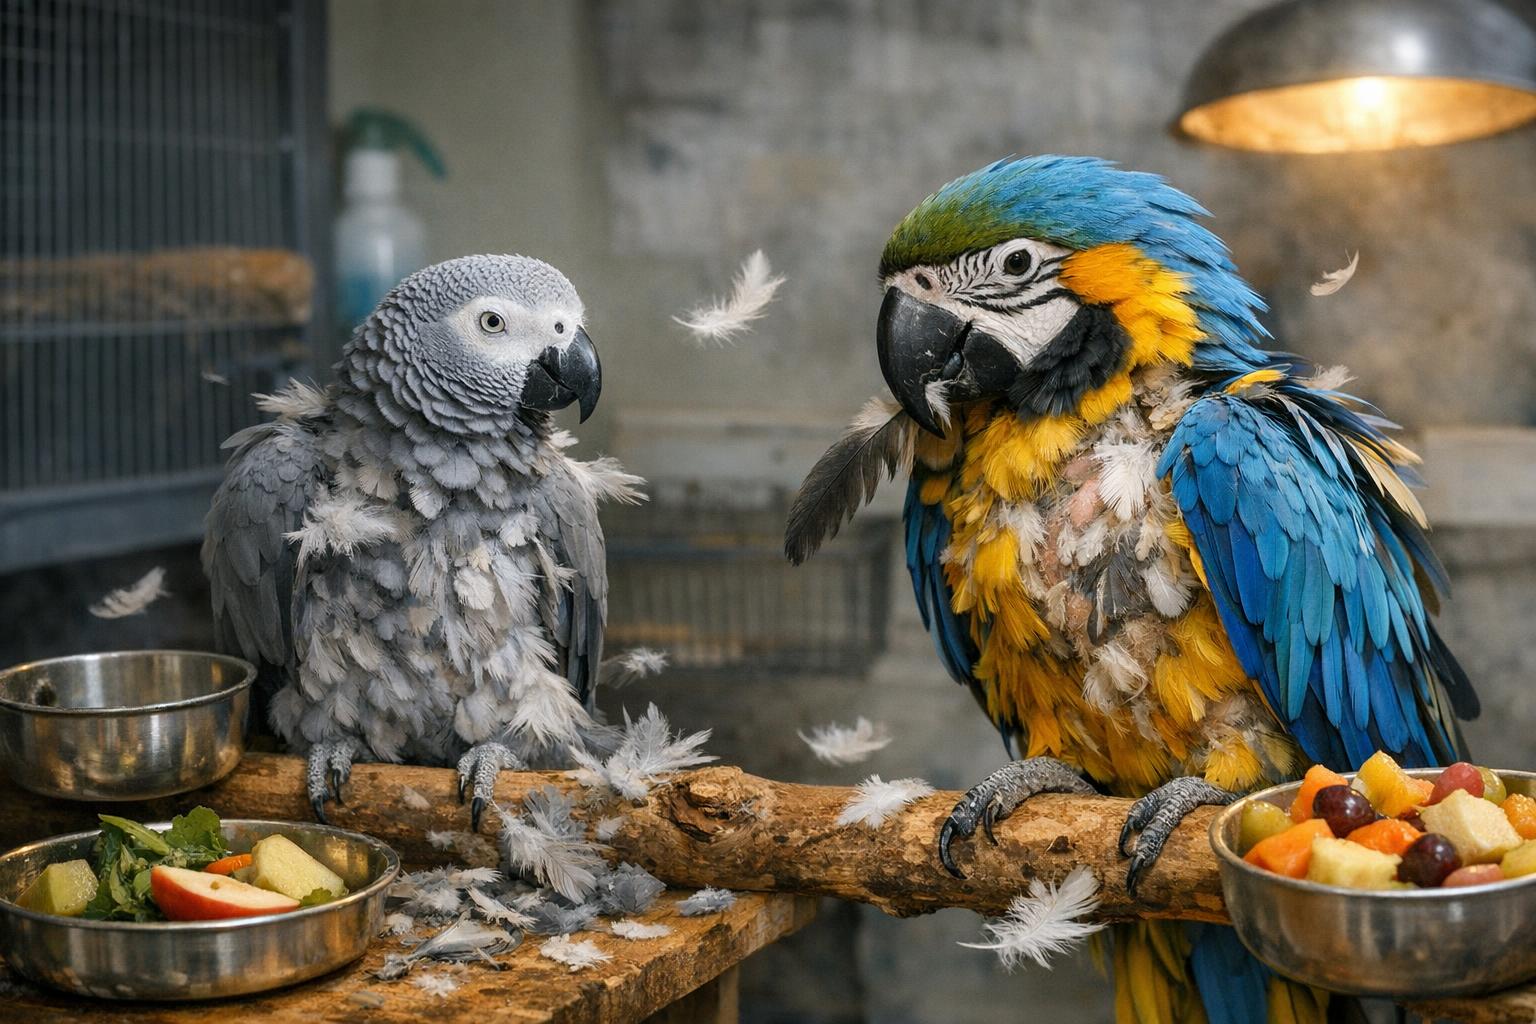
## When Disease Causes Beak Problems
Beak issues sometimes point to systemic illness. Examples:
– Liver disease can cause color changes or abnormal keratin growth.
– Bacterial or fungal infections can soften or erode the beak.
– Nutritional deficiencies show up as flaking, soft spots, or odd textures.
If you’re running a checklist and dietary fixes don’t help, ask the vet about bloodwork and imaging. An X-ray can reveal internal problems that explain persistent beak trouble.
## Preventive Checkpoints For Owners
Keep a simple record. Note the beak’s state every week for a few months and you’ll spot trends. Photograph the beak from the same angle monthly. These records help your vet decide whether changes are slow and manageable or rapid and alarming.
Handle the bird calmly during checks. A nervous bird will clamp and possibly damage the beak further. Practice short, reassuring handling sessions so your bird tolerates inspection.
### Grooming Tools To Keep On Hand
A few reliable items make simple upkeep easier:
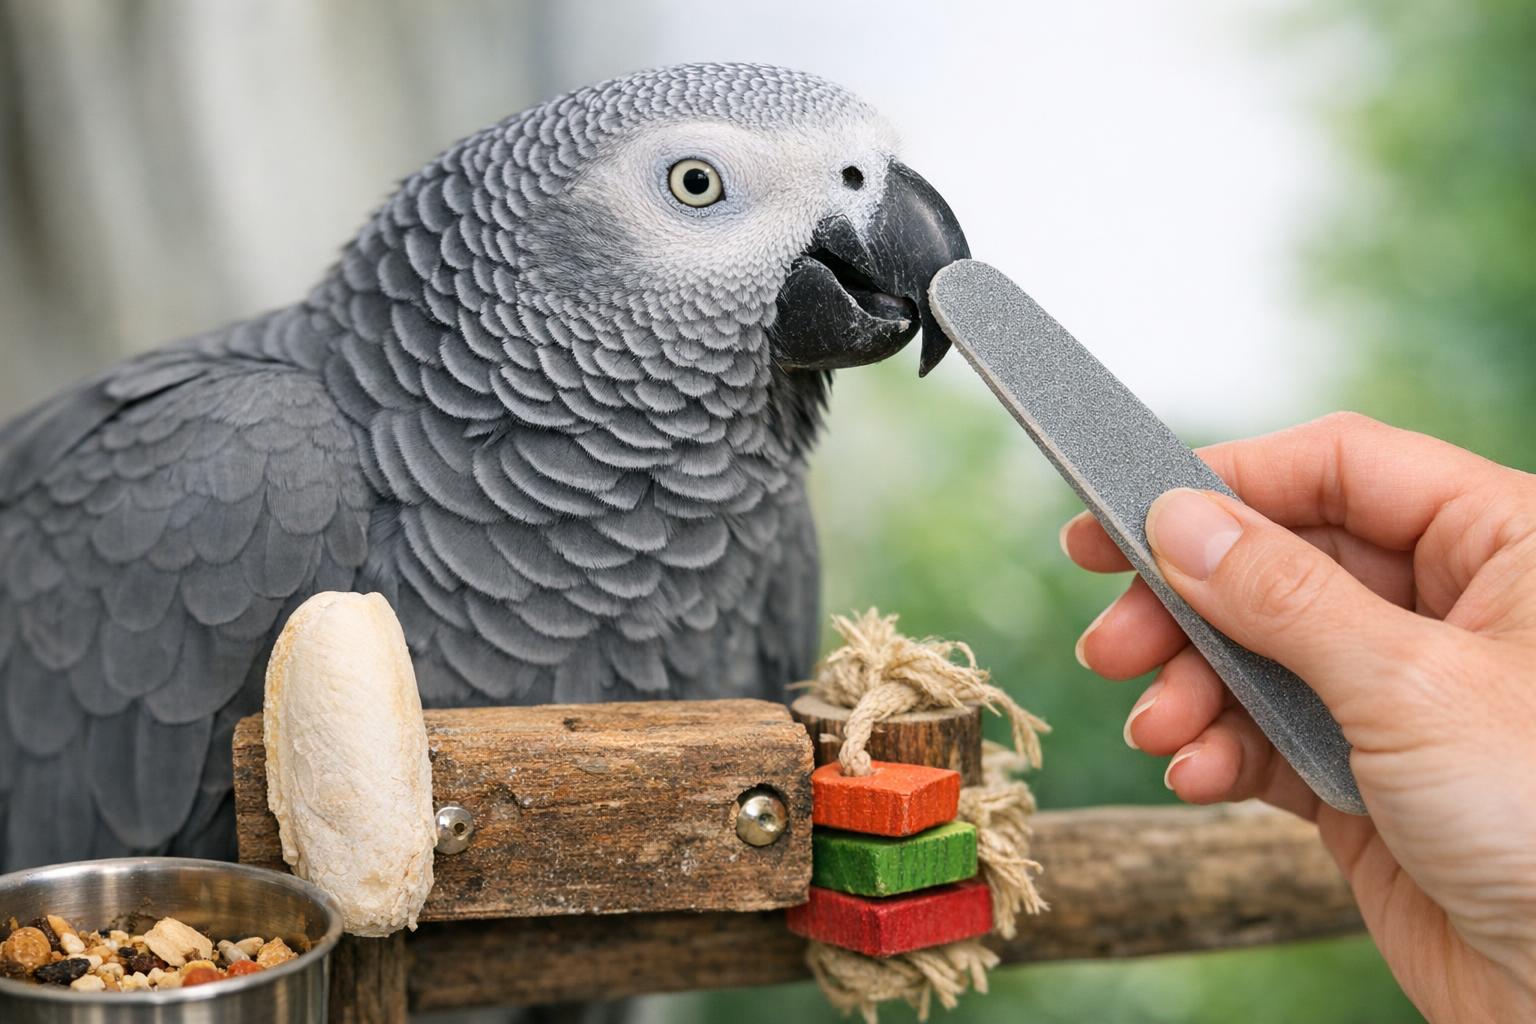
– A handheld emery board or bird-safe file for minor smoothing.
– A cuttlebone and mineral block for natural filing and calcium.
– A set of varied perches.
Keep anything sharp out of reach when not in use. Replace worn tools. Use them sparingly; overuse can reshape the beak in unwanted ways.
## Training For Cooperative Care
Train your bird to accept beak inspection. Use short, calm sessions with a reward afterward. Teaching a target or a step-up cue makes it easier to position the bird for a quick look. This is not about forcing compliance. It’s about trust so you can spot trouble early without stress.
Positive reinforcement goes far. A quick treat, a gentle scratch, or a favorite toy after inspection builds cooperation.
## DIY Remedies To Avoid
You’ll find plenty of home remedies online. Most are either harmless and useless or risky. Avoid:
– Applying household glues or adhesives to repair chips.
– Using metal files or sandpaper that generate heat.
– DIY trims without proper restraint and tools.
Simple topical antiseptics are OK for tiny wounds if advised by a vet, but don’t improvise. When in doubt, call your vet.
## Beak Maintenance Tools You Can Trust
Quality matters. Tools sold by avian vet suppliers or recommended by local avian clinics are worth the extra cost. A poor-quality file will shred keratin and create sharp edges. Invest in a compact kit: a soft file, a beak-friendly rubbing tool, and a small pair of forceps for cleaning food caught at the base.
Using the right tools reduces stress and makes your bird more willing to cooperate next time.
## Real-Life Examples
I once had a cockatiel whose upper beak curved so much she couldn’t grasp millet. A few simple changes — replacing all uniform perches with varied ones, adding a mineral block, and scheduling a quick vet filing — put her back to normal within weeks. Another example: a conure with persistent flaking turned out to have vitamin A deficiency; a diet overhaul fixed the keratin issues, no trimming required.
These stories aren’t theoretical. They’re the kind of practical outcomes you get when you combine observation, sensible bird beak care, and timely vet input.
## Keeping Records And Knowing When To Escalate
If repeated small fixes don’t change the trend, escalate. Persistent overgrowth despite good environmental changes often hides something systemic. Keep photos, dates, and notes about diet or toy changes. That info makes your vet’s job faster and more accurate.
Also, don’t ignore behavioral clues. Less vocalization, reluctance to nibble, or changes in preening often accompany hidden beak issues.
## Resources For Deeper Learning
Look for local avian clubs, experienced breeders, and reputable online forums moderated by vets. Avoid anecdotal “hacks” from unverified sources. A good reference manual on avian medicine or a chat with an avian technician will give you practical tips tailored to your bird species.
Recieve advice thoughtfully and check it against professional sources.
## Small Steps, Big Results
Regular checks, varied textures, a balanced diet, and a relationship with an avian-savvy vet keep beaks healthy. These avian beak maintenance tips for pet birds are about daily consistency more than dramatic fixes. A little attention every day prevents a lot of pain later.
Using the right words — bird beak care and routine beak maintenance — helps you form the checklist that keeps your bird active and comfortable. Implement them steadily and you’ll see the difference in both the beak and your bird’s overall demeanor.
## When You Need A Specialist
If your bird has repeated problems or if the beak changes rapidly, seek an avian specialist. They can perform bloodwork, biopsies, and imaging that general practices might not offer. Advanced cases need advanced diagnostics to rule out infections, metabolic disease, or tumors.
Call early rather than late. Timely vet visits avoid complicated interventions down the road and keep the beak working the way nature intended.


Leave a Reply