


Ouch — your pup just clipped a nail too far, or nature did what nature does and the tip broke off. Calm breath. This guide walks you through practical, gentle steps for dog broken nail care at home so you and your dog can get back to sniffing the mail with minimal drama. I’ll keep things relaxed, but when we get to remedies I’ll be precise and methodical — because dogs don’t read labels and owners shouldn’t guess.
## Dog Broken Nail Care: Recognize The Severity
Early, accurate assessment makes the difference between a quick fix and a trip to the vet.
### Quick Signs To Watch For
– Visible crack or nail tip missing.
– Bleeding from the quick (the pink area) or around the base.
– Limping, licking, or sensitivity when you touch the paw.
– Unusual swelling or a bad smell (signs of infection).
### When The Quick Is Involved
If bleeding is moderate to heavy, or you can see the pink “quick,” treat carefully. A small flick of blood can look dramatic but stop quickly with proper first aid. If the break is down to the quick and won’t stop bleeding, that’s when dog broken nail care at home is no longer enough — see the vet.
#### Red Flags Requiring Immediate Vet Care
– Continuous bleeding after 15–20 minutes of pressure.
– Deep jagged breaks with exposed raw tissue.
– Your dog shows general signs of pain, fever, or refuses to walk.
– Obvious bone involvement or the nail is hanging by a thread.
## When To Call The Vet
Use dog broken nail care at home for minor breaks that are clean and stop bleeding. Call the vet if any of the red flags above appear, or if you’re unsure. A vet can safely trim the nail, cauterize or suture the quick if needed, prescribe pain medication or antibiotics, and recommend a proper bandaging method. There’s no shame in professional help — vets have fancy pliers and the calm demeanor of saints.
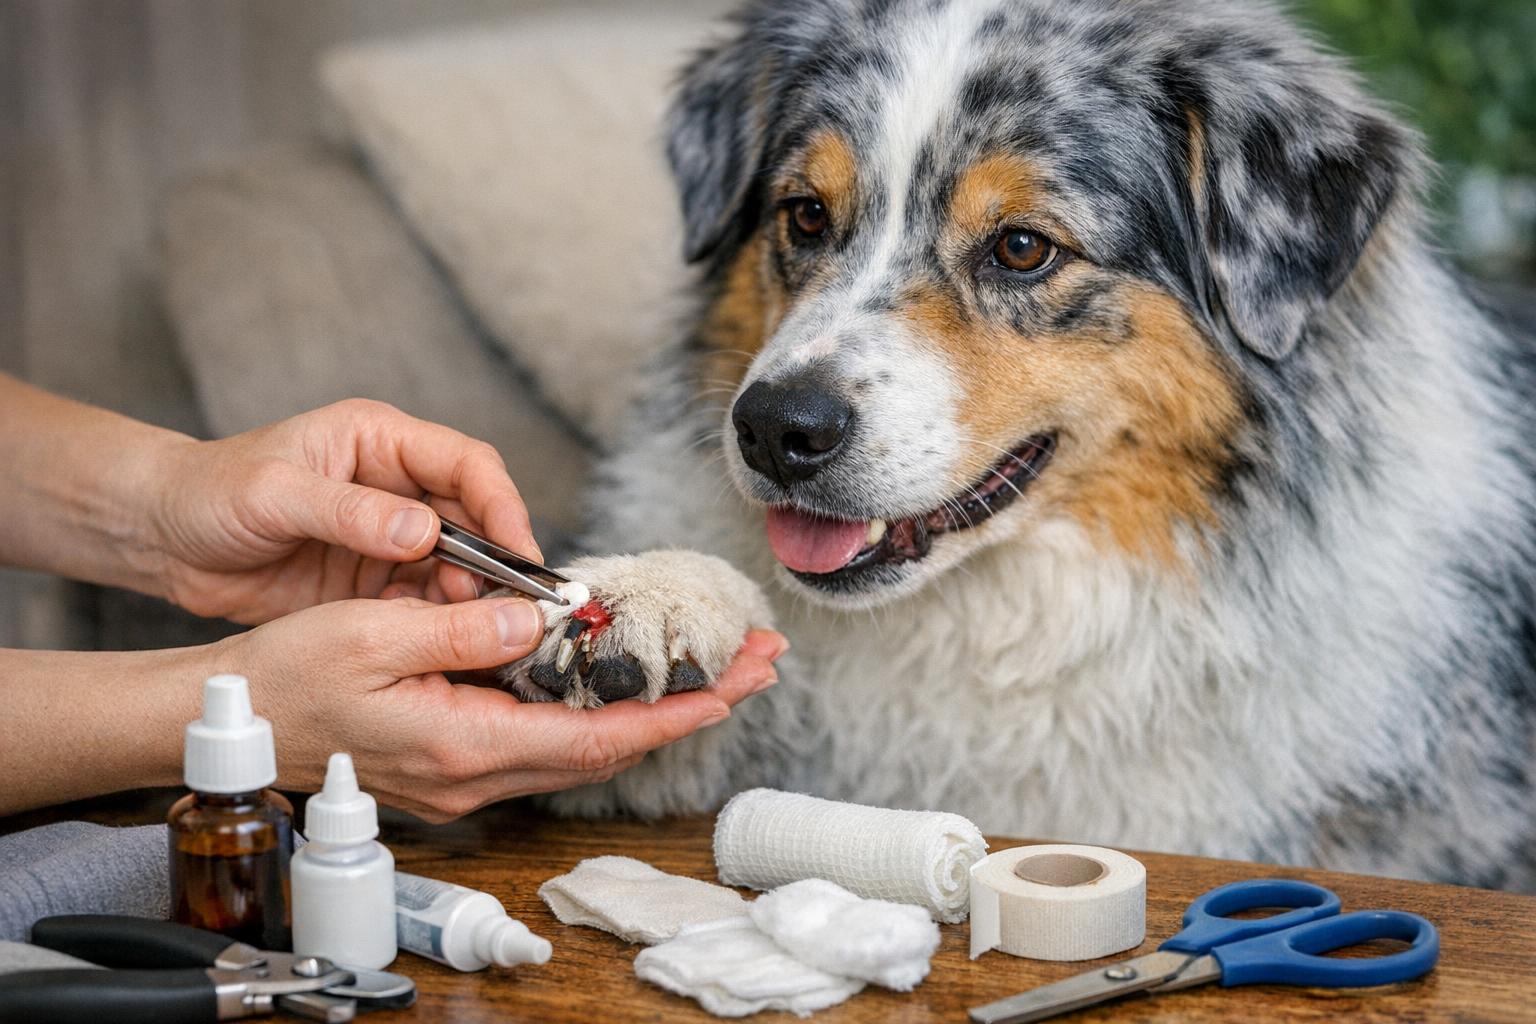
## Remedy 1: Clean, Stop Bleeding And Bandage
This is the go-to immediate response for common breaks. Be precise and calm; your dog will take cues from you.
### Materials Needed
– Sterile gauze pads and clean towels
– Styptic powder or cornstarch
– Antiseptic solution (chlorhexidine or diluted betadine)
– Tweezers (sterilized) for removing debris
– Adhesive tape and non-stick sterile pads
– Small cone (e-collar) to prevent licking
#### Preparation And Safety
– Approach with calm voices. Use treats and gentle restraint. If your dog is very distressed or in severe pain, ask someone to help or proceed to the vet.
– Wear gloves if available.
Step-By-Step Application
1. Restrain and assess: Gently examine the paw. If the nail is hanging, avoid tugging.
2. Apply pressure: Use a clean gauze pad and steady pressure for 5–10 minutes to control bleeding.
3. Use styptic: If bleeding continues, apply styptic powder or a small amount of cornstarch directly to the bleeding area and maintain gentle pressure until it stops.
4. Cleanse: Once bleeding is controlled, flush the area with saline or a diluted antiseptic (one part chlorhexidine or betadine to 10 parts water) to remove dirt.
5. Remove debris: Carefully use tweezers to remove visible splinters or trapped material. Do not dig into the nail bed.
6. Dress the wound: Place a non-stick sterile pad over the nail, wrap with gauze, and secure with adhesive tape. Don’t wrap too tightly; you should be able to slide one finger under the bandage.
7. Prevent licking: Fit an Elizabethan collar if your dog tries to chew the bandage.
8. Monitor: Change the dressing daily and check for signs of infection. Continue dog broken nail care by keeping the area clean until healed.
Be formal and methodical here: when applying styptic powder, use small amounts, and avoid forcing anything into open tissue. If at any point the bleeding restarts or the dog exhibits severe distress, seek veterinary care.
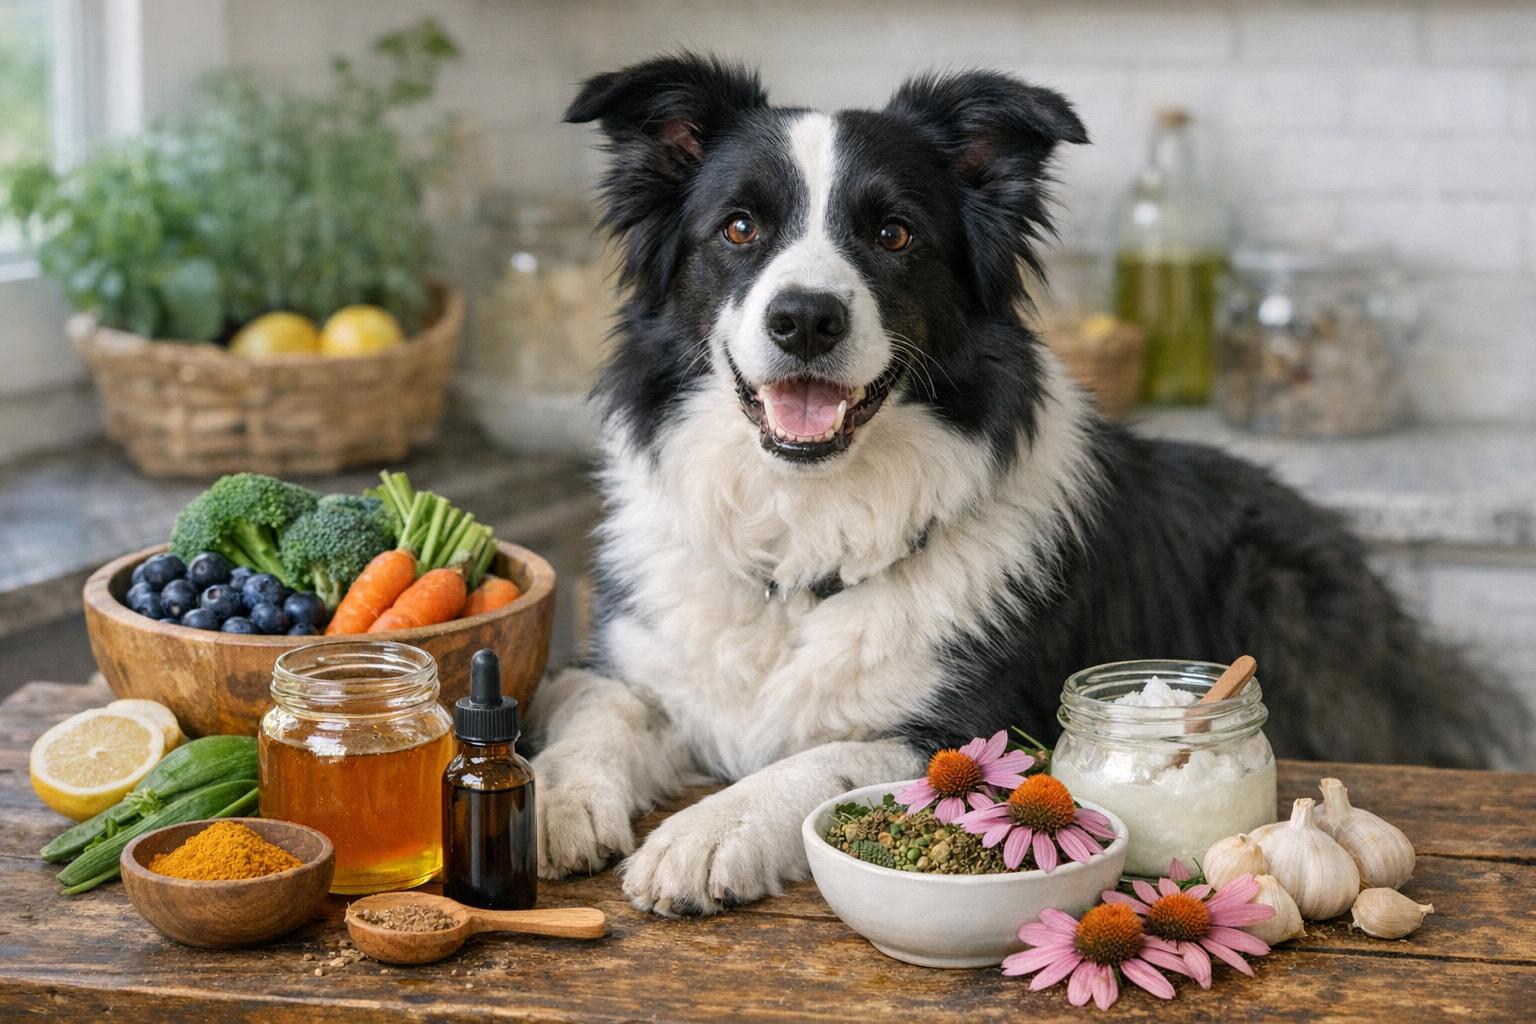
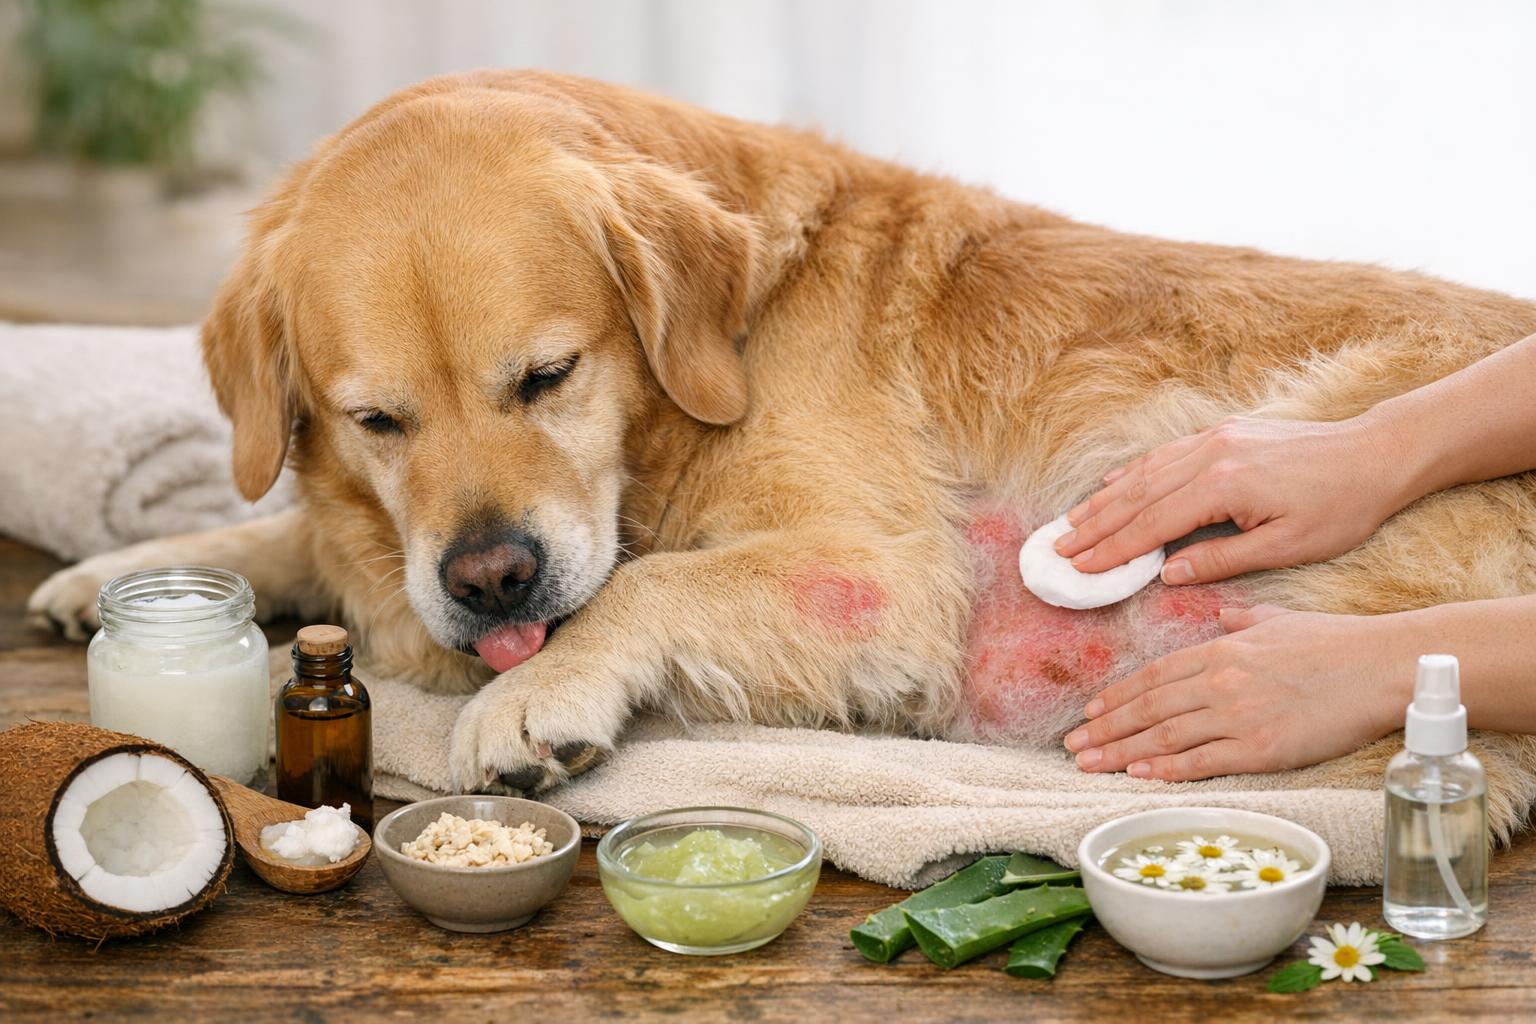
## Remedy 2: Soak, Antiseptic Topical, And Protective Healing
This remedy focuses on reducing infection risk and promoting a comfortable environment for the nail to heal.
### Materials Needed
– Warm water and Epsom salts
– Mild antiseptic solution (chlorhexidine or povidone-iodine)
– Topical antibiotic ointment (pet-safe)
– Soft dressing or self-adhesive bandage (Vetrap)
– Protective boot or sock for walk time
#### Creating The Soak And Application Protocol
1. Prepare soak: Dissolve one tablespoon of Epsom salts in a cup of warm water (adjust quantity for a shallow basin). Ensure water is comfortably warm, not hot.
2. Soak duration: Gently soak the injured paw for 5–10 minutes once or twice daily for the first 48–72 hours. This reduces swelling and helps draw out minor contaminants.
3. Dry carefully: Pat the paw dry with a clean towel; do not rub aggressively.
4. Apply antiseptic: Dab diluted chlorhexidine or povidone-iodine around the broken nail with a sterile gauze. Avoid forcing liquid into deep wounds.
5. Topical antibiotic: Apply a thin layer of pet-safe antibiotic ointment directly to the exposed area to guard against infection.
6. Dress and protect: Cover with a non-stick pad and secure lightly with Vetrap. For walks, use a protective boot to keep the dressing clean and dry.
7. Repeat: Continue soaks and topical application daily until the nail shows signs of healing and the bandage stays clean.
When performing dog broken nail care involving soaks and topical ointments, maintain sterile technique where possible. This decreases bacterial introduction and hastens healing.
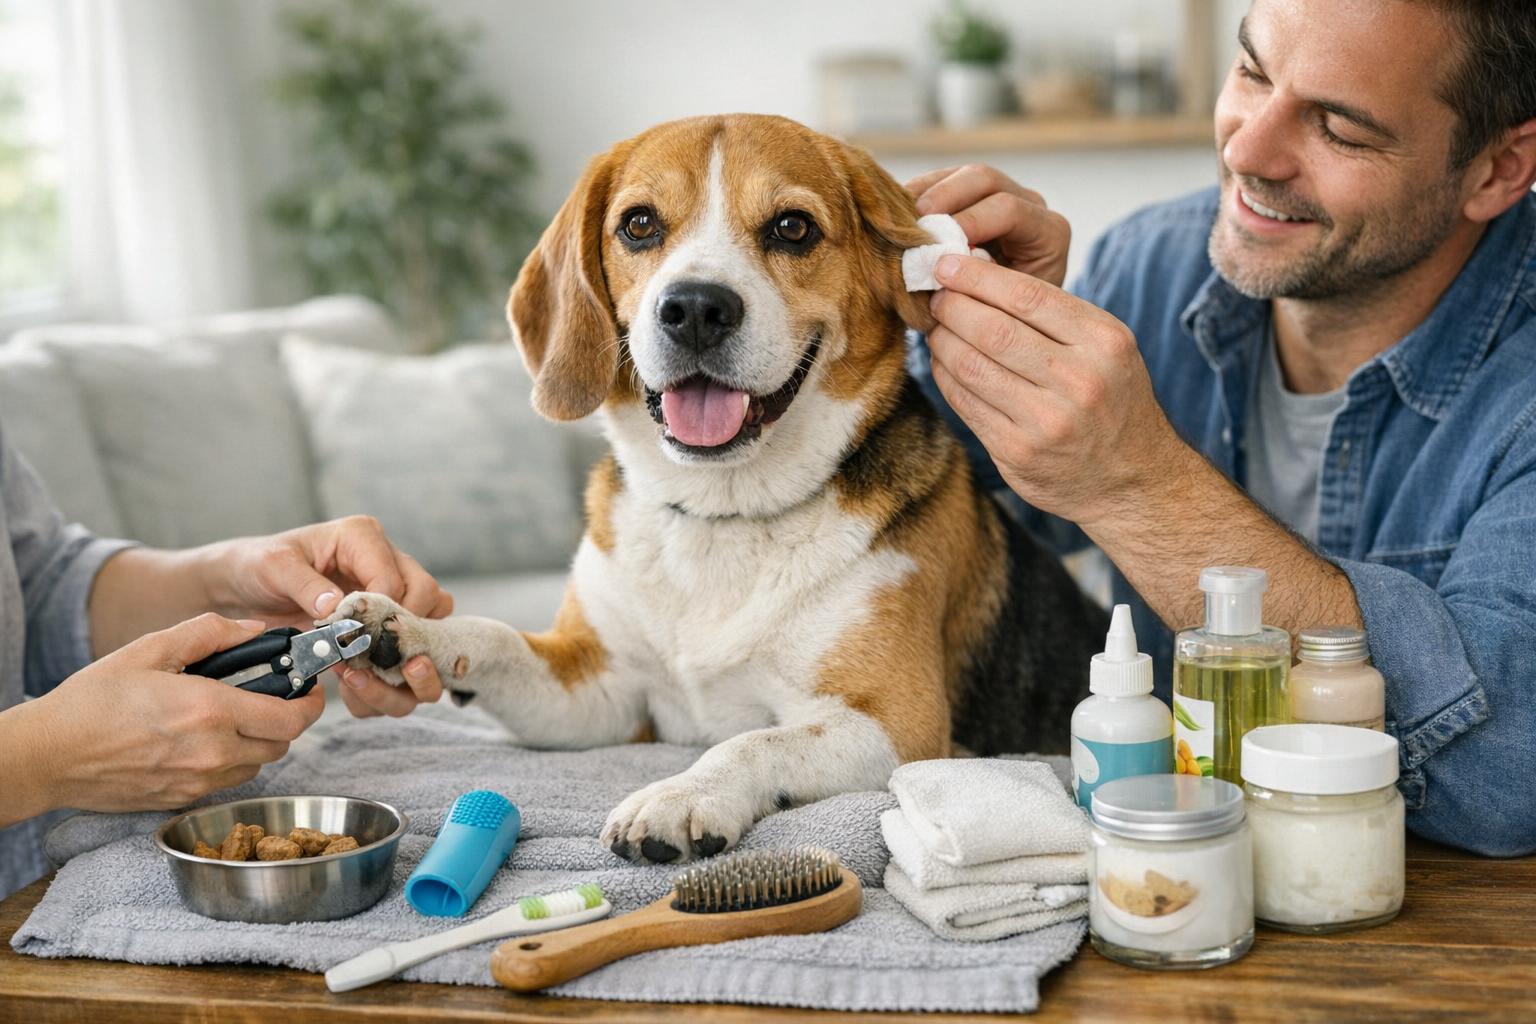
## Aftercare Tips And Preventing Future Breaks
Healing takes patience — and some preventive measures that are as simple as regular grooming.
### Gentle Home Care Routines
– Keep nails trimmed to an appropriate length; routine trims reduce the chance of snagging.
– Use a nail grinder slowly to smooth edges and avoid cutting too close to the quick.
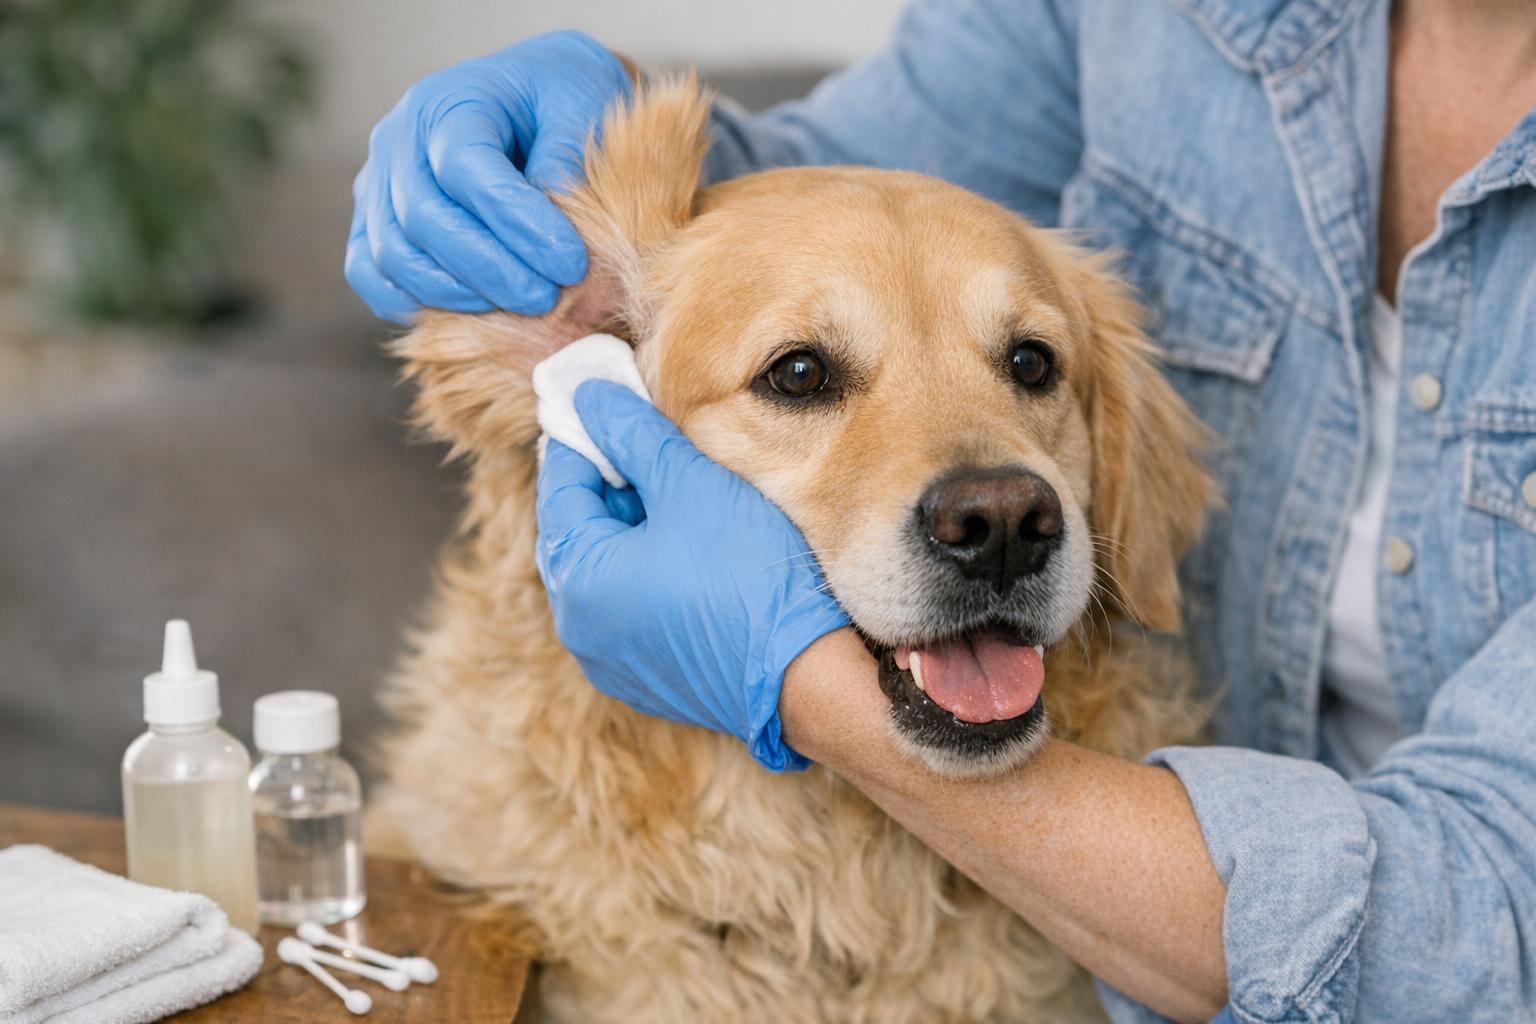
– Check paws after walks for debris, cuts, or stuck objects.
– Maintain a clean environment for bandaged paws — change bedding if it becomes soiled.
### Exercise And Activity Adjustments
– Shorten walks while the nail heals; avoid rough terrain that might knock the bandage loose.
– Skip vigorous paw-intensive activities (frisbee, intense tugging) for a couple of weeks.
– Use positive reinforcement and treat-based rewards to keep your dog calm during bandage changes.
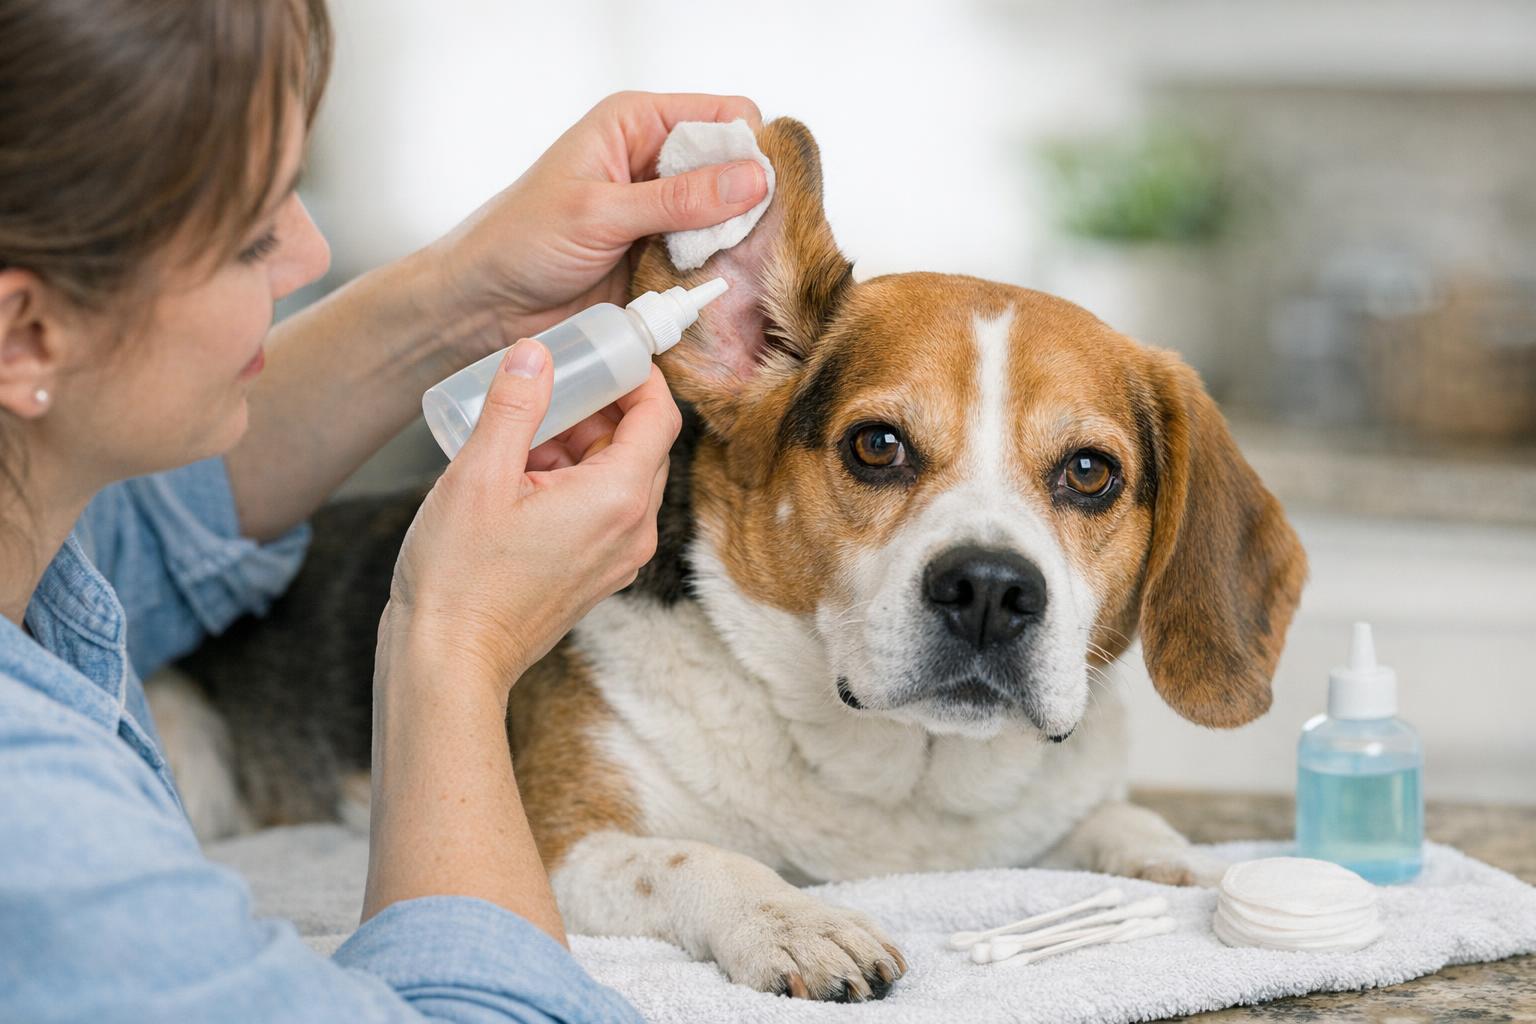
#### Watch For Signs Of Infection
In addition to swelling, redness, warmth, or discharge, increased licking or limping can mean infection. If you notice these, revisit your vet promptly. Incorporate these observations into your regular dog broken nail care routine so small problems don’t become big ones.
### Trimming Tips To Avoid The Quick
– Trim in small increments. If your dog has dark nails and you can’t see the quick, trim tiny amounts, then check the cut surface.
– Use a nail grinder for smoother edges and less chance of splitting.
– If unsure, have a groomer or vet demonstrate correct technique.
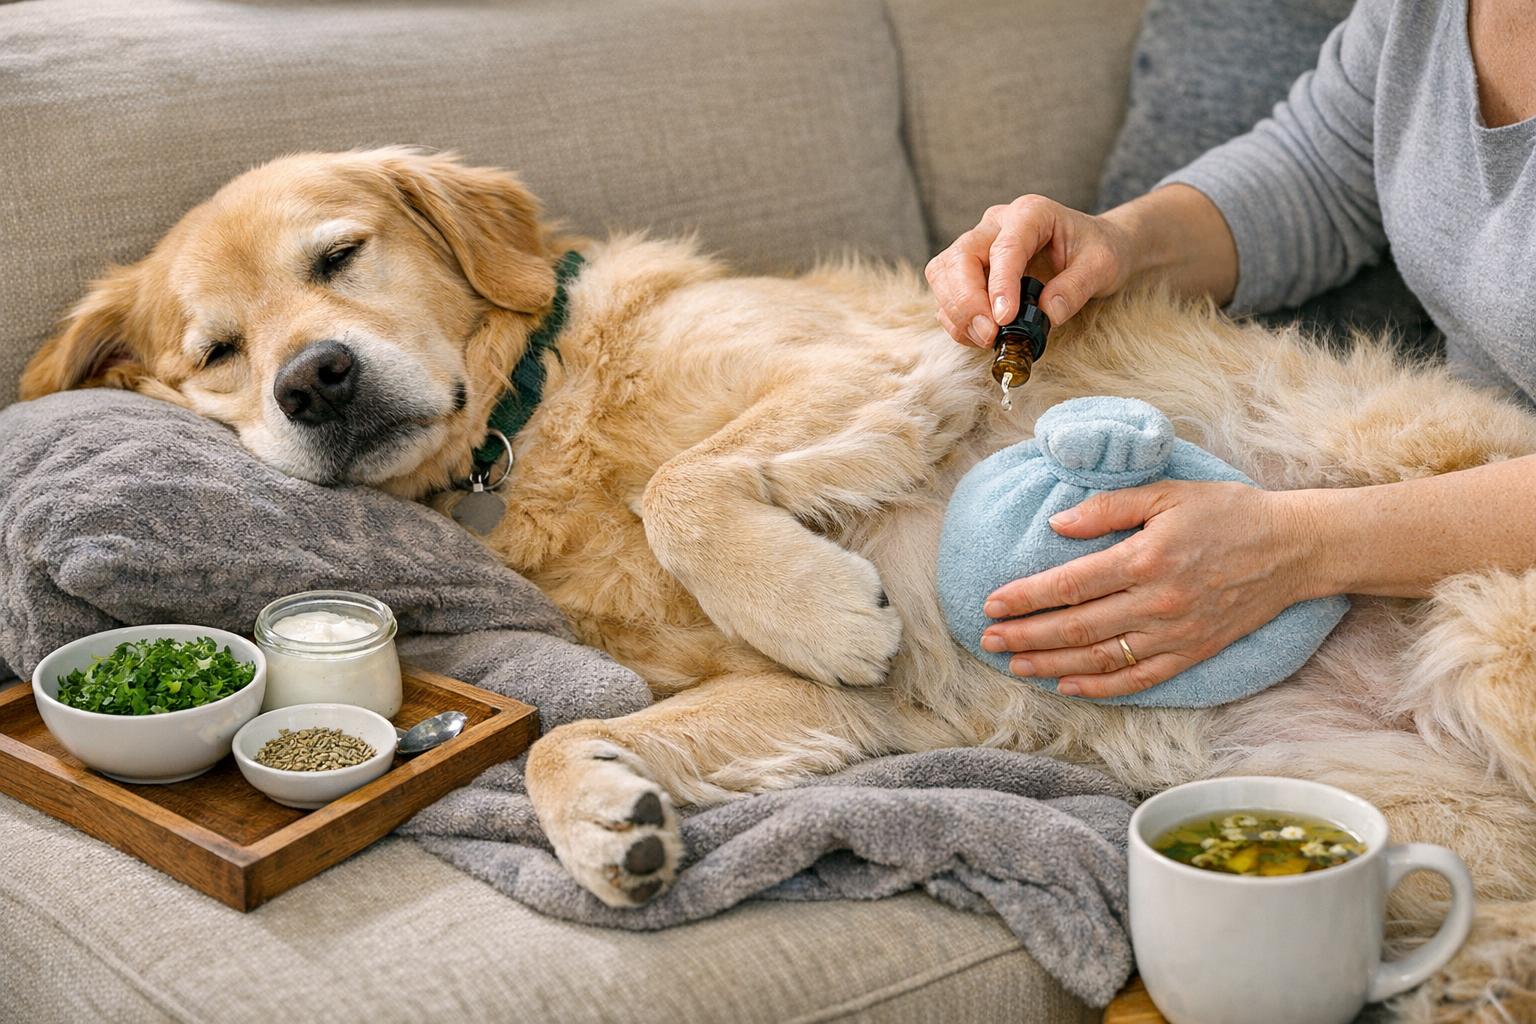
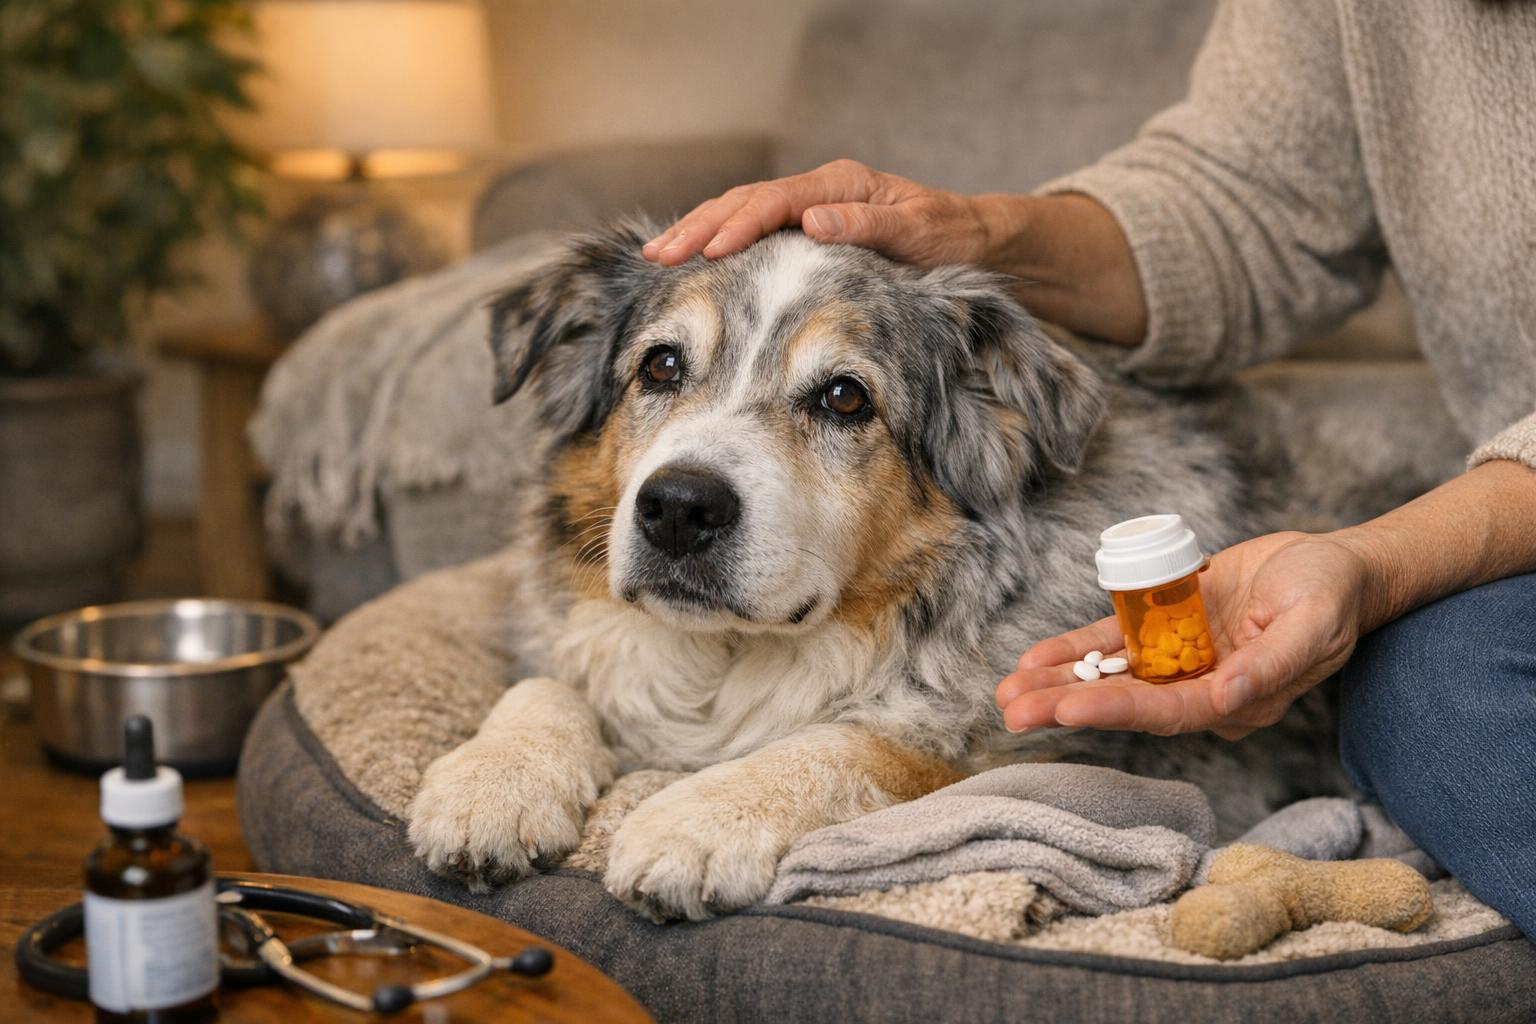
## Managing Pain And Comfort At Home
Minor pain can be managed with cold compresses and rest, but avoid human pain medications unless prescribed by a vet. NSAIDs for humans can be toxic to dogs. For persistent pain, contact your veterinarian for approved analgesics.
### Behavioral Comfort Measures
– Keep the environment calm and predictable.
– Offer soft bedding and limited stairs.
– Distract with low-key toys and gentle attention — no water balloon fetch.
Dog broken nail care doesn’t have to be a dramatic event. With calm handling, the right supplies, and careful follow-up, most small breaks heal without fanfare. If in doubt, call your vet — it’s better to be safely overcautious than to have your dog in prolonged pain.


Leave a Reply