


Caring for your cat’s ears doesn’t have to be a heroic vet-level operation, but it does require respect, patience, and tidy fingers. Cats hide discomfort well, and their ears are delicate — both in structure and ego. This guide walks you through safe observations, when to get professional help, and a clear, vet-friendly ear wash you can make at home without turning your living room into a chemistry lab. A little humor, a lot of calm, and practical steps to keep those tuxedo tuxedos and tabbies happily twitching.
## When To Consider An Ear Wash For Cats Homemade
Knowing when to try an ear wash for cats homemade versus when to see a vet is the first smart step. If your cat’s ears look slightly dirty, have light wax buildup, or your cat gives occasional ear scratches without other symptoms, a gentle homemade ear wash may be appropriate. However, if there’s intense redness, swelling, a foul odor, dark crumbly debris, or your cat is in obvious pain, skip the DIY and head to the vet.
### Signs Of Mild Ear Build Up
– Light brown or yellow wax on the outer ear.
– Occasional scratching or slight head tilt.
– No strong odor and no visible redness inside the ear flap.
### When To See The Vet Immediately
– Continuous head shaking or severe scratching.
– Visible wounds, blood, swelling, or hot ears.
– Thick, dark debris or a strong foul smell (common with yeast or bacterial infections).
– Sudden balance problems or if your cat seems disoriented.
## Simple Science Behind A Gentle Ear Wash
A homemade ear wash for cats homemade is not a detergent, bleach, or human ear cleaner. The goal is to soften and dissolve excess wax and debris, gently rinse them out, and restore a neutral environment. A mild saline or diluted povidone-iodine solution can be effective and is generally safe when used appropriately. Avoid alcohol, hydrogen peroxide, or essential oils; these are too harsh for feline ear tissue and can cause irritation or pain.
### What The Solution Should Do
– Soften wax and crusts.
– Be non-irritating (neutral pH close to saline).
– Help remove surface debris without killing normal flora aggressively.
– Not sting or cause immediate distress.
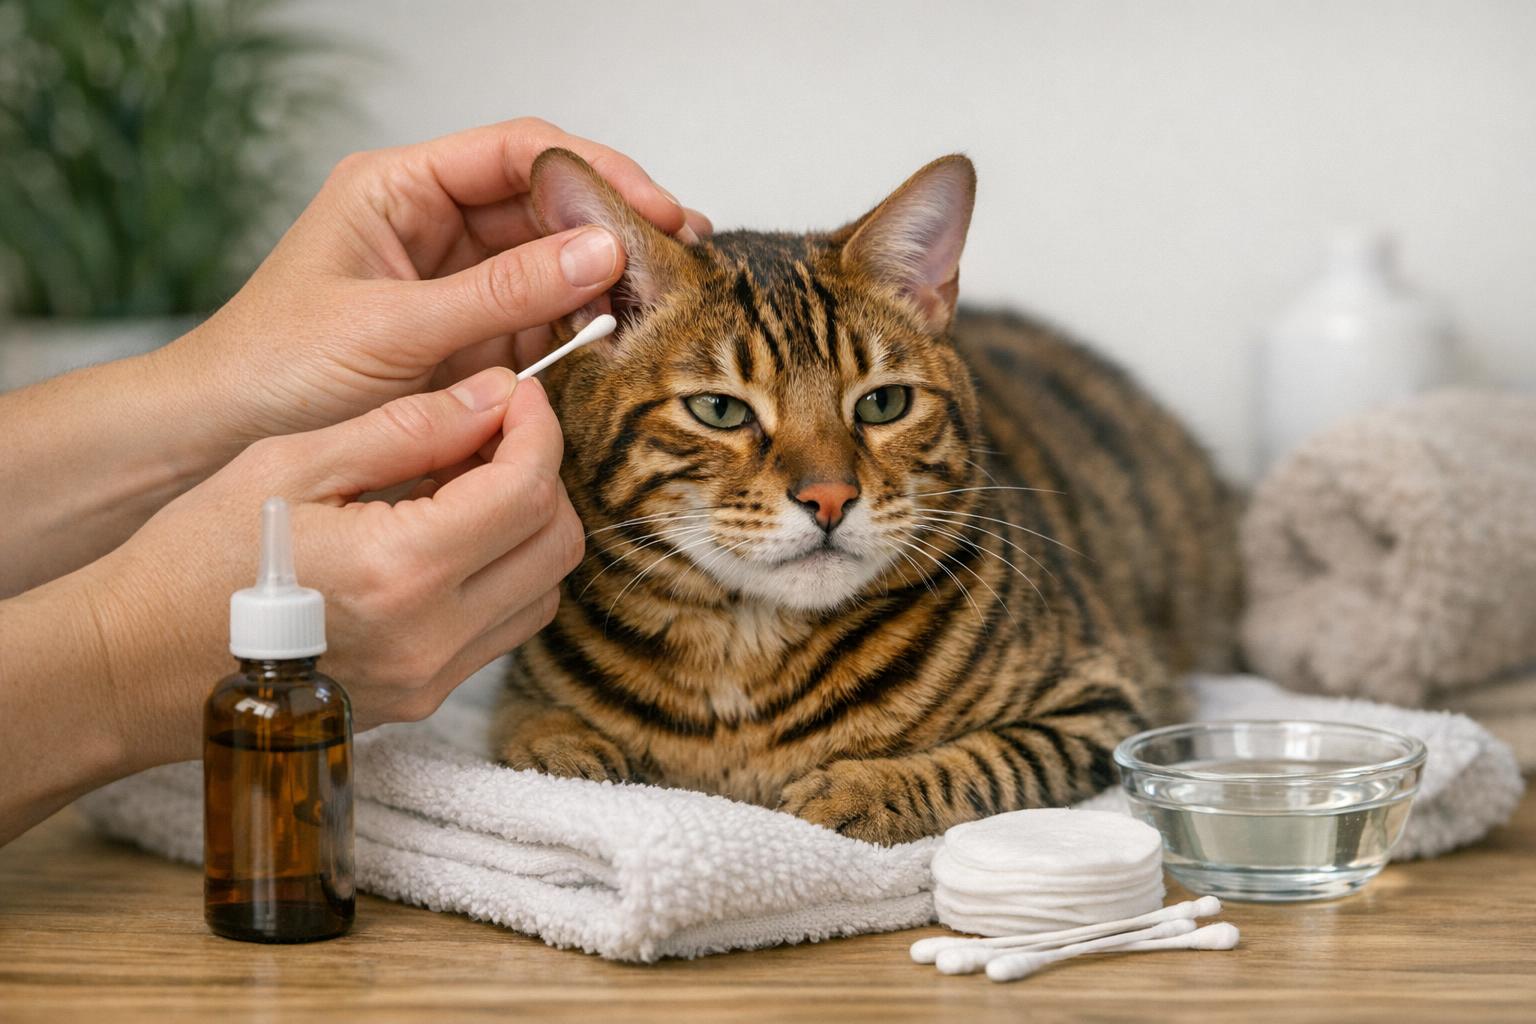
## Ingredients And Materials
Before you begin the ear wash for cats homemade, assemble these items. Preparation makes the process calm and quick — which your cat will appreciate more than you might think.
– 1 cup (240 ml) warm distilled water (sterile if possible)
– 1/2 teaspoon non-iodized salt (to make a mild saline) OR 1/2 teaspoon veterinary-grade saline
– Optional: 1 teaspoon 0.5%–1% povidone-iodine (diluted from 10% stock) — use only if advised by a vet
– Clean dropper or syringe (without needle)
– Cotton balls or soft gauze pads (not cotton swabs)
– Towel to wrap the cat gently (kitty burrito technique)
– Treats for positive reinforcement
– Gloves (optional, for cleanliness)
Note: If you’re unsure about the povidone-iodine dilution, skip it and use saline only. When in doubt, consult your veterinarian.
#### Preparing The Solution Safely
1. Warm the distilled water to body temperature (around 37–39°C / 98–102°F). Test on your wrist.
2. Dissolve the salt fully to create a mild saline. If using diluted povidone-iodine, add it slowly and mix thoroughly; the final mix should be pale straw color, not dark.
3. Fill the clean dropper or syringe with the solution. Keep the rest covered and refrigerated no more than 24 hours; discard if cloudiness appears.
### Restraint And Comfort Tips
– Enlist a calm helper if possible: one holds, one performs the wash.
– Wrap the cat in a towel with only the head exposed (front paws secured).
– Speak softly, move slowly, and reward with treats after each successful step.
– Never force the ear open; gentle manipulation is key.
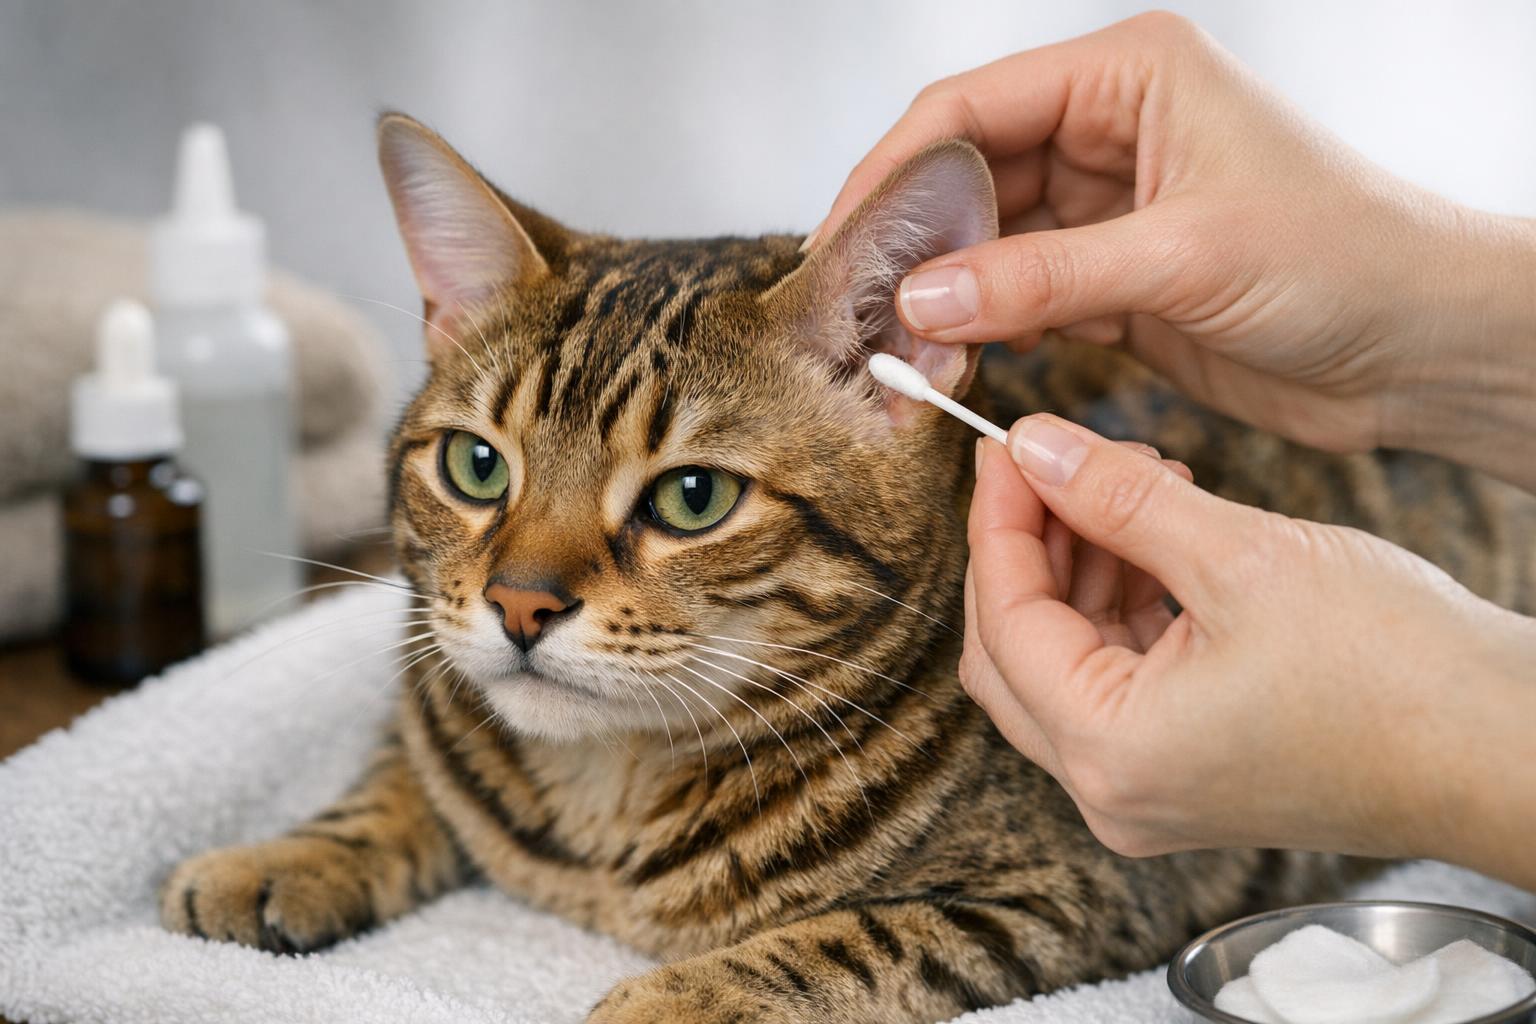
## Step-By-Step Ear Wash For Cats Homemade (Application)
The remedy portion below uses precise, formal steps. Follow these exactly to minimize risk and maximize comfort.
1. Inspect The Ear
– Look for discharge, severe redness, or foreign objects. If any of these are present, stop and consult your vet.
2. Position The Cat
– Wrap the cat in a towel to limit sudden movement. Have your helper hold the cat’s shoulders gently if available.
3. Administer The Solution
– Hold the ear flap upright and slightly back to straighten the ear canal entrance.
– Place the dropper tip just inside the ear opening (do not insert deeply).
– Squeeze 4–6 drops of the saline solution into the ear canal. If the cat tolerates it, you may use up to 0.5–1 ml for small cats and up to 1–2 ml for larger cats per ear. The goal is to fill the canal lightly, not flood the ear.
4. Massage The Ear Base
– Gently massage the base of the ear for 20–30 seconds. You should hear a soft squishing sound as the fluid moves deeper and loosens debris.
5. Allow The Cat To Shake
– Release the ear flap and let the cat shake its head. This natural action helps dislodge loosened wax and debris.
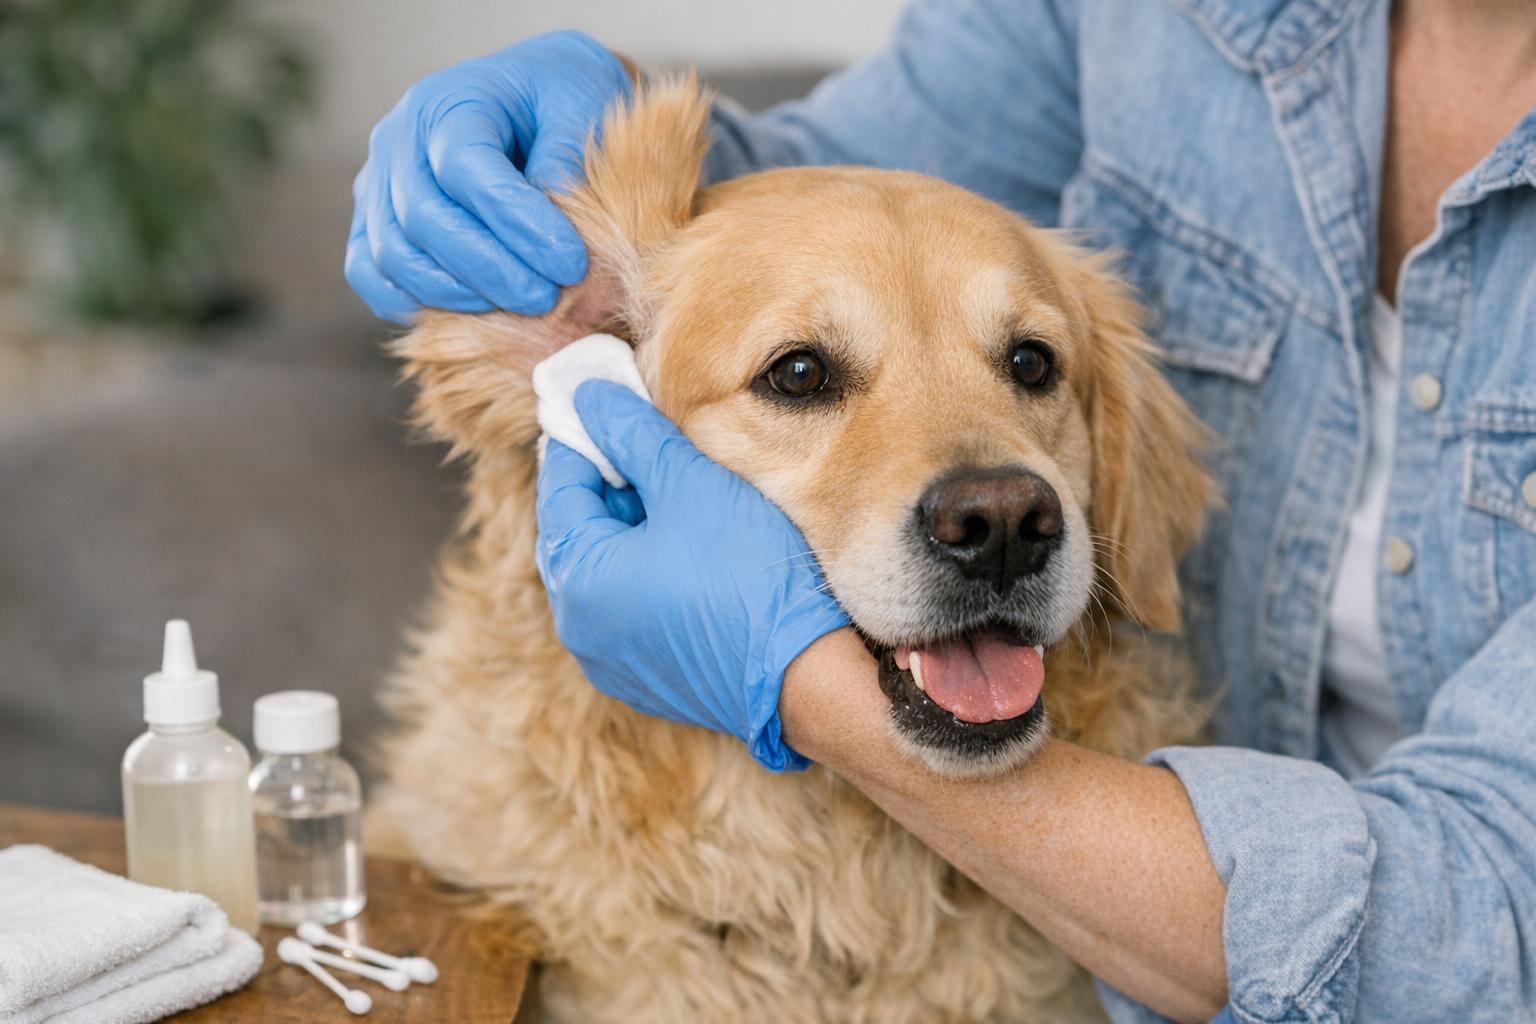
6. Wipe The Outer Ear
– Use a cotton ball or soft gauze to gently wipe away the fluid and debris from the outer ear and ear flap. Do not use cotton swabs inside the canal; they can push debris deeper or injure the ear.
7. Repeat If Necessary
– If debris persists but the ear tolerates the procedure, repeat steps 3–6 once more. Limit the whole session to two attempts per ear to avoid irritation.
8. Aftercare
– Offer treats and affection to reinforce a calm experience.
– Monitor the ear over the next 48 hours for signs of irritation, increased redness, discharge, or persistent odor. If symptoms persist, consult your veterinarian.
## Troubleshooting And Safety Notes
– If the cat vocalizes sharply or pulls away when liquid enters the ear, stop immediately. This can indicate pain or an eardrum issue.
– Never use a homemade ear wash for cats homemade if your cat has a known ruptured eardrum, recent ear surgery, or sensitivity to iodine (if using povidone-iodine).
– If you notice worsening symptoms after cleaning (excessive head shaking, bleeding, distress), contact your vet.
### Frequency And Maintenance
Routine ear cleaning is not usually required for most cats. For breeds or individuals prone to wax buildup (fluffy-eared cats or those with allergies), a monthly check and cleaning with a mild saline ear wash for cats homemade may be sufficient. Excessive cleaning can strip protective oils and cause irritation, so keep it occasional and as-needed.
## Alternatives And When To Upgrade Care
If home care is uncomfortable or ineffective, a professional ear flush at the veterinarian’s office is the better option. They can perform cytology, treat underlying infections, and flush the canal thoroughly under safe conditions. Persistent yeast or bacterial infections often require topical or systemic medication that only a vet should prescribe.
### Preventative Tips
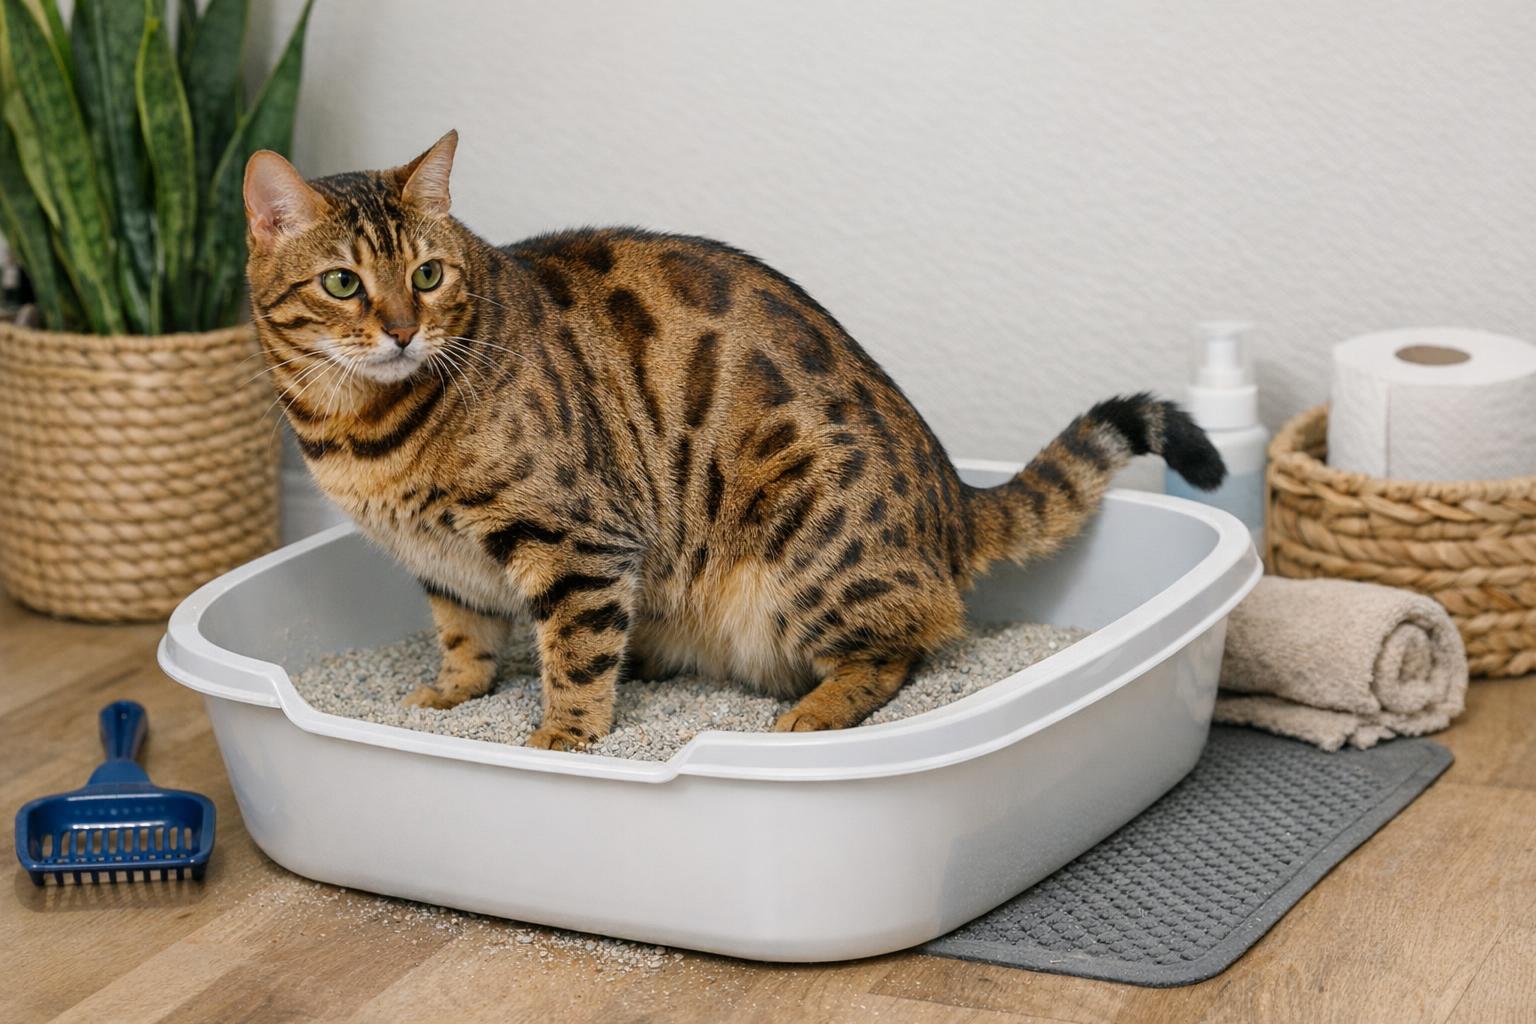
– Keep litter boxes clean and free from excessive dust that can contribute to ear irritation.
– Manage allergies with diet and environmental adjustments as advised by your vet.
– Regularly check ears during grooming sessions so you catch problems early.
A calm, informed approach goes a long way. With the right solution, a little patience, and the steps above, an ear wash for cats homemade can be a safe and effective tool in your cat-care toolkit — assuming your cat permits the dignity. If not, remember that professional help is both wise and totally acceptable.


Leave a Reply