


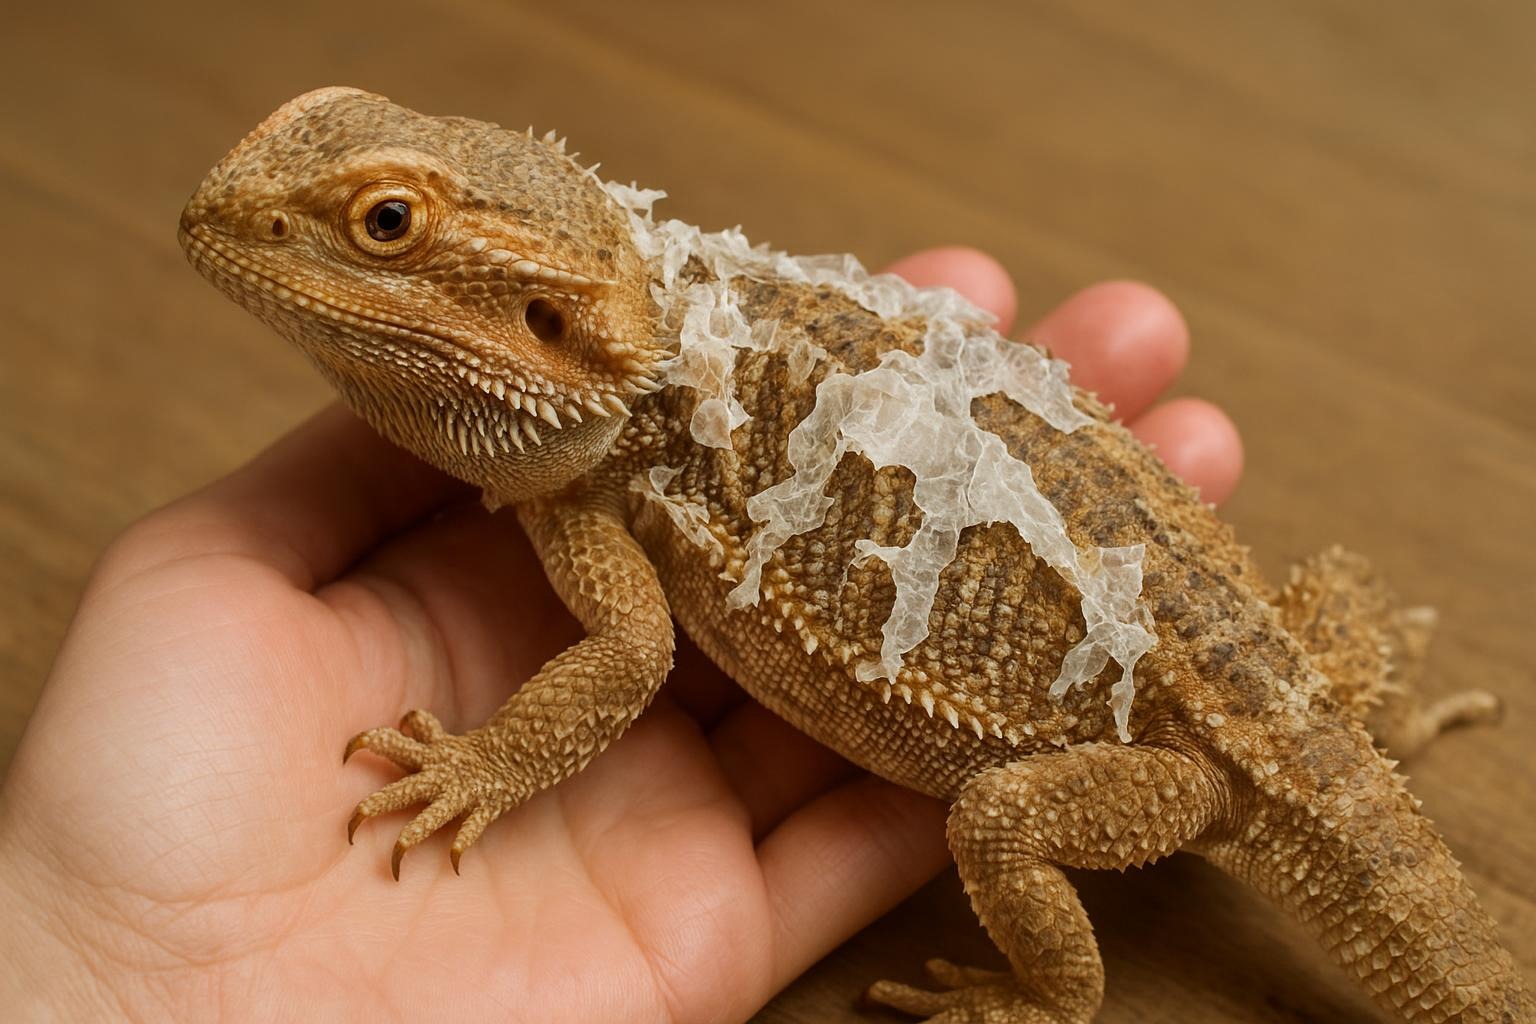
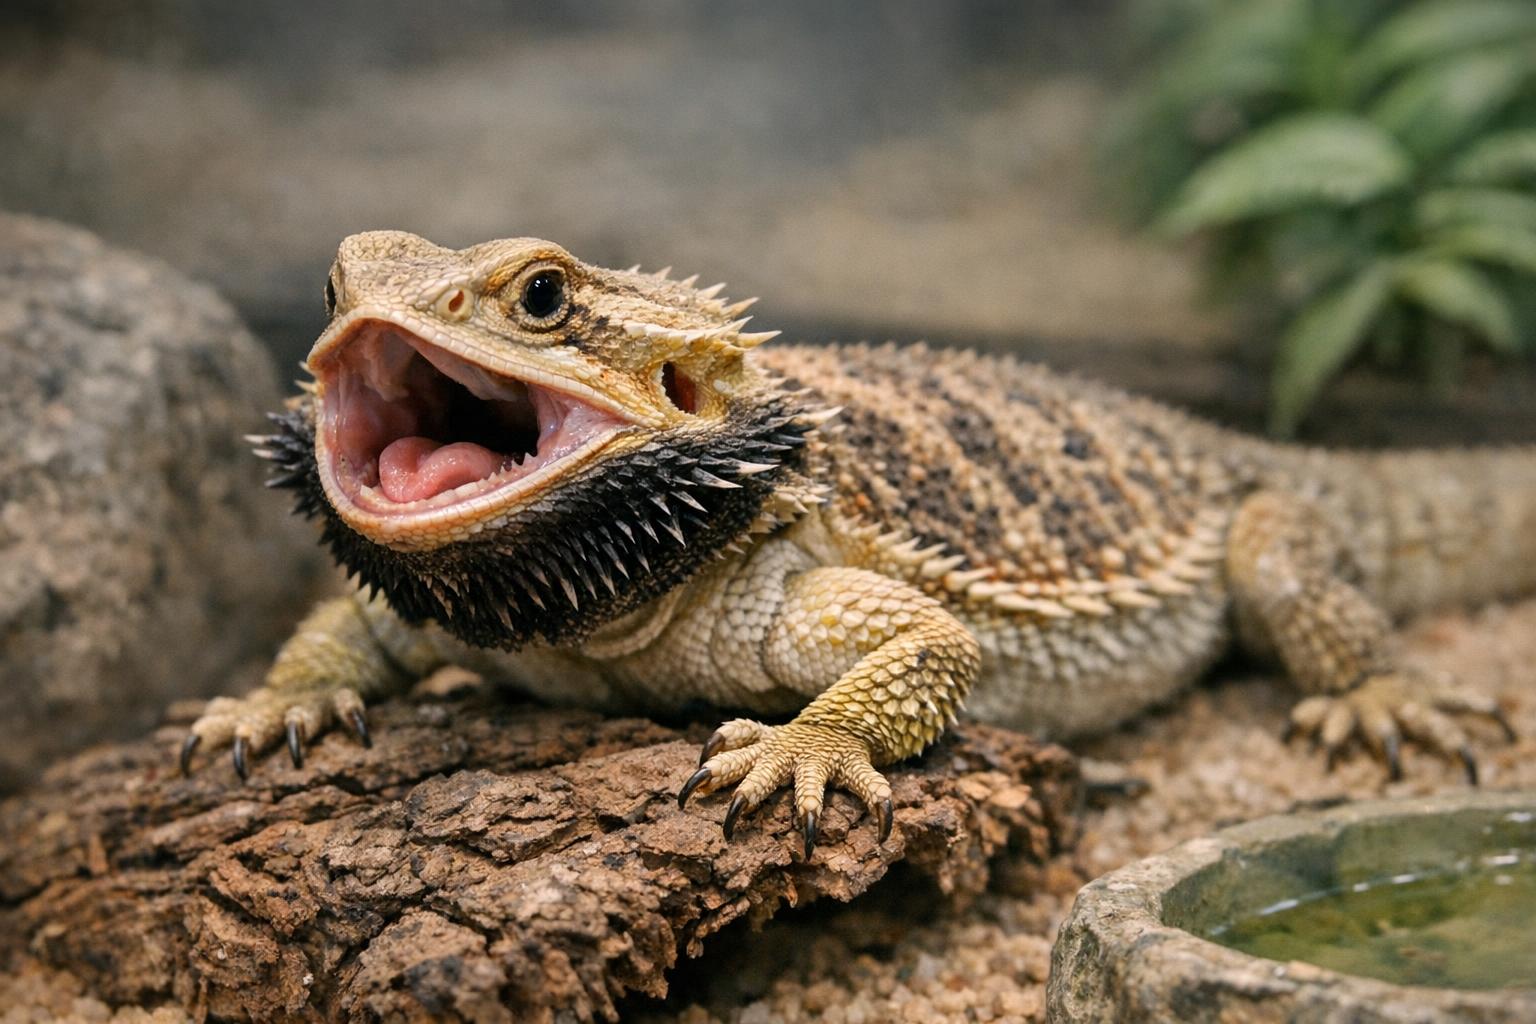
Bearded dragons are natural shed-ers — they turn over old skin like seasonal decor. But when they get stuck, flaky patches, retained eye caps, or painful tears can make both you and your dragon cranky. Below are practical, DIY approaches that respect your pet’s biology and minimize stress. Think of this as a spa day with purpose: calming music optional, careful technique mandatory.
## Bearded Dragon Shedding Aid: 3 DIY Remedies For Healthy Scales
Shedding is normal for bearded dragons, but trouble can arise when humidity, diet, or age aren’t in sync. A good bearded dragon shedding aid helps the process along without forcing it. Use the tips below to identify common issues and apply gentle, effective treatments that support proper shedding.
### How Shedding Works And When To Intervene
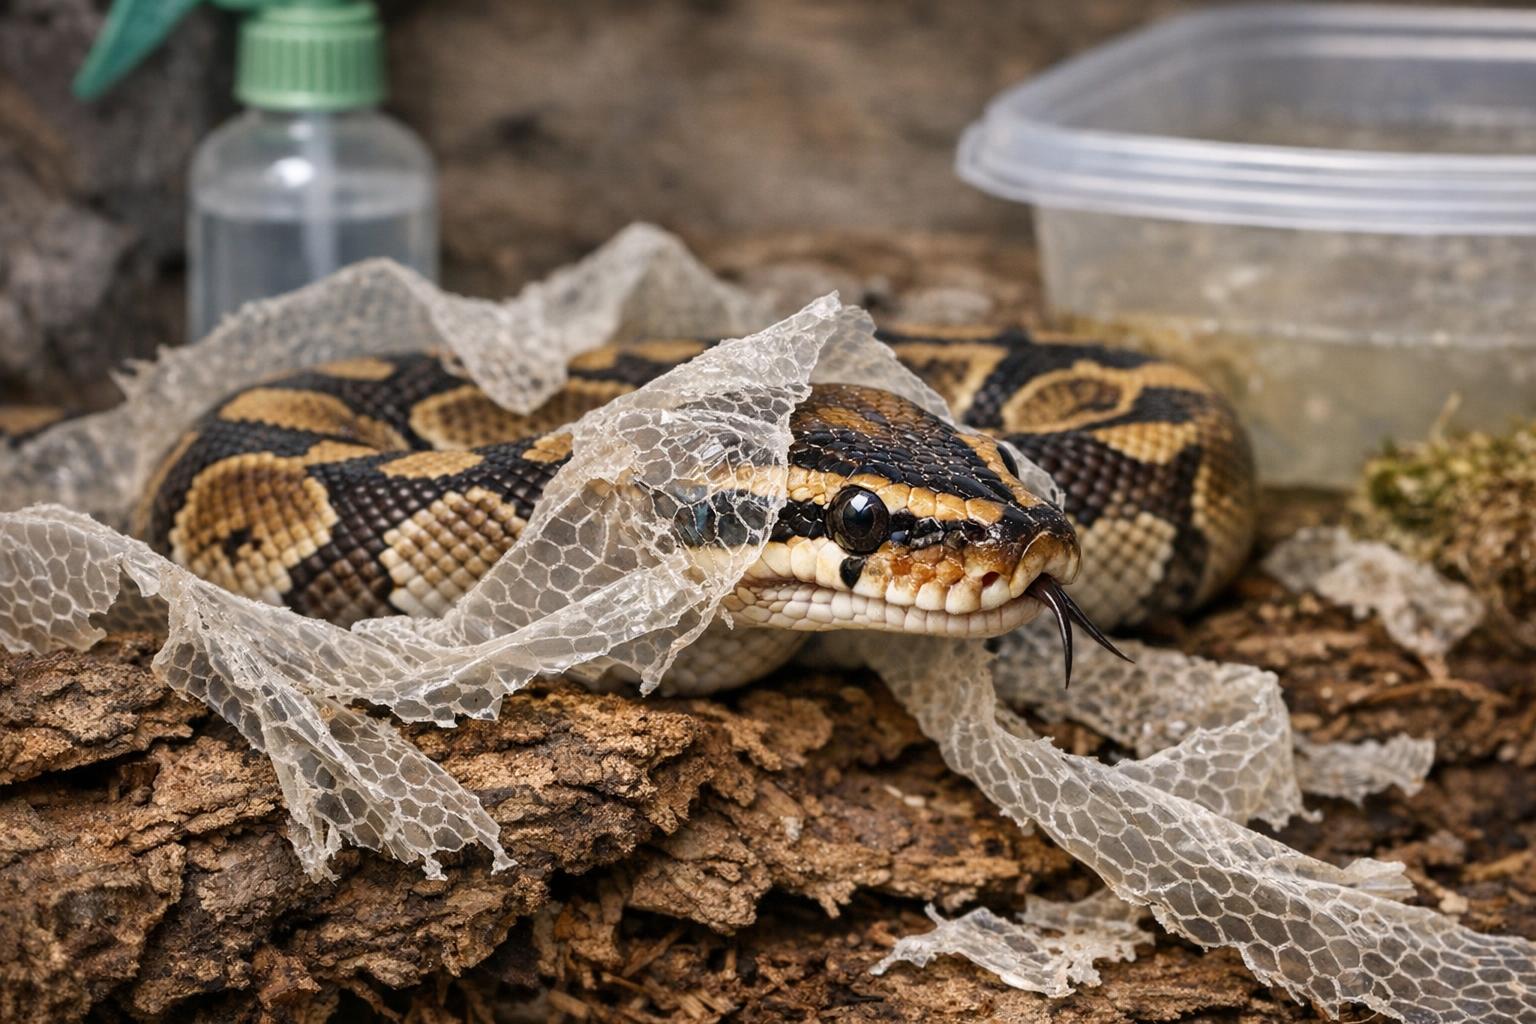
Bearded dragons shed in pieces rather than all at once. Younger dragons shed more frequently, and adults less often. Typical signs of trouble include dull, whitish patches that don’t slough off, pieces hanging on toes or tail, or retained spectacles over the eyes. Intervene only if your dragon appears uncomfortable, has prolonged stuck shed, or shows signs of infection (redness, swelling, discharge). Mild assistance and increased humidity are usually all that’s needed.
#### Key Environmental Checks Before Trying A Bearded Dragon Shedding Aid
– Temperature gradient: Basking area should be around 100–110°F for juveniles and 95–105°F for adults; cooler side around 75–85°F.
– Humidity: Ambient humidity around 30–40% is normal; temporary, localized higher humidity helps shedding.
– Diet and hydration: Adequate calcium, vitamin D3, and water intake support healthy skin turnover.
### Remedy 1: Humid Hide And Gentle Soak
Ingredients / Materials:
– Small plastic or ceramic hide box with lid (ventilation holes).
– Damp (not dripping) household-safe substrate: sphagnum moss, paper towels, or coconut coir.
– Lukewarm water.
– Shallow container (dish or low tub) large enough for the dragon to sit in comfortably.
– Towels for drying.
Step-By-Step Creation And Application:
1. Prepare the Humid Hide: Line the hide box with damp sphagnum moss or a generous layer of damp paper towels. Close the lid and leave ventilation holes so humidity is trapped without becoming suffocating.
2. Position the Hide: Place the hide inside the enclosure on the warm side (not directly under the heat source) for up to a few hours per day for 2–4 days, especially when shedding starts to look patchy.
3. Gentle Soak: If you notice stuck shed after using the humid hide, fill the shallow dish with lukewarm water to a depth where the dragon can sit with most of its belly submerged but can lift its head. Soak for 10–20 minutes while supervising.
4. Inspect Gently: After soaking, use a soft toothbrush or a wet cloth to gently rub areas with loose skin. Do not pull on firmly attached pieces.
5. Dry and Warm: Pat the dragon dry with towels and return it to a warm basking spot to finish the shed naturally.
### Remedy 2: Steam Session And Targeted Moisture Application
Ingredients / Materials:
– Glass or plastic container large enough for short steam treatment (e.g., a covered glass terrarium lid, or a tall storage bin).
– Hot water (not boiling) to create steam.
– Clean cloth or paper towels.
– Cotton swabs.
– Commercial reptile-safe moisturizing spray (optional) or a homemade saline solution (1/4 teaspoon non-iodized salt per cup of distilled water).
Step-By-Step Creation And Application:
1. Set Up Steam Box: Place a towel on the floor of the container for traction, then set a small bowl of hot water inside to create a humid pocket. Do not use boiling water; steam should be warm, not scalding.
2. Place Your Dragon Briefly: Put your dragon inside the container for 8–12 minutes while monitoring closely. The goal is to soften the skin, not stress the animal.
3. Targeted Moisture: After the steam session, gently apply saline or a reptile-safe moisturizer with a cotton swab to areas with retained skin, especially around limbs and eyes. Use minimal pressure.
4. Repeat If Needed: Steam sessions can be repeated once daily for up to three days if shedding remains stubborn. Avoid over-humidifying the entire enclosure long-term; this is a short-term aid.
### Remedy 3: Gentle Mechanical Aid For Toes And Tail
Ingredients / Materials:
– Lukewarm water soak setup (shallow dish).
– Soft-bristled toothbrush.
– Tweezers with rounded ends (optional, for extreme cases only).
– Disinfectant (chlorhexidine or 70% isopropyl alcohol for sterilizing tools).
– Antiseptic ointment (povidone-iodine diluted per product guidance) if the skin is broken.
Step-By-Step Creation And Application:
1. Soften The Area: Soak the affected foot or tail in lukewarm water for 15–20 minutes to loosen the retained shed.
2. Gentle Brushing: With a soft-bristled toothbrush, very gently brush the area to help lift loose scales. Brush in the direction of scale growth to avoid snagging.
3. Cautious Tweezers Use: If a piece remains firmly attached and won’t come off after soaking and brushing, sterilize rounded-end tweezers and attempt removal only if the shed is clearly detached from healthy tissue. If you see resistance or bleeding, stop immediately and consult a vet.
4. Treat If Necessary: If skin is broken, gently clean with saline and apply a thin layer of recommended antiseptic. Monitor closely.
### Nutrition And Long-Term Prevention Tips
Good diet and hydration are part of any effective bearded dragon shedding aid. Include a mix of gut-loaded insects and fresh vegetables with proper calcium-to-phosphorus balance. Occasional calcium supplementation with vitamin D3 (as recommended by your vet) supports skin health. Offer a shallow water dish daily and mist the enclosure lightly when needed; however, avoid creating chronically high humidity that could promote respiratory issues.
#### When To See A Veterinarian
If retained shed persists despite home care, if the dragon shows signs of distress, or if you observe infection (pus, redness, swollen areas), a vet visit is required. A veterinarian can safely remove stubborn shed and prescribe topical or systemic treatments for infections. Remember: a timely professional check can prevent permanent damage to toes or tail.
### Handling And Stress Avoidance While Using A Bearded Dragon Shedding Aid
Minimize handling during the active phase of shedding; your dragon is probably crankier than usual. When you must handle, support the whole body and move slowly. Keep sessions short and always return the animal to a warm, familiar spot after treatments so circulation and healing continue.
#### Common Mistakes To Avoid
– Over-humidifying the whole enclosure for long periods — this can cause respiratory problems.
– Forcing skin off — never yank stuck skin; this can tear underlying tissue.
– Using oils or lotions that are not reptile-safe (such as petroleum-based products) — these can suffocate skin and cause dermatitis.
– Ignoring retained eye caps — these need gentle treatment because the eye is sensitive; if they don’t come off with softer methods, seek a vet.
### DIY Tools And Supplies Checklist For A Reliable Bearded Dragon Shedding Aid
– Humid hide materials (sphagnum moss, plastic hide box).
– Shallow soaking dish or tub.
– Soft toothbrush and cotton swabs.
– Tweezers with rounded tips (sterilizable).
– Distilled water and, optionally, reptile-safe saline or moisturizer.
– Towels and a thermometer/hygrometer to monitor enclosure conditions.
Small, consistent adjustments using a proper bearded dragon shedding aid can prevent most problems and keep your dragon looking and feeling great. If you enjoy DIY projects, setting up a reusable wet hide or a portable soak tub makes future sheds less of a production and more of a routine pamper session. Light humor: your dragon will appreciate the spa treatment, though it will never thank you in purring form.
Keep monitoring humidity, maintain optimal temperatures, and feed a balanced diet. When in doubt, seek professional help — a vet trip beats a permanently damaged toe.


Leave a Reply