


If your aquarium has suddenly started looking like a chemistry lesson gone wrong, you’re in the right place. A little nitrite and ammonia buildup can stress fish faster than you can say “scrub the filter,” but the good news is there are practical, mostly natural fixes you can apply at home. We’ll walk through causes, testing, and four numbered remedies with ingredients and step-by-step instructions so you can get your tank back to peaceful, gill-friendly living. Expect relaxed language, a few smiles, and clear, formal instructions where it matters.
## Understanding Fish Tank Nitrite And Why It Rises
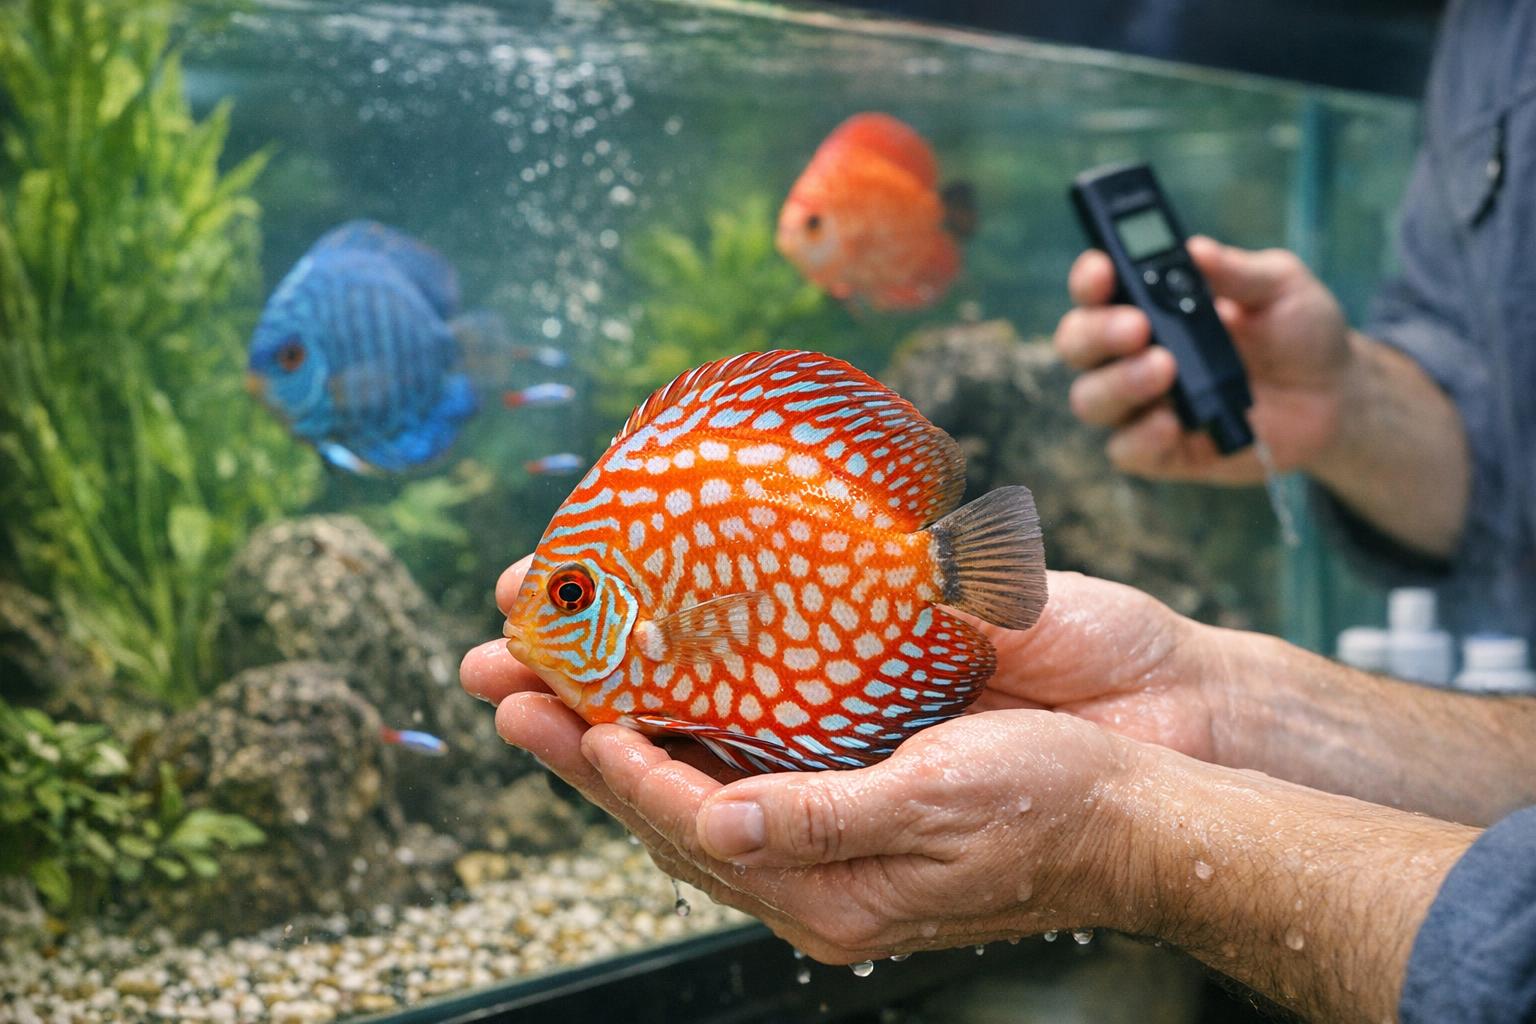
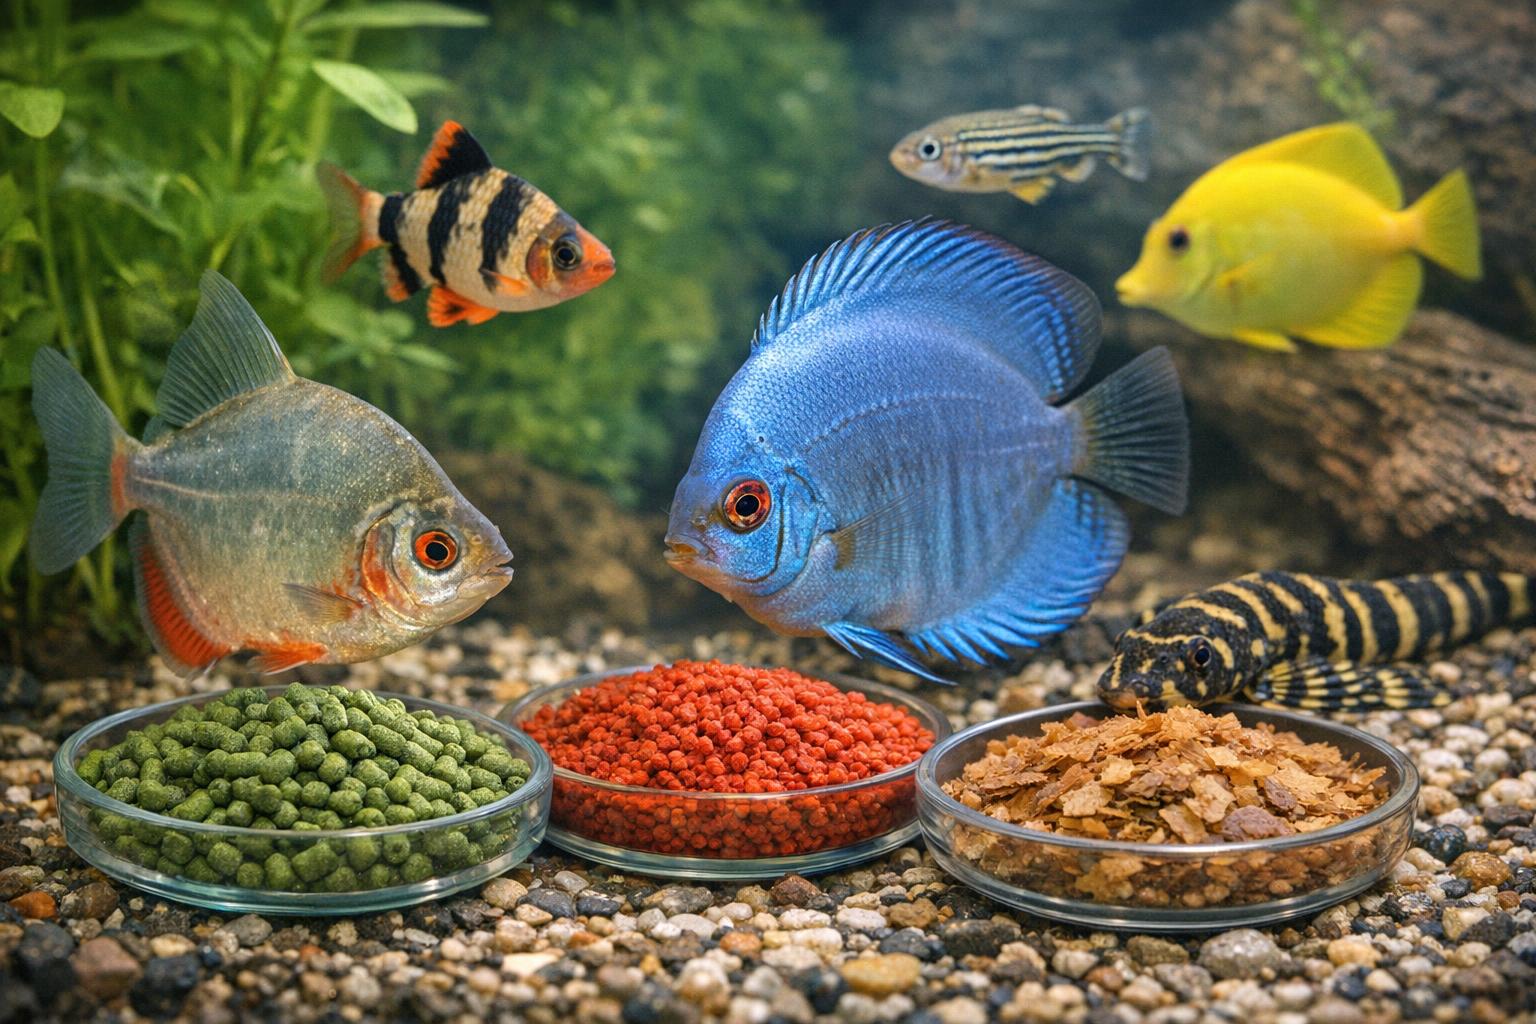
Fish tank nitrite is the intermediate product of the nitrogen cycle: beneficial bacteria convert fish waste and uneaten food to ammonia, then other bacteria convert ammonia to nitrite, and finally to nitrate. Problems occur when the balance of bacteria is upset or when waste production overwhelms the biological filter. High nitrite is toxic; it interferes with oxygen transport in fish and can lead to brown blood disease (methemoglobinemia). Testing regularly is essential: nitrite spikes can be sudden after overfeeding, new additions, inadequate cycling, or sudden die-offs.
### Recognize The Signs Early
Fish acting listless, gasping near the surface, rapid gill movement, or darkened color are red flags. Use a reliable test kit—not guessing. Small tanks and new setups are especially vulnerable to nitrite swings.
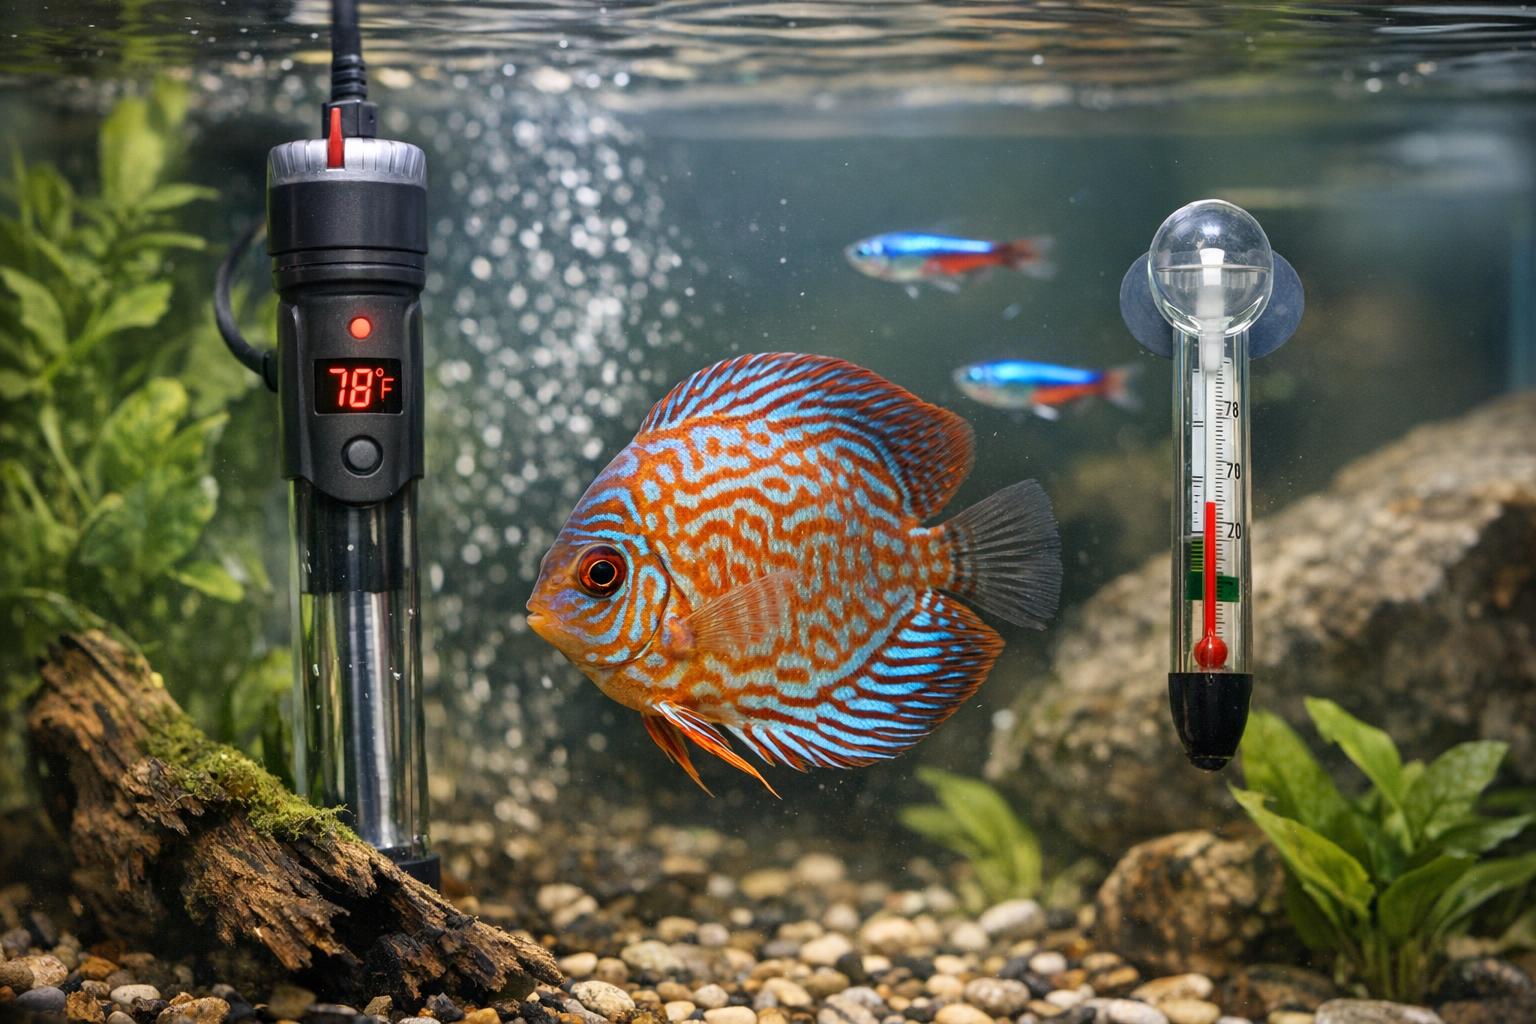
### Test Frequency And Target Levels
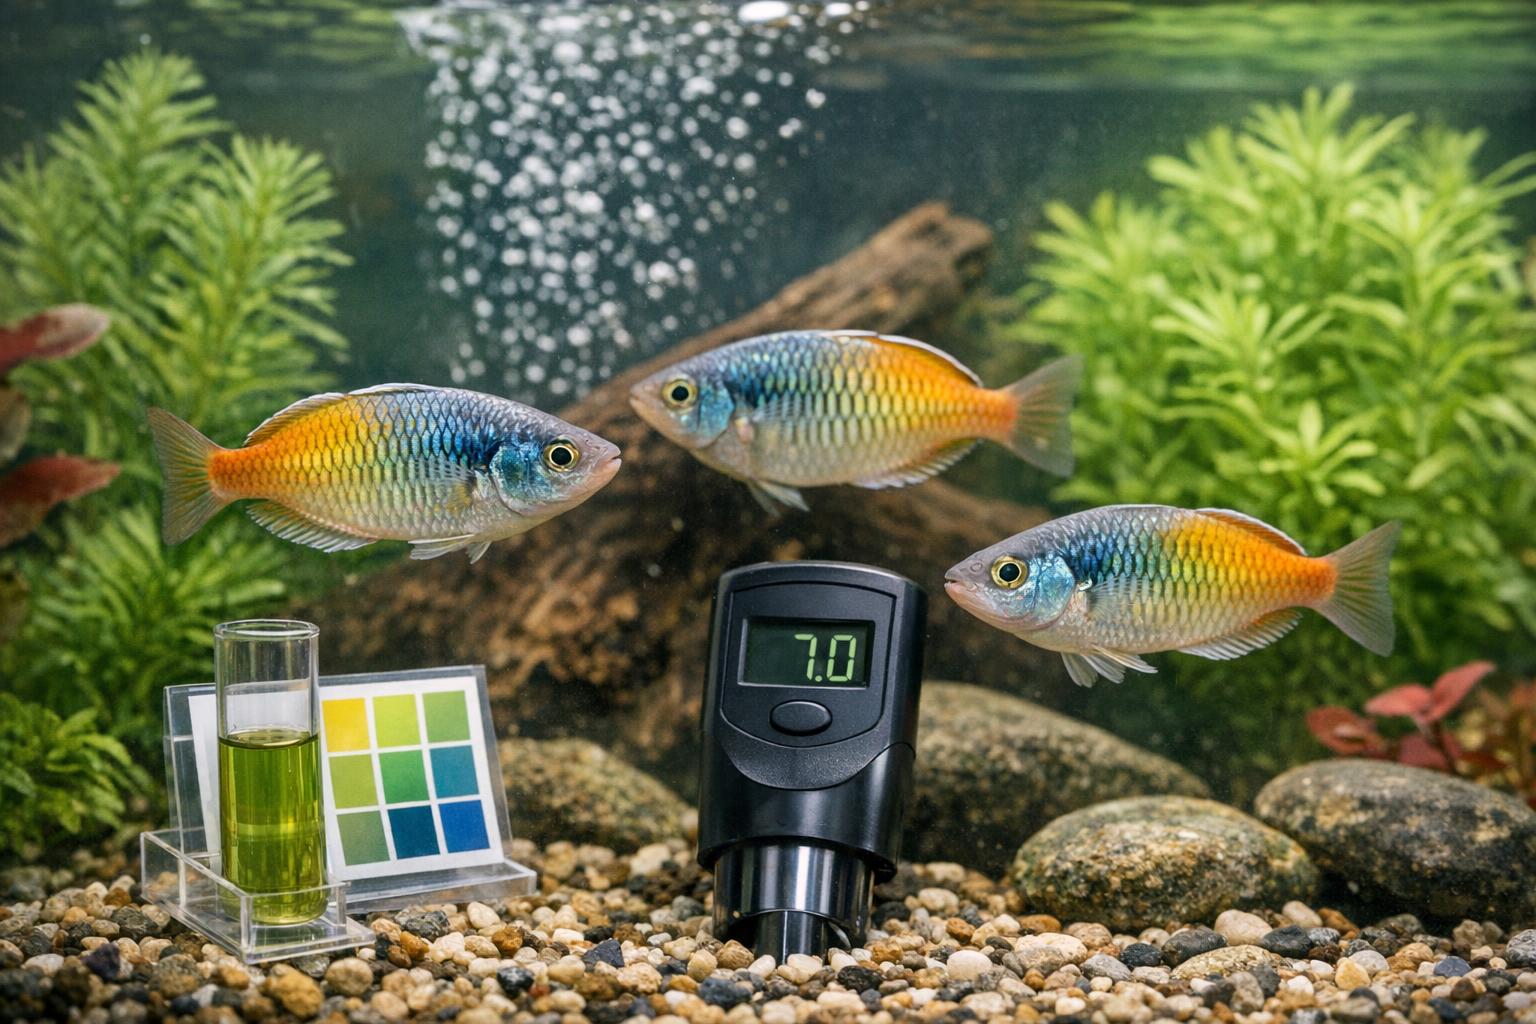
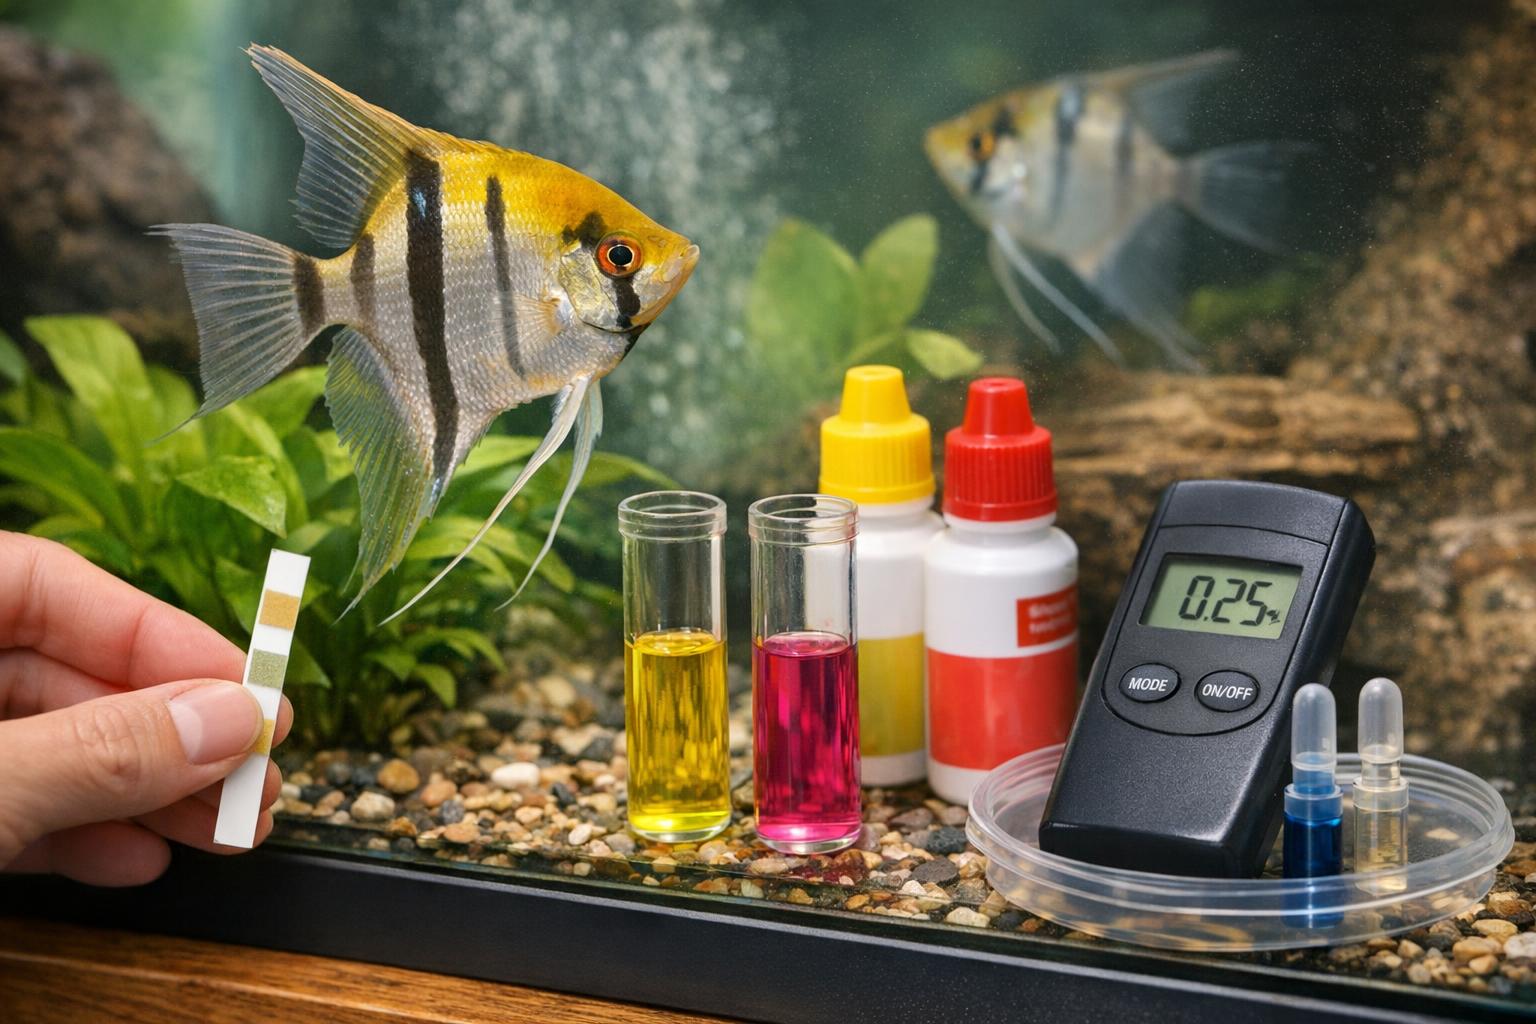
Test at least twice weekly when problems are suspected. Aim for 0 ppm nitrite; any reading above 0.25 ppm should be treated seriously. For ammonia, 0 ppm is ideal; 0.25–0.5 ppm is concerning and usually accompanies nitrite issues.
## 1. Rapid Remediation: Partial Water Changes (Immediate Action)
When test results show elevated nitrite, rapid but controlled partial water changes are the fastest way to reduce concentration while you address root causes.
#### Ingredients / Materials
– Dechlorinated water prepared to aquarium temperature and parameters
– Siphon or gravel vacuum
– Bucket reserved for aquarium use only
– Aquarium-safe thermometer
– Test kit for nitrite and ammonia
#### Step-By-Step Water Change Procedure
1. Test water to confirm nitrite and ammonia levels.
2. Prepare replacement water by treating tap water with a dechlorinator, matching temperature and pH as closely as possible.
3. Turn off electrical equipment if necessary and use the siphon to remove 20–40% of tank water. For severe spikes (>1.0 ppm nitrite), consider up to 50%, but avoid shocking the fish with large parameter swings.
4. Vacuum substrate lightly to remove detritus and uneaten food; this reduces the source of ammonia.
5. Slowly add prepared water back to the tank to avoid stressing fish.
6. Retest after 1–2 hours and again the next day. Repeat partial changes daily until nitrite drops to safe levels.
Be mindful: water changes dilute nitrite but also remove beneficial bacteria from the water column. That’s why changes should be partial and paired with measures that support the biofilter.
## 2. Use Beneficial Bacteria Boosters (Formal Biological Treatment)
Seeding the system with concentrated, live nitrifying bacteria supports faster conversion of nitrite to nitrate. This is a specialized, natural approach that directly addresses the biological imbalance.
#### Ingredients / Materials
– Commercially available nitrifying bacteria product (select those specifying Nitrosomonas/Nitrobacter or similar strains)
– Clean spoon or measuring tool
– Test kit to monitor progress
– Optional: a small container for pre-dosing if manufacturer recommends
#### Step-By-Step Application For Bacteria Boosters
1. Read product instructions carefully for dosage based on tank volume.
2. If product advises, decant a small amount into a container and let it warm to room temperature to avoid thermal shock to microbes.
3. Dose the aquarium according to directions. For high nitrite situations, follow the “acute” or “emergency” dosing schedule if provided.
4. Reduce feeding by 50% during treatment to lower organic load and stress on bacteria.
5. Monitor nitrite levels daily. Beneficial bacterial products typically show improvement within 24–72 hours, but full stabilization may take longer.
6. Resume normal maintenance once nitrite is consistently at 0 ppm.
Note: Quality matters. Use products from reputable manufacturers with clear live-culture labeling. Some additives claim to detoxify nitrite chemically—these can be used adjunctively but do not replace biological treatment.
## 3. Reduce Input And Improve Filtration (Practical Long-Term Fix)
Lowering organic input and optimizing mechanical and biological filtration prevents recurrence. This remedy combines behavioral changes with hardware upgrades.
### Materials Needed
– Better mechanical filter media (foam pads, floss)
– Additional bio-media (ceramic rings, bio-balls)
– Fine-mesh pre-filter sponge (optional)
– Siphon for substrate cleaning
– Test kit for ongoing monitoring
### Steps To Implement Filtration And Load Reduction
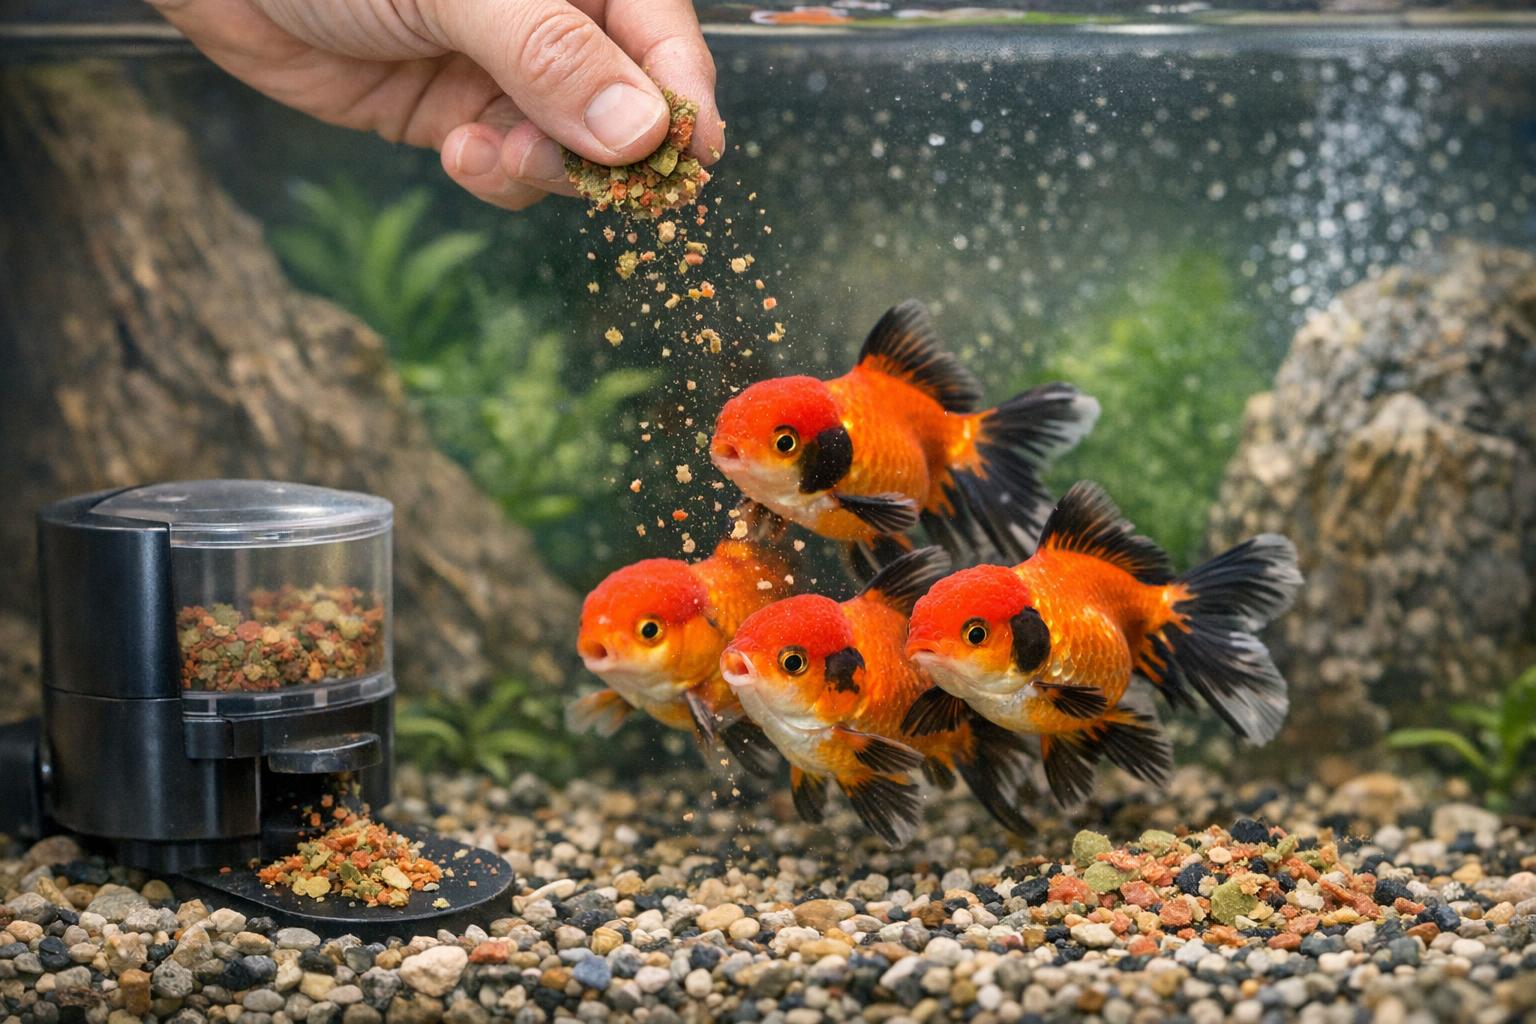
1. Cut feeding to a single small meal daily until levels normalize; remove uneaten food after 2 minutes.
2. Replace or upgrade mechanical filter media to capture more particulate waste before it breaks down to ammonia.
3. Add or increase biological media in the filter to provide more surface area for nitrifying bacteria; place new media where water flow is highest.
4. Use a pre-filter sponge on the intake to trap debris and protect fry and shrimp if present.
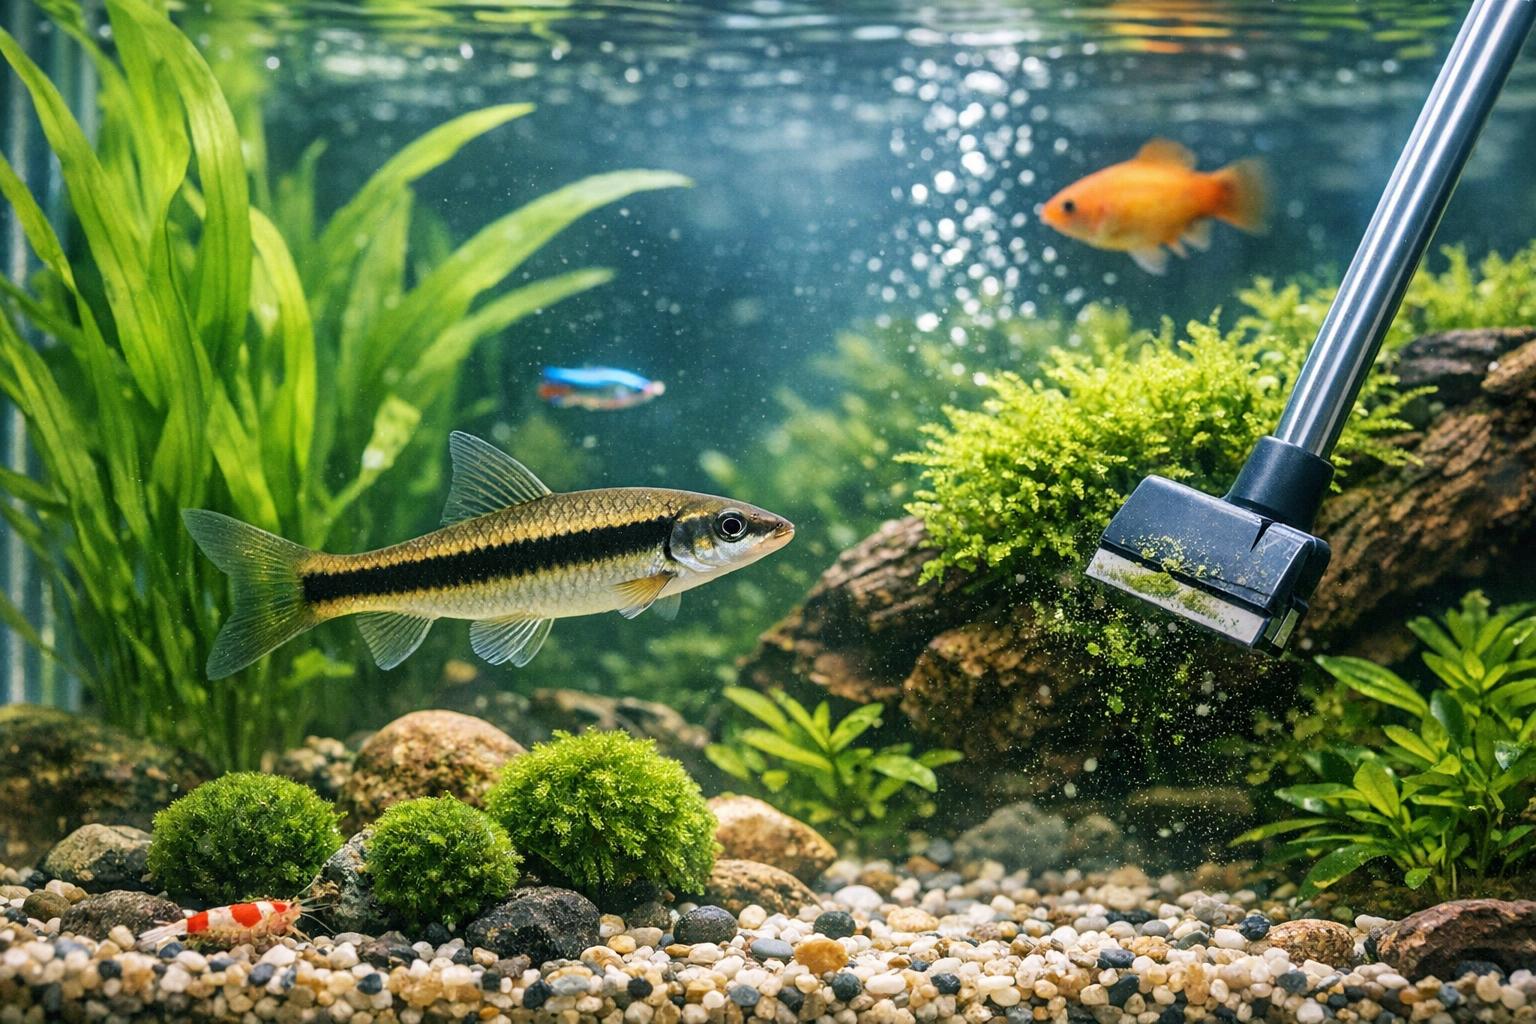
5. Establish a regular partial water change and substrate vacuum schedule: 20–30% weekly in stable tanks, more frequently in heavy bio-load situations.
6. Monitor ammonia and nitrite weekly to ensure the system remains balanced.
Upgrading filtration is an investment that reduces the frequency of emergency responses. Think of it as giving your tank its own little sewage treatment plant.
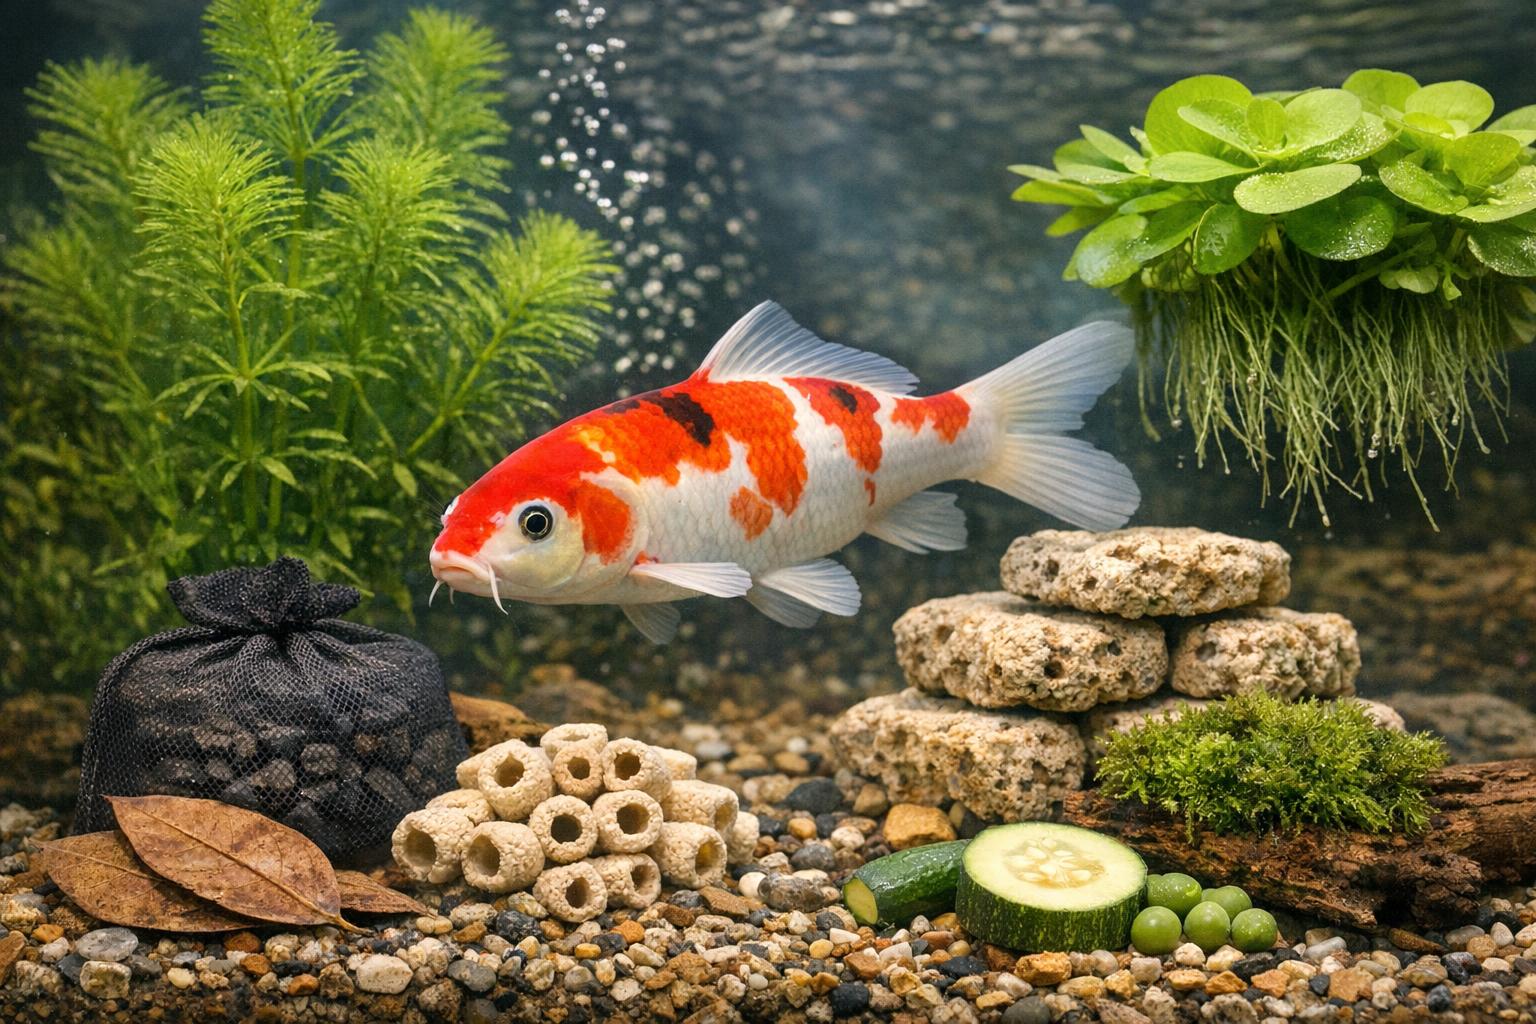
## 4. Plant-Based And Natural Adsorbents (Supplementary Remedies)
Live plants absorb ammonia and nitrate and can act as a buffer against spikes. Natural adsorbents like zeolite can also help remove ammonia quickly; they are temporary but effective.
#### Ingredients / Materials
– Fast-growing aquatic plants (hornwort, water sprite, duckweed)
– Planting tools or pots for plants
– Zeolite pad or media, aquarium-safe and rinsed
– Mesh bag to contain media (if not supplied)
– Test kit
#### Step-By-Step For Plant And Zeolite Use
1. Select plants suited to your tank conditions; fast growers are best for nutrient uptake.
2. Plant or float plants to maximize surface area and light exposure. For heavily planted tanks, moderate pruning keeps them healthy and effective.
3. Rinse zeolite under aquarium water to remove dust and place it in a mesh bag.
4. Position zeolite in a high-flow area of the filter so water circulates through it.
5. Monitor ammonia and nitrite daily; replace zeolite per manufacturer guidelines or when ammonia breakthrough is detected.
6. Combine plants and zeolite for immediate adsorption (zeolite) and ongoing nutrient uptake (plants).
Important: Zeolite removes ammonia but not nitrite directly. It’s a temporary control measure while biological systems recover.
### When To Use Chemical Detoxifiers
Some products detoxify nitrite chemically by binding it or converting it to less harmful forms. Use these as adjunct emergency measures only, following label instructions. They can reduce stress in fish during treatment but do not replace biological solutions.
## Monitoring And Prevention: Keep It Calm, Keep It Clean
Prevention is the most relaxing part of fishkeeping. Regular testing, realistic stocking, measured feeding habits, and consistent maintenance will keep fish tank nitrite issues rare. Remember: a healthy biofilter is your best friend—feed it oxygen, space, and low levels of sudden waste. And if a spike happens, act quickly with the remedies outlined above: controlled water changes, bacteria boosters, filtration improvements, and supportive plant or adsorbent use. Your finned roommates will thank you—probably by not hiding all the time.


Leave a Reply