


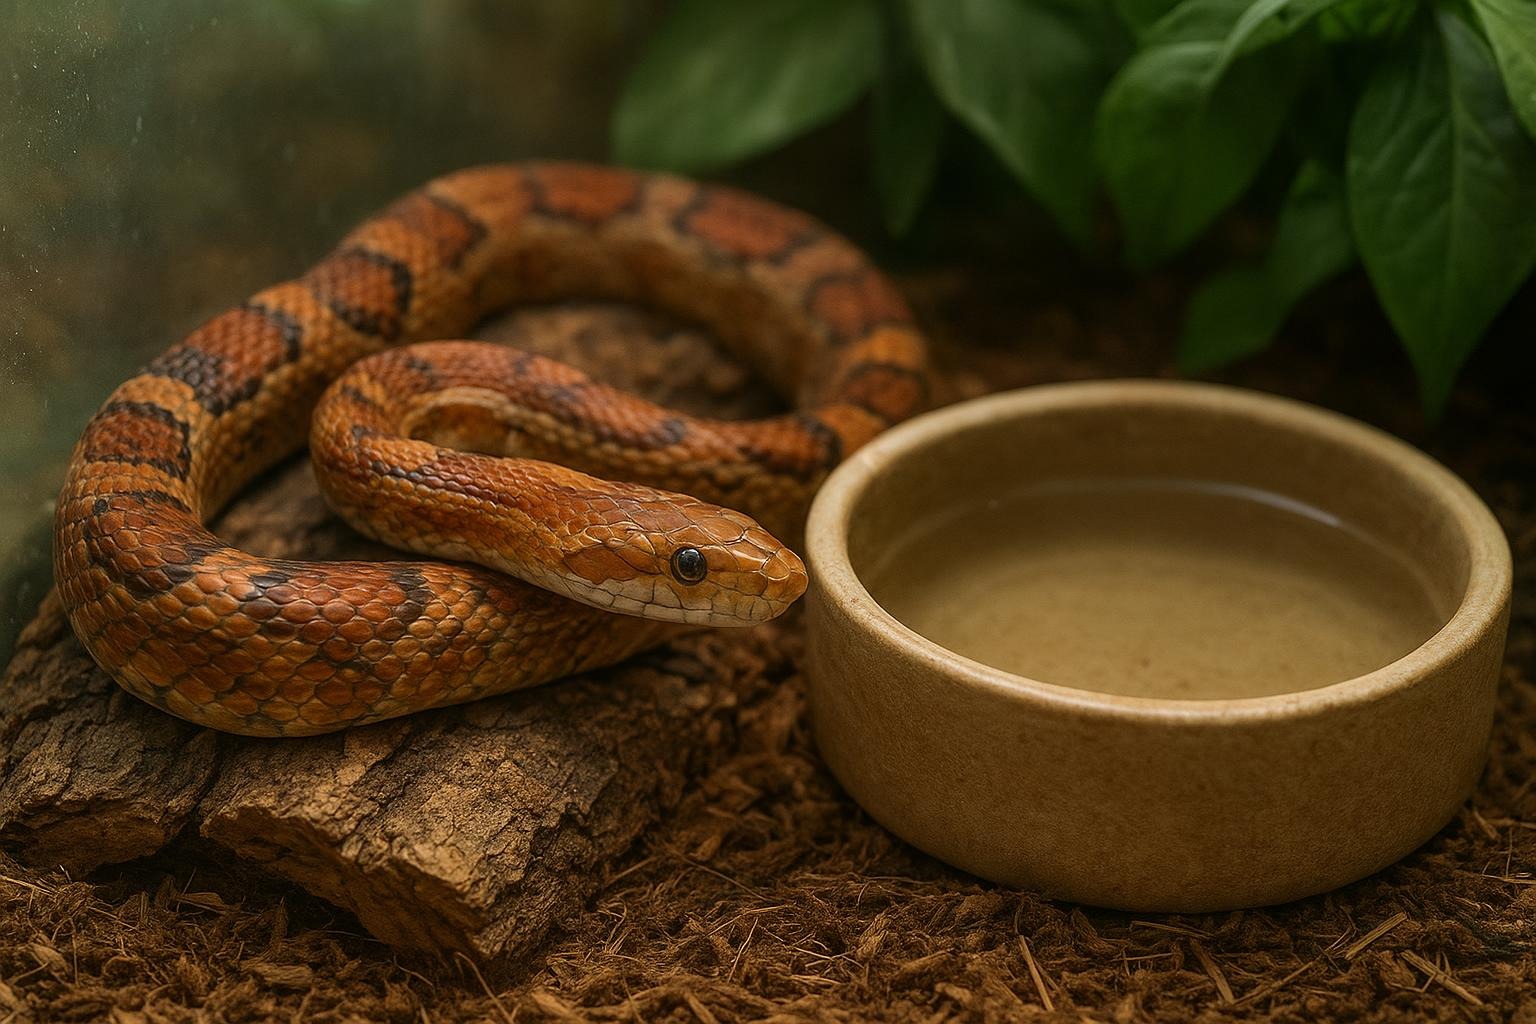
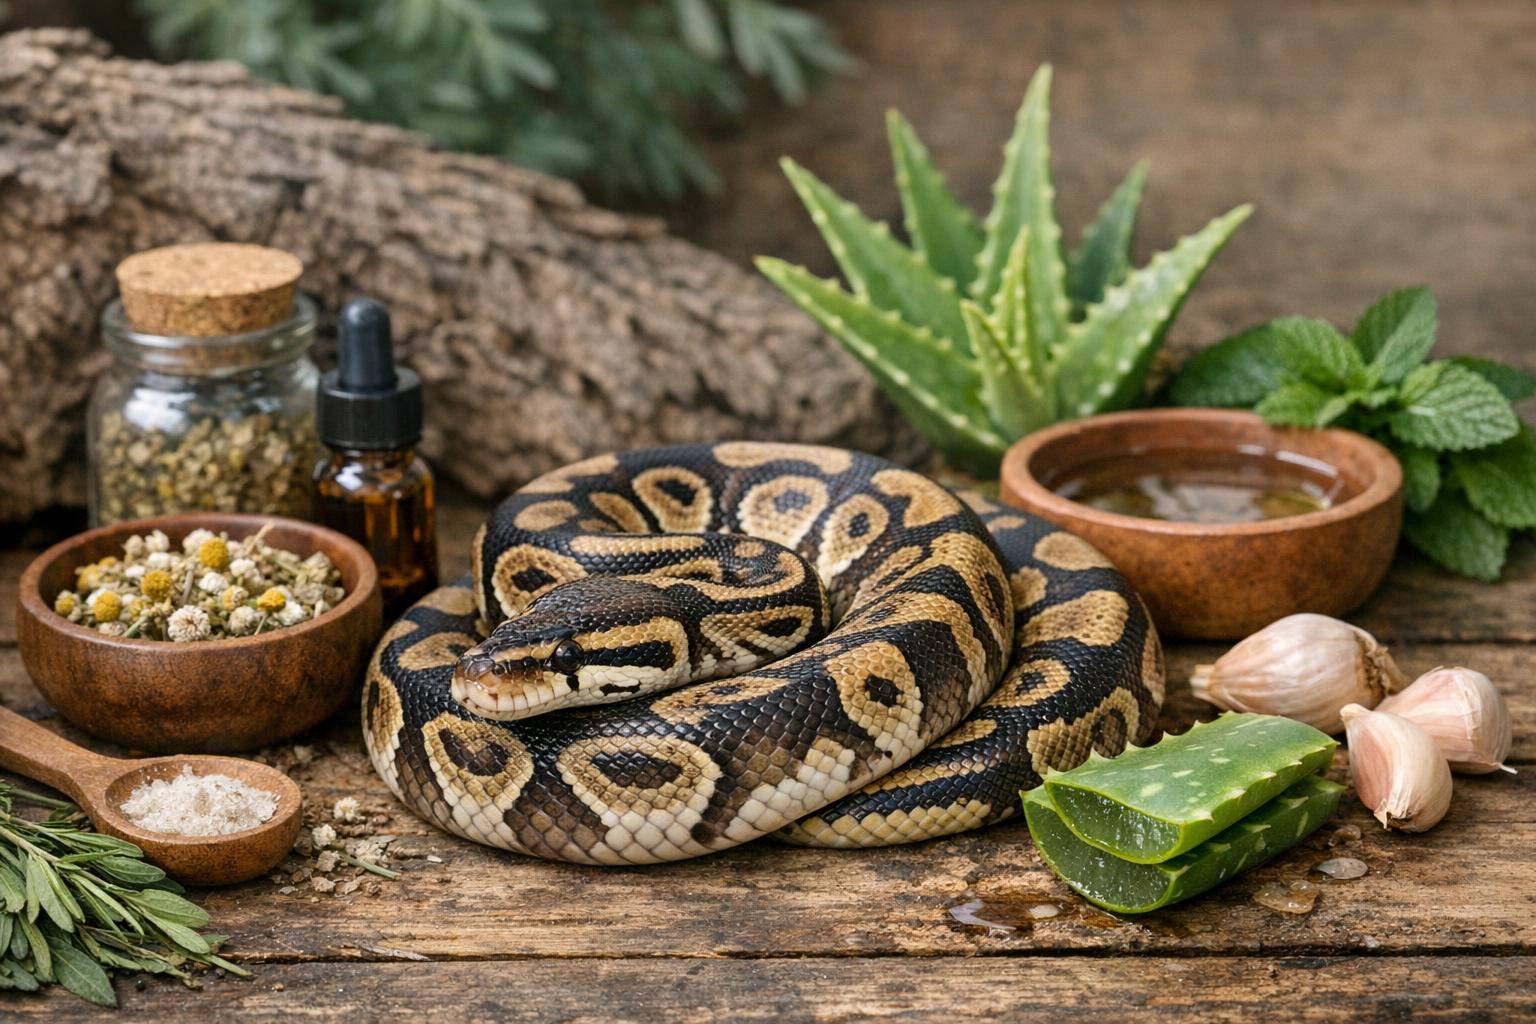
Corn snakes are low-maintenance, curious, and downright charming little slitherers — but they do have preferences. One of the biggest influences on their comfort, health, and successful shed cycles is the microclimate you create, especially humidity. Let’s walk through practical, mostly natural home remedies and husbandry tweaks to maintain optimal humidity without breaking the bank or turning your living room into a rainforest.
## Smart Humidity For A Corn Snake: Why It Matters
Humidity for a corn snake isn’t a fancy hobbyist metric; it directly affects skin health, respiratory function, and shedding. Too low and your snake can have stuck sheds, dry skin, and even stress. Too high and you risk respiratory infections, scale rot, and an unhappy snake that smells like a damp basement. The goal is a consistently comfortable environment tailored to your snake’s life stage and activity level.
### Ideal Humidity Range
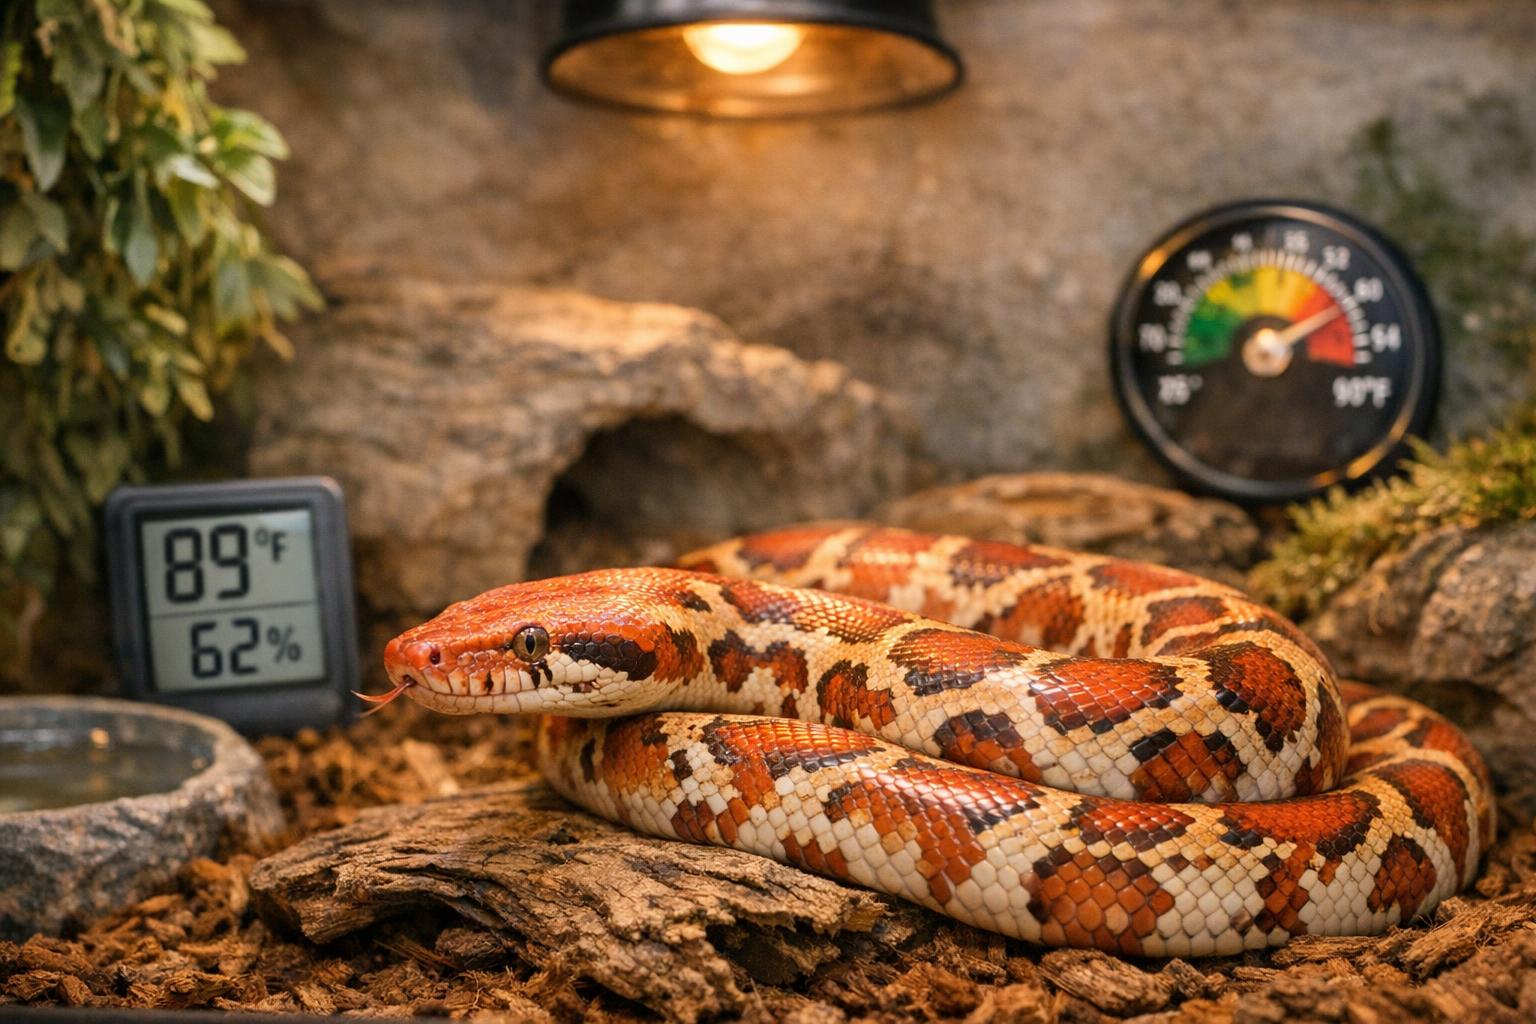
A healthy working target is 40–60% relative humidity for most adult corn snakes, with short increases to 60–70% during sheds. Hatchlings don’t like extremes and often do well in the lower half of that range. Keep an eye on fluctuations: sudden swings are more problematic than stable slightly-high or slightly-low values.
#### During Shed Versus Active Periods
During shed preparation and execution you’ll want to bump humidity for a day or two before and during the shed. Outside of these windows, steady mid-range humidity is ideal. This mimics the seasonal microclimate changes corn snakes experience in the wild without dramatic shifts.
## Remedy 1: DIY Humid Hide (Moss Box)
A humid hide is the simplest, most natural way to give your snake control over its own humidity experience. It’s especially helpful during shed but can be left in place as a permanent feature.
Ingredients/Materials:
– Small plastic or wooden hide box (enough room for snake to coil)
– Long-fibered sphagnum moss or coco coir (avoid dyed or chemical-treated moss)
– Clean water (dechlorinated if possible)
– Drill or tool to create ventilation holes (if using plastic)
– Scissors
Creation And Application (Formal Steps):
1. Prepare The Hide: Clean the box with a reptile-safe disinfectant and rinse thoroughly. Allow to dry completely.
2. Condition The Moss: Soak the sphagnum moss or coco coir in clean water until evenly moist but not dripping wet. Squeeze out excess water until moisture feels like a wrung-out sponge.
3. Fill And Arrange: Line the bottom half of the hide with a 1–2 inch layer of the conditioned moss. Place the lid or top back on, leaving a small opening for entry.
4. Ventilation: If using a sealed plastic hide, drill two or three small ventilation holes on opposite sides near the top to prevent stagnation while retaining humidity.
5. Placement: Position the humid hide on the warm side of the enclosure so the snake can choose the humid microenvironment when needed.
6. Maintenance: Replace or refresh the moss weekly or whenever it starts to smell or look dirty. Clean the hide monthly or sooner if soiled.
Practical Notes:
– The humid hide provides a localized, higher-humidity pocket without raising cage-wide humidity.
– Use a hide slightly larger than the snake to encourage full entry during shed.
– For temporary extra humidity, place a warm water bottle wrapped in towel inside a sealed container near the hide (keep heat sources safe and not in direct contact with the snake).
### When And How To Use The Humid Hide
Introduce the humid hide as part of normal enclosure setup. Monitor behavior: if the snake uses it more often during shedding, it’s working. If the hide stays wet or molds quickly, reduce moisture and increase ventilation.
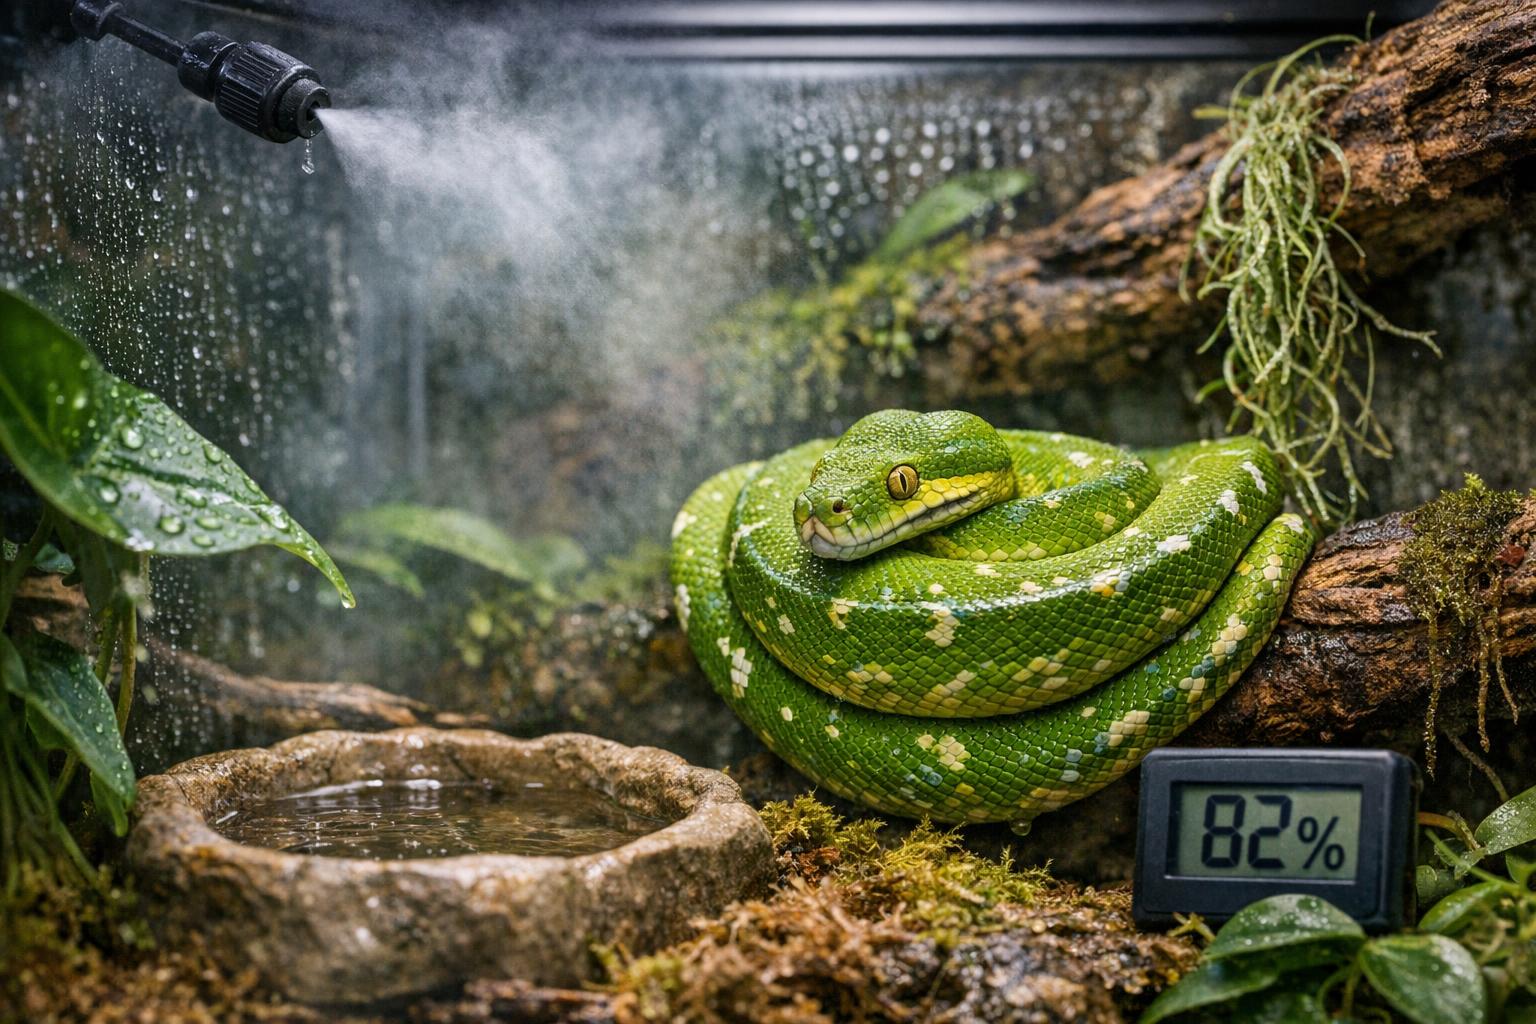
## Remedy 2: Substrate, Misting, And Monitoring
Tuning substrate and controlled misting is a cage-wide approach that complements a humid hide. This still qualifies as a home remedy because it uses common, safe materials and straightforward methods.
Ingredients/Materials:
– Hygrometer (digital preferred) — at least one, ideally two
– Substrate: aspen shavings, cypress mulch, or coconut fiber (coir)
– Spray bottle with fine mist nozzle
– Thermometer to pair with hygrometer readings
– Optional: shallow humidity box (another small container) or water dish
Creation And Application (Formal Steps):
1. Install Monitoring Tools: Place a digital hygrometer on both the warm and cool sides of the enclosure about mid-height. Calibrate if needed (many come pre-calibrated).
2. Choose Substrate: Lay down a 2–3 inch layer of chosen substrate. Coir and cypress hold moisture well and can help moderate humidity; aspen is drier but cleaner.
3. Initial Moistening: Moisten the substrate lightly with a spray bottle, then allow the top to dry slightly. The goal is retained moisture below the surface without surface saturation.
4. Misting Routine: Mist lightly once or twice daily in the morning or evening depending on readings. Target a slow, consistent rhythm rather than heavy soaking. If your hygrometer reads below target, increase misting frequency slightly.
5. Water Source: Use a shallow bowl for drinking; avoid oversized bowls that cause substrate-to-water interaction and excess evaporation. Consider a second shallow bowl on the cool side to create a slight humidity gradient.
6. Adjust For Environment: If ambient room humidity is very low (winter indoor heating), use the humid hide primarily rather than heavy misting; heated rooms can create dry, rapid evaporation and greater swings.
Practical Notes:
– Avoid constant heavy misting; standing water and soaked substrate encourage bacteria and mold.
– Two hygrometers help you see gradients. If both read similarly stuck low or high, examine room conditions and ventilation.
### Using Hygrometers Effectively
A hygrometer is your thermostat for moisture. Place it where the snake spends time but not right under a lamp. Check daily for the first few weeks to understand your enclosure’s patterns. If you see large overnight swings, identify and correct heat lamp cycles or room drafts.
## Troubleshooting And Common Mistakes
Even the best-laid plans can wobble. Here are common pitfalls and how to remedy them without drama.
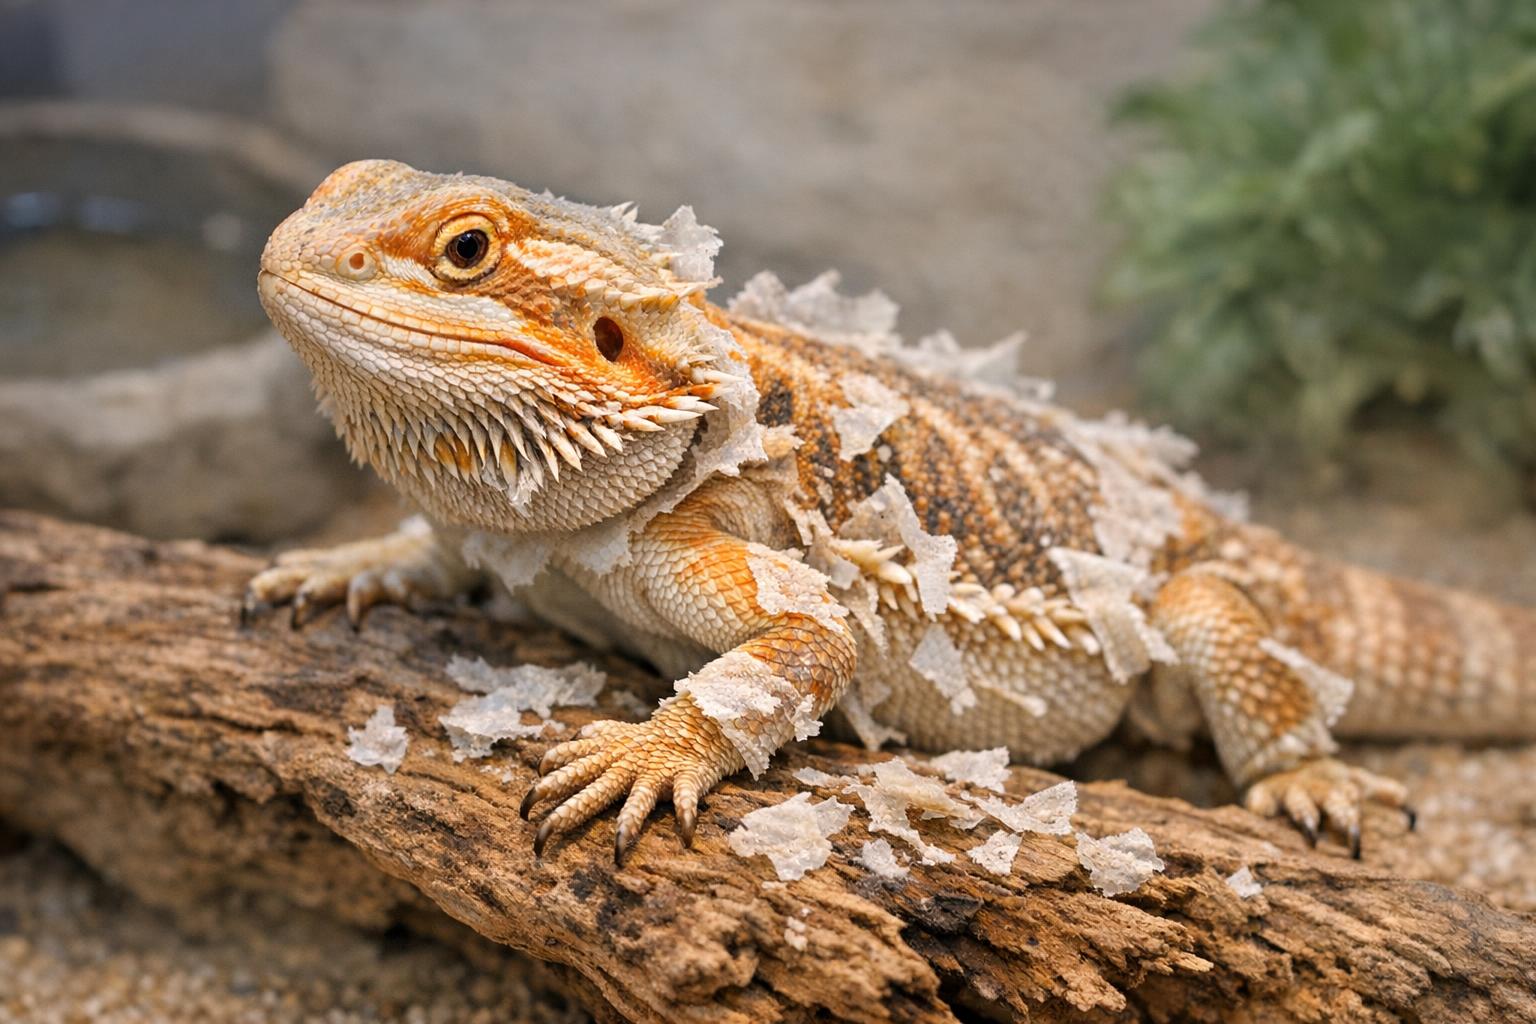
### Signs Of Too Low Or Too High Humidity
Signs Of Too Low:
– Incomplete, patchy sheds
– Dull, flaky skin
– Frequent soaking in the water bowl (behavioral attempt to increase hydration)
Signs Of Too High:
– Repeated respiratory bubbling or wheezing
– Foul odors, visible mold on substrate or hides
– Lethargy and refusal to eat
If you see respiratory issues, consult a reptile vet immediately; this is not a DIY-only situation.
### Adjusting For Seasonal Changes
Winter heating often means drier air. Compensate with slight increases in controlled humidity (humid hide + moderate misting) rather than flooding the tank. In summer, open ventilation slightly and reduce misting frequency to prevent consistently high humidity.
#### Small Habits That Make A Big Difference
– Keep a daily log for the first month: temperature, humidity, and notable behaviors (feeding, shedding).
– Clean and replace moist substrate regularly.
– Rotate hides and check for mold every few days.
## Smart Habits To Keep Humidity Stable
Use an integrated approach: a localized humid hide, a moisture-retaining substrate, and accurate hygrometers. Let the snake make the choice — give them the options and allow self-regulation. Be consistent with maintenance, and don’t panic over small fluctuations; corn snakes are surprisingly tolerant when the environment is predictably stable.
If you want, I can draft a printable care checklist with timed tasks (mist, hide refresh, hygrometer checks) tailored to your enclosure size and local climate.


Leave a Reply