


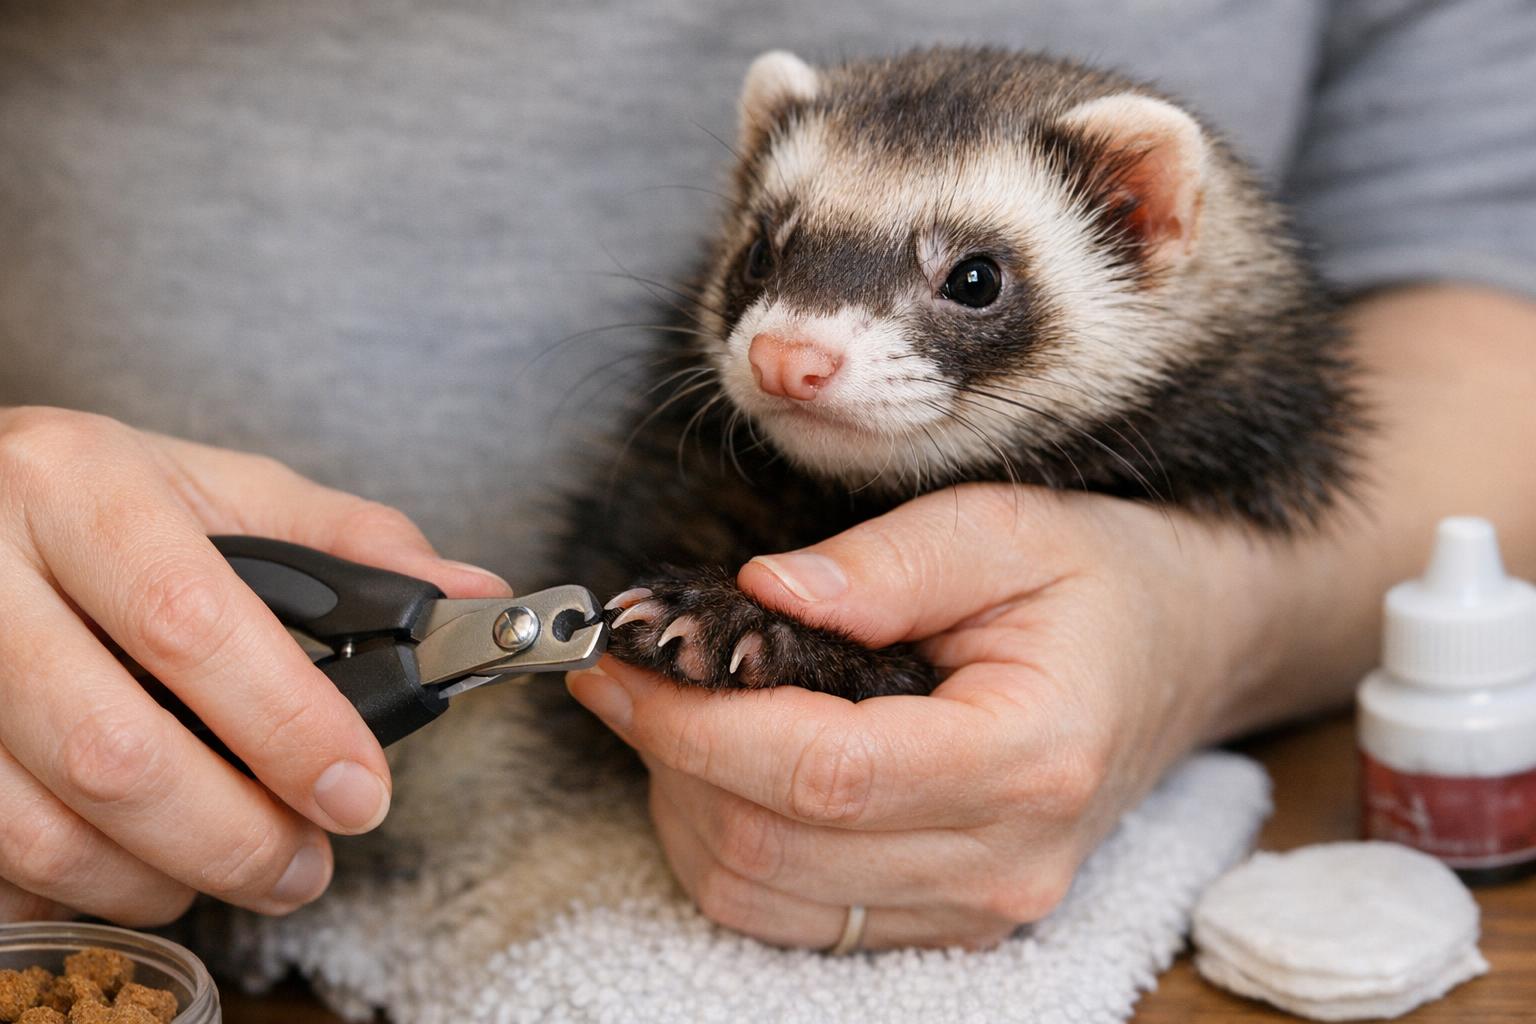
Welcome! If you’re here, you probably love your feathered friend and want to keep their claws in tip-top shape without turning trimming time into a small-scale avian drama. This article walks you through choosing and using safe tools, plus a couple of natural, do-it-yourself remedies for calming and for minor bleeding incidents—because accidents happen, even to the most cooperative cockatiel.
## Choosing The Right Bird Nail Clippers
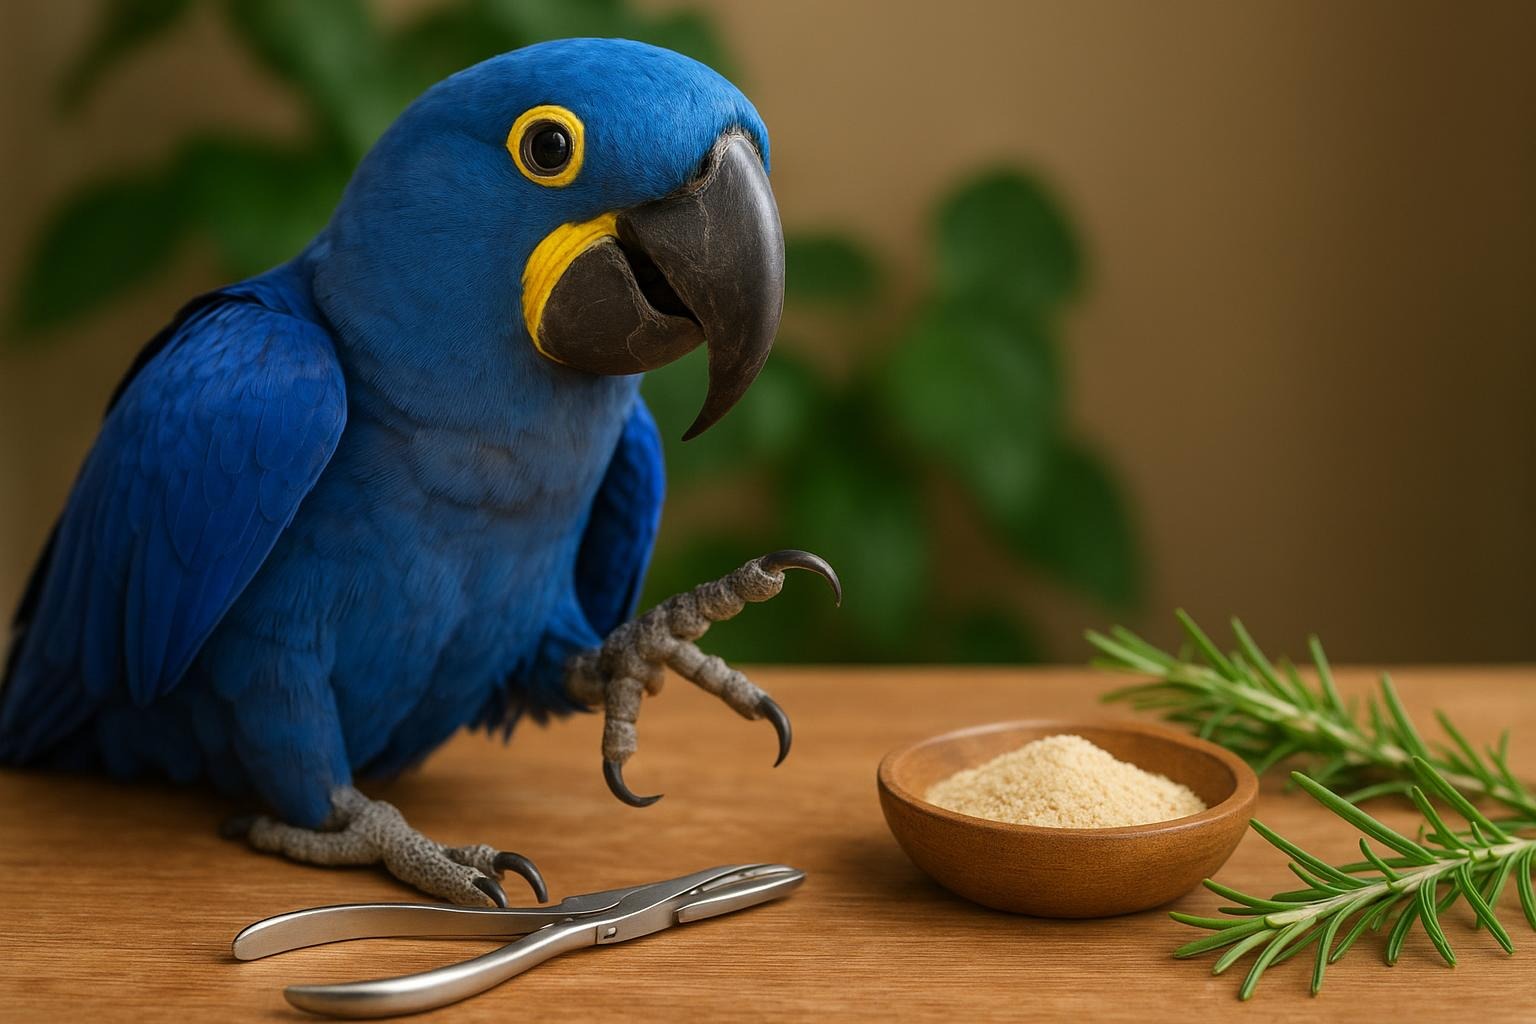
Picking the proper tool makes clipping safer, faster, and less stressful for both of you. Not all clippers are created equal—some are too big, some too blunt, and some make your bird audition for a flight role.
### Types And Sizes
There are three common types:
– Guillotine-style: Good for small to medium birds; blade slides through a hole. Use with caution—quick can be cut if angle is wrong.
– Scissor-style: Versatile and often favored for cockatiels, lovebirds, and conures. Offers better visibility of the nail.
– Human toenail clippers or manicure trimmers: Can work for very small birds in a pinch but are not ideal.
Choose a pair sized for your bird species. Small parrots need delicate, fine blades; larger birds require sturdier clippers. If the head of the clipper feels bigger than the bird’s entire toe, it’s the wrong tool.
### Features To Look For
– Sharp stainless-steel blades to produce a clean cut (blunt blades crush, increasing the chance of splitting).
– Comfortable, non-slip handles for steady control.
– A safety guard or stop to prevent cutting too far (especially useful for beginners).
– Replaceable blades or affordable replacement options.
### How To Inspect Before Use
Before each session, inspect clippers for rust, nicks, or looseness. A nicked blade can snag and split the nail—ouch. Keep them clean and oiled lightly at the hinge for smooth action.
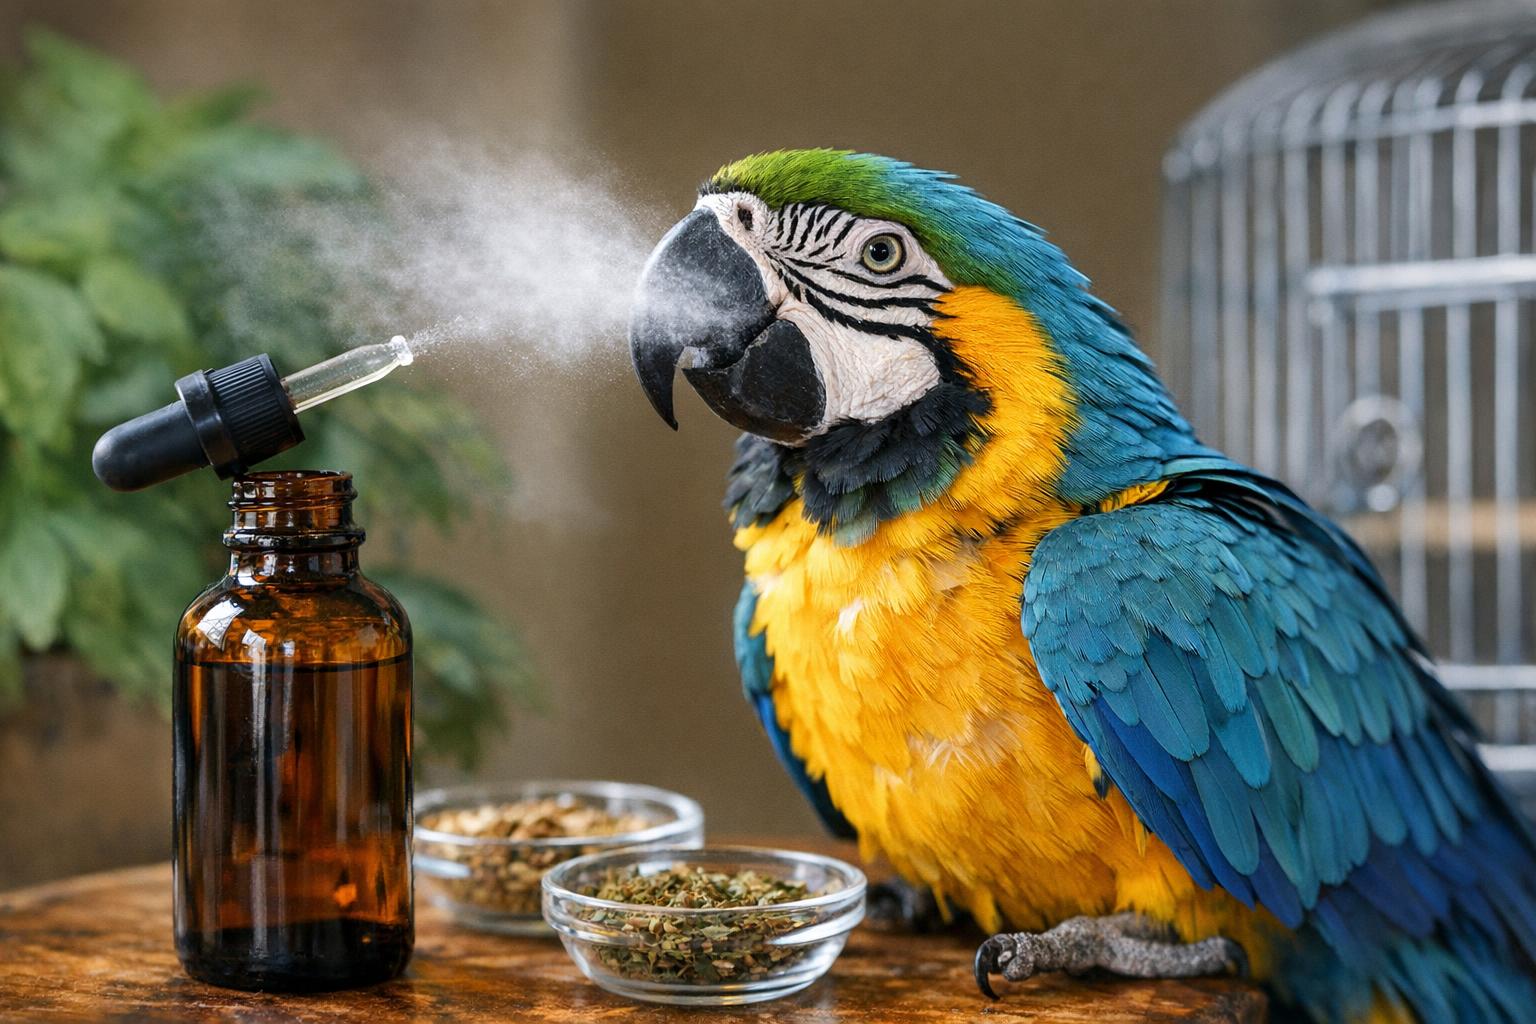
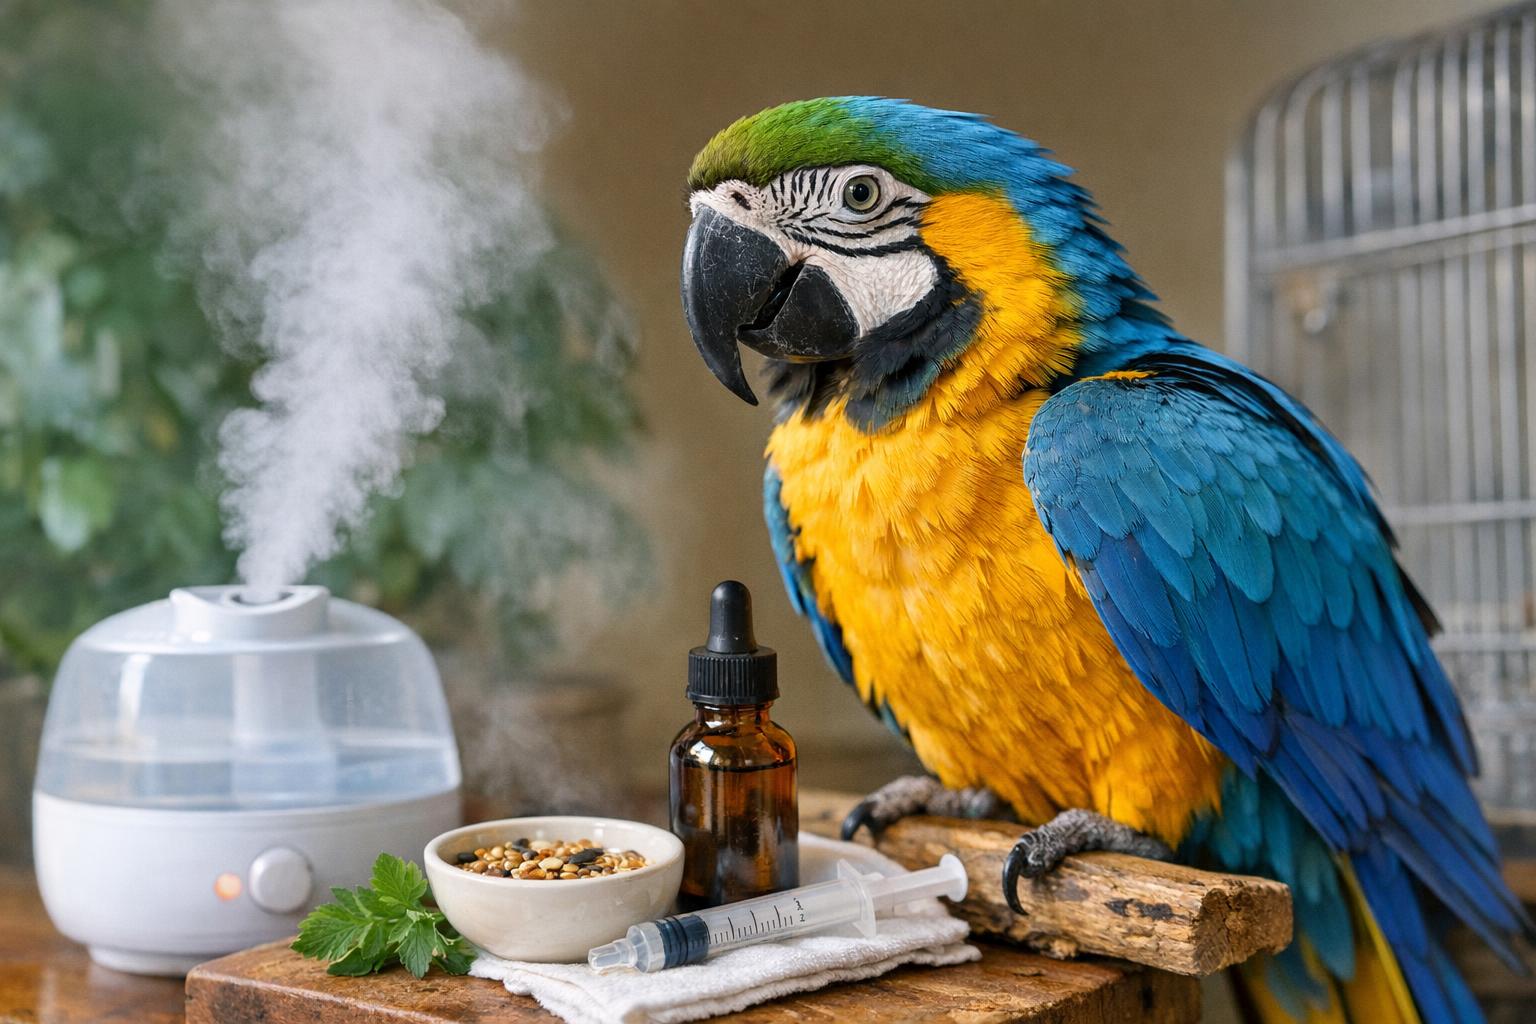
## 1. DIY Calm Spray And Trimming Setup
Trimming is easier when your bird is calm. This first remedy is a gentle, natural pre-trim routine plus a safe setup to reduce squirming and sudden movements. Read the materials and steps carefully; during the application and handling steps be especially precise.
Materials / Ingredients:
– Distilled water: 1 cup
– Chamomile tea (cooled): 1/4 cup (steep one tea bag in hot water and cool completely)
– Lavender hydrosol or 3 drops of pure lavender essential oil (optional; use extremely diluted and avoid direct application on the bird)
– Small spray bottle (100–200 ml)
– Soft towel or small bird handling perch
– Proper bird nail clippers
– Treats your bird loves
– Helper (optional but recommended for first few times)
Step-By-Step Preparation And Application:
1. Prepare The Spray: Combine distilled water with cooled chamomile in the spray bottle. If using lavender essential oil, add just 3 drops and shake vigorously. Label the bottle and store in a cool place. This is not meant to be sprayed directly on the bird’s skin; it’s for the surrounding area and to create a calming atmosphere.
2. Choose A Quiet Location: Close windows to reduce outside noise and dim bright lights slightly. Avoid drafty areas.
3. Acclimate Your Bird: Let your bird see the clippers while rewarding calm behavior. Spend a few minutes per day touching the toes gently so they’re used to handling.
4. Use The Spray Moderately: Mist the room lightly or spray a small amount onto a hand towel you’ll place under the bird’s feet. The scent helps soothe without causing respiratory irritation. If your bird shows any signs of sneezing or distress, stop immediately.
5. Secure Positioning: Place your bird on a secure perch or on your arm wrapped in a towel if they’re fidgety. If you’re towel-wrapping, only restrain what’s necessary—head out if possible to reduce stress.
6. Trim With Focus: When cutting, clip small amounts off the tip at a 45-degree angle. For dark nails where the quick isn’t visible, trim conservatively—better to do more frequent small trims.
7. Reward Immediately: Give a tasty treat and praise to create a positive association.
When done correctly, this setup reduces stress and the likelihood of a sudden jerk that could cause bleeding. If bleeding does occur, proceed to the styptic remedy below.
### When To Trim
Trim nails when they just start to hook or catch on fabric; overgrown nails affect balance and perching. For light-colored nails, trim just past the pink quick. For dark nails, err on the side of caution—clip bit by bit.
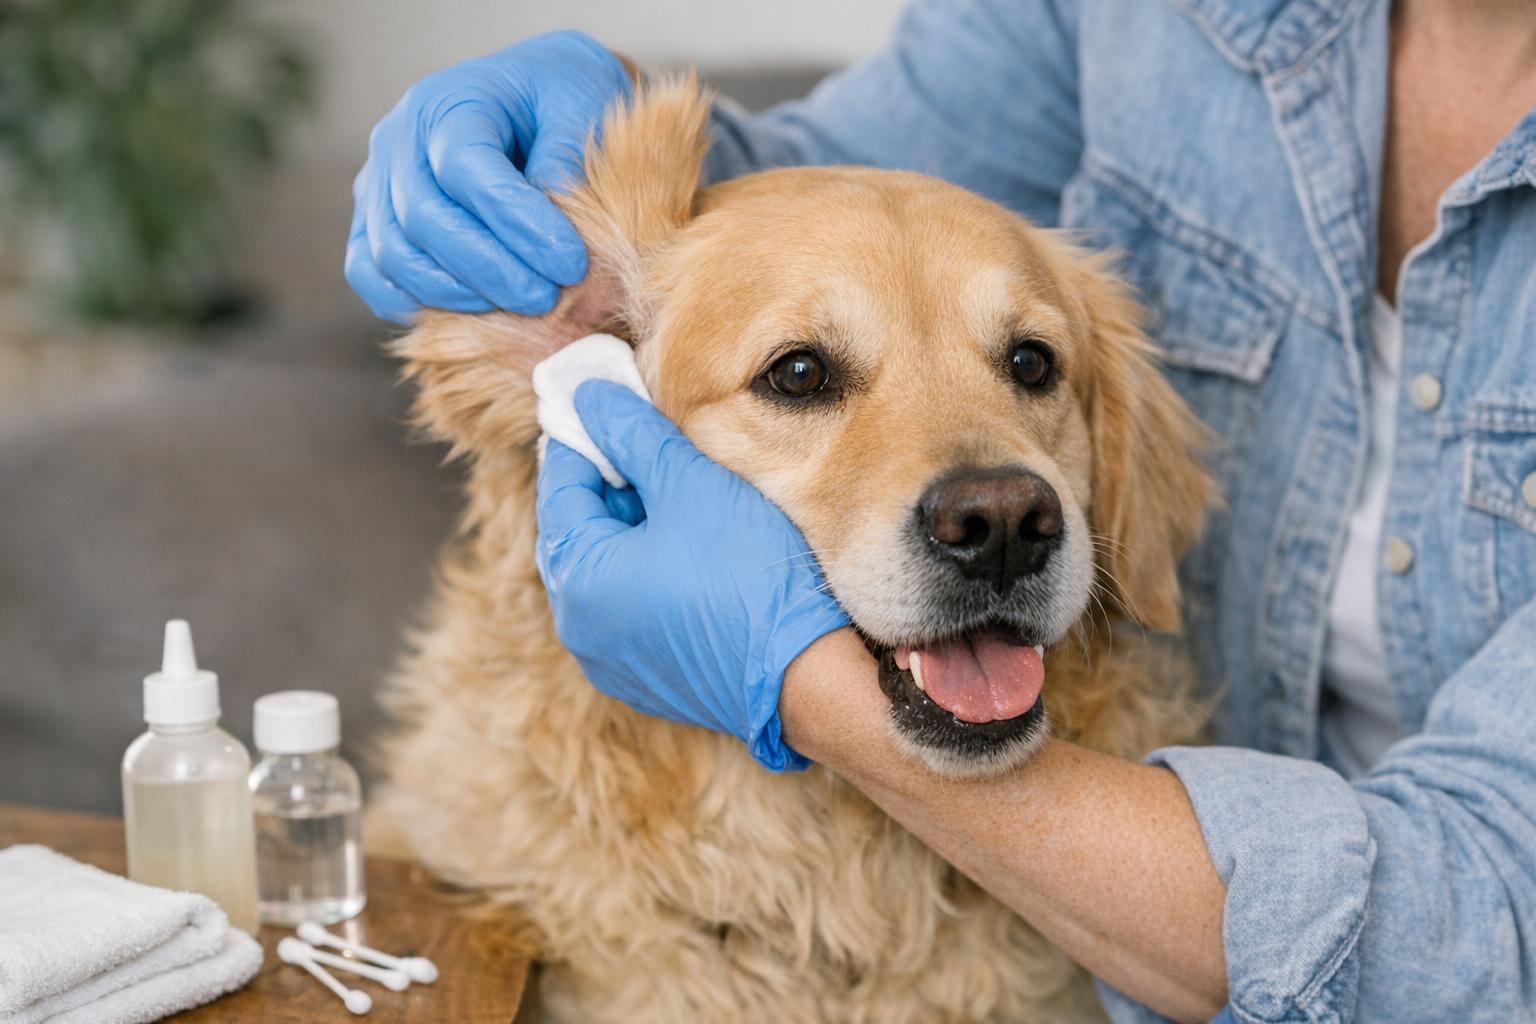
### How To Hold Your Bird Safely
Support their body gently but securely. Avoid squeezing the chest (birds need to expand their thorax to breathe). If unsure, enlist a helper who can calmly hold and comfort while you clip.
## 2. Homemade Styptic Powder For Bleeding Emergencies
If you accidentally nick the quick, a natural styptic powder can help stop bleeding fast. This is remedy number two and should be kept ready in your bird’s first-aid kit.
Materials / Ingredients:
– Cornstarch or arrowroot powder: 1 teaspoon
– Ground cinnamon: 1/4 teaspoon (natural astringent)
– Finely ground activated charcoal (optional, for its adsorbent properties): a pinch
– Small, clean container with lid
– Cotton swab or clean cotton ball for application
Step-By-Step Creation And Application:
1. Mix Ingredients: In a clean bowl, combine cornstarch (or arrowroot) with ground cinnamon. If using activated charcoal, add a small pinch and mix evenly. Transfer to the small container and label it “Avian Styptic.”
2. Prepare The Area: Calm the bird using gentle words. Have a helper hold the bird if needed. Keep water and a towel nearby.
3. Apply To The Bleeding Nail: Dip a cotton swab into the powder and press gently onto the bleeding tip of the nail. Hold steady with light pressure for 30–60 seconds. Do not rub; pressing helps clot formation.
4. Repeat If Necessary: If bleeding persists after two applications, seek veterinary care promptly.
5. Monitor For Infection: Keep an eye on the toe for swelling, warmth, or discharge over the next 48 hours and consult an avian vet if you notice concerning signs.
Safety Note: Activated charcoal can be drying and is optional. Cinnamon should be used sparingly; some birds may be sensitive. If in doubt, cornstarch or arrowroot alone is effective and safest.
## Maintaining Clipper Hygiene And Sharpness
Your bird’s health is tied to how well you maintain tools.
### Cleaning
After each trimming session, wipe blades with a cotton pad soaked in 70% isopropyl alcohol. Dry completely before storing. For sticky residue, use mild dish soap and warm water, rinse, dry, and then disinfect.
#### Sharpening And Replacement
Blunt blades increase stress and risk of splitting nails. If you notice dragging, have blades professionally sharpened or replace the clippers. Keep replacement blades on hand if your model allows it.
#### Storage
Store in a dry place out of reach of pets and children. Consider a small antimicrobial pouch if you live in a humid climate to prevent rust.
## Recognizing When To See An Avian Vet
Natural remedies and good clippers cover most routine care, but some situations demand professional attention: persistent bleeding, infected nails, abnormal growths, or if your bird is extremely fearful or fractious during handling. An avian vet can safely trim, sedate if necessary, and address underlying issues.
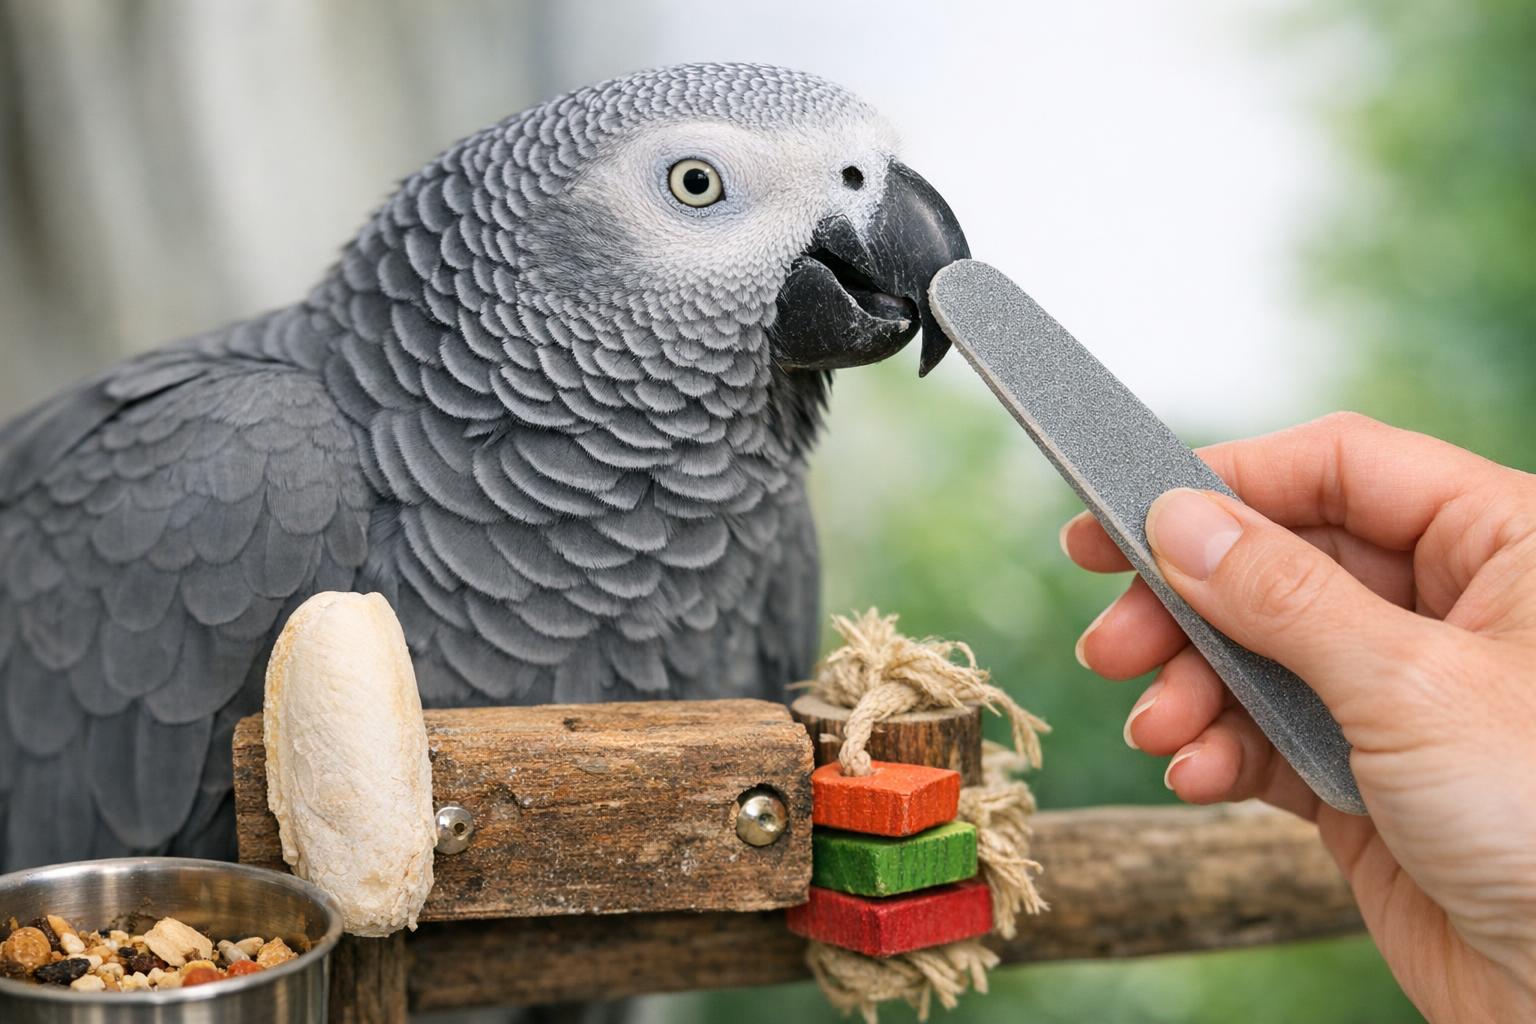
A quick note about tools: read the instructions that come with your bird nail clippers and practice on something soft (like a silicone perch) to get comfortable with the motion before approaching an anxious beak. And remember—practice patience. Nail trimming is a skill, not a race.


Leave a Reply