


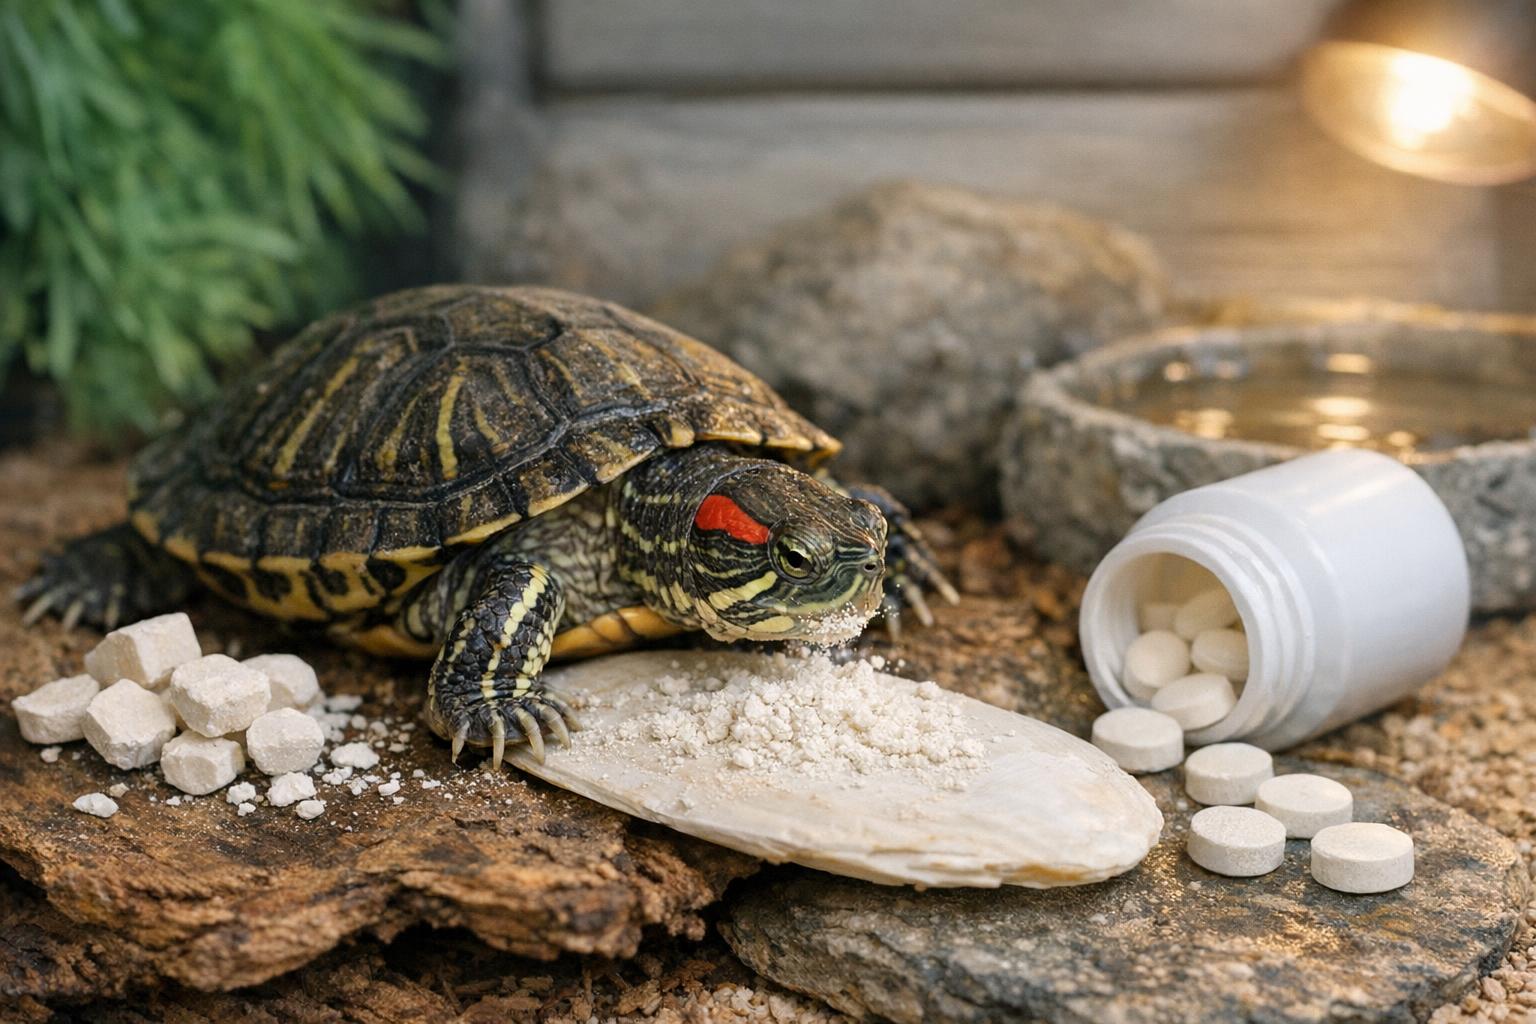
If your aquarium has that fuzzy, brownish film—think of it as nature’s less flattering filter—don’t panic. Brown algae is common, especially in newer tanks or setups with fluctuating light and nutrient levels. You can tame it without turning your fish keeper persona into a full-time algae janitor. A little patience, routine care, and the right techniques go a long way.
## Algae Management Essentials: Brown Algae In Fish Tank
### What Is Brown Algae And Why It Appears
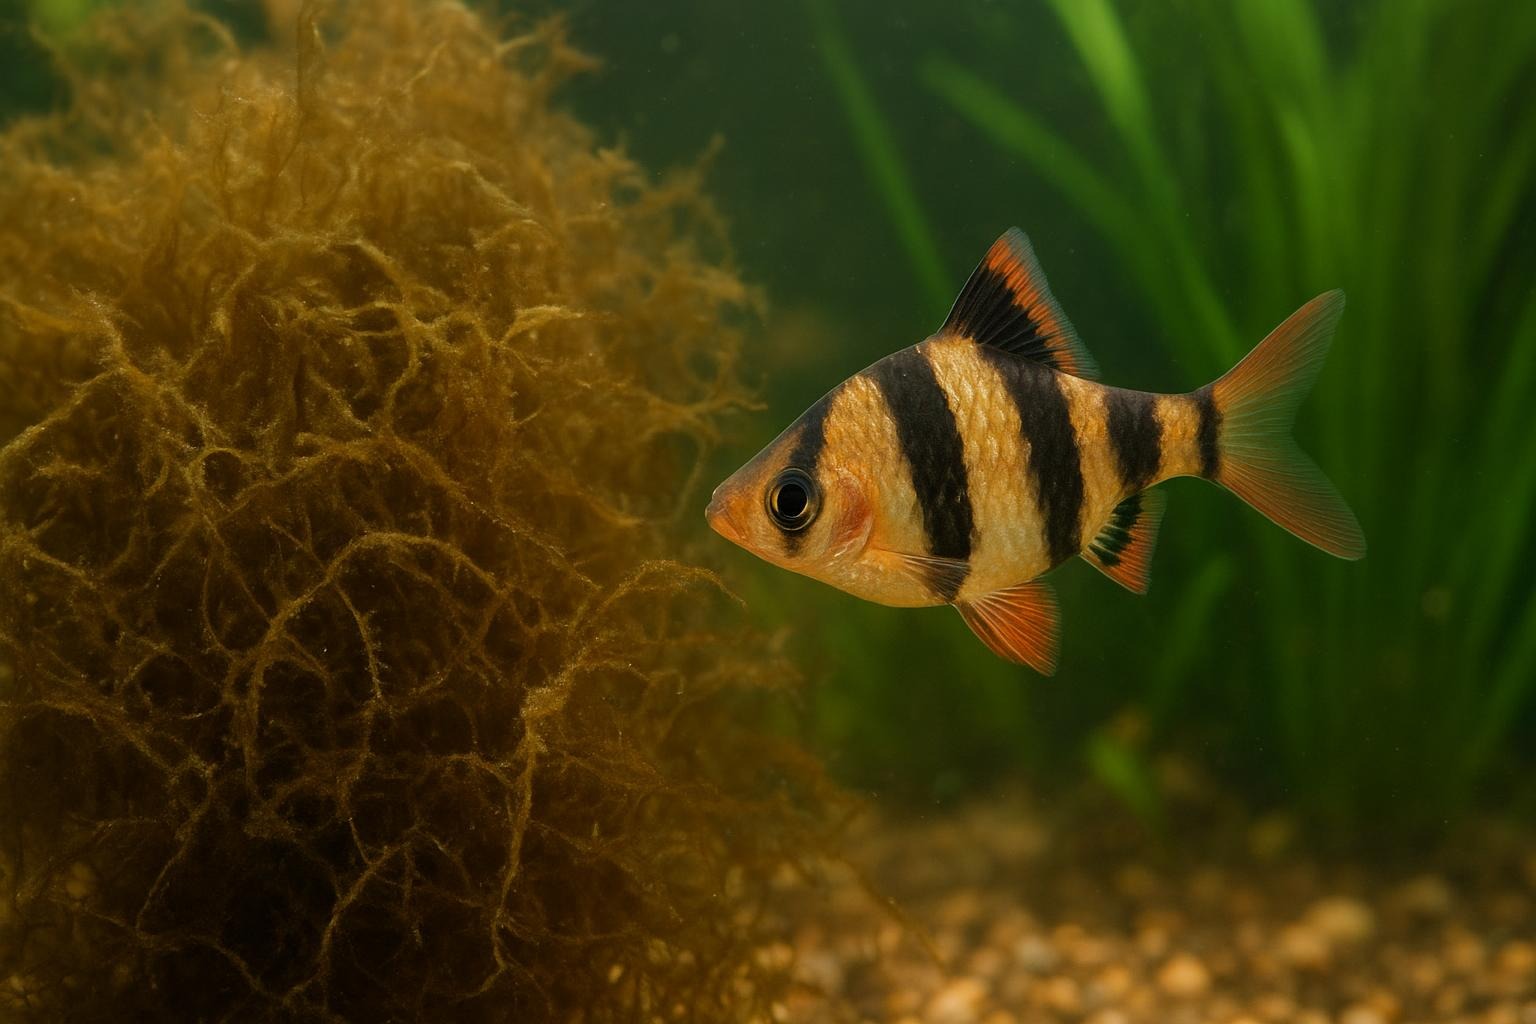
Brown algae in fish tank environments is usually not “algae” in the classic green sense. Most often it’s diatoms: single-celled algae with silica shells that look like a brown dusting or film on glass, substrate, and decor. It thrives where lighting is low-to-moderate and where silicates or nitrates are present. New tanks, freshly added substrate, or tap water that contains silicate give diatoms a welcome buffet.
This stuff is not toxic to fish but can smother plants, obscure viewing, and be aesthetically displeasing. It’s also a sign the tank is adjusting; diatom blooms commonly subside as the aquarium matures and biological filtration stabilizes.
### Common Causes Of The Problem
Brown algae in fish tank situations generally arises from a combination of factors:
– Excess silicates in water or substrate (often from certain sands or tap water).
– Insufficient or inconsistent lighting—diatoms can outcompete other algae types in low-light.
– High dissolved nutrients (nitrates or phosphates) during the tank’s cycling stage.
– New tank syndrome: surfaces are uncolonized by competing microorganisms.
Understanding the cause helps you pick the right remedy. Sometimes the fix is as simple as swapping a filter cartridge; other times it requires a disciplined maintenance routine.
## Practical Tank Care To Prevent Outbreaks
### Light, Filtration And Feeding Balance
Managing light is half the battle. If you’ve got a decorative lamp that’s on 16 hours a day, you’re basically sending out invitations to algae. Aim for 6–10 hours of quality aquarium lighting suited to your plants and inhabitants.
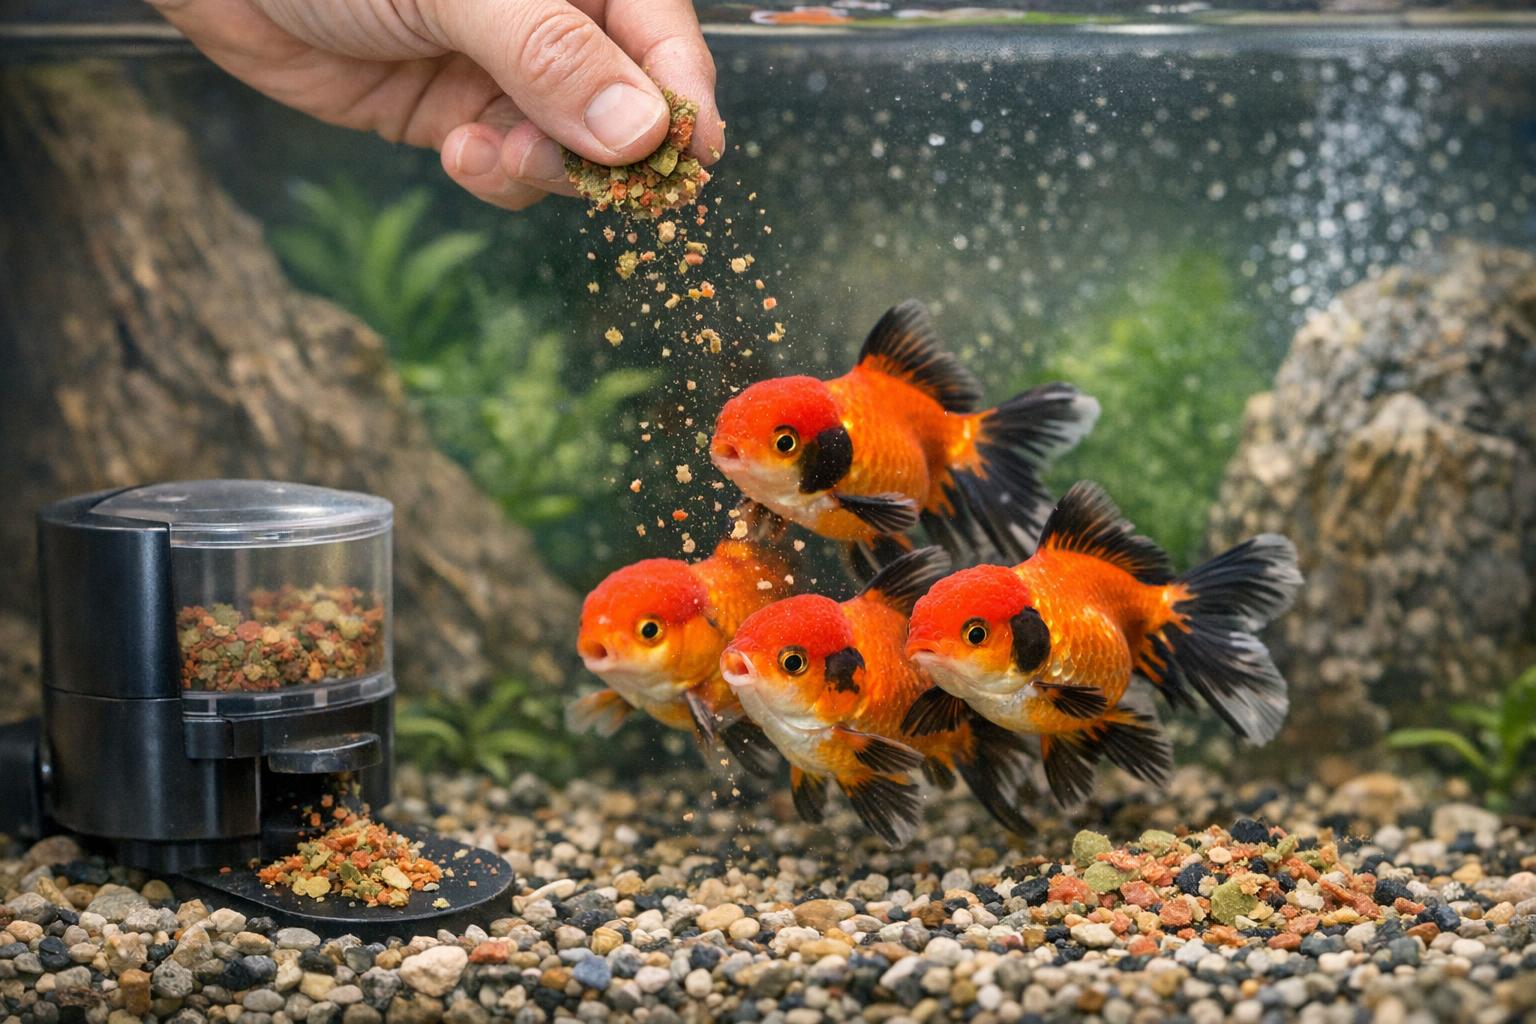
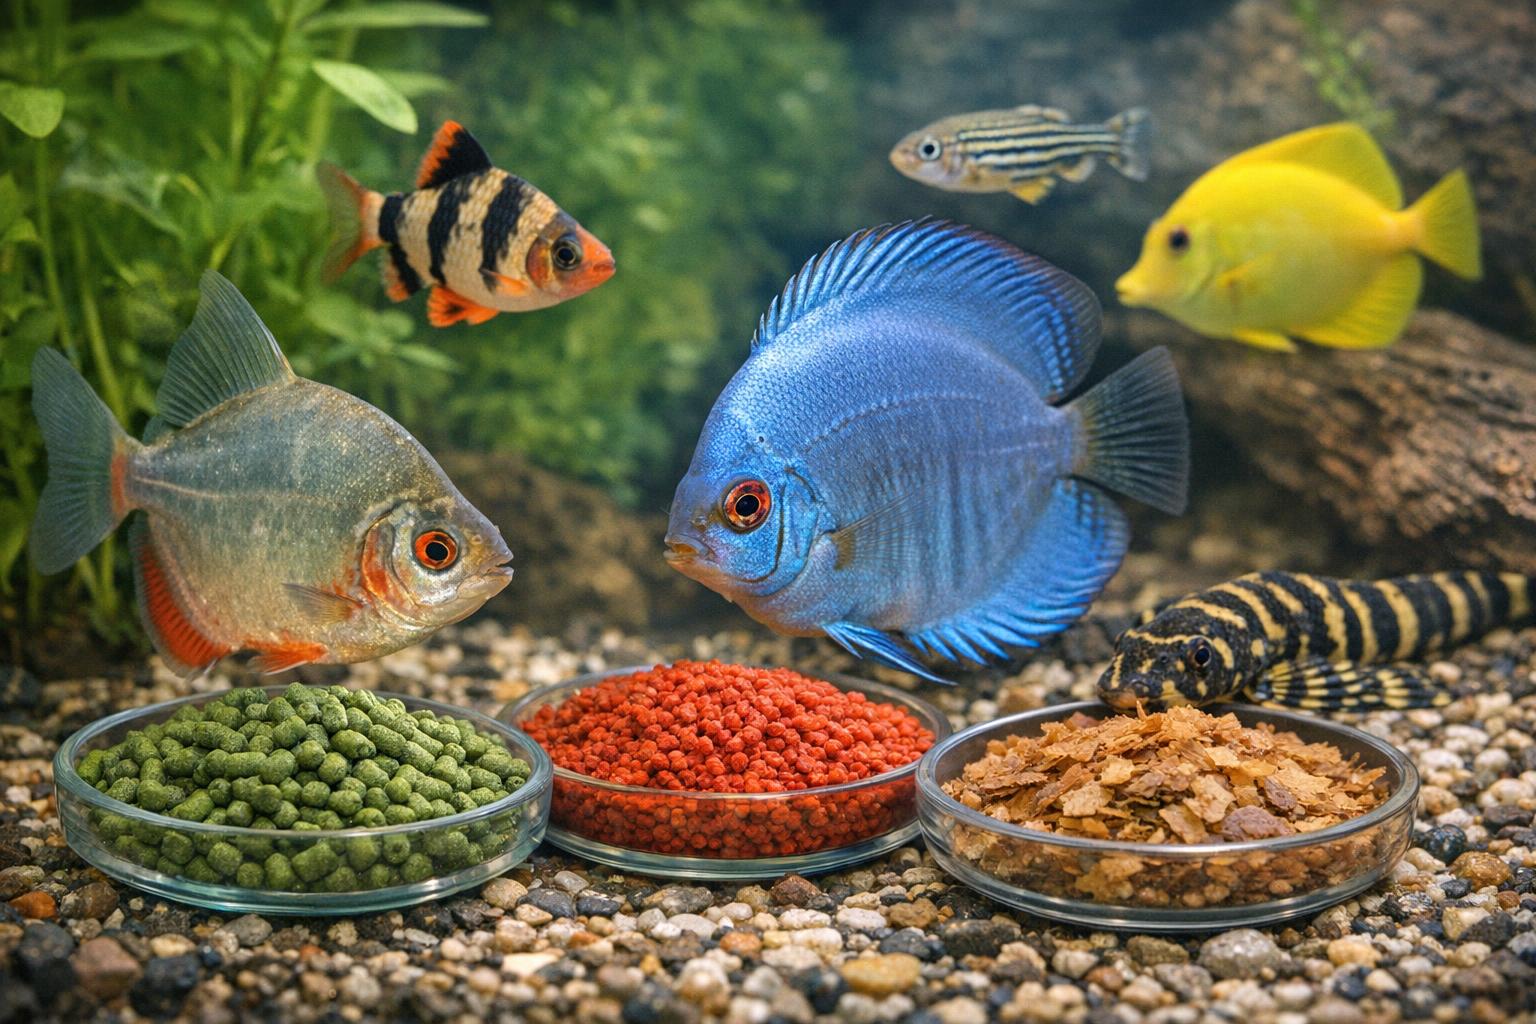
Filtration matters too. A balanced biological filter will reduce excess nutrients and help the tank reach equilibrium quicker, reducing the window where diatoms thrive. Overfeeding contributes to nutrient loads, so feed only what your fish can consume in a minute or two.
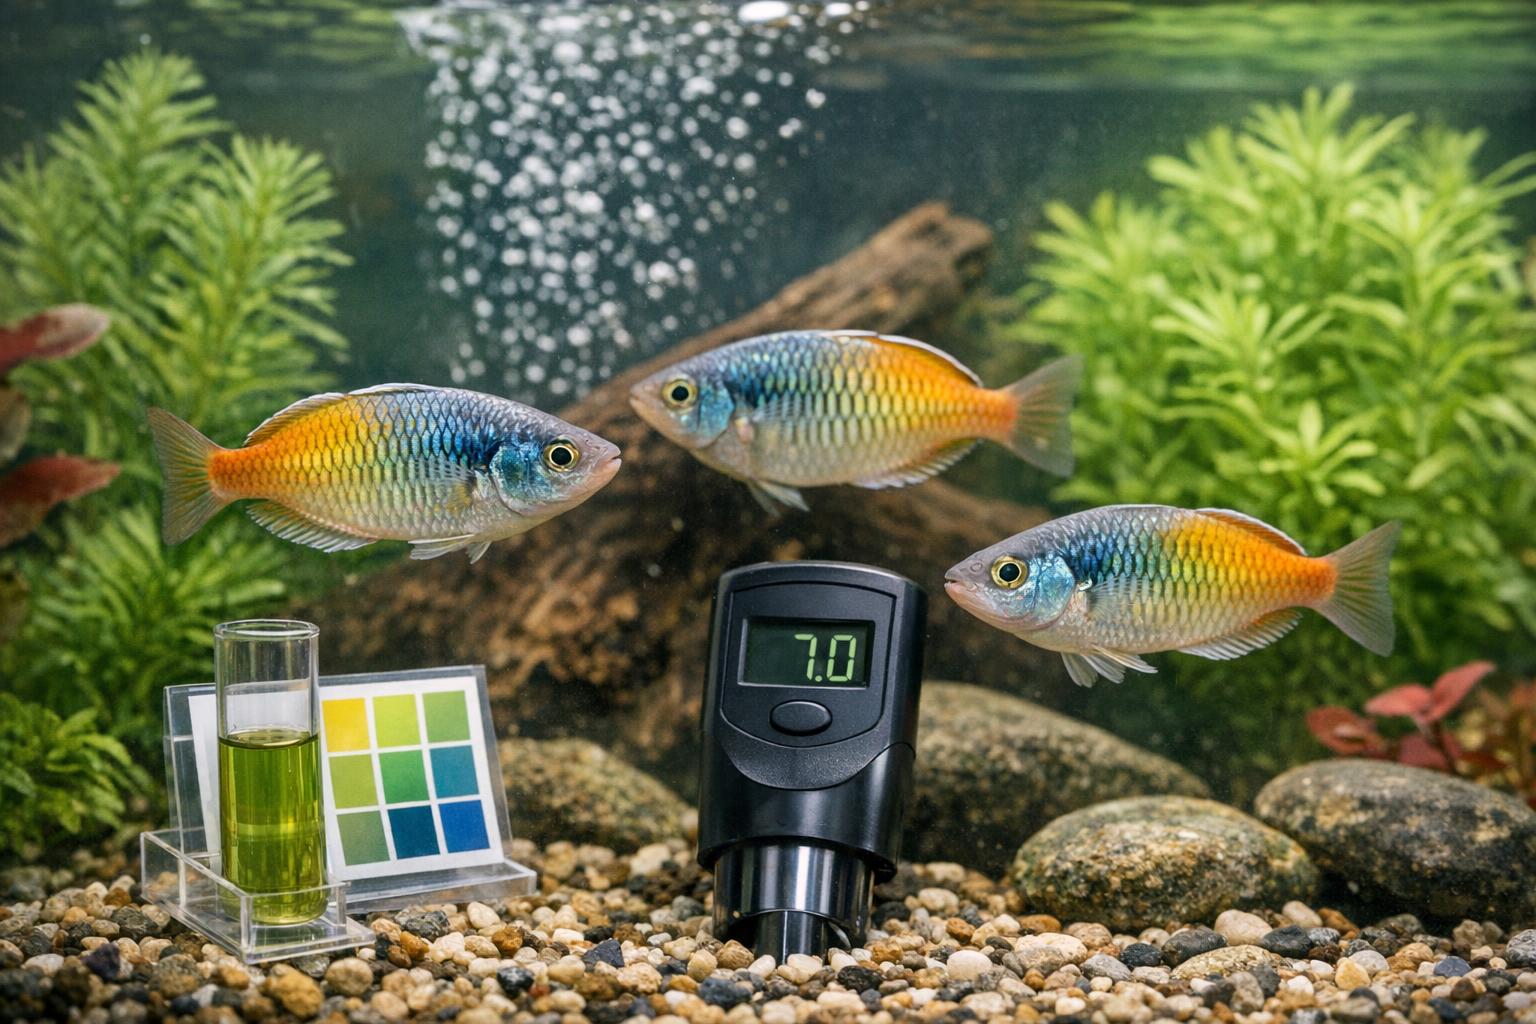
#### Quick Checks To Run Weekly
– Measure nitrate and phosphate levels.
– Inspect and clean filter media (rinse in tank water, do not use chlorinated tap water).
– Watch lighting hours; consider a timer.
### Substrate And Water Source Tips
If your tap water contains high silicate levels, consider using reverse osmosis (RO) water mixed with tap water or a high-quality carbon filter that reduces silicates. Certain substrates and live rock can leach compounds—rinse well before adding them to a new tank.
### Biological Helpers
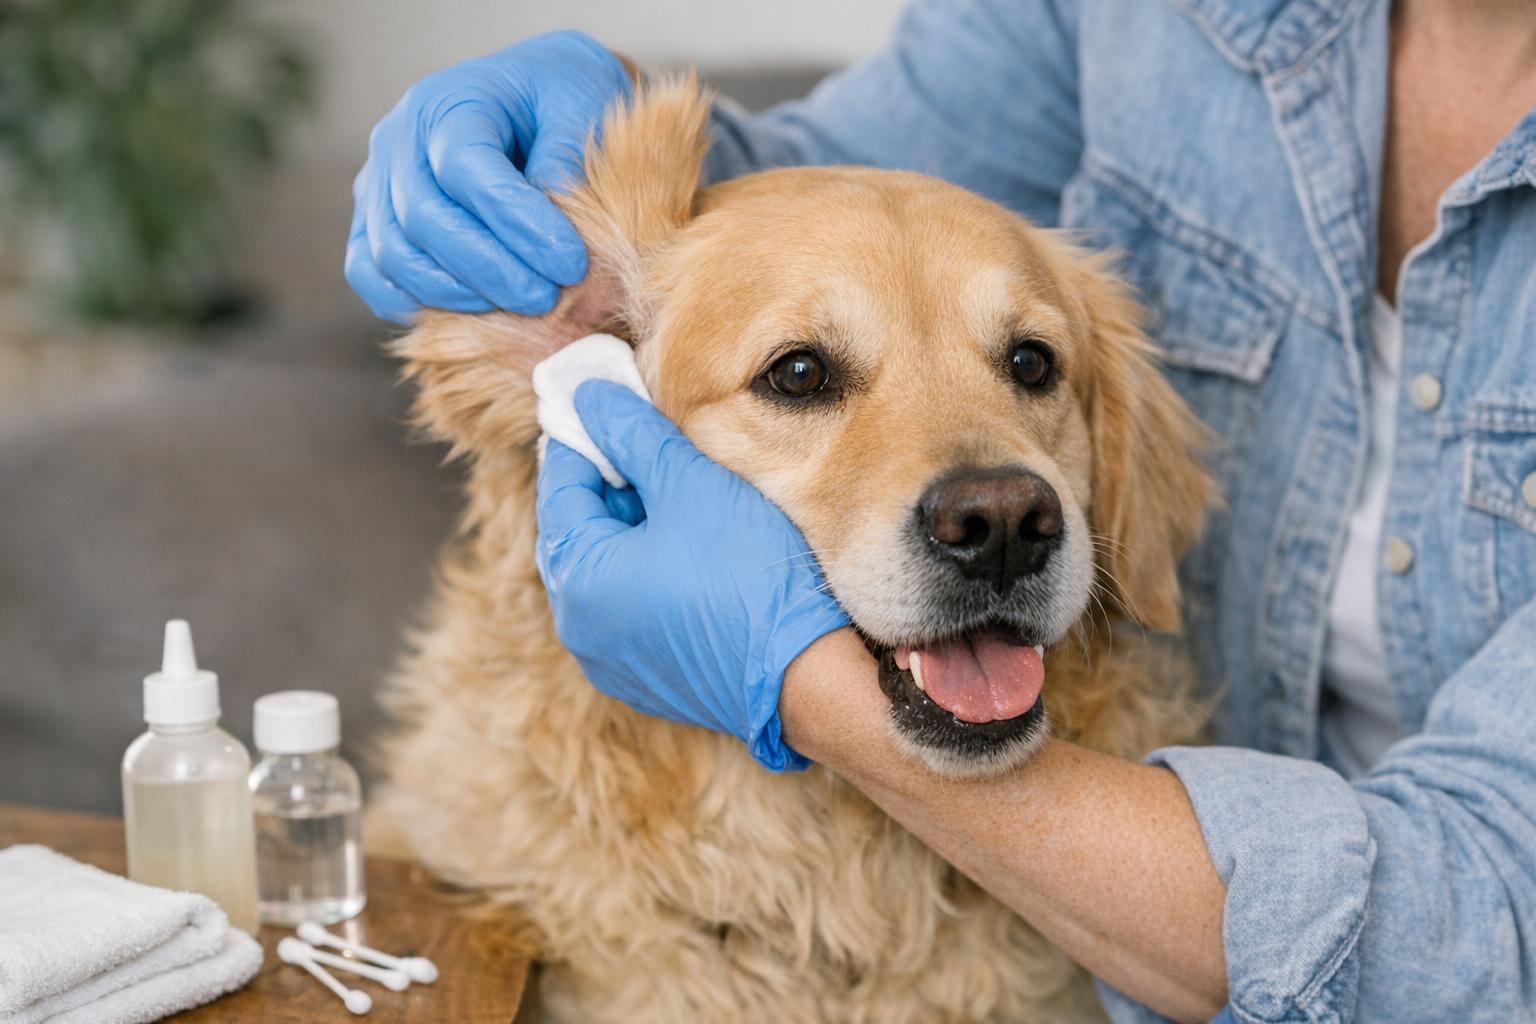
Some snail species and certain small shrimp will graze on diatoms and help control brown algae in the fish tank. They’re not a complete solution, but they’re patient roommates who do their part.
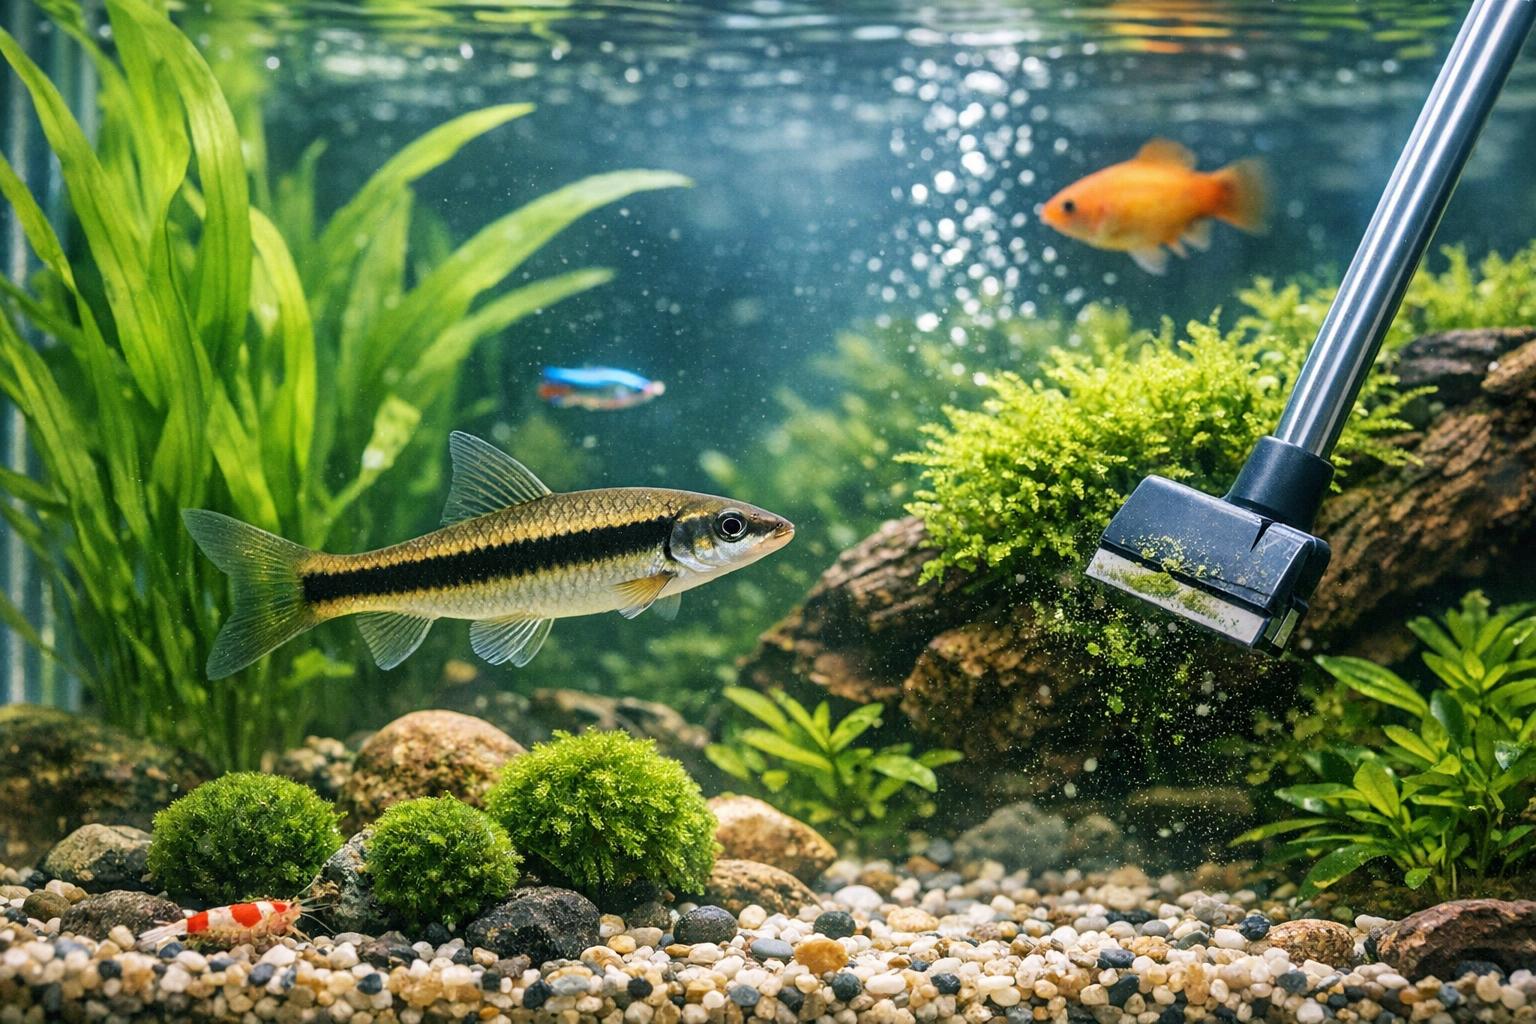
### Remedy 1: Manual Removal And Habitat Fixes (Step-By-Step)
Materials Needed:
– Clean algae scraper or soft aquarium pad
– Gravel vacuum/siphon
– Bucket reserved for aquarium use
– Water test kit (nitrate, phosphate)
– Timer for aquarium lights
– Optional: small algae-grazing invertebrates (e.g., Nerite snails, Amano shrimp)
Procedure (Formal, Exact Steps):
1. Turn off electrical components that can’t be safely used while working in the tank (heaters can remain if set and dry hands avoided).
2. Use the algae scraper to gently remove diatom film from the glass and hardscapes. Work in small sections to avoid breaking delicate plant leaves.
3. Perform a partial water change of 20–30% using pre-conditioned water that matches tank temperature. Use the gravel vacuum to remove detritus where diatoms can accumulate.
4. Test water for nitrate and phosphate levels. Record and track these readings weekly for two to four weeks.
5. Adjust lighting duration to between 6 and 10 hours using a timer. If lighting intensity is low and you have live plants, consult plant requirements before reducing intensity.
6. Clean or replace mechanical filter media in a bucket of tank water to preserve beneficial bacteria; do not use tap water. Replace carbon if it has been in use more than 3–4 weeks.
7. If introducing grazers, acclimate them slowly to avoid shock. Add only species compatible with your tank inhabitants and water parameters.
8. Repeat manual removal weekly until diatom levels fall to acceptable levels. Continue water testing and routine maintenance.
Notes: Manual removal and habitat fixes are the most straightforward first line of defense. Be consistent; diatoms can return if conditions slip.
### Remedy 2: Chemical And Biological Controls (Step-By-Step)
Materials Needed:
– Aquarium salt (if suitable for species; check compatibility)
– Commercial silicate reducer product (if high silicates confirmed)
– Biological additive (nitrifying bacteria supplement)
– Compatible algae-eating species (research species-specific compatibility)
– Water test kit (silicates, nitrates, phosphates if available)
Procedure (Formal, Exact Steps):
1. Before adding any chemical treatments, test for silicate levels. If silicates are high, consider performing several partial water changes with RO/DI water to dilute them. Use a silicate-reducing chemical only if testing confirms high silicates and manufacturer instructions recommend it.
2. Introduce a biological additive according to label instructions to speed up the establishment of nitrifying bacteria in new or recently cleaned filters. This reduces the nutrient window that diatoms exploit.
3. If aquarium inhabitants tolerate salt, a low-dose aquarium salt treatment can help certain invertebrate grazers manage diatom populations indirectly by improving overall osmoregulation—only use if species are salt-tolerant.
4. Add algae-grazing animals only after confirming water parameters and compatibility. Monitor their health closely for the first 1–2 weeks.
5. Avoid broad-spectrum algaecides unless absolutely necessary; they can disrupt beneficial microorganisms and destabilize the tank. If used, treat only as a last resort and follow all directions precisely.
6. Continue to test water parameters weekly and adjust treatment or biological additions based on results.
Notes: Chemical interventions can be effective but carry risks. Use targeted products, avoid overdosing, and prioritize biologically stabilizing the tank first.
## Maintenance Routine And Monitoring
### Weekly And Monthly Tasks
– Weekly: 20–30% water change, glass cleaning, siphon substrate, check lights and timer, feed responsibly.
– Monthly: Replace or clean filter media (as appropriate), deep clean decorations if heavily fouled, test water chemistry comprehensively.
### When To Expect Improvement
In newly established tanks, brown algae in fish tank issues often improve within 2–6 weeks as the biological filter matures and silicates are consumed. In established tanks, consistent maintenance and minor environmental tweaks usually clear persistent diatom films within a few maintenance cycles.
### When To Seek Help
If brown algae in fish tank outbreaks persist despite correct lighting, water changes, and filtration, consider:
– Getting a water report for silicate content from your municipality.
– Consulting a local aquarium professional or aquatic veterinarian about species-specific sensitivities.
– Replacing suspect substrate or heavily silicate-producing decor.
A practical, methodical approach will usually restore clarity and balance to your aquarium without drama. Think of it as a relationship: consistent attention, clear boundaries (no overfeeding), and a few trustworthy helpers (snails or shrimp) make the partnership work.


Leave a Reply