


Most cat ears don’t need daily fussing. They need the right checks, the right tools, and a calm approach. Clean the wrong way and you make things worse. Do it thoughtfully and you’ll spare your cat a lot of discomfort.
## Ear Cleaning Tips For Cats You Can Use Today
Start by making a small plan: check, decide, clean if necessary. The phrase ear cleaning tips for cats sounds like a long checklist, but in practice it’s just three things repeated regularly. First, look inside the ear. Second, smell and feel for anything unusual. Third, act only when there’s visible debris or a smell. That keeps unnecessary poking to a minimum and protects cat ear health.
### How To Spot When Cleaning Is Needed
You don’t need to clean perfectly clean ears. What you do need to notice are changes.
– Dark brown, black crumbly stuff is common with mites. Lots of it usually means a problem that needs treatment.
– Thick yellow or green discharge, bad odor, or visible swelling suggests a cat ear infection and needs prompt vet care.
– Excessive scratching, persistent head shaking, or a new head tilt are warning signs.
– If the ear is hot to the touch or the cat pulls away sharply when you approach, stop and call your vet.
A little light brown wax along the inner flap can be normal. If your cat has head shaking and debris that looks like coffee grounds, call the vet — that’s classic for ear mites.
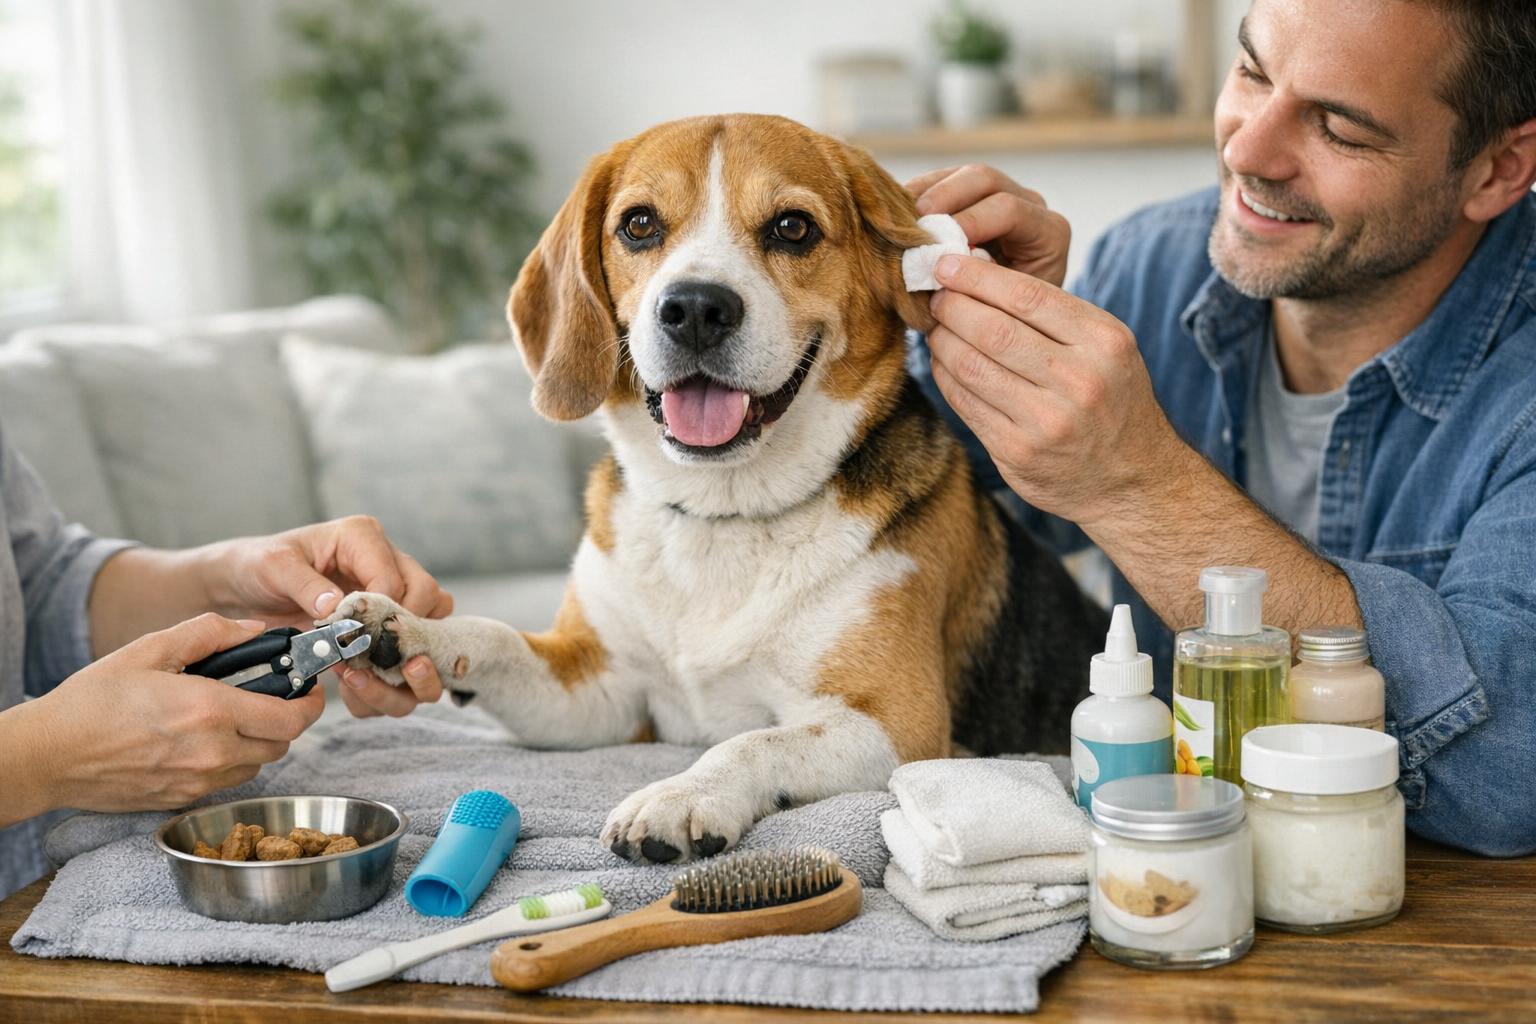
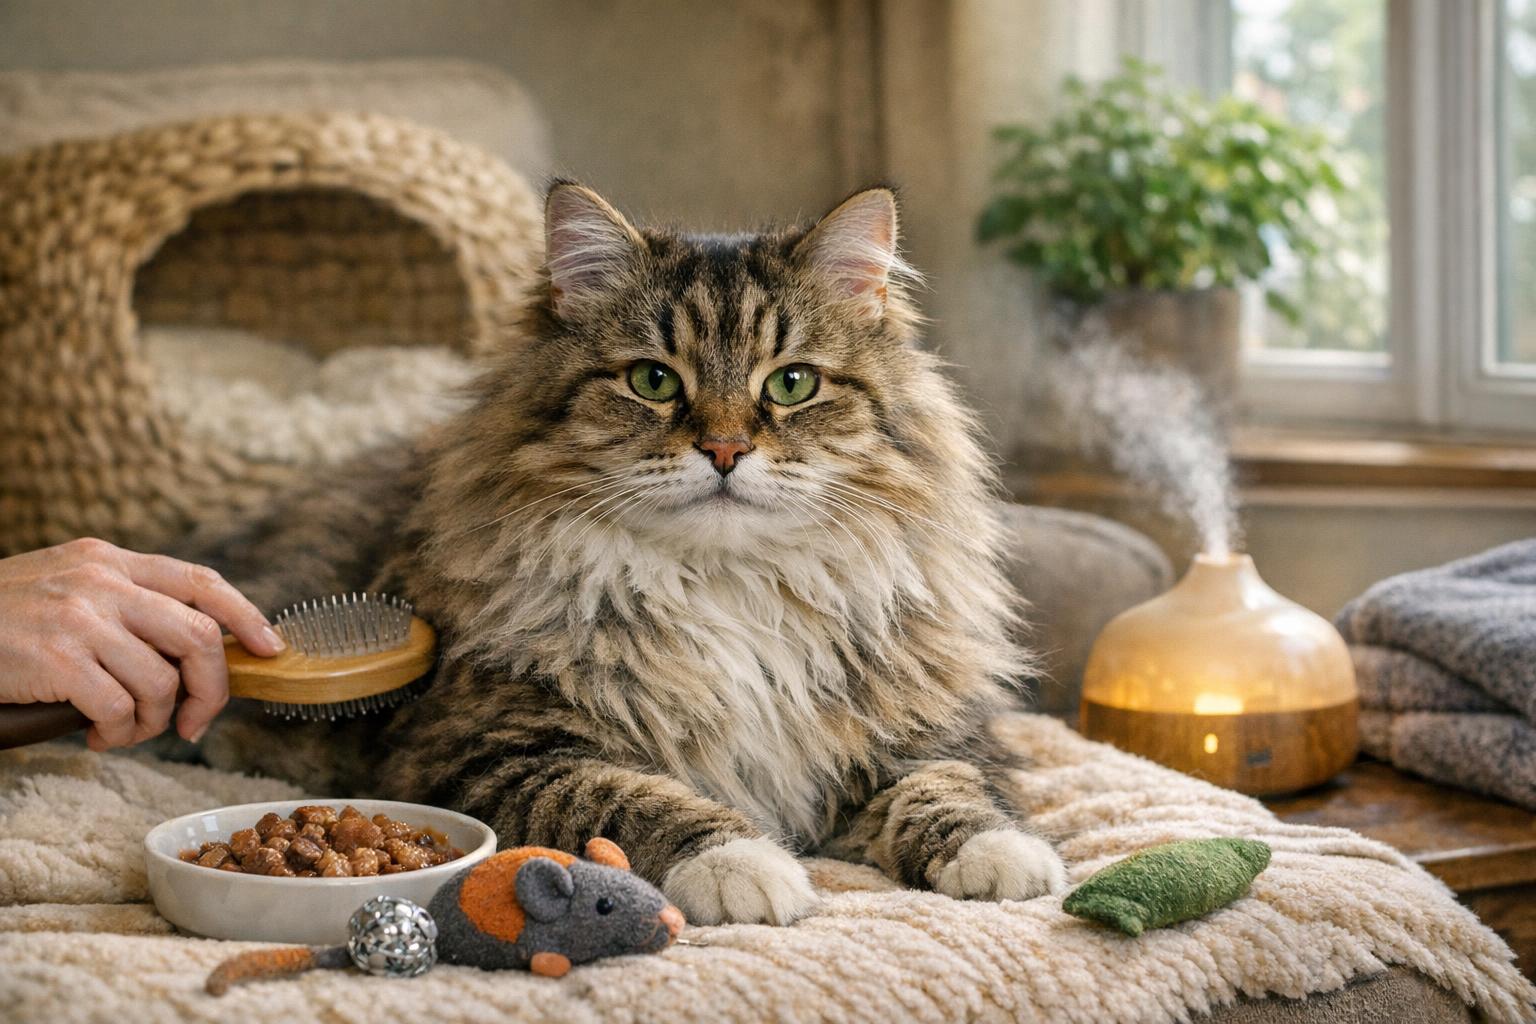
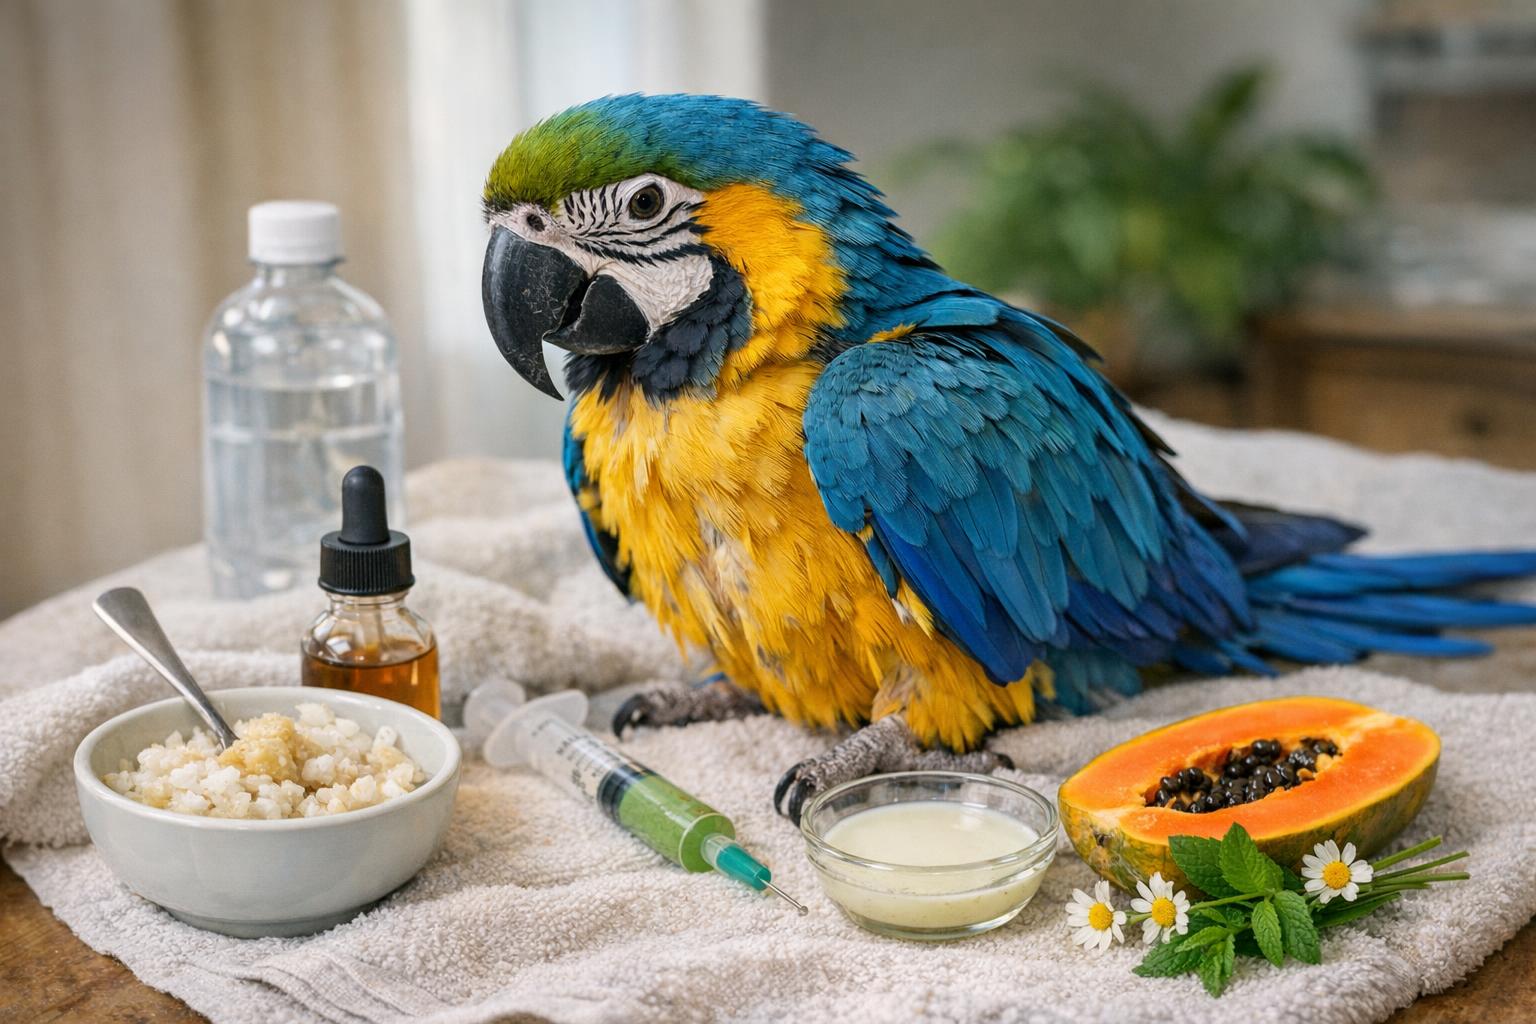
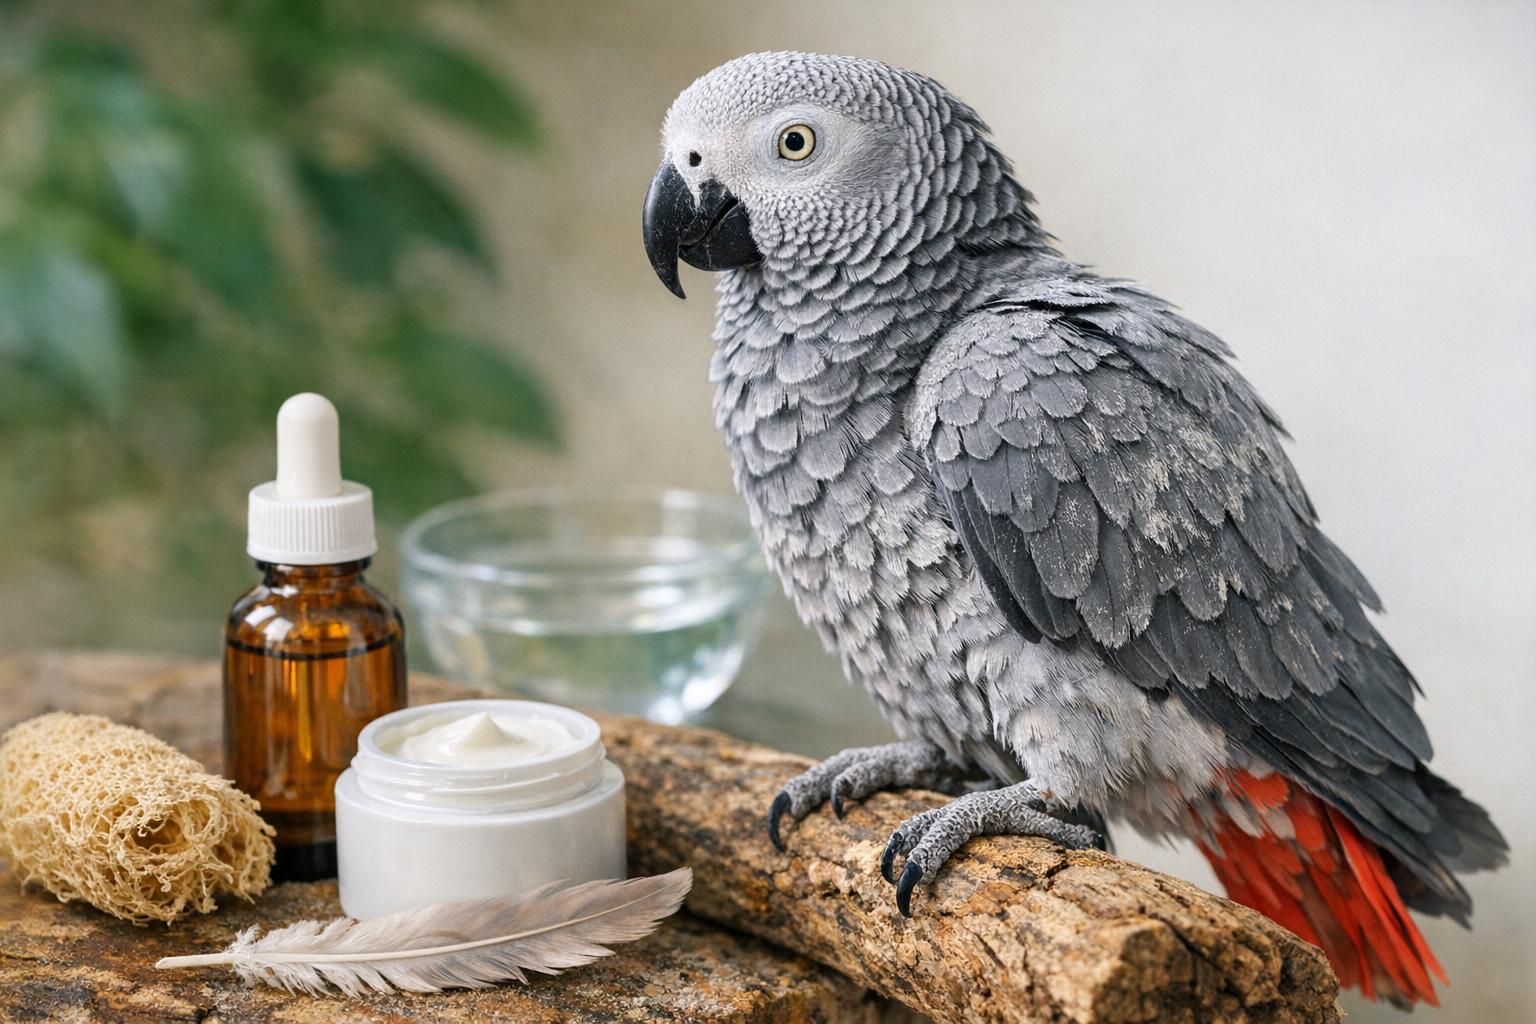
### Supplies You Should Have Ready
Get these before you start. Having them on hand makes the process quicker and safer.
– A vet-approved ear cleaner made for cats (avoid harsh home remedies unless advised).
– Cotton balls or gauze squares. Keep them small so you don’t push anything into the canal.
– A soft towel to gently restrain a fidgety cat.
– Treats for positive reinforcement.
Avoid Q-tips; they push wax deeper. Also avoid alcohol, hydrogen peroxide, and solutions meant for humans—those can sting and damage delicate tissue.
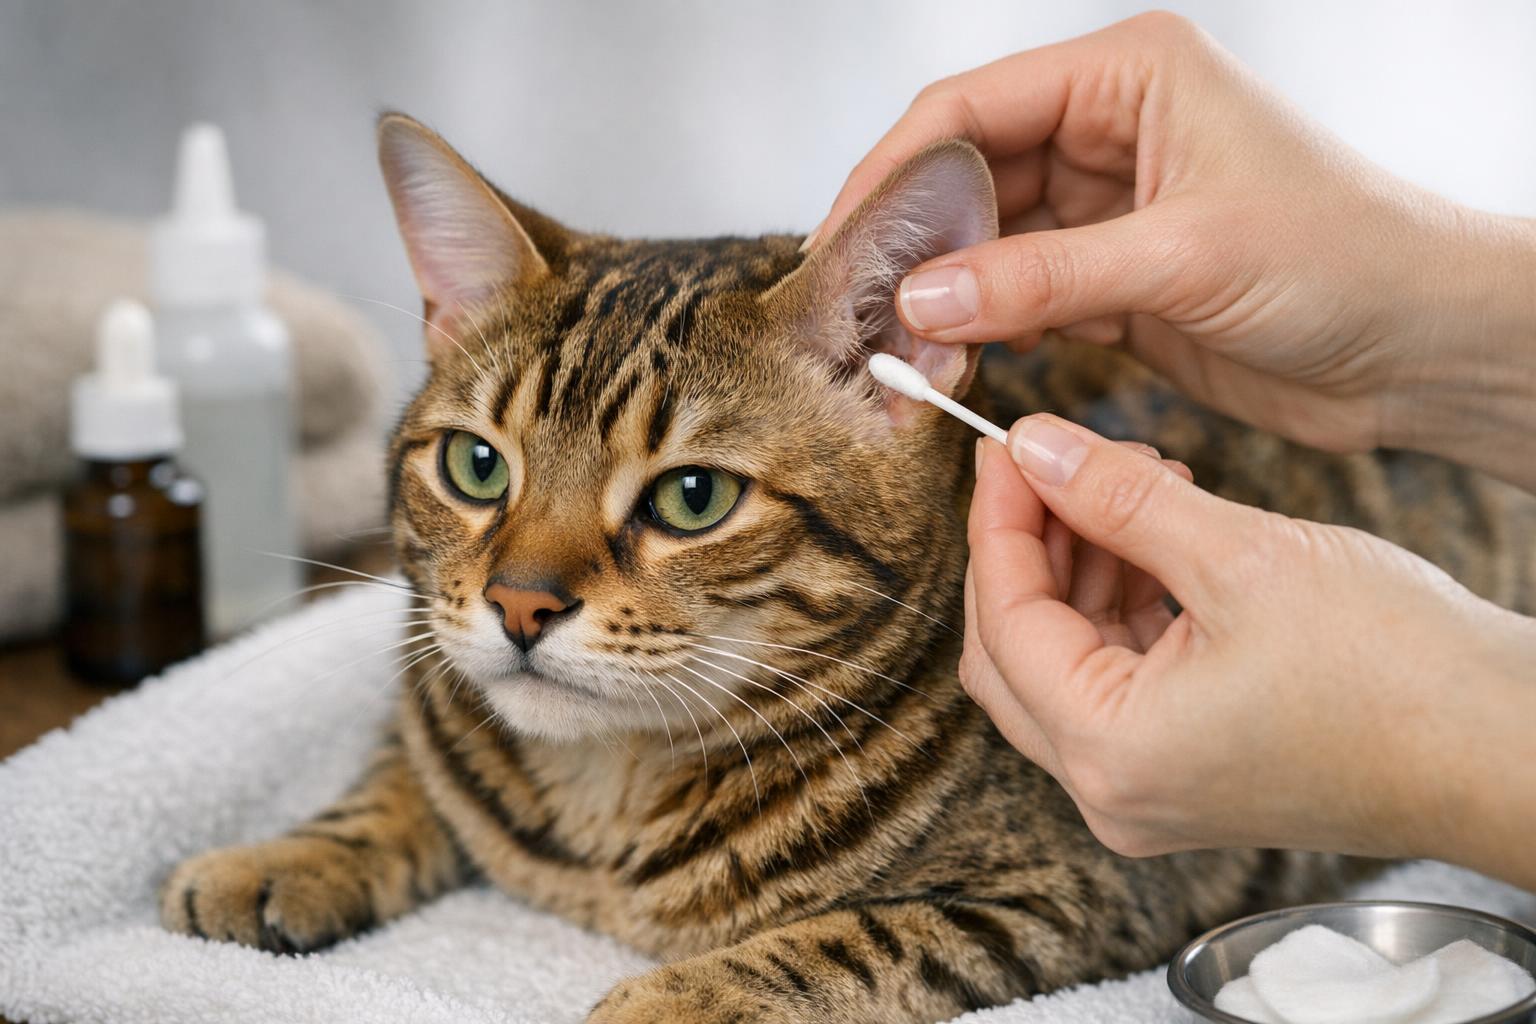
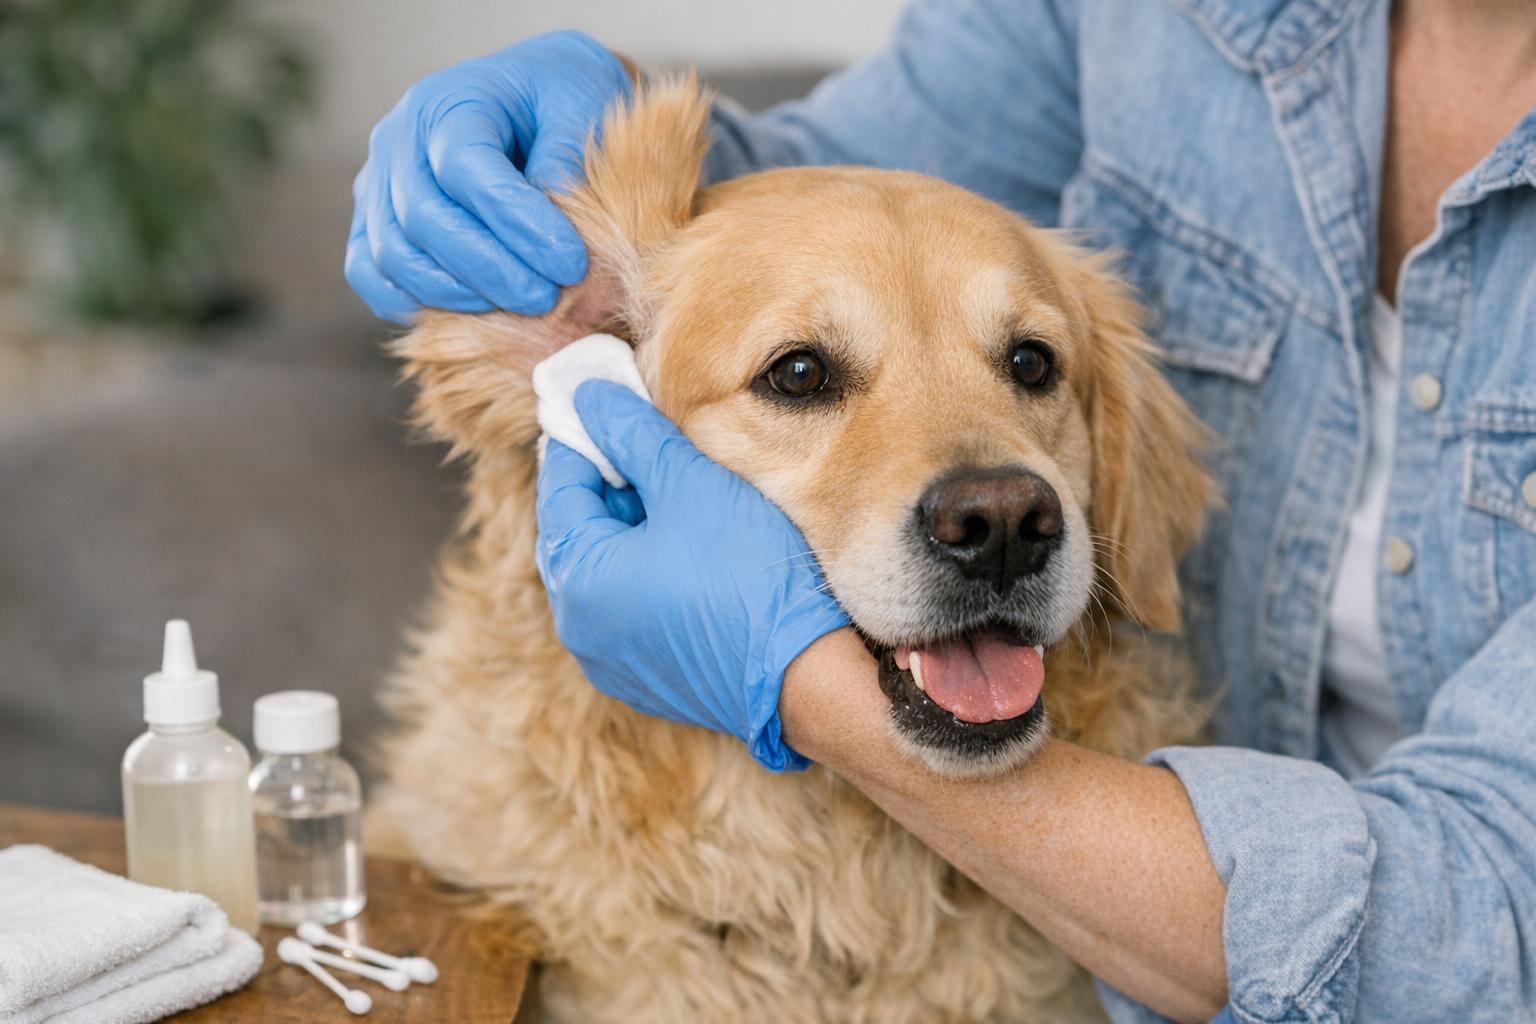
### Step-By-Step Cleaning That Keeps Ears Safe
The method matters more than the speed. Stay calm. Talk softly. If your cat becomes stressed, stop and try later.
1. Make your cat comfortable on a lap or a soft surface. Wrap a paw in a towel if needed.
2. Gently hold the ear flap and inspect. Note color, debris, smell, and any reaction.
3. Apply the ear cleaner: squeeze a small amount into the outer ear canal and massage the base of the ear for about 20 to 30 seconds so the solution loosens debris. You’ll hear a squelch.
4. Let your cat shake its head. That helps bring loosened debris out.
5. Wipe away the loosened gunk with a cotton ball or gauze. Clean only the parts you can see. Never insert anything into the inner canal.
6. Reward your cat with a treat or praise.
If the ear is painful, oozing pus, bleeding, or if your cat yowls when you touch it, stop and consult your vet. Trying to clean through real pain often worsens a cat ear infection.
#### Quick Steps For Nervous Cats
Keep sessions short. One to two minutes of gentle work, followed by treats, is better than a longer struggle. Try having someone help hold and soothe your cat. Practice handling the ears during calm times so future cleanings are less stressful.
### How Often Should You Clean?
Frequency depends on the cat. Indoor cats with clean ears may only need checks monthly. Cats with folded ears (like Persians) or heavy wax producers may need weekly care. If your cat has a history of ear problems, follow your vet’s plan.
A simple rule: clean when you see debris, smell something, or the cat is scratching more than usual. Overcleaning can irritate the skin and upset cat ear health, so don’t do it on a schedule unless there’s a reason.
### Common Mistakes That Cause Trouble
People mean well but make avoidable errors.
– Pushing swabs into the canal. That compacts wax and damages tissue.
– Using human products because they’re at home. They can sting or change the ear’s pH.
– Ignoring behavior changes. Cats hide pain well; repeated head shaking often points to a cat ear infection rather than mischief.
– Cleaning too aggressively. Rubbing hard can inflame the ear and invite infection.
Don’t attempt to dig out hard plugs yourself; you will definately make it worse. If you can’t remove debris with gentle cleaning and the ear still looks abnormal, get a vet involved.
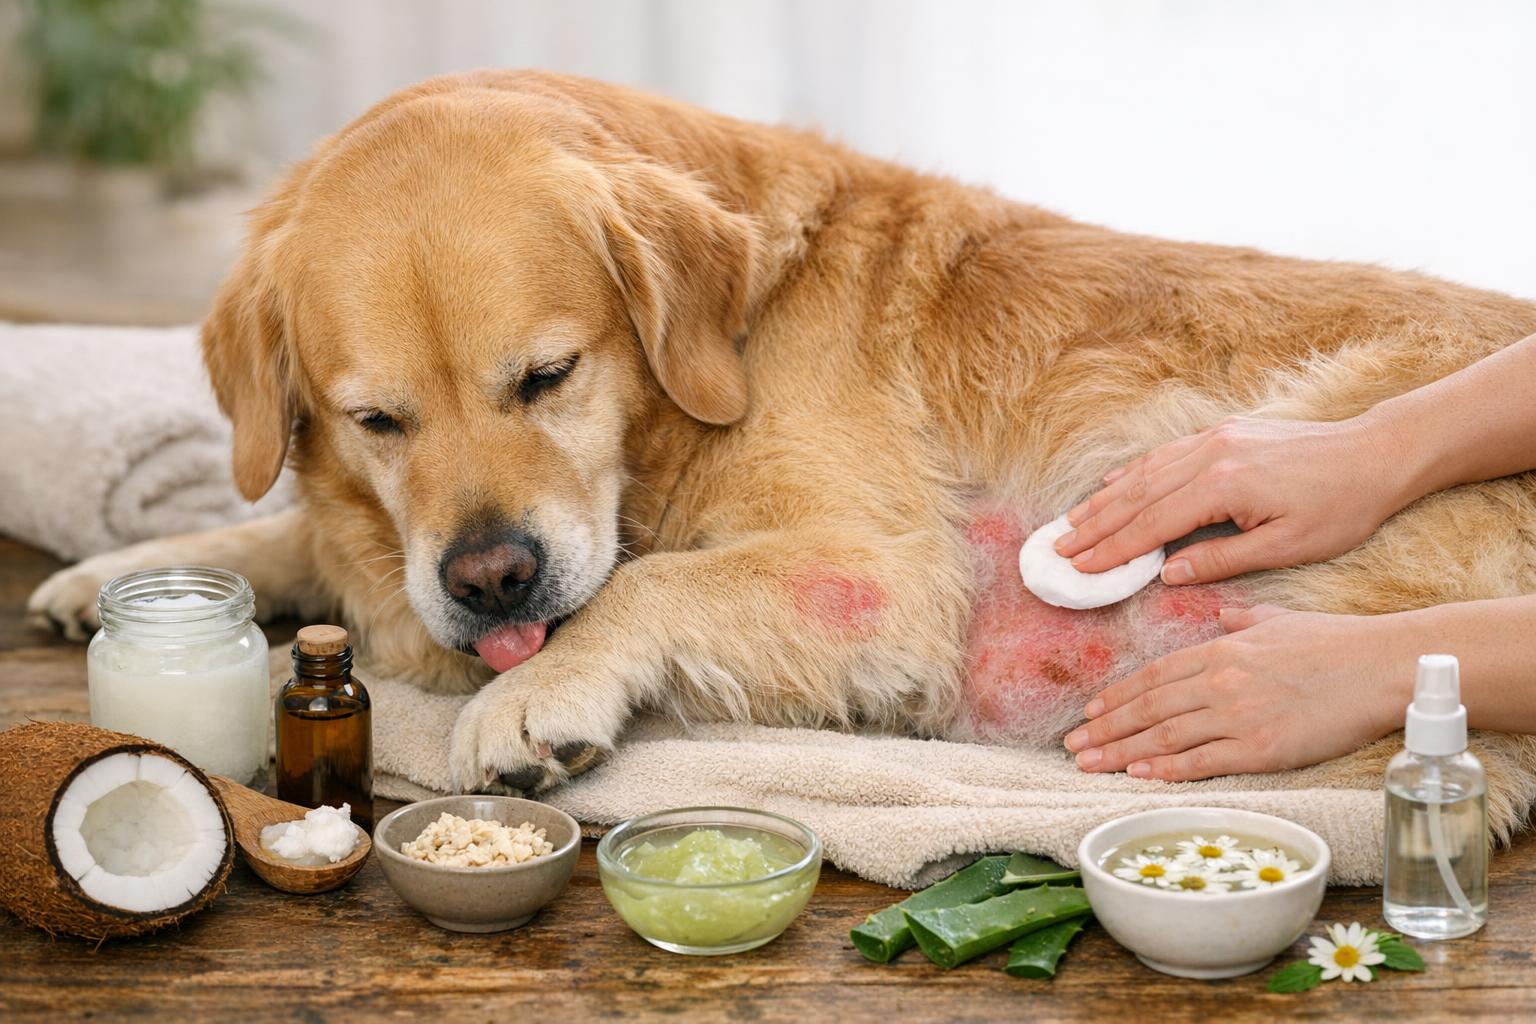
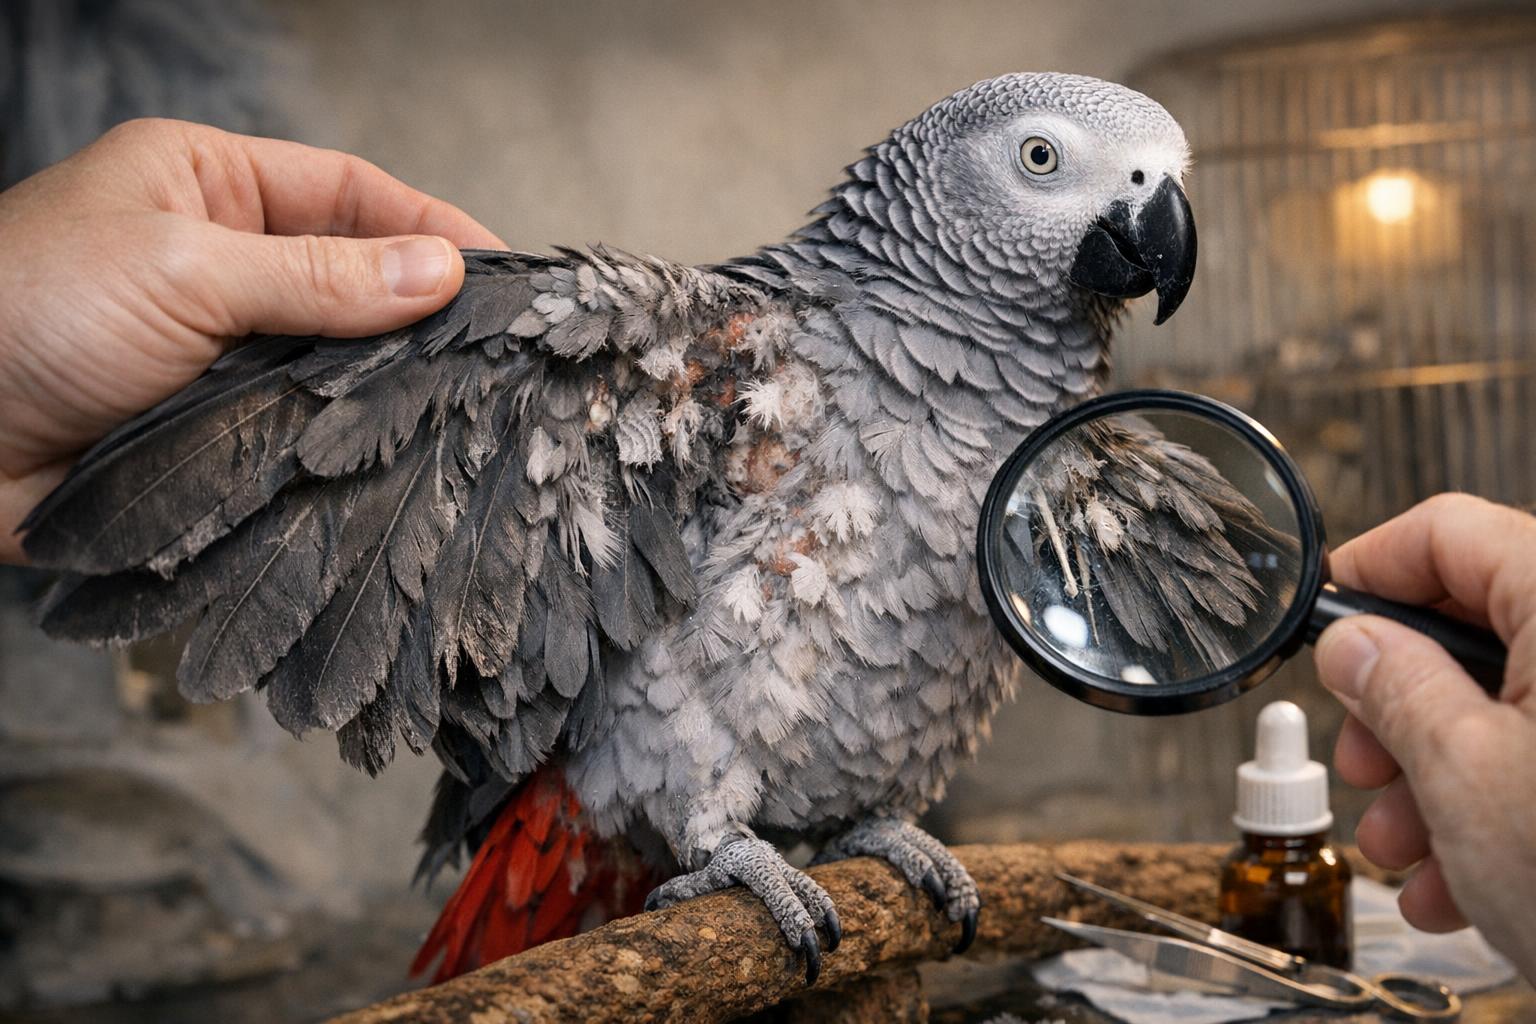
### When Cleanings Aren’t Enough: Signs Of Infection
A cat ear infection isn’t always dramatic, but there are clear signs: persistent odor, continuous head shaking, discharge that’s yellow or bloody, and visible redness or swelling. If your cat has those, a vet will examine the ear, possibly take swabs, and prescribe drops or oral meds.
Some infections are secondary to allergies or skin problems. Treating only the infection without addressing the underlying cause leads to repeat visits. If your cat has frequent ear complaints, discuss allergy testing or dietary changes with your vet to protect long-term cat ear health.
### Kittens, Seniors, And Special Cases
Kittens are prone to ear mites. Their ears are small and fragile; be very gentle. Most vets will check ears during routine kitten visits and can show you a safe method for home care.
Senior cats may have less flexibility or decreased grooming. They can also develop more stubborn infections. Older cats with diabetes or immune issues can be slower to heal, so earlier vet care is important.
Long-haired cats and those with narrow ear canals need closer monitoring. Breeds with folded ears trap moisture and wax, increasing risk. For these pets, a weekly glance inside the ear and a monthly gentle clean might be the right balance.
### What Your Vet Might Do That You Can’t
If the ear is swollen, painful, or there is significant discharge, the vet may sedate the cat to get a full look. They can flush the canal safely, remove foreign material, and prescribe specific medication. For chronic problems, they might culture the discharge to pick the right antibiotic or antifungal.
Don’t expect to diagnose at home. A vet can tell the difference between yeast, bacterial infection, and mites. Treating the wrong thing delays recovery.
### Preventing Problems Before They Start
A little prevention goes a long way. Check ears weekly when you groom. Keep ears dry after baths and swimming. If your cat goes outside and gets into fights, inspect ears for scratches that can become infected.
Diet matters too. Good nutrition supports immune function and skin health, which ties into cat ear health. If your cat is itchy elsewhere or has flaky skin, the ears may be part of a broader problem.
### When To Call The Vet Immediately
Call your vet if you see any of these: severe pain, high fever, bleeding, discharge with a bad smell, or sudden head tilt and balance issues. A head tilt can mean the infection has reached the middle ear or is affecting balance centers, and that requires prompt attention.
If treatment starts and symptoms don’t improve in a few days, follow up. Sometimes medication needs changing or a longer course is required.
### Managing Treatment At Home
If drops are prescribed, warm them briefly in your hands before administration so they don’t startle the cat. Follow dosage and duration exactly; stopping early often lets the infection return. Clean the outer parts gently before applying drops so the medication can reach the affected area.
If your cat is resistant, wrap in a towel and have a helper steady the head. Talk and reassure between doses. Make the experience predictable and reward afterwards.
### Handling Recurrences And Chronic Issues
Some cats get recurring ear problems. Track occurrences in a simple notebook: date, symptoms, treatment, and outcome. Patterns emerge — maybe it flares seasonally or after certain foods. Share this with your vet. Chronic issues often need a combined approach: medication, environmental changes, and sometimes dietary tweaks.
If your cat has frequent infections, insist on exploring underlying causes. Unaddressed allergies or hormonal imbalances will keep undermining any short-term fixes.
Keep checking ears. Noticing small changes early saves time, money, and discomfort. A calm hand, the right cleaner, and a quick vet call when things look off will keep your cat’s ears comfortable and bright.


Leave a Reply