


Cloudy water often comes down to one thing: the filter. Ignore it and everything else in the tank gets harder. Keep it right and your water stays clear, algae stays manageable, and your fish behave like they should.
## Aquarium Filter Care Guide: Practical Steps
This aquarium filter care guide covers the hands-on stuff that actually fixes problems. You don’t need to overhaul the tank every week. You need predictable checks and a few good habits that prevent ammonia spikes, odors, and clogged flow.
### Why The Filter Matters
A fish tank filter does three jobs: remove solids, host beneficial bacteria, and chemically polish water when needed. If any of those fail, water quality drops fast. Mechanical media traps waste and needs cleaning. Biological media houses nitrifying bacteria and needs to be handled gently. Chemical media like carbon should be replaced on a schedule. Treat each part differently.
### Daily And Weekly Checks
Spend five minutes a day on your tank and ten to twenty minutes once a week. Simple things to look for:
– Flow Rate: Is the return stream weaker than usual?
– Noise: New rattles or gurgles often mean a blocked intake or worn impeller.
– Visual: Excess solids, algae, or fish gasping at the surface.
Those quick checks are the backbone of this aquarium filter care guide. If you spot a slow flow, check the intake sponge and the impeller housing first. Most clogs are visible and easy to clear.
#### Check Flow And Noise
Lift the lid and listen. If you hear grinding or irregular chugs, the impeller may have debris or the shaft could be worn. Rinse the impeller in tank water — not tap water — and inspect the housing. Replace only if it’s damaged. You’ll recieve fewer surprises if you do this regularly.
#### Inspect Media And Replace As Needed
Mechanical sponges and pads can be rinsed in siphoned tank water to preserve bacteria. Replace chemical media like activated carbon every 3–6 weeks depending on your stocking and feeding. Don’t toss all biological media at once. Stagger replacements to keep the nitrifying colony stable.
## Aquarium Filter Care Guide For Clear Healthy Water
Think of the filter as a living system. Cleaning isn’t about sterilizing; it’s about balance. Here’s a monthly rhythm that works for many tanks:
– Week 1: Partial gravel vacuum and sponge rinse.
– Week 3: Check and replace carbon if used.
– Week 4: Inspect the impeller and tubing, deep-clean the pre-filter.
This structured approach to filter maintenance avoids sudden swings in water chemistry. You’ll get fewer algae blooms and steadier test kits.
### Deep Cleaning And Media Care
When you do a deep clean, use water removed from the tank for rinsing filter media. Tap water has chlorine and chloramine that can kill beneficial bacteria. If you must use tap water, dechlorinate first. For canister filters, disassemble on a towel and keep media in labeled bags of tank water while you clean the housings.
Mechanical media gets most of the waste, so it’ll need the most frequent attention. Biological media should only be swished. Chemical media is single-use — don’t try to squeeze and reuse carbon that’s been in the tank for months.
### Matching Care To Your Filter Type
Different filters need different routines:
– Hang-On-Back (HOB): Check the intake tube and lid for trapped debris. Clean the floss monthly.
– Canister: These are efficient but require full disassembly and careful reassembly. Keep a clear picture or phone photo of the order of media.
– Sponge/Internal: Replace gradually and use sponge swaps to preserve bacteria.
– Undergravel: Less common, but lift plates and vacuum gravel more often; biological colonies live in the bed.
If you’re unsure what your fish tank filter needs, consult the manual or the manufacturer’s site for parts and impeller replacements. A little model-specific care goes a long way.
### Common Mistakes To Avoid
People often overclean. They scrub everything with tap water, replace all media at once, or aggressively vacuum the gravel. That can flush out the beneficial bacteria and cause ammonia spikes. Another mistake is undersizing a filter for the tank’s bioload. Bigger is usually better — but not so strong that it stresses the fish.
Keep spare parts on hand. A cheap replacement impeller or a filter sponge in the drawer saves a lot of panic on weekends.
#### Filter Maintenance For New Tanks
New tanks need patience. Establishing a biological filter can take weeks. Don’t use heavy chemical media that removes ammonia traces during cycling; you need the bacteria to grow. Consider seeding the filter from an established tank or adding bottled nitrifying bacteria to speed the process, but monitor ammonia and nitrite regularly.
### Troubleshooting Common Problems
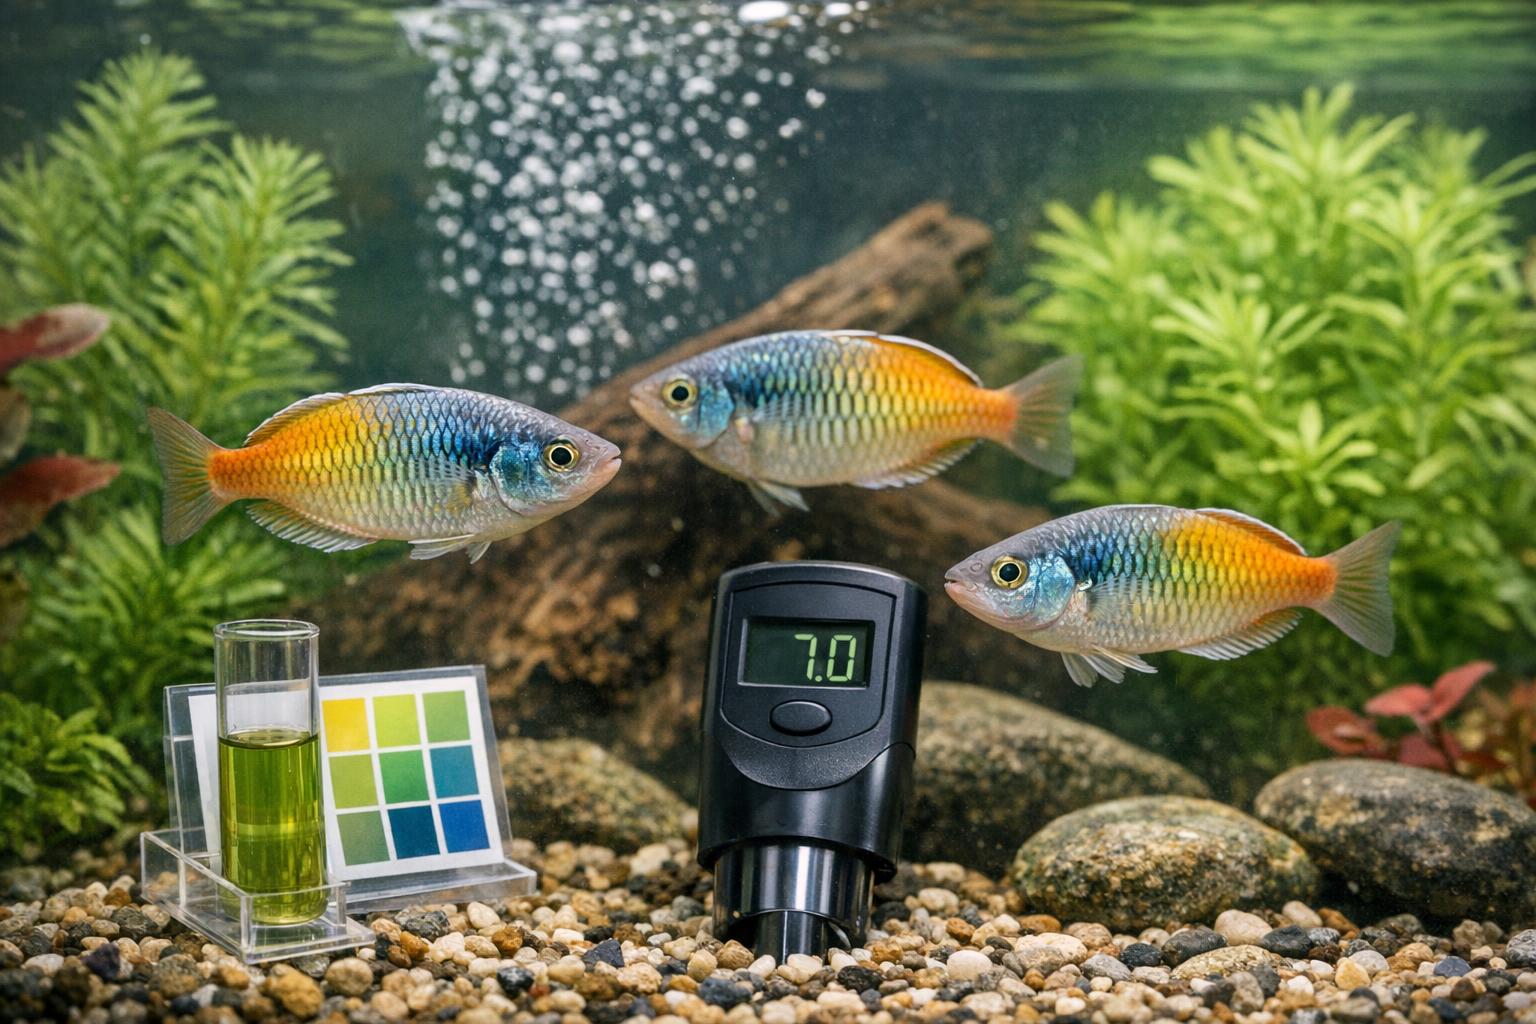
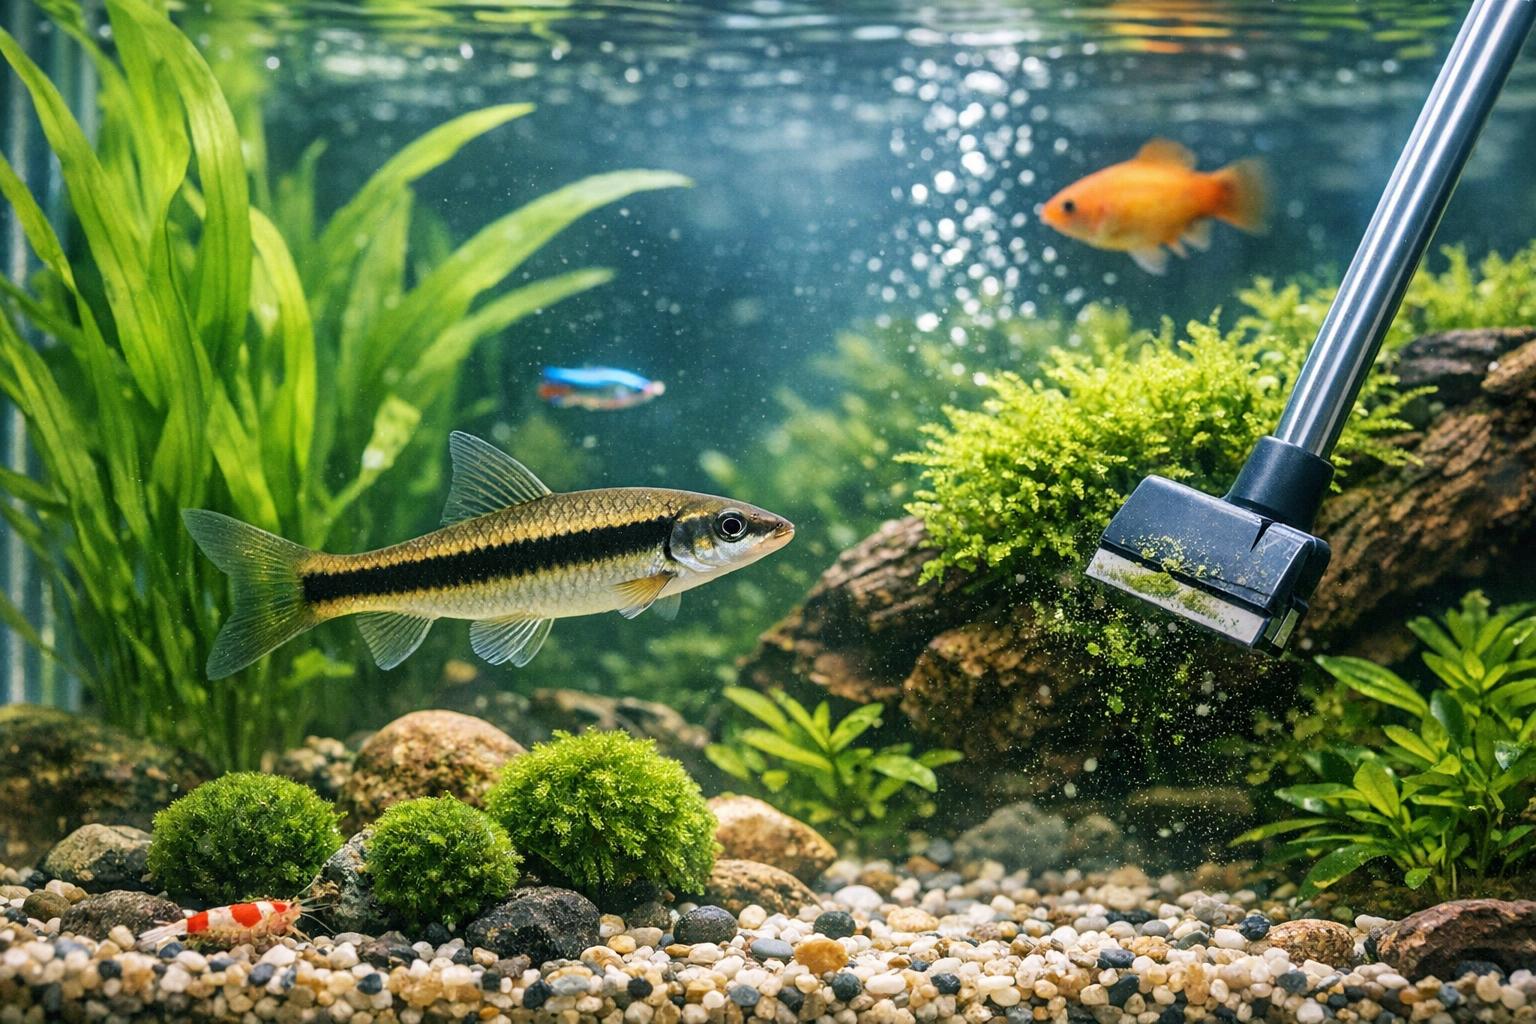
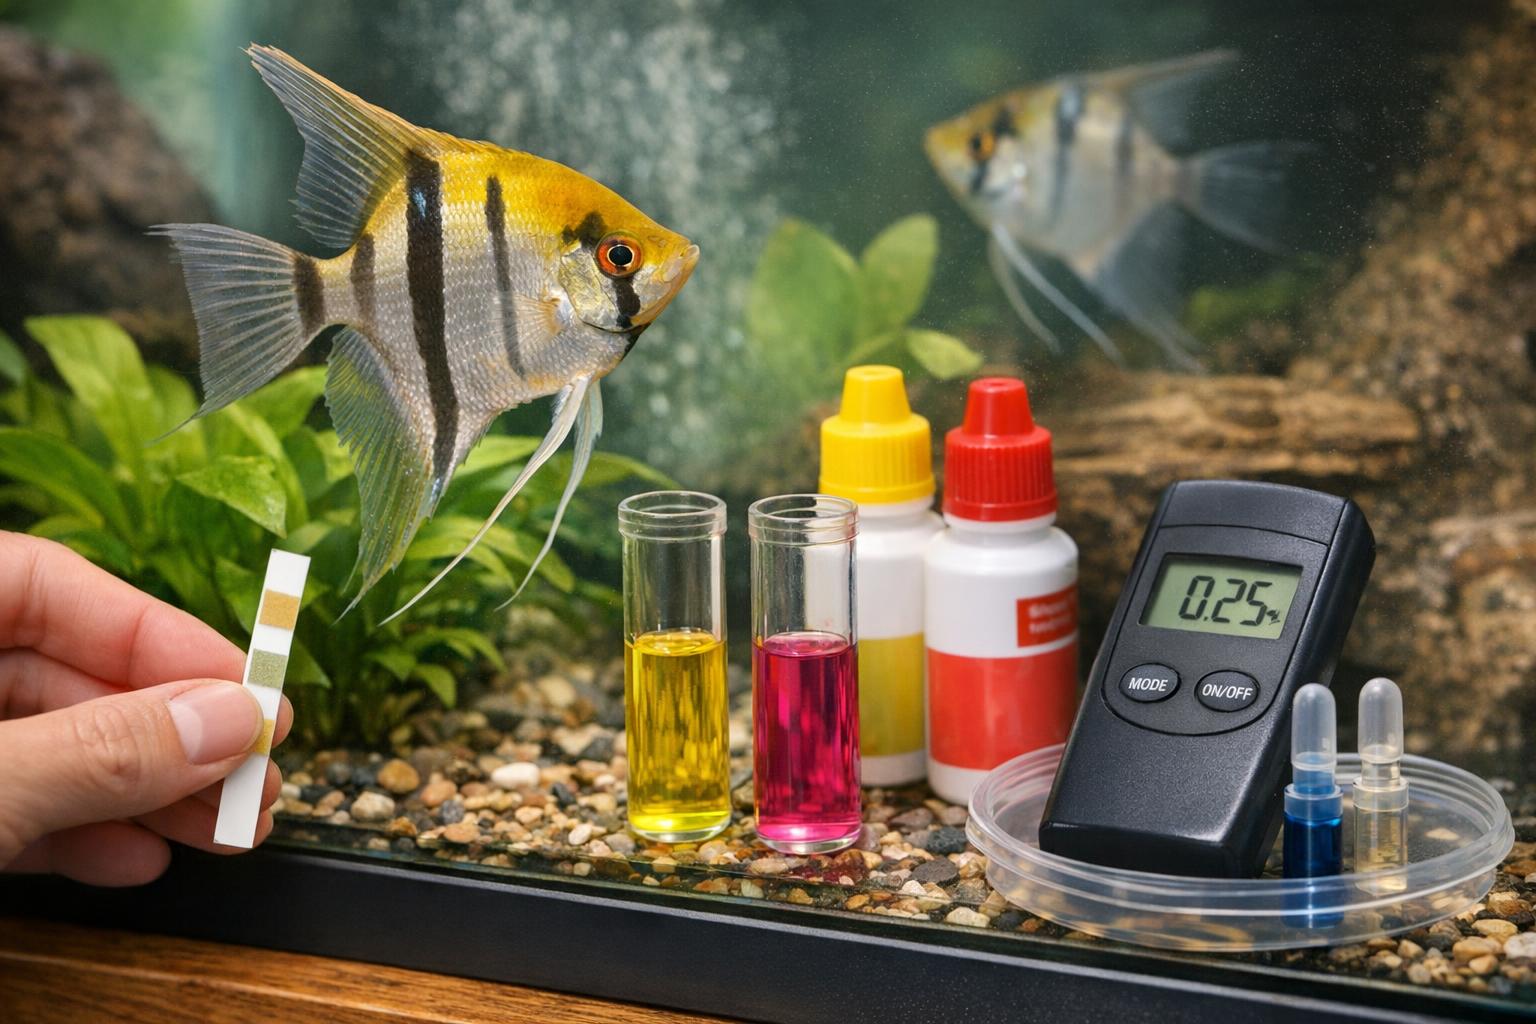
If the water goes cloudy after cleaning, suspect one of two things: you disturbed the substrate (particulate cloudiness) or you removed too much biological media (bacterial bloom). Test ammonia, nitrite, and nitrate. If ammonia is up, do a 25–50% water change and back off on cleaning.
If algae explodes, re-check your lighting schedule and feeding. Excess nutrients often come from overfeeding, but poor filter maintenance amplifies the problem. Clean the intake and replace carbon if odors persist. That’s basic filter maintenance.
If fish look stressed and you can’t find a mechanical issue, think about flow patterns. Some species need calmer water; adding a spray bar or redirecting the return can help. For heavy bioload tanks, upgrade to a larger canister or add a secondary sponge filter.
### Practical Supplies To Keep Handy
A siphon gravel vacuum, a spare impeller, replacement foam, and a small toothbrush for crevices will cover most emergencies. Label spare media with the date to keep your rotation consistent. Buying bulk carbon or floss is fine, but store it dry and sealed.
Spend time watching the tank after you work on it. You’ll learn how it behaves when it’s healthy versus when a filter is struggling. Small, regular attention beats heroic interventions.


Leave a Reply