


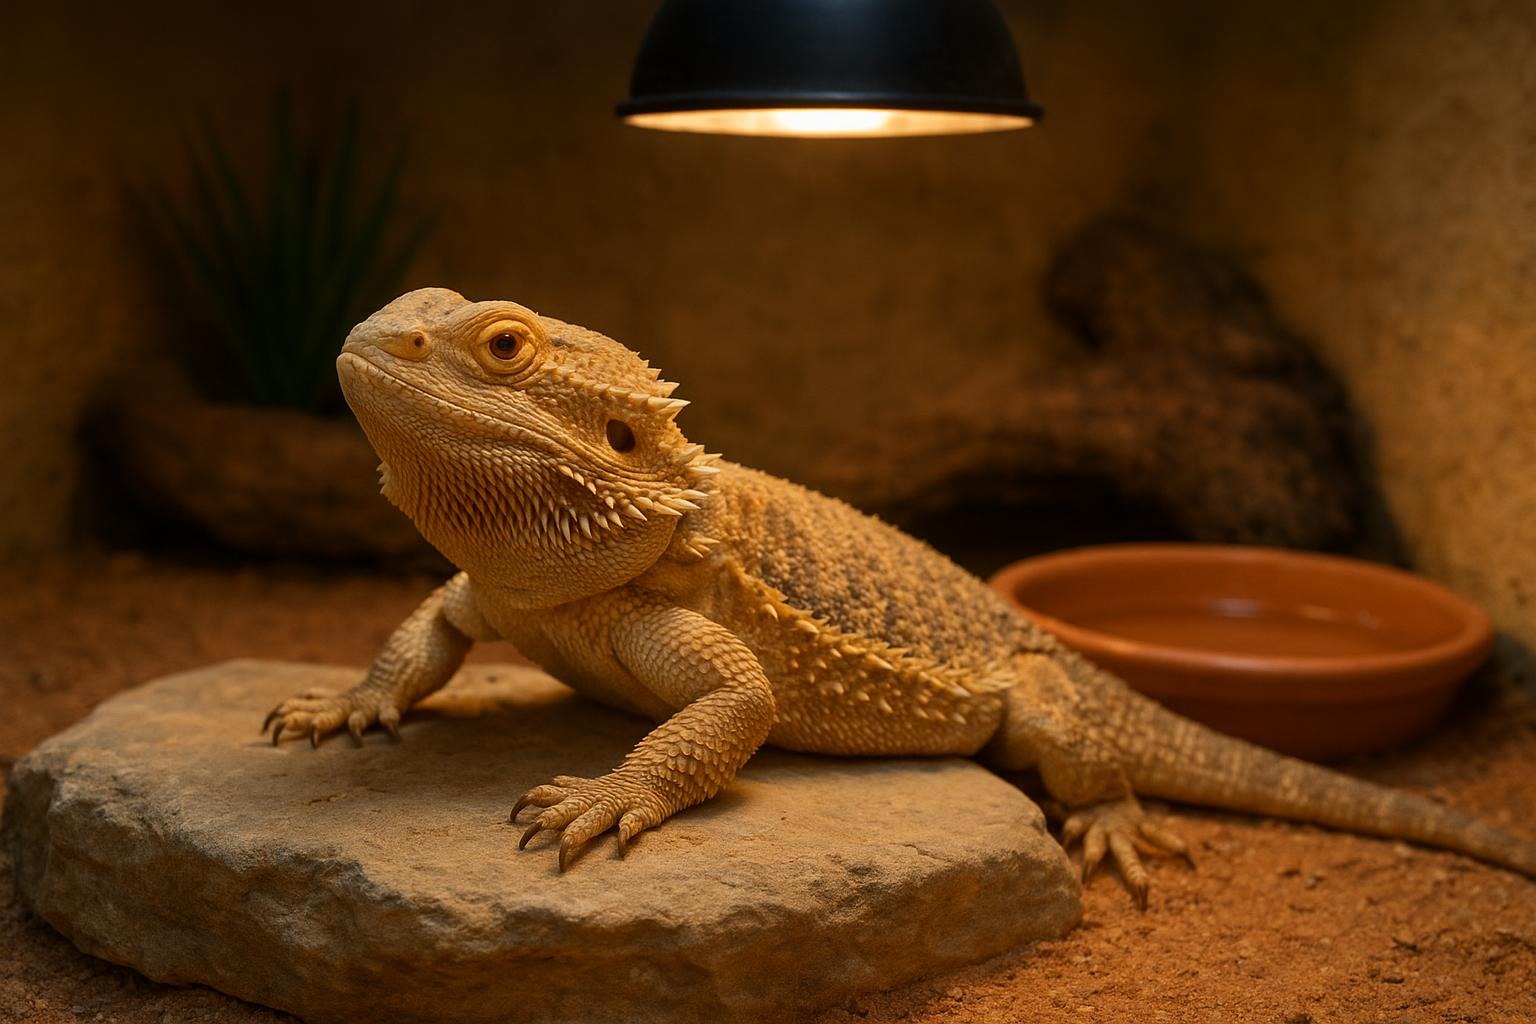
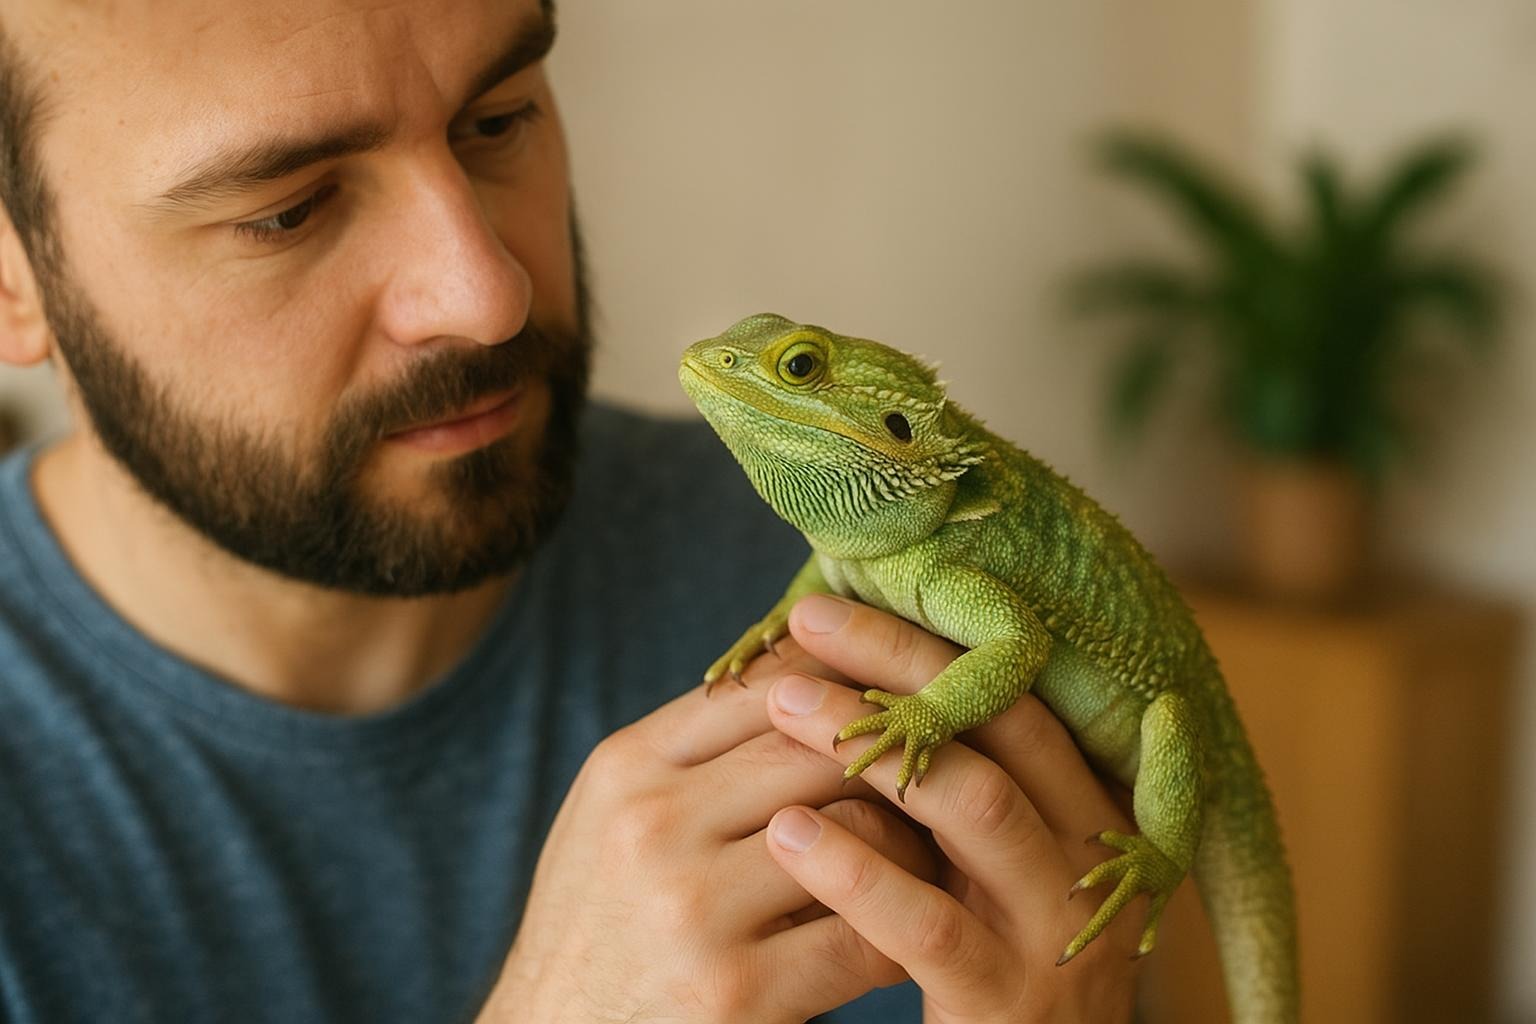
Keeping your bearded dragon comfy is mostly about balance: warm enough to digest and be perky, cool enough to nap without melting into a sun puddle. This article walks through the practical basics of temperature control, measurement tips, and three DIY remedies for creating or adjusting the right environment. A little patience, a few tools, and some careful monitoring will keep your scaly roommate thriving.
## Temperature For A Bearded Dragon: Ideal Ranges
Bearded dragons are ectotherms—meaning they rely on external heat to regulate their body temperature. The general target is a temperature gradient across the enclosure so your dragon can thermoregulate by moving between zones.
Typical recommended ranges:
– Basking spot: 95–110°F (35–43°C) for juveniles; adults tend to do well at 95–105°F (35–40°C).
– Warm side (general daytime): 85–90°F (29–32°C).
– Cool side: 75–80°F (24–27°C).
– Nighttime: 65–75°F (18–24°C), though occasional drops to low 60s°F may be tolerated briefly for healthy adults.
If you’re researching “temperature for a bearded dragon,” these ranges are the starting point. Juveniles need slightly higher basking temps to support growth; adults can tolerate a bit less heat. Always tailor to your individual dragon’s behavior and health.
### Why A Gradient Matters
Having one uniform temperature is a rookie mistake. A proper temperature gradient allows digestion after feeding and cooling down after basking. Watch your dragon: if it sits in the basking spot with eyes half-closed and sprawled out, that usually means “ahhh, perfect.” If it’s constantly in the cool end or refusing food, your temps might be off.
## How To Measure Temps Accurately
Good thermometer placement and calibration are non-negotiable.
### Essential Tools
– Digital probe thermometer or infrared thermometer (both recommended).
– Thermostat or temperature controller for heating devices.
– Hygrometer (humidity matters too—aim for 20–40% for most setups).
### Placement Tips
– Place a temperature probe at the basking spot surface and one on the cool side floor.
– Keep an infrared thermometer handy to spot-check rock and branch temps.
– Don’t place probes too high—measure at the surface or 1–2 inches above the basking substrate where the dragon sits.
#### Calibrate Regularly
Check that your thermometers agree. If they differ by more than a couple degrees, replace or recalibrate. Small differences can translate to big effects on the animal.
## 1. DIY Heat Gradient With Thermostat (Primary Remedy)
This remedy creates a stable, adjustable temperature gradient inside your bearded dragon’s enclosure. This is the preferred long-term solution.
Ingredients / Required Materials
– Ceramic heat emitter (CHE) or heat lamp with appropriate wattage.
– Basking bulb (reptile-specific, full-spectrum recommended).
– Lamp fixture with ceramic socket (if needed).
– Digital thermostat controller with relay/output for heating.
– Two digital temperature probes (one for basking area, one for cool side).
– Heavy-duty heatproof mounting hardware or lamp stand.
Creation And Application (Step-By-Step)
1. Plan Placement: Position the basking bulb at one end of the enclosure above a flat rock or basking branch. The CHE or additional heat source should be mounted on the same end if needed for overall ambient heat.
2. Install Fixtures: Securely mount the lamp fixtures. Use ceramic sockets for longevity if you plan to run bulbs frequently.
3. Connect Thermostat: Plug the heat sources into the thermostat controller, not directly into the wall. This allows automatic on/off cycles based on probe readings.
4. Place Probes: Put one temperature probe directly at the intended basking surface and the other on the cool side substrate. Avoid placing probes in direct sunlight or touching the bulb.
5. Set Targets: Program the thermostat: set the basking probe target to 95–105°F for adults (a bit higher for juveniles), and set a lower ambient target for overall daytime temps—usually around 85–90°F.
6. Run And Monitor: Allow the system to stabilize for 24–48 hours. Use your infrared thermometer to spot-check surfaces and adjust lamp height or bulb wattage if necessary.
7. Routine Checks: Verify temperature readings daily for the first two weeks, then weekly. Replace bulbs as they dim—output drops over time.
Notes: Use bulbs rated for reptile use (UVB where required). A thermostat will prevent overheating and provide consistent temperature control, which is the safest long-term solution.
## 2. Emergency Warmth Pack (Short-Term Remedy)
When the main heat source fails or you must temporarily warm a chilled dragon, a controlled emergency pack can provide short-term relief.
Ingredients / Required Materials
– Clean cotton sock or small fabric pouch.
– Uncooked rice or flaxseed (filling).
– Microwave.
– Thermometer (quick-read infrared is fine).
– Towel and a shallow plastic container.
Creation And Application (Step-By-Step)
1. Make The Pack: Fill the sock or pouch with rice or flaxseed, leaving room to tie a knot. Seal the opening securely.
2. Heat Briefly: Microwave the pack in 30-second intervals, kneading between bursts. Aim for a pack surface temperature of about 100–110°F (38–43°C). Use the thermometer to check; do not guess.
3. Test Safety: Place the pack against the inside of your wrist for a few seconds to ensure it isn’t too hot.
4. Provide Warmth: Wrap the warm pack in a towel. Place it on the warm side of the enclosure with the dragon nearby—do not press the hot pack directly against the dragon’s belly to avoid burns.
5. Monitor: Use the enclosure thermometer to ensure the space reaches safe basking temps. Remove the pack once the primary heat source is restored or once temperatures are stable.
Notes: This is strictly a short-term emergency fix. Never leave a microwave-heated pack unattended against your dragon; check frequently to avoid burns.
### When To Use This Remedy
Use only if the primary heating system fails or during transport when you cannot use electric heating. It’s not a long-term solution and should be followed by setting up proper heating ASAP.
## 3. DIY Cooling And Shade Adjustments
Sometimes your issue is overheating rather than cold. This remedy helps you reduce basking temps responsibly.
Ingredients / Required Materials
– Thermometer.
– Shade cover (reptile-safe ceramic tile or piece of cork bark).
– Additional ventilation (clip-on fan or adjustable vent grilles).
– Heat-reflective film or temporary screen to reduce direct sunlight if needed.
Creation And Application (Step-By-Step)
1. Identify Hot Spots: Use your thermometer or infrared device to map temperatures across the enclosure at peak heat times.
2. Provide Shade: Add a shaded hide or place a tile to create a cooler retreat on the warm side. Ensure it does not block necessary heat flow to the gradient.
3. Adjust Light Height: Raise the basking bulb slightly or switch to a lower-wattage bulb if temps at the rock exceed recommended basking temps.
4. Increase Ventilation: Improve airflow by adding vents or a gentle clip-on fan to the enclosure top—do not blast cold air directly at the dragon.
5. Use External Shade: For enclosures receiving direct sunlight from windows, add a temporary screen or film to reduce solar gain during the hottest hours.
6. Reassess: Monitor temps for several days and make incremental adjustments until the basking area sits within target range.
Notes: Avoid cold drafts at night. Cooling efforts should aim to reduce peak temperatures without eliminating the gradient your dragon needs.
### Monitoring And Behavior Cues
Behavior tells you more than numbers alone. If your dragon basks energetically, eats well, and has normal stools, your “temperature for a bearded dragon” setup is likely functioning. Lethargy, lack of appetite, or darkening skin color can indicate prolonged incorrect temps—act quickly.
#### Final Safety Reminders
– Use thermostats with temperature probes; never rely on bulb sockets alone.
– Secure heat fixtures to prevent burns or tip hazards.
– Match UVB coverage to the enclosure size—UVB and temperature work together for digestion and calcium metabolism.
– For sick, very young, or gravid dragons, consult a reptile vet; DIY remedies support, but do not replace, professional care.
Keep testing and adjusting—your dragon won’t read the manual, but it will show you with happy, basking body language when you’ve nailed the temperature for a bearded dragon.


Leave a Reply