


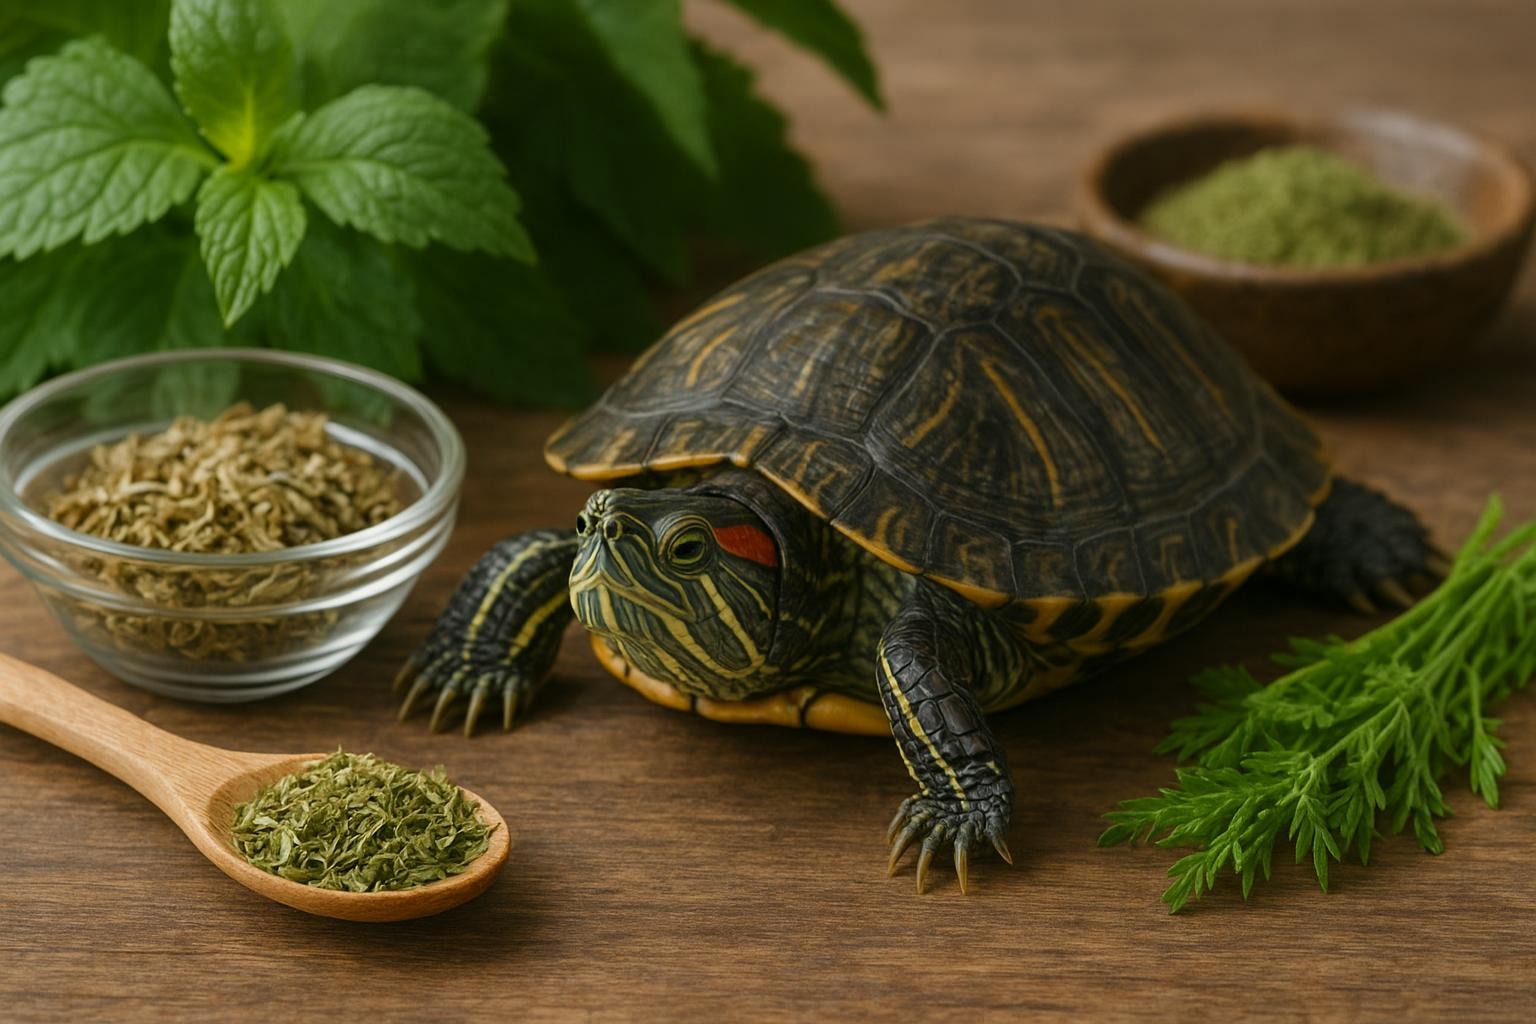
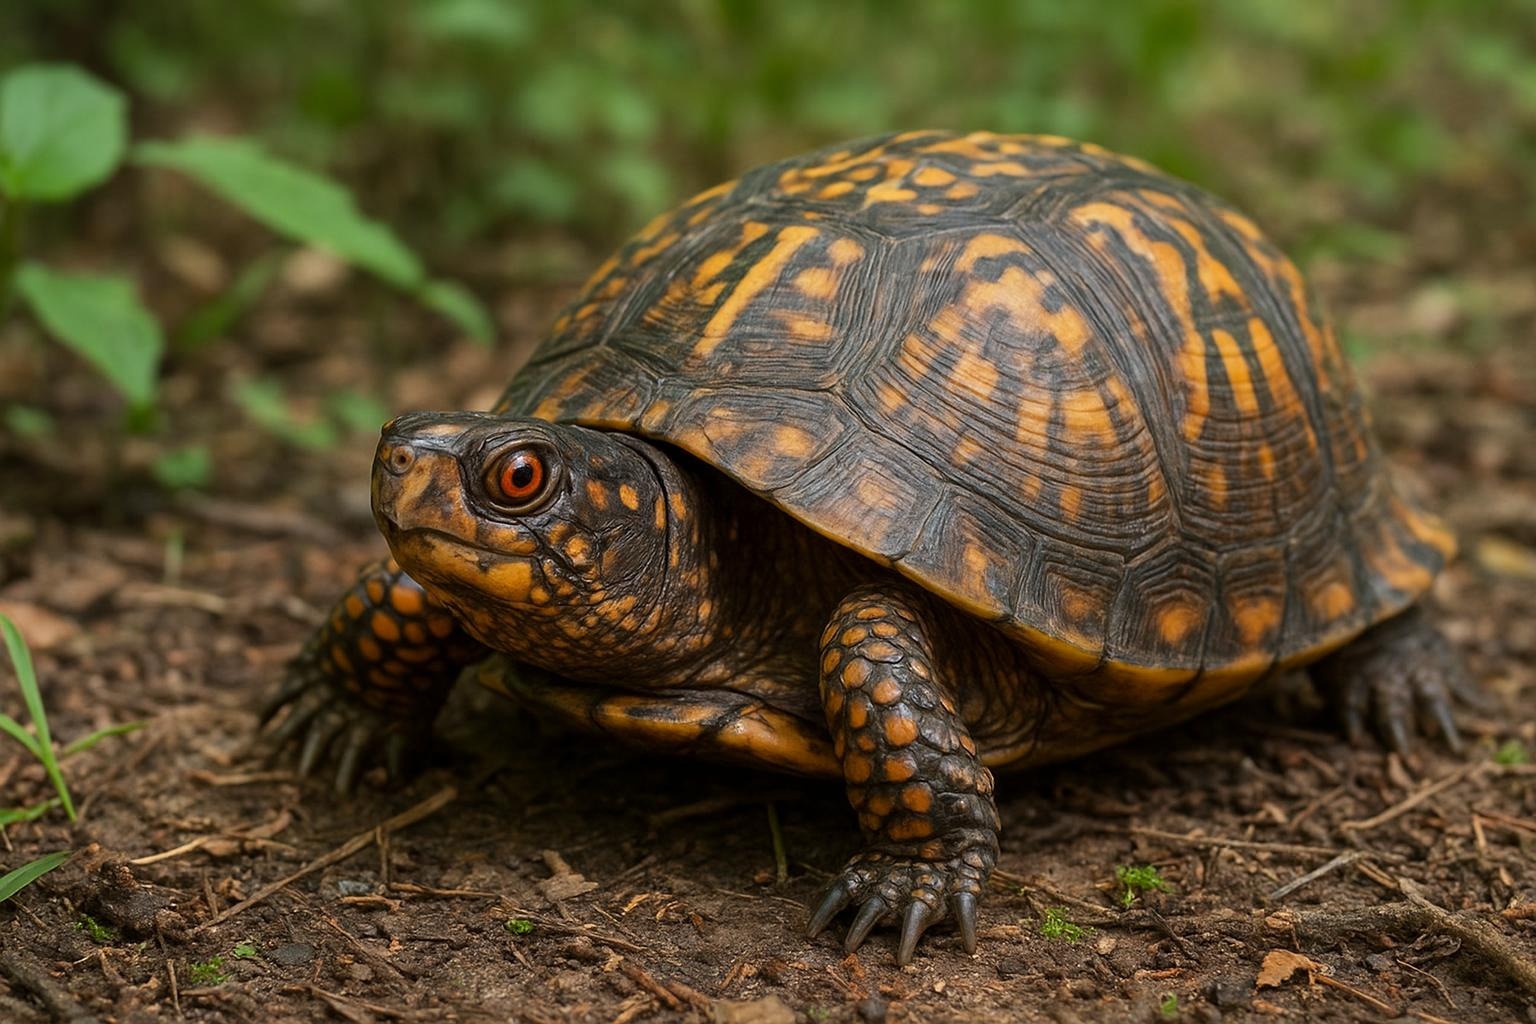
## Red Eared Turtle Care Basics
Welcome! If you’ve found your way here, you’re probably keeping—or thinking about keeping—a charismatic little shelled friend. Red-eared sliders are curious, goofy, and surprisingly chatty-looking when they grub for food. Good red eared turtle care isn’t rocket science, but it does require consistency, attention to water quality, lighting, diet, and an eye for small health problems before they become big ones.
### Tank Size, Filtration, And Water Quality
For healthy red eared turtle care, start with the real estate: at least a 75–100 gallon aquarium for a single adult, or two smaller tanks depending on the number of turtles. Water should be deep enough for full swimming and swimming exercise. Strong mechanical and biological filtration are essential: these turtles are messy eaters and produce a lot of waste. Perform partial water changes weekly (20–30%) and vacuum substrate as needed.
### Lighting, Heat, And UVB
Proper lighting is non-negotiable in red eared turtle care. Provide a basking lamp to maintain a warm basking spot of 85–95°F (29–35°C) and water temperature between 76–82°F (24–28°C) for adults (slightly warmer for juveniles). A full-spectrum UVB bulb is required for vitamin D3 synthesis and calcium metabolism; replace UVB bulbs every 6–12 months according to manufacturer instructions.
### Diet And Nutritional Balance
Balanced feeding is central to red eared turtle care. Juveniles need more protein—feeder fish, insects, and high-protein pellets—while adults should shift toward a plant-heavy diet: dark leafy greens, aquatic plants, and occasional fruits. Dust protein feeds with a calcium supplement 2–3 times weekly; ensure a daily source of calcium (cuttlebone in the tank is a simple, always-available option). Avoid overfeeding; feed amounts that the turtle can consume within 10–15 minutes.
### Common Health Issues To Watch For
Under the umbrella of red eared turtle care, the most common problems are shell algae overload, soft shell or pyramiding from calcium deficiency, respiratory infections from cold or poor water quality, and occasional constipation or cloacal prolapse. Early detection—cleaner water, proper UVB, adequate diet—prevents many issues. For anything suspicious (open wounds, persistent lethargy, swollen eyes, labored breathing), contact a reptile-experienced veterinarian promptly.
## 1. Remedy: Gentle Soak For Mild Constipation And Hydration
When to use: If your turtle is going long stretches without defecating, appears bloated, or seems slightly sluggish but otherwise active, a warm soak can help stimulate digestion and hydration. This is not a substitute for vet care if symptoms persist.
Ingredients / Materials:
– Large shallow container or kiddie pool (clean)
– Dechlorinated warm water (80–86°F / 27–30°C)
– Thermometer
– Towel
– Optional: 1 tablespoon USP Epsom salt per gallon (use cautiously)
Procedure and Application:
1. Prepare the soak container by filling it with dechlorinated water to a depth where the turtle can sit with its head comfortably above water but still able to reach the bottom to rest.
2. Measure the water temperature with a thermometer; ensure it is warm but not hot (80–86°F).
3. If using Epsom salt for suspected mild constipation, dissolve no more than 1 tablespoon of USP Epsom salt per gallon. Do not exceed this concentration; if in doubt, skip the salt and use plain warm water.
4. Gently place the turtle into the container and allow it to soak for 15–30 minutes while supervised. Some turtles will defecate during the soak; that’s the goal.
5. After the soak, dry the turtle gently with a towel and return it to its clean tank. Perform a brief water change in the tank if any waste was produced.
Notes: Use this soak once a day for up to three days. If no improvement or if the turtle becomes more lethargic, contact a veterinarian.
### When To Avoid Soaks
Do not soak turtles with open wounds or obvious shell infections without veterinary advice. Prolonged or very hot soaks can cause stress.
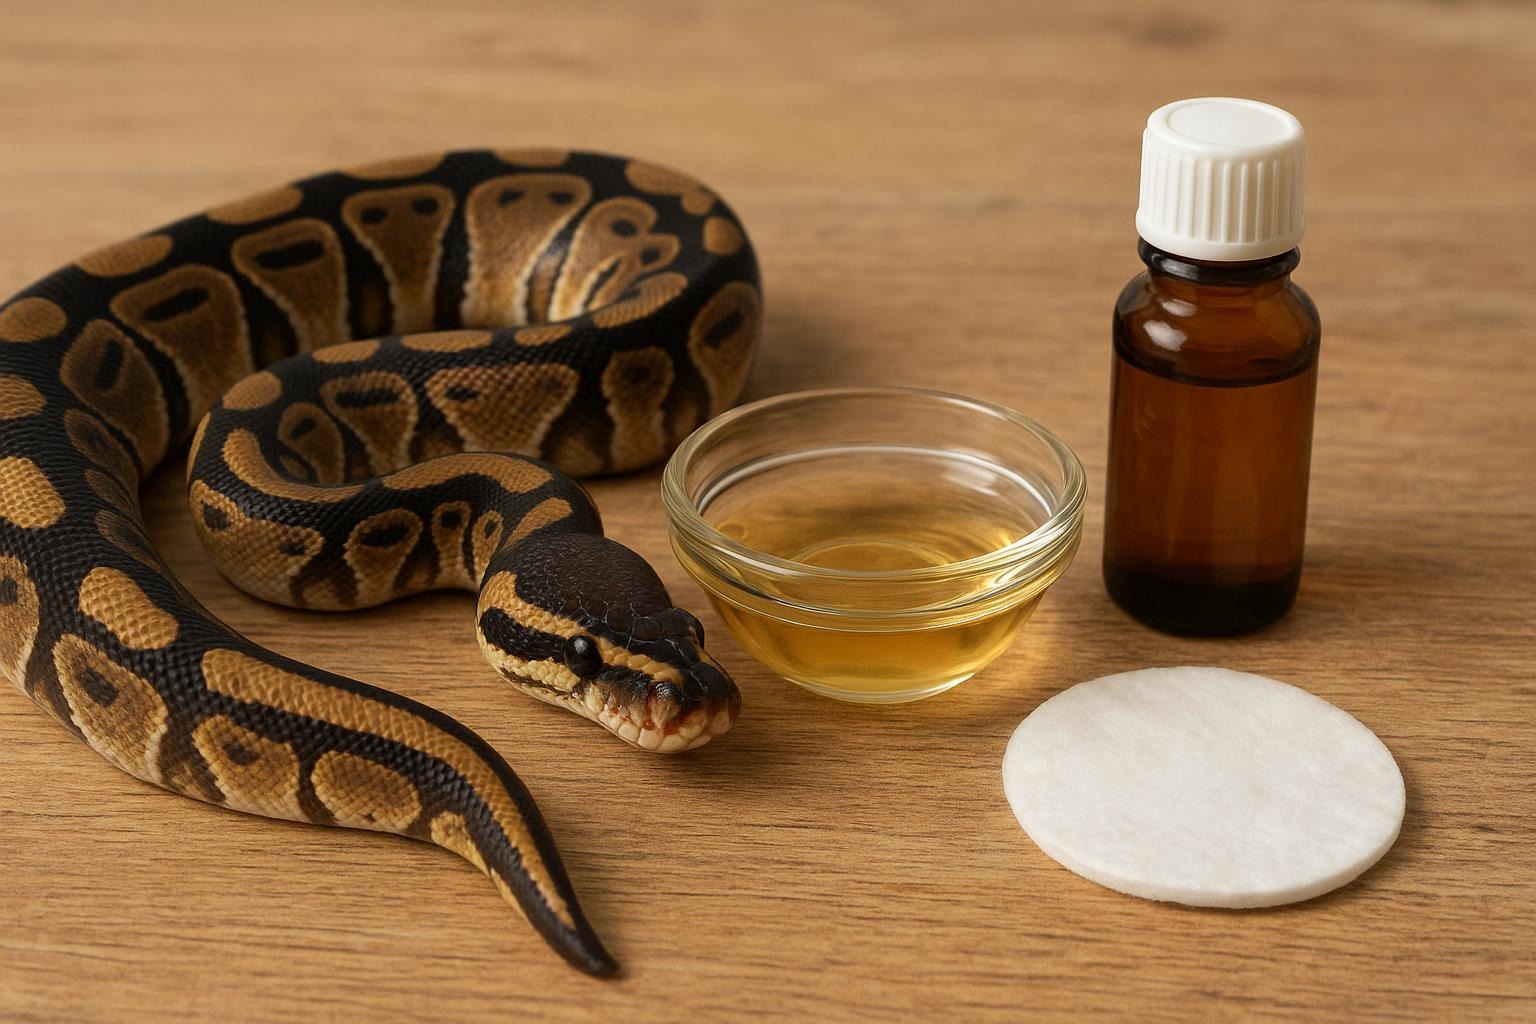
## 2. Remedy: Natural Shell Cleaning And Algae Management
When to use: For unsightly but otherwise harmless algae and light surface debris, combined with prevention of excessive buildup. For suspected shell infections or soft spots (shell rot), consult a vet before home treatment.
Ingredients / Materials:
– Soft toothbrush or dedicated aquarium brush
– Dechlorinated water
– Organic calendula petals or calendula tea bags
– Two clean bowls
– Soft cloth
– Gloves (optional)
– Plastic or wooden spatula to gently dislodge thick mats
Procedure and Application:
1. Brew a calendula infusion: steep 1–2 tablespoons of dried calendula petals (or one herbal tea bag) in 2 cups of boiling water for 10–15 minutes, then allow to cool to lukewarm. Strain into a clean bowl.
2. Fill a second bowl with lukewarm dechlorinated water for rinsing.
3. Gently remove the turtle from its tank and hold it over the bowl of rinse water. Using the soft toothbrush, gently brush algae away in small sections. Keep pressure light—do not scrape or force the brush into soft spots.
4. Dip the brush into the calendula infusion and reapply to stubborn algal areas; calendula’s mild antiseptic qualities can help. Rinse the area thoroughly afterward in the rinse bowl.
5. For thicker mats, use a plastic spatula to coax them loose, followed by brushing and rinsing.
6. Dry the turtle, inspect the shell for any soft, pitted, or odorous areas (signs of shell rot). If you find those, photograph them and contact a vet.
Notes: Perform this cleaning as a maintenance task every 2–4 weeks depending on algae growth. Avoid hydrogen peroxide, harsh chemicals, or vinegar at full strength—these can damage delicate scutes.
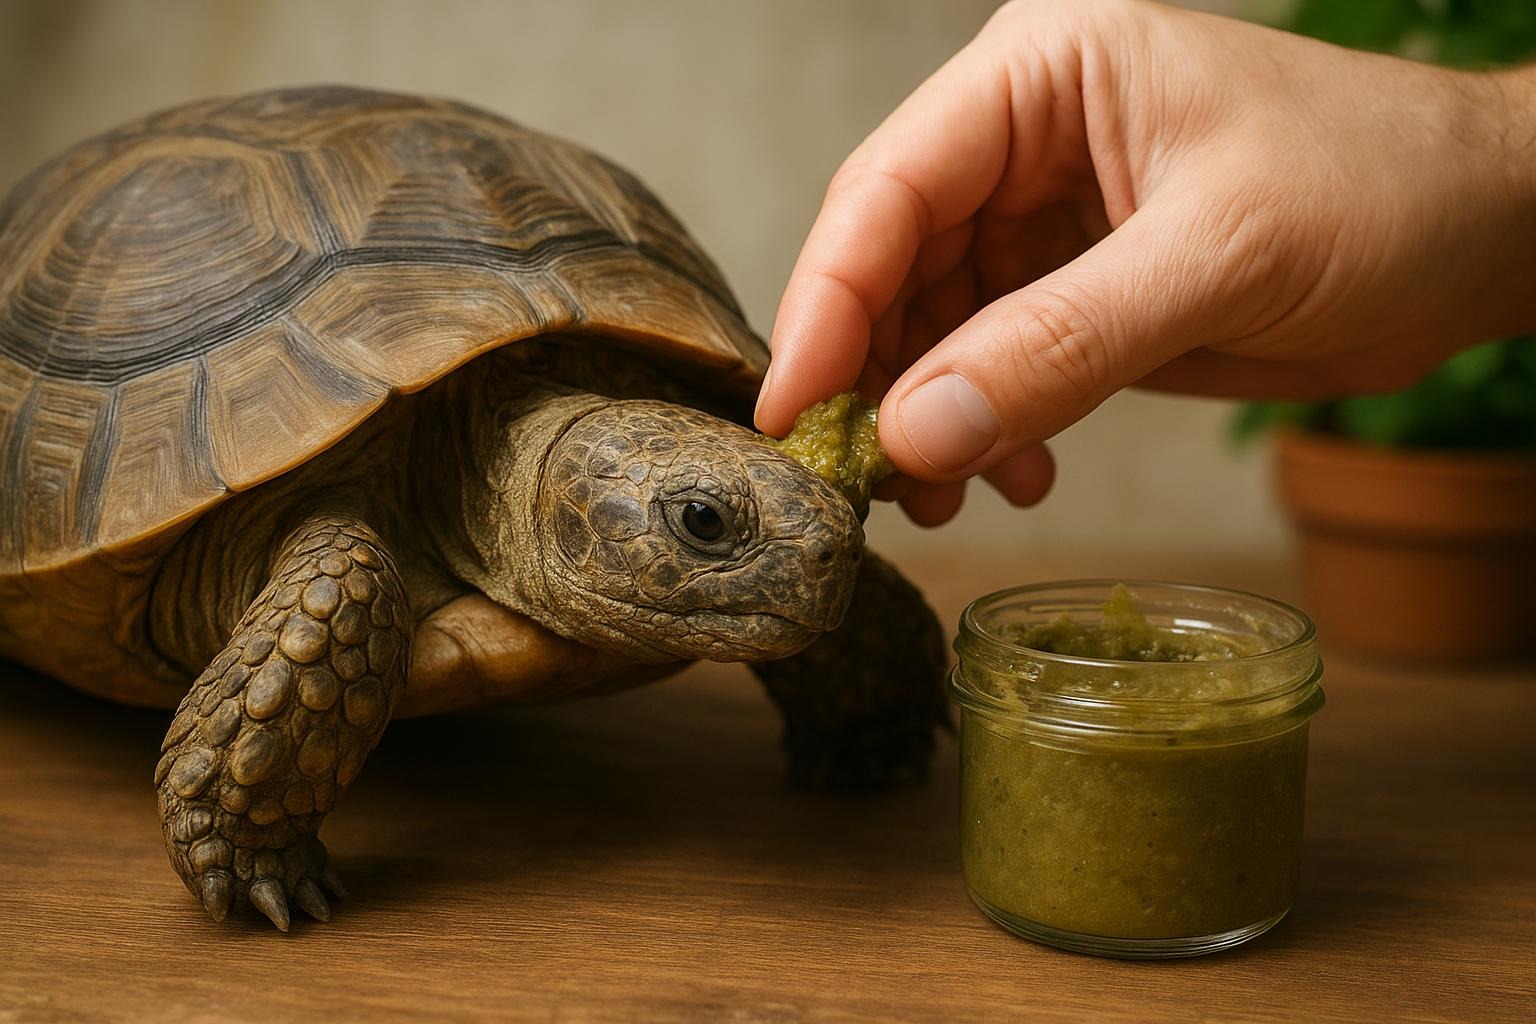
## 3. Remedy: DIY Calcium Supplement Using Cleaned Eggshell Powder
When to use: As an occasional, supplementary calcium source when commercial supplements aren’t available. This should augment, not replace, proper UVB exposure and a calcium-rich diet.
Ingredients / Materials:
– 6–8 clean eggshells
– Baking sheet
– Oven
– Coffee grinder or mortar and pestle (dedicated for pet supplies)
– Airtight container
– Fine sieve (optional)
– Gloves and tongs
Procedure and Application:
1. Rinse eggshells thoroughly under running water to remove membrane and egg residue. Allow to air dry briefly.
2. Preheat oven to 200°F (93°C). Spread shells on a baking sheet and bake for 10–15 minutes to sterilize and dry them. This also helps make them brittle for grinding.
3. Let shells cool. Break into smaller bits and grind to a fine powder in a coffee grinder or with a mortar and pestle. Sieve to remove larger particles; regrind as needed.
4. Store the eggshell powder in an airtight container in a cool, dry place.
5. Application: Dust food lightly—no more than a pinch per feeding for juveniles and 1–2 pinches for adults—about 2–3 times weekly. Do not overuse; excessive calcium can be as problematic as deficiency.
Notes: Eggshell powder provides mainly calcium carbonate and lacks balanced minerals and vitamin D3. Ensure your turtle has proper UVB lighting for vitamin D3 synthesis. If you’re ever unsure about dosing, use a commercial calcium powder with clear dosing instructions.
### A Word On Supplements And Safety
When considering any home remedy in the realm of red eared turtle care, prioritize safety: avoid dosing human medications, do not substitute UVB lighting with oral vitamin D3 supplements without veterinary guidance, and never use household disinfectants on the shell. Home remedies are for mild, early issues and maintenance—veterinary care is the gold standard for infections, chronic issues, or injuries.
### Enrichment And Behavior Tips For Happy Turtles
Red-eared turtles appreciate variety. Offer floating logs, live aquatic plants (anubias, hornwort), and occasional rearrangements of decor. Feeding time can be a small enrichment event—use tongs to tempt them with greens or hide a piece of romaine in a PVC tube for a foraging challenge. Regular interaction (calm, hands-off observation and supervised out-of-tank wanderings) helps reduce stress.
### Record Keeping And Routine Checks
Good red eared turtle care includes a simple health log: note water changes, basking lamp replacements, weight checks every month for juveniles, and any unusual signs. Photographs of the shell monthly help you spot subtle changes before they become serious.
## Red Eared Turtle Care: When To Call The Vet
If you observe swollen eyes, difficulty breathing, persistent lethargy, lack of appetite for more than a few days, foul-smelling shell areas, bleeding wounds, or neurologic signs (tilted head, circling), contact a reptile-savvy veterinarian immediately. Early professional intervention can be lifesaving.
Enjoy your shelled roommate—consistent, informed red eared turtle care will keep your slider thriving and entertaining for many years.


Leave a Reply