


If you care for a snake, you already know shedding is part of the deal — like seasonal clothing changes, but less fashionable and occasionally more dramatic. A good snake shedding aid can make that process smoother for your scaly roommate and less stressful for you. Below are practical, natural approaches that help snakes shed completely and comfortably, with clear instructions and things to watch for (plus a tiny bit of snake-parent humor to keep things lively).
## Snake Shedding Aid: What Owners Should Know
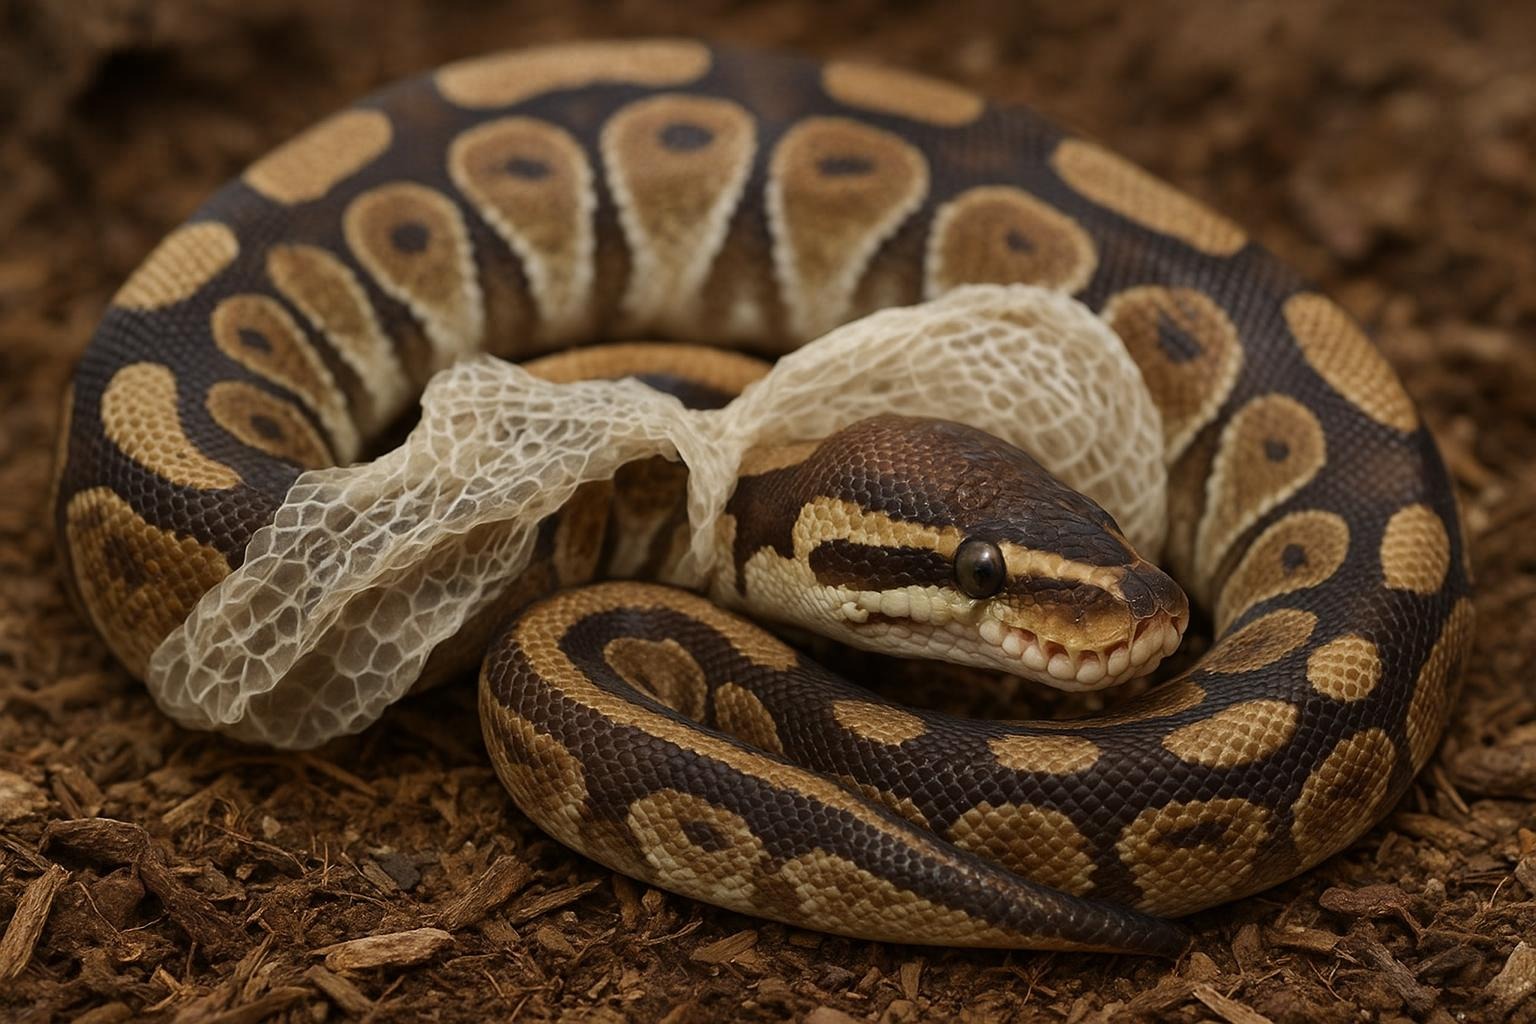
Shedding (ecdysis) is how snakes renew their skin, and healthy sheds usually come off in one piece. Problems occur when humidity is too low, the enclosure lacks rough surfaces, or a snake is dehydrated or ill. A snake shedding aid is any tool or method you provide to help the snake loosen and remove the old skin — commonly a humidity box, soaked hides, or brief soaks.
Biology basics: before shedding, a snake’s skin becomes dull and its eyes often turn bluish or opaque. This “pre-shed” phase signals increased need for humidity and substrate that retains some moisture. If left unaddressed, retained shed can cause irritation, constriction (especially around tail tips and eyes), and secondary infections.
Common causes of problematic sheds:
– Low ambient humidity or insufficient microclimates
– Inadequate access to rough surfaces for rubbing off the old skin
– Dehydration or poor nutrition
– Stress or illness that interferes with normal shedding cycles
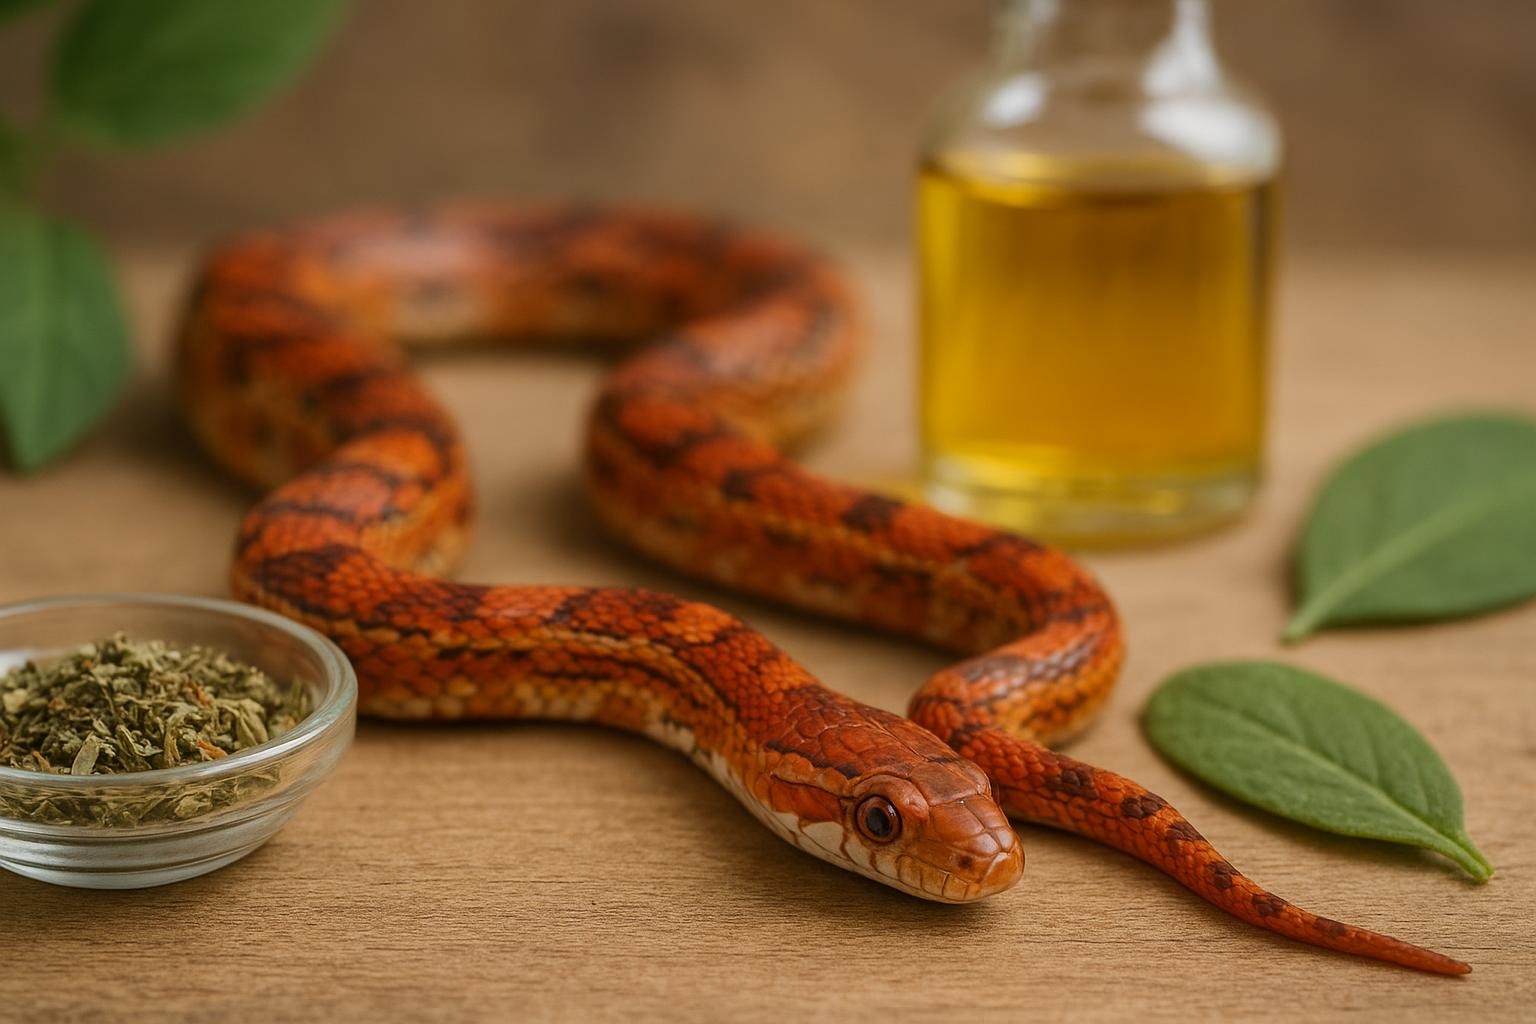
## Natural Snake Shedding Aid For Smooth, Healthy Scales
When I say “natural,” I mean solutions that mimic what a snake might find in nature: humid pockets, moist hides, and gentle access to water. These methods are straightforward, inexpensive, and safe when applied properly. Below are two practical remedies you can implement at home. Remedy 1 is my go-to preventive approach; Remedy 2 is for gently assisting a stuck shed.
## Remedy 1: Humidity Box (DIY Snake Shedding Aid)
A humidity box creates a humid microclimate the snake can enter on its own. This is the preferred first-line snake shedding aid because it lets the animal choose humidity levels and reduces handling stress.
Ingredients / Required Materials:
– Plastic storage container with a lid (opaque works well) sized to allow the snake to coil comfortably
– Moist sphagnum moss (or coconut coir as an alternative)
– Drill or heated tool to add ventilation holes (or pre-vented container)
– Hygrometer (small digital or analog) to monitor humidity
– Substrate or towel for cushioning (optional)
– A hide entrance cut into the container (scissors or utility knife)
Creation And Application Steps:
1. Prepare The Container: Clean and dry the plastic container. Cut an entrance hole large enough for your snake to enter easily and drill several small ventilation holes near the top of the lid to prevent mold buildup.
2. Add Moisture-Retaining Material: Fill the container with a generous layer of slightly damp sphagnum moss (moist, not dripping). Squeeze out excess water until the moss clumps but does not run water.
3. Place Hygrometer Inside: Set the hygrometer inside the box to monitor internal humidity. Aim for a humidity level roughly 10–20% higher than the snake’s usual ambient enclosure humidity during pre-shed (species-dependent; many species do well with 70–90% in the box).
4. Position In Enclosure: Put the humidity box on the warm or neutral side of the enclosure depending on species preference, ensuring it’s stable and won’t tip if the snake enters.
5. Monitor Use And Replace Moss: Check the box daily. Refresh or re-moisten the moss every 24–48 hours, and fully replace the moss if you see any odor, mold, or excessive decay.
6. Allow Self-Selection: The snake should be able to use the humidity box voluntarily. If it doesn’t, reassess placement, temperature gradient, and whether the entrance is inviting.
Safety Notes (Formal): Humidity boxes must be ventilated and inspected regularly to avoid mold, bacterial growth, or excessive dampness that could create a pathogenic environment. Consistent monitoring with a hygrometer minimizes risk. For arboreal species, consider a vertical humidity hide or a damp bark cavity rather than a ground box.
### When To Use A Snake Shedding Aid
Use a humidity box as a preventive aid whenever your snake enters pre-shed (dull skin, blue eyes). Provide it routinely if your ambient enclosure humidity is on the low side for the species. If a snake is visibly struggling — patches of retained shed, especially on eyes or tail tip — increase interventions: more frequent checks, a short soak, or veterinary consultation if the issue persists.
### Signs Of Problem Shed
– Patches of old skin not coming off after the rest has shed
– Retained eye caps (opaque eyes that do not clear after the main shed)
– Tail tip constriction, discoloration, or swelling
– Lethargy or refusal to feed associated with repeated problematic sheds
## Remedy 2: Warm Soak For Stuck Shed (Supplemental Snake Shedding Aid)
If the humidity box doesn’t fully resolve retained shed, a warm soak can help. This is more interventionist than the humidity box and should be done carefully and briefly.
Ingredients / Required Materials:
– A shallow dish or tub large enough for the snake to coil comfortably with its head above water
– Lukewarm water (about the snake’s preferred body temperature — generally 85–95°F / 29–35°C; check species-specific needs)
– Towels for drying and a warm spot for recovery
– Optional: a drop of reptile-safe electrolyte solution if the snake appears dehydrated (consult care guidelines)
Creation And Application Steps:
1. Prepare The Soak: Fill the dish with lukewarm water to a depth that allows the snake to submerge its body while keeping its head above water. Test temperature with a thermometer or wrist; it should be warm but not hot.
2. Gently Place The Snake: Using calm, confident motions, place the snake into the water. If the snake is agitated, allow short periods and remove if stress increases.
3. Observe For 10–20 Minutes: Most snakes will begin to rub against the tub or loosen the retained shed. For stuck eye caps, allow intervals of 10 minutes, check, and repeat once or twice. Do not force removal of the eye cap.
4. Assist Only If Safe: If a patch of shed loosens, you can very gently roll it with a dampened cotton bud or your thumb covered by a damp cloth. Never pull hard or force shed; this risks tearing underlying tissue.
5. Dry And Warm Up: After the soak, pat the snake dry with towels and return it to a warm, quiet hide. Avoid immediate handling unless necessary.
6. Seek Veterinary Help If Necessary: If after a few attempts a sizeable portion of shed remains, or if eye caps remain stuck beyond a reasonable interval (for many species, 24–48 hours post-shed without natural removal is concerning), consult an exotics veterinarian.
### Safety And Veterinary Red Flags
– Persistent retained eye caps that do not clear shortly after the full shed
– Open wounds, bleeding, or signs of infection under retained skin
– Tail necrosis or persistent swelling at the tail tip
– Repeated failed sheds in consecutive cycles
If any of the above appear, do not attempt surgical removal at home. Professional care is necessary and often quick to resolve problems safely.
### Additional Natural Aids And Habitat Tweaks
Beyond humidity boxes and soaks, small habitat changes can act as passive snake shedding aids:
– Add textured hides or cork bark pieces to the enclosure to provide rubbing surfaces.
– Increase ambient humidity safely with regular misting, a larger water bowl, or a humid hide.
– Ensure proper nutrition and hydration long-term — healthy snakes shed better.
– Maintain clean substrate and an appropriate temperature gradient; incorrect temperatures can disrupt shedding cycles.
A final practical tip: documenting sheds with photos helps you spot changes over time and provides useful information if you need to consult a vet. And remember: a little patience goes a long way — snakes prefer to manage their own business when given the right tools.


Leave a Reply