


Hello there — glad you found this cozy corner of the internet for slow-moving, shell-wearing friends. If you’re trying to keep a box turtle happy, hydrated, and sporting a glossy, healthy shell without turning your home into a laboratory, you’re in the right place. This guide mixes sensible, natural approaches and easy DIY remedies to support everyday box turtle care with a relaxed vibe and just enough practical detail to make your next shell SOS manageable.
## Box Turtle Care Basics
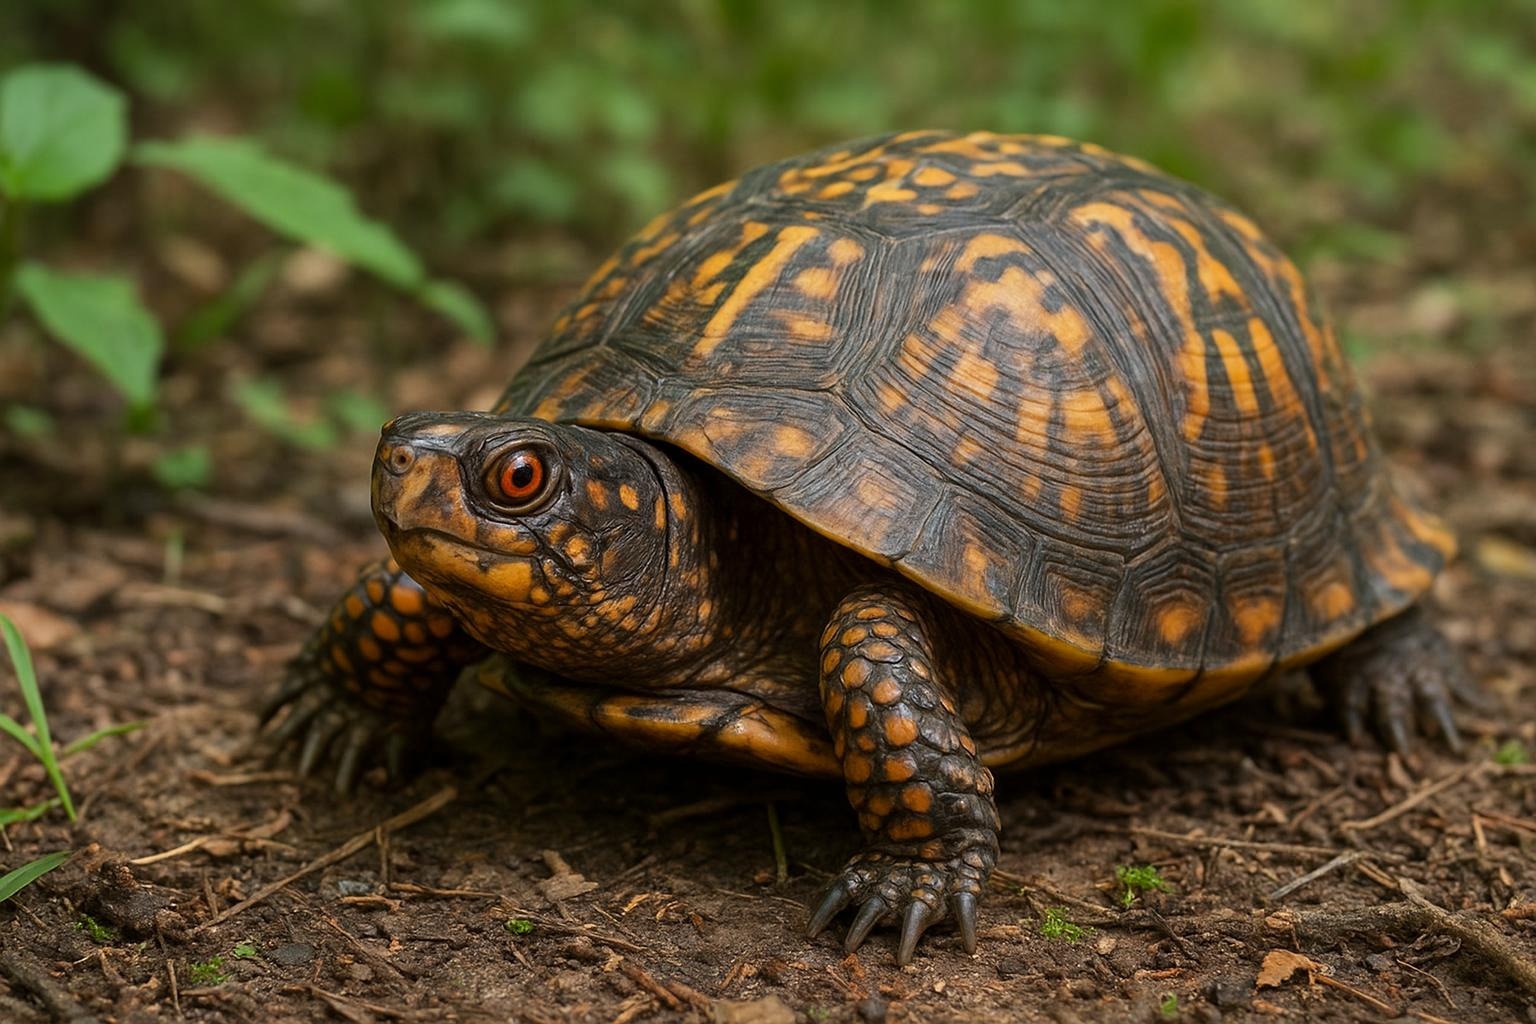
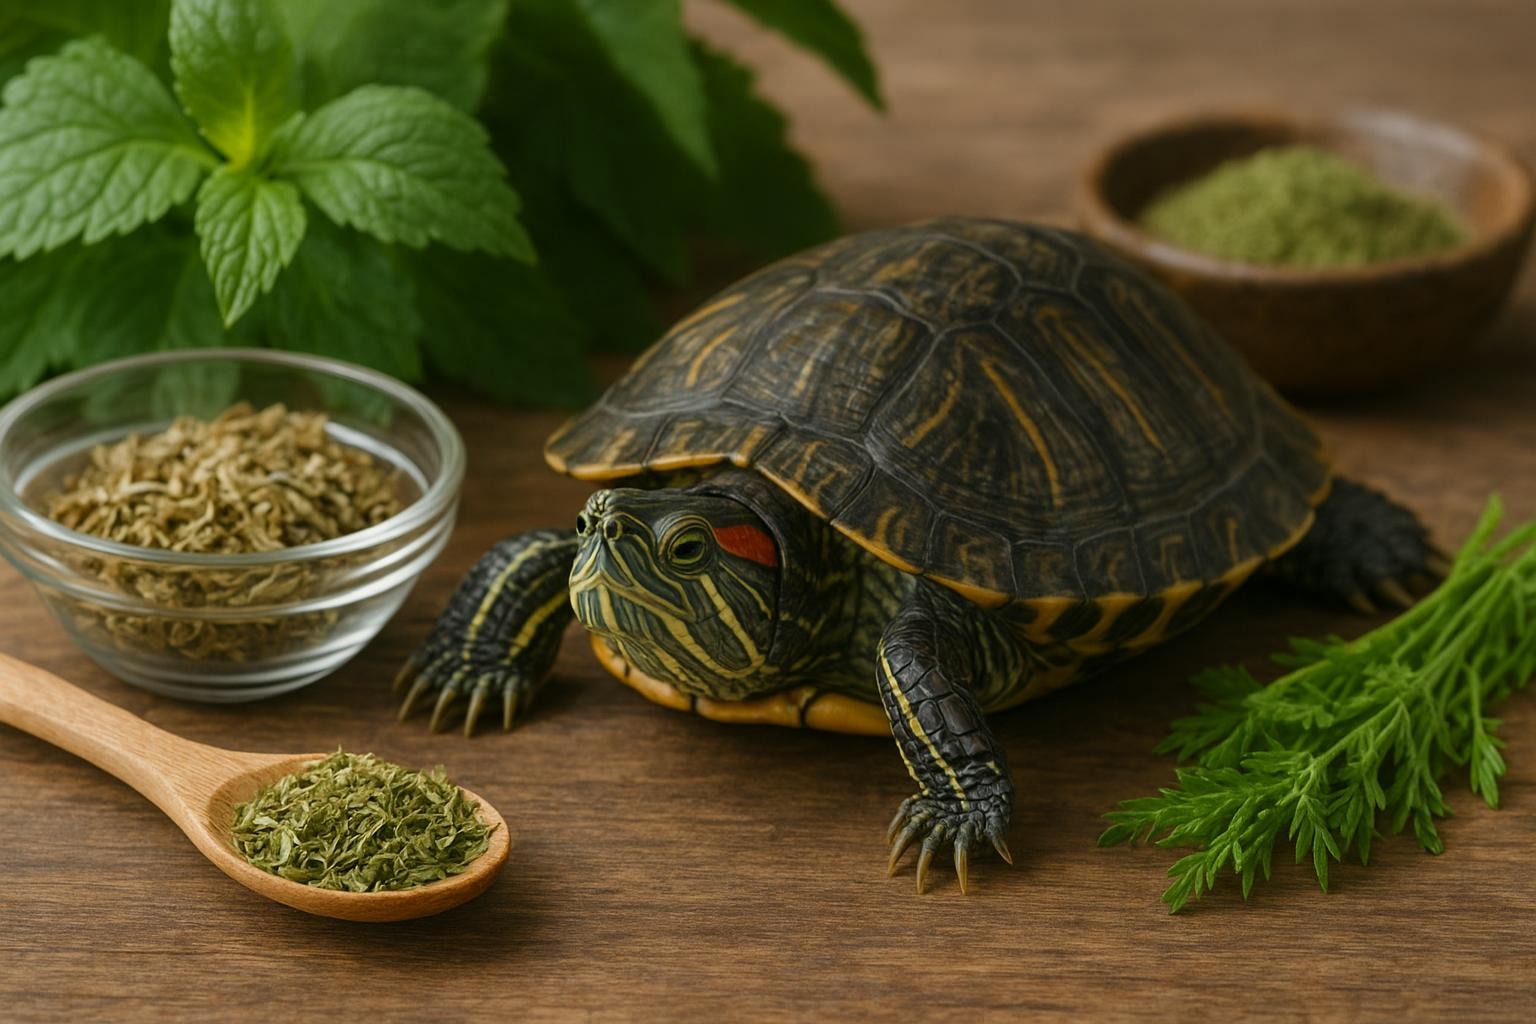
Box turtles are deceptively simple pets: they don’t bark or demand belly rubs, but they do have very specific environmental, dietary, and veterinary needs. Proper box turtle care means paying attention to humidity, UV exposure, diet variety, and regular shell checks. A healthy shell is more than decoration — it’s protection and a sign your turtle’s overall health is good. Neglect any of these factors and the shell will tell the tale: dullness, flaking, soft spots, or even pyramiding.
### Understanding Shell Health
The shell is living tissue, made of bone and keratin. It needs appropriate calcium, vitamin D3, and UVB to maintain hardness and proper growth. Cleanliness matters too: algae and bacterial films are common and not always harmful, but persistent green fuzz, foul odor, softening, or visible trauma require attention. Good box turtle care combines nutrition, habitat quality, and gentle maintenance.
#### Common Shell Problems
– Mild dehydration (shell appears dull, scutes may flake)
– Superficial scratches and dry scutes
– Early-stage pyramiding (bumps on scutes from poor diet or humidity)
– Fungal or bacterial spots (white or discolored patches)
If in doubt, consult a reptile-savvy vet — but many mild issues can be aided with home care.
### Habitat And Diet For Healthy Shells
A balanced enclosure is the foundation of box turtle care. Turtles need a thermal gradient (warm side around 85–90°F, cooler side 70–75°F), a humid hide or moist microhabitat, and full-spectrum UVB lighting for proper vitamin D3 synthesis. Diet should be varied: quality protein (earthworms, snails, occasional lean meats), a variety of greens, and calcium supplementation. Avoid excess phosphorus-rich foods like processed dog food; balance is the key.
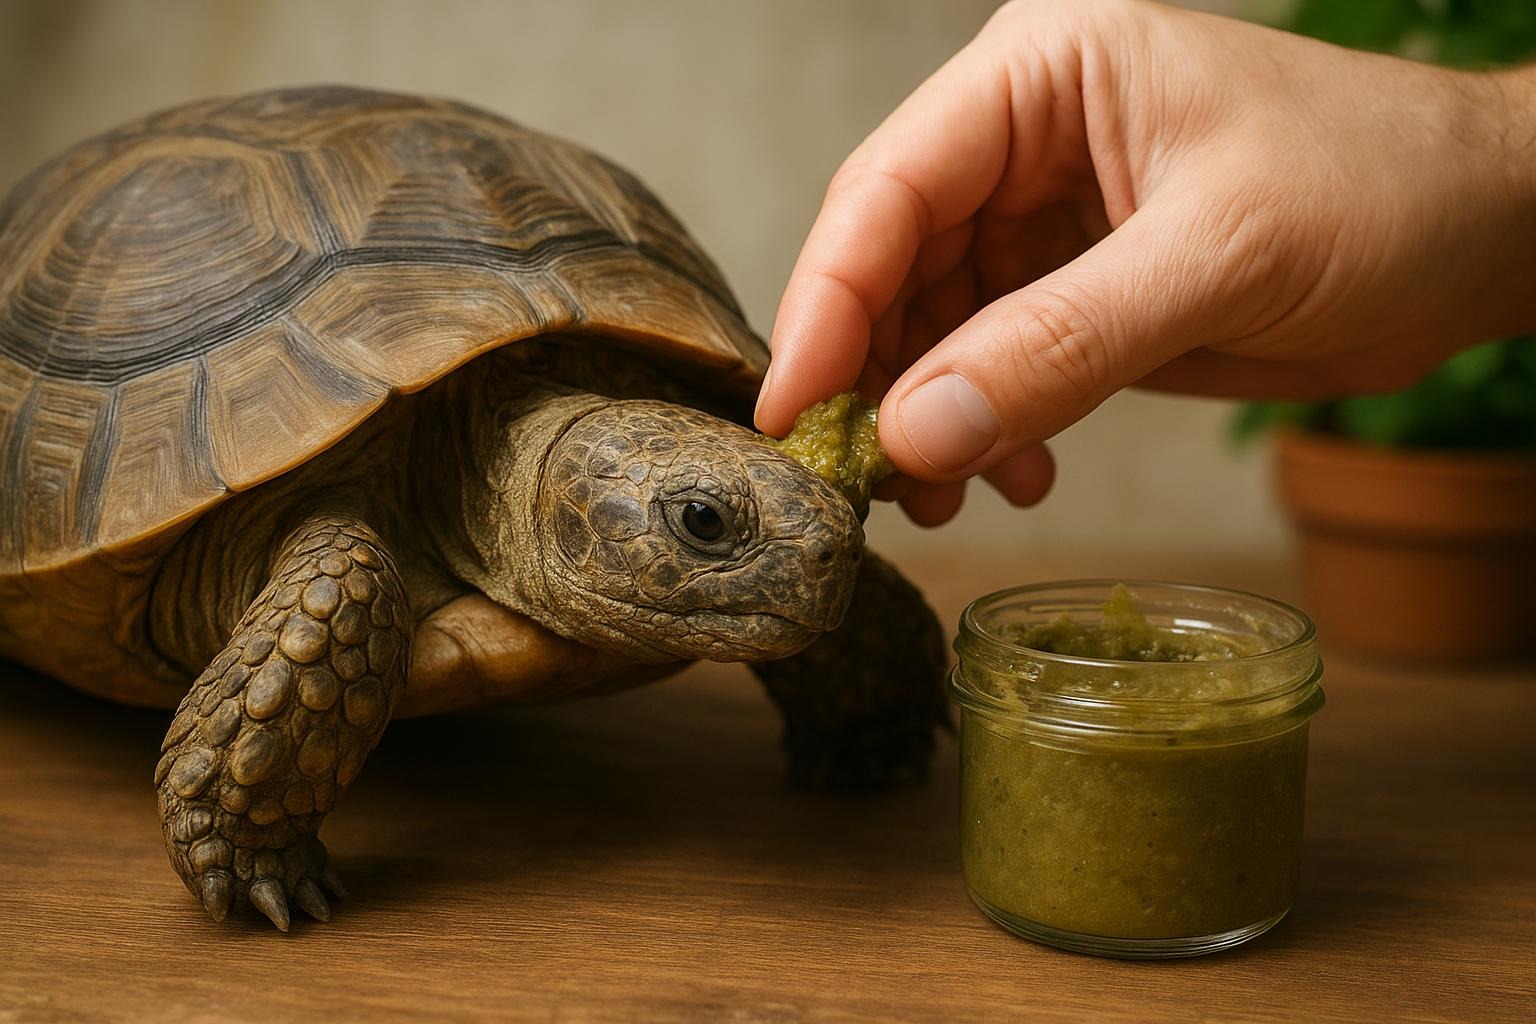
## 1. DIY Soak And Rehydration Bath For Mild Dehydration
When a turtle looks sunken-eyed or its shell is dull with flaky scutes, a gentle soak can help rehydrate skin and shell while encouraging defecation and urination — important for overall health.
Ingredients / Materials:
– Shallow plastic container or small kiddie pool (large enough for turtle to submerge up to top of shell)
– Lukewarm, dechlorinated water (about 85–90°F)
– Electrolyte-free reptile-safe rehydration solution (optional; follow vet guidance)
– Soft toothbrush or sponge (reserved for turtle use)
– Towel for drying
Step-by-Step Creation and Application:
1. Prepare the water: Fill the container with dechlorinated water warmed to about 85–90°F. The water should be shallow enough that the turtle can keep its head above water without swimming.
2. Add optional solution: If advised by a vet, add a reptile-safe rehydration additive at the recommended concentration. Do not use human sports drinks.
3. Soak routine: Gently place the turtle in the water for 20–30 minutes once daily for 3–7 days if mild dehydration is suspected. Observe breathing and activity; remove immediately if the turtle appears stressed.
4. Encourage movement: Occasionally stroke the legs lightly to encourage gentle movement and water flow across the shell.
5. Superficial cleaning: If the shell has loose debris, use a soft toothbrush or sponge very gently during the soak to remove grime. Avoid scrubbing raw or tender areas.
6. Drying: After soaking, place the turtle on a towel in a warm, draft-free area and allow it to finish drying. Return to the enclosure when fully alert.
7. Follow-up: Re-assess hydration and shell appearance. If condition doesn’t improve within a week or worsens, contact a veterinarian.
This remedy supports hydration and superficial cleaning; it is not a cure for deep infections or shell rot. For those, see the vet section below.
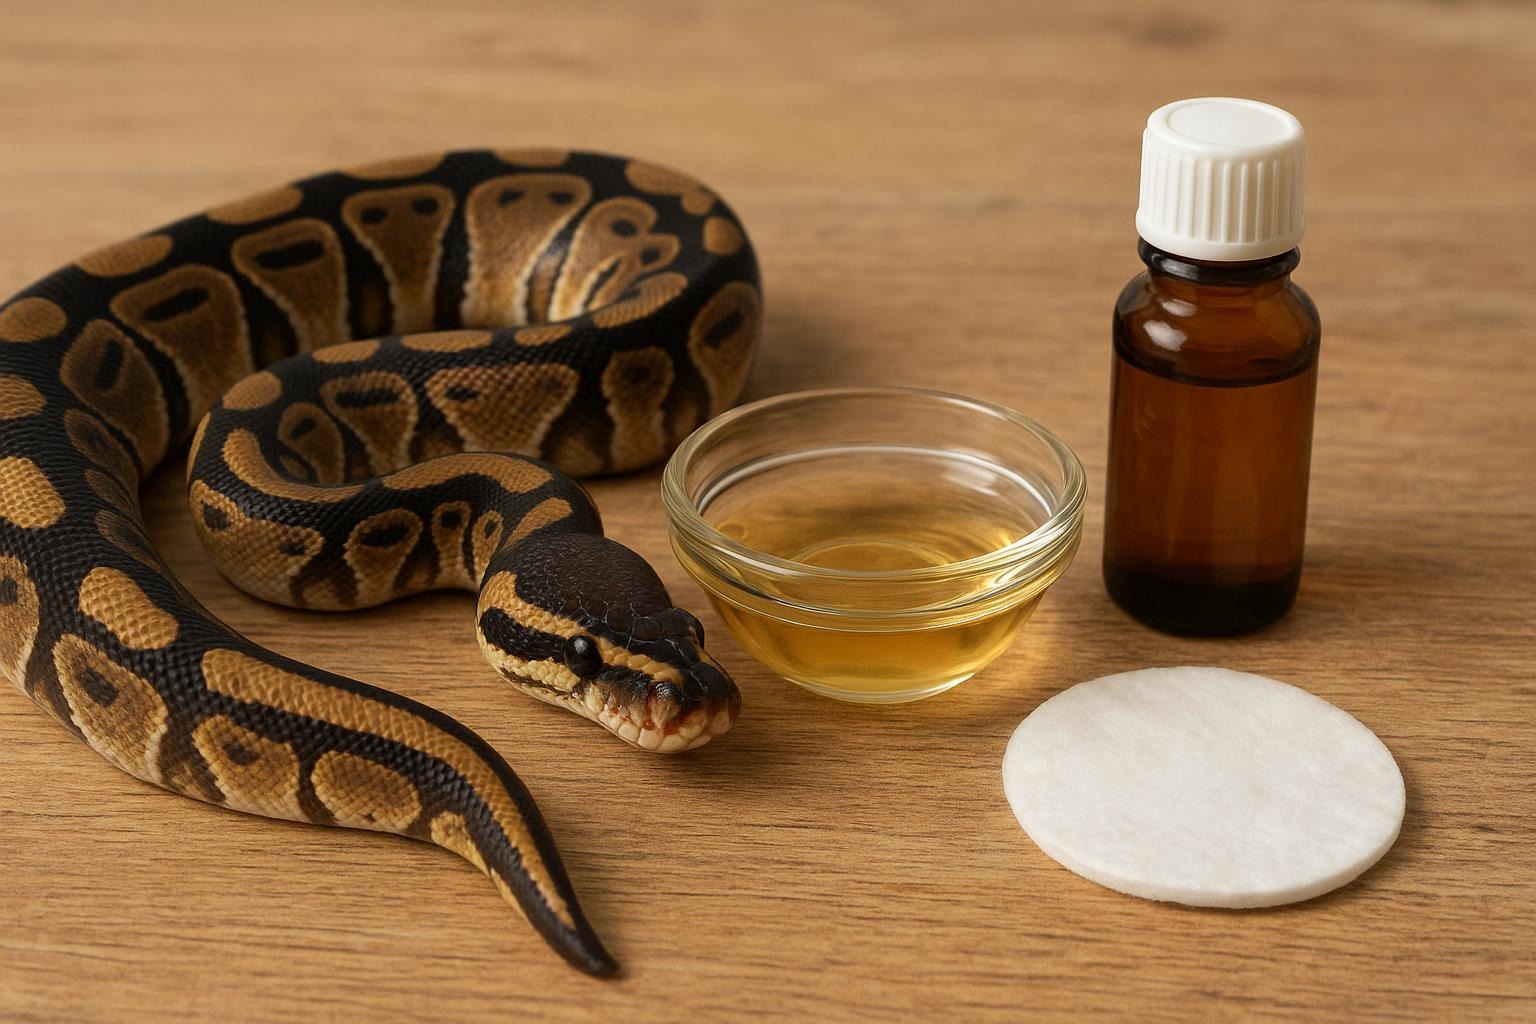
## 2. Natural Shell Repair Paste For Minor Scratches And Dry Scutes
A simple, natural paste can help moisturize dry scutes and encourage healthy keratinization on superficial scratches. This is intended for minor cosmetic issues, not deep infections or punctures.
Ingredients / Materials:
– Food-grade coconut oil (sterile, unrefined)
– Organic calendula oil or diluted calendula tincture (anti-inflammatory properties)
– A pinch of powdered calcium carbonate (food-grade eggshell powder or commercial calcium)
– Clean glass jar and wooden spatula or spoon
– Cotton swabs or a small sterile gauze pad
Step-by-Step Creation and Application:
1. Sterilize equipment: Wash hands and sterilize jar and spatula with hot water and mild soap; rinse thoroughly.
2. Prepare base: Gently warm 2 tablespoons of coconut oil until liquid (do not overheat).
3. Mix active components: Add 1 teaspoon calendula oil and 1/8 teaspoon powdered calcium carbonate to the coconut oil. Stir until homogenous.
4. Cool and set: Pour into jar and allow to cool to ambient temperature. The mixture should solidify into a soft paste.
5. Application procedure: Clean the affected shell area with lukewarm dechlorinated water and pat dry. Using a cotton swab or gauze, apply a thin layer of paste directly to minor scratches or dry scutes once daily.
6. Monitoring: Apply for up to 10–14 days, observing for improvement. Do not cover the paste if the turtle is returned to a wet area immediately; allow absorption for at least 30 minutes.
7. Discontinue if adverse signs appear: If redness, swelling, foul odor, or increased softness occurs, stop use and consult a veterinarian.
This formulation supports keratin health and provides gentle barrier protection. It is not a substitute for systemic therapy in infections.
### When To See A Vet
Even the most diligent box turtle care sometimes needs professional backup. Seek veterinary attention immediately for:
– Deep shell damage, soft spots, or holes
– White, yellow, or black discolored patches that spread (possible shell rot or fungal inflection)
– Lethargy, refusal to eat, or abnormal breathing
– Eye or nasal discharge
A reptile-experienced veterinarian can perform shell debridement, culture suspected infections, and prescribe antibiotics or antifungals when necessary.
## Enrichment And Preventative Care Tips
Prevention is the easiest path to consistent shell health. Rotate safe foraging opportunities, provide humid hides with moss for natural hydration, and ensure a proper UVB bulb replacement schedule (replace bulbs every 6–12 months as output declines). Regularly inspect and document the shell’s appearance; photograph every few months to notice subtle changes. These practices are central to proactive box turtle care.
### Practical Maintenance Checklist
– Daily: Offer clean water dish, monitor eating, spot-check for obvious injuries.
– Weekly: Light enclosure cleaning, ensure humidity levels in hides.
– Monthly: Replace water completely, inspect UVB and heat sources, photograph shell.
A little attention goes a long way. With consistent box turtle care that emphasizes a proper habitat, balanced diet, and basic DIY remedies for mild issues, you’ll keep your shelled friend comfortable and looking their best — without needing a PhD in chelonian cosmetology.


Leave a Reply