


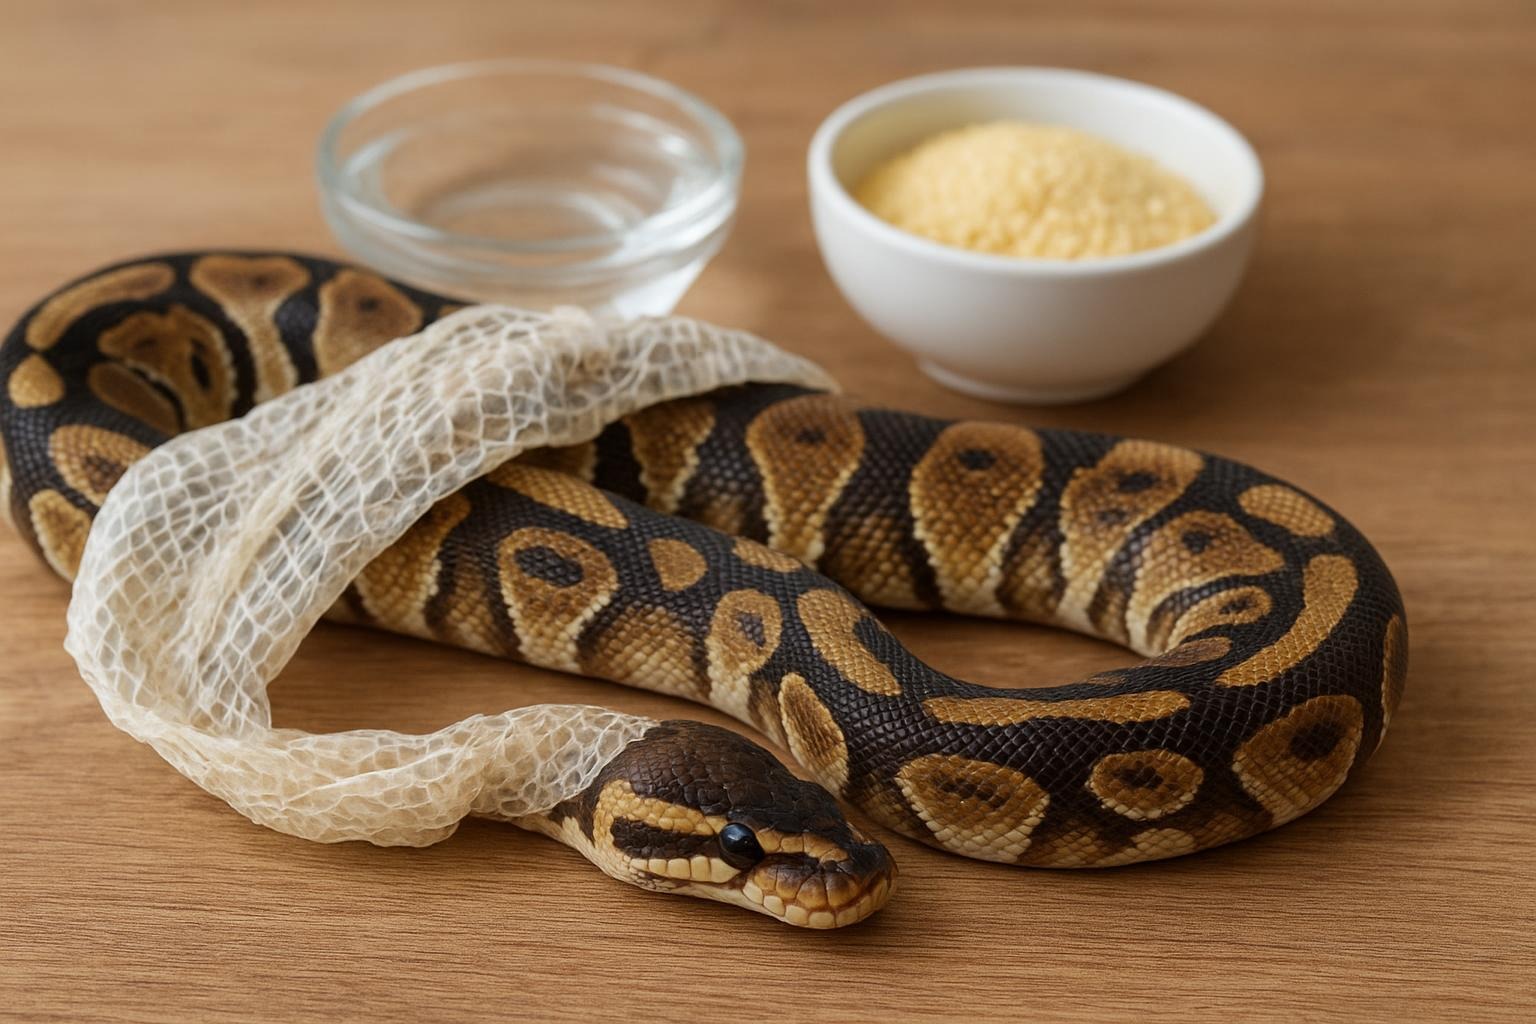
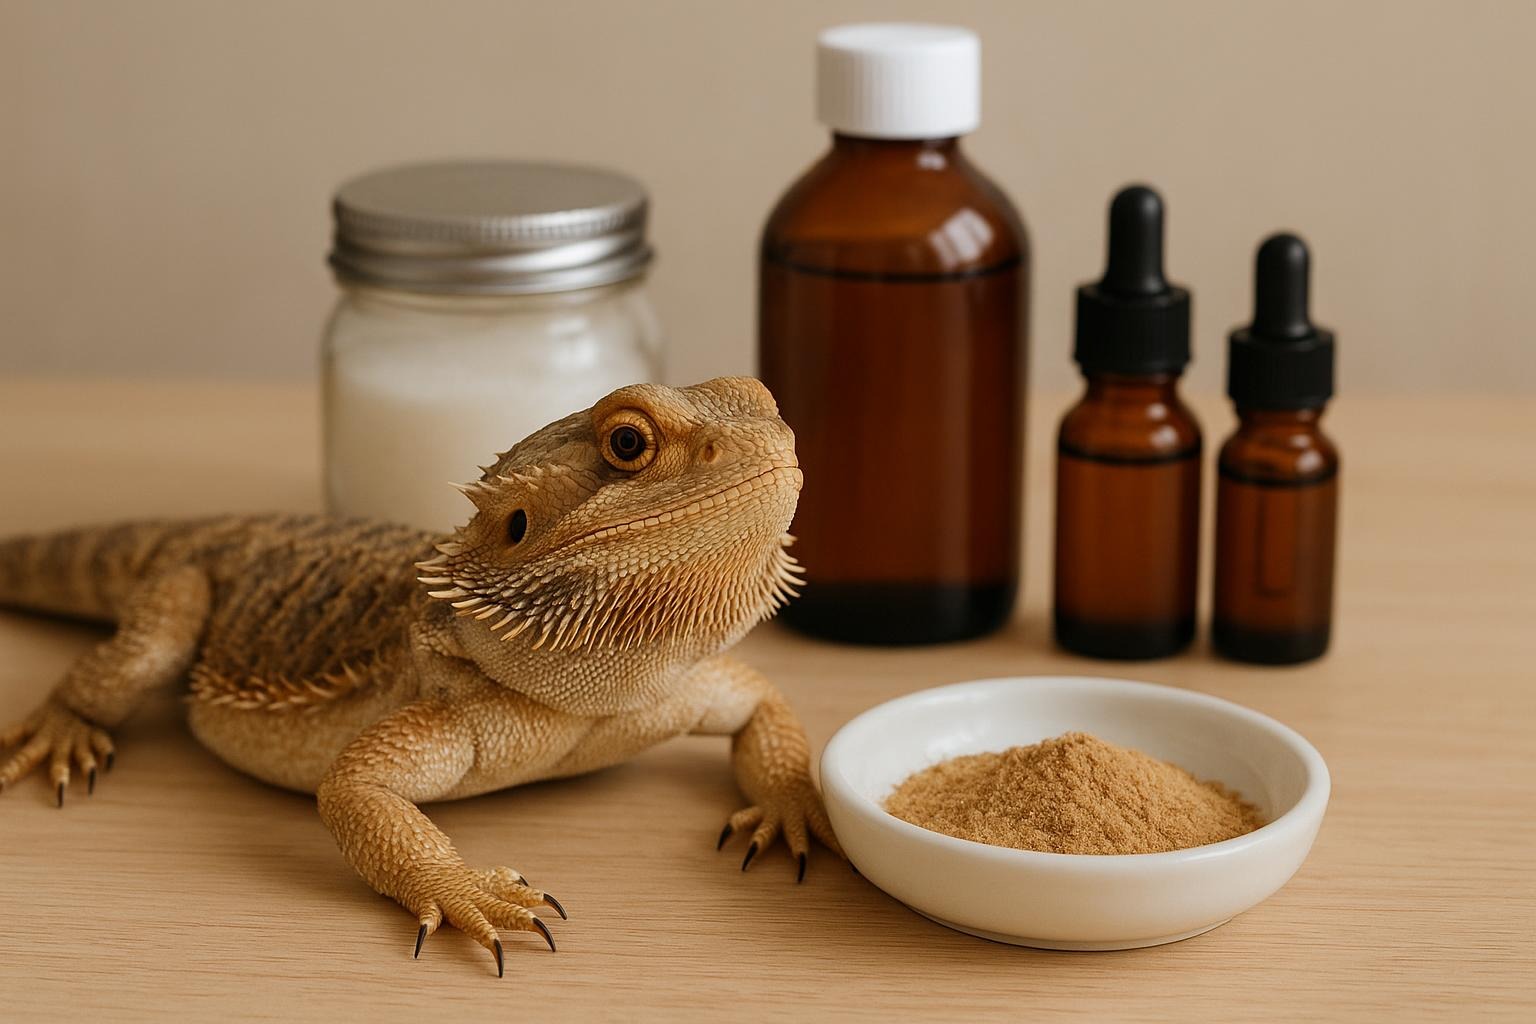
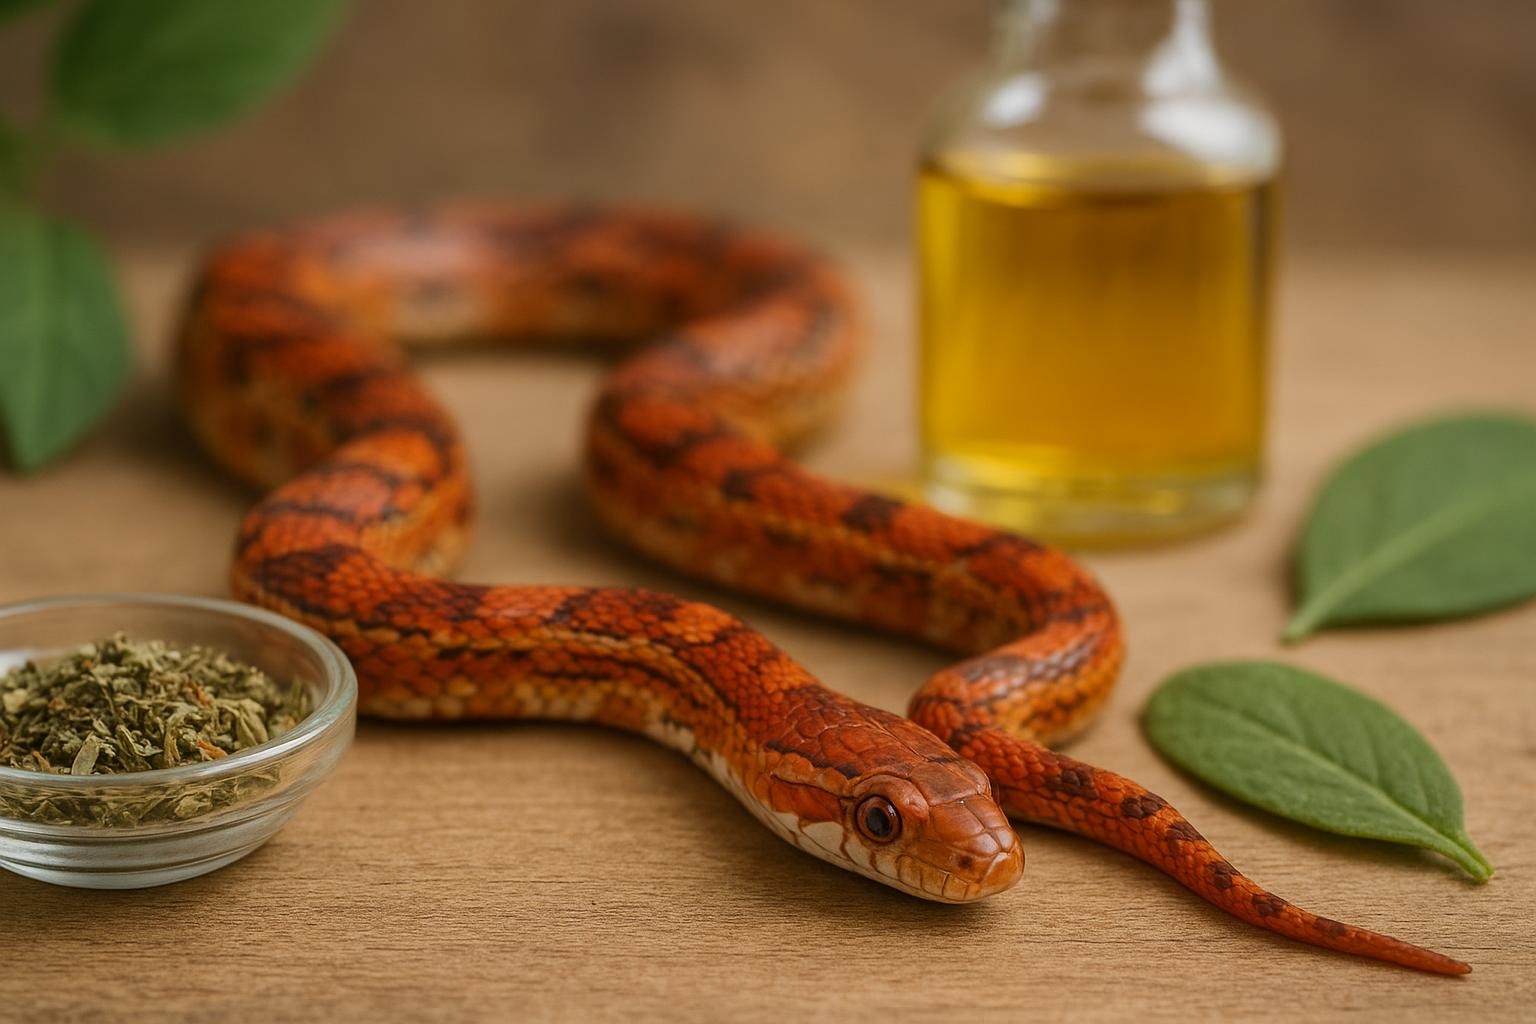
Watching a snake prepare for and complete a shed can be nothing short of mesmerizing — like a reptilian version of a coat change without the dry cleaners. But when a snake struggles, with dull patches, stuck eye caps, or a tail ring that won’t budge, it’s stressful for both the keeper and the snake. Below you’ll find friendly, practical guidance for helping a snake shed using simple home remedies that prioritize safety and humidity management.
## Understanding Why Shedding Can Go Wrong
Snakes shed (ecdysis) as a normal part of growth and skin renewal. Problems arise when environmental conditions or health factors interfere. The most common culprits are low humidity, inadequate hiding spots that provide friction, poor nutrition, dehydration, or skin infections. For many keepers, the first step in helping a snake shed is to look at habitat humidity and behavior — prevent the problem rather than just treating the symptom.
### Signs A Snake Needs Help
Look for residual, dry pieces of skin sticking to the body, a cloudy or milky eye cap that doesn’t clear, or a tail that looks constricted by retained skin. A partial shed that leaves the snake in a patchy, dull coat is another red flag. If left unresolved, retained eye caps can impair vision and stubborn tail rings can lead to infection.
## 3 Natural Remedies For Helping A Snake Shed
Below are three gentle, practical home remedies. When describing each remedy I’ll be more formal and precise: list ingredients/materials, then provide step-by-step creation and application. Use caution, move slowly, and stop if the snake becomes overly stressed. These remedies are for mild to moderate shedding issues; consult a reptile vet for severe cases.
### 1. Humidity Boost With A Moist Hide
A stable, slightly elevated humidity microclimate is the safest first-line approach. This method recreates the snug, humid microenvironment snakes often seek when preparing to shed.
#### Materials
– A small plastic container with lid (large enough for your snake to enter and turn around if possible)
– Damp sphagnum moss, coconut coir, or a soft towel
– Drill or sharp tool to create one or two ventilation holes
– Hygrometer (optional but recommended)
#### Steps
1. Prepare the hide: Drill one or two small ventilation holes in the lid of the container.
2. Moisten the substrate: Dampen the sphagnum moss, coir, or towel so it’s moist but not dripping. Squeeze excess water so it’s not a soggy mess.
3. Place substrate into the container: Line the bottom with the damp material, creating a snug, humid chamber.
4. Position the hide in the enclosure: Place it on the warm side but not on the heat source directly.
5. Monitor: Check humidity and temperature periodically; the ideal localized humidity for many species during pre-shed is 60–80% depending on species. Leave the snake access to the hide and allow it to enter voluntarily.
6. Replace when needed: Change the substrate if it becomes fouled. Do not keep a moldy hide.
This humid hide encourages the snake to move into a microclimate that softens and loosens old skin, making a full shed more likely without handling stress.
### 2. Gentle Soak Bath For Stubborn Patches
A warm soak can rehydrate and loosen stuck scales or retained eye caps when humidity alone doesn’t suffice. This is a hands-on remedy that must be done carefully.
#### Materials
– A shallow plastic tub or container (stable and non-slip)
– Warm water (around 85–92°F / 29–33°C, species dependent)
– Towels for drying
– Optional: reptile-safe electrolyte solution or a pinch of unchlorinated salt for dehydration cases (consult species-specific guidance)
– Timer
#### Steps
1. Prepare water: Fill the tub with warm water deep enough to cover most of the snake’s body but not so deep that it must swim to keep its head above water.
2. Test temperature: Use a thermometer or your wrist to ensure the water is comfortably warm, not hot.
3. Introduce the snake gently: Place the snake into the tub at one end and allow it to move naturally. Support its body if it seems anxious but avoid restraining it.
4. Soak for 10–20 minutes: Duration varies by species and individual tolerance; keep the session calm and watch for signs of stress (rapid tongue flicking, frantic movement).
5. Assist only if necessary: After soaking, if small pieces of skin come free, you may help gently by rolling the skin off in the direction it naturally peels (tail to head for most species). Never pull hard; if the skin resists, soak longer or try the humid hide again.
6. Dry properly: Transfer the snake to a towel-lined box or a warm area to dry, providing access back to its enclosure once fully dry.
This remedy is formalized to minimize handling trauma and avoid tearing delicate skin. Only use this when the snake tolerates water and you’ve confirmed the temperature range is appropriate.
### 3. Targeted Localized Removal For Eye Caps Or Tail Rings
Sometimes a single stubborn patch — like an eye cap or tail ring — needs focused, gentle attention. This method is targeted and should be used with caution.
#### Materials
– Cotton swabs or soft, lint-free cloth
– Lukewarm water or saline solution
– Small pair of blunt tweezers (only for experienced keepers or under vet guidance)
– Magnification (optional)
– Good lighting
#### Steps
1. Rehydrate the area: Apply lukewarm water or saline to the stuck cap or tail ring with a dampened cotton swab to soften the adhesion.
2. Wait and reapply: Allow several minutes of contact, reapplying moisture so the area remains softened.
3. Gentle manipulation: Use the cloth or cotton swab to very gently roll or nudge the skin away from the eye or tail. Always move in the natural shedding direction.
4. Avoid force: If the cap or ring doesn’t budge with gentle manipulation, stop and continue rehydration over the next 24 hours. Never cut retained skin unless performed by a vet.
5. Seek professional help if needed: If the eye cap remains after repeated gentle attempts or the tail shows swelling, bleeding, or smell, contact a veterinarian.
This targeted approach is for small, localized issues and aims to prevent accidental injury from aggressive pulling or improper use of tools.
## Habitat And Daily Care Adjustments That Help Prevent Future Issues
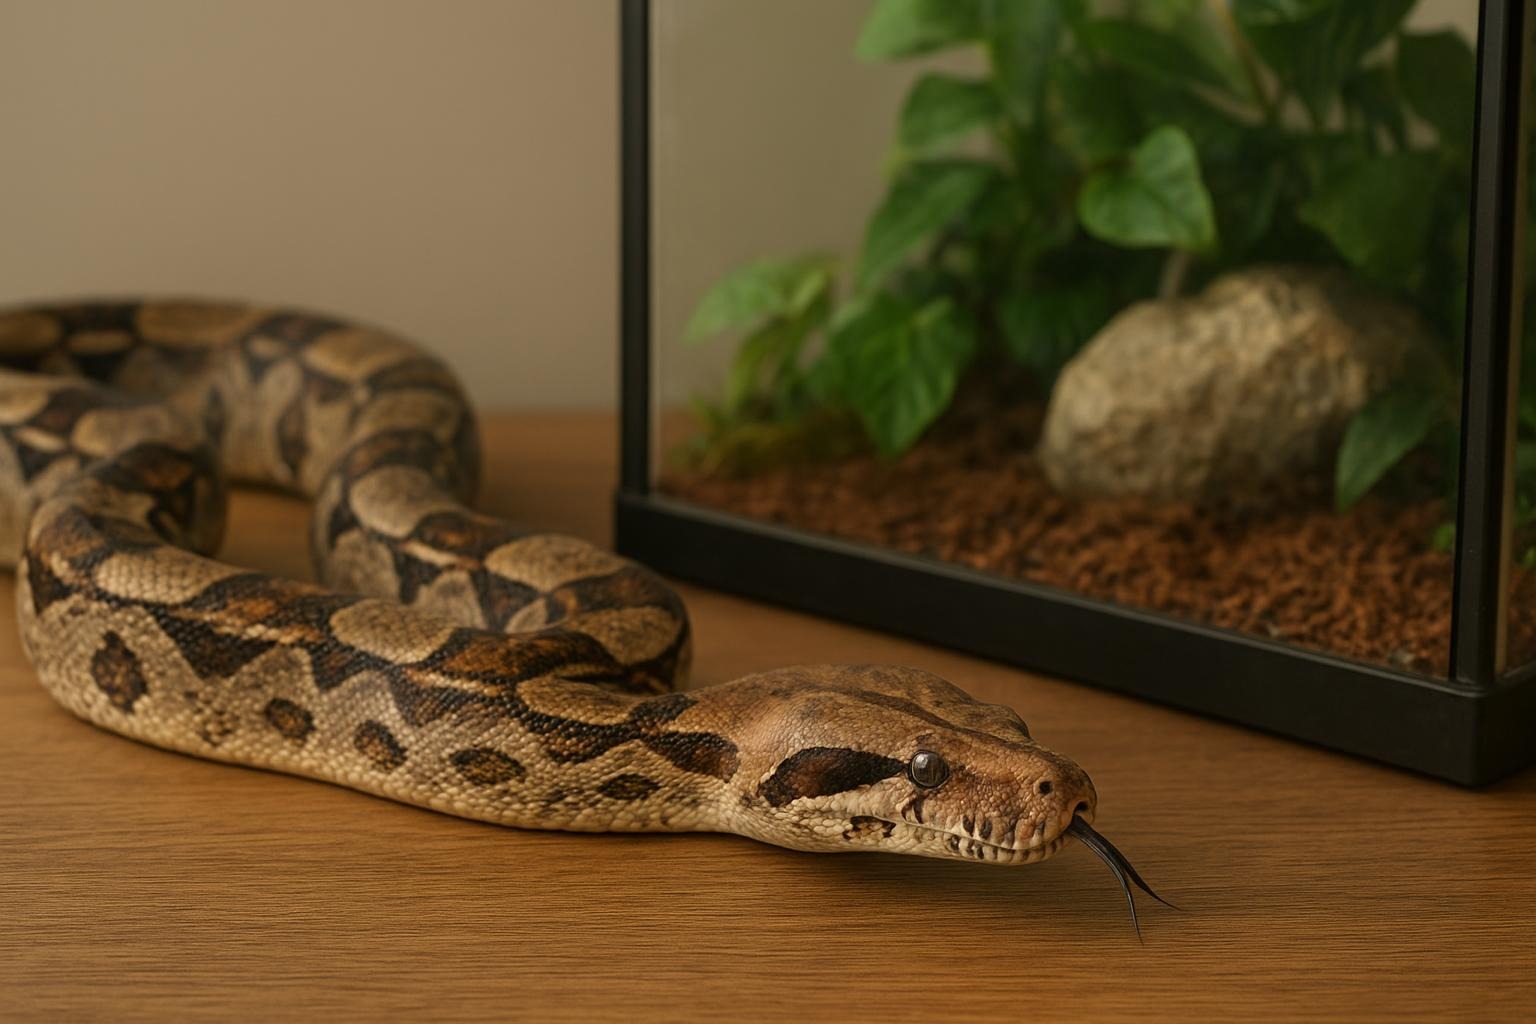
Helping a snake shed is often about consistent enclosure care. Maintain proper ambient and microclimate humidity, provide reliable hides with different humidity and temperature gradients, and offer appropriate substrate that allows some traction. Regular, species-appropriate hydration and nutrition are foundational. Adding a shallow water bowl large enough for the snake to soak in is a simple preventive measure.
### Handling And Stress Considerations
When helping a snake shed, limit handling to avoid stressing an already vulnerable animal. Stress releases hormones that can interfere with normal shedding. If you must handle, be slow and calm; allow the snake to move freely rather than gripping it tightly.
## When To Call The Vet
If you’ve been helping a snake shed with the remedies above and there is no improvement after 48–72 hours, or if the retained skin is causing swelling, discoloration, bleeding, or the snake shows signs of systemic illness (lethargy, refusal to eat, respiratory issues), see a reptile veterinarian promptly. Eye caps that remain for extended periods can lead to eye damage, and constricting tail rings can cut off circulation.
### Safety Tips And What Not To Do
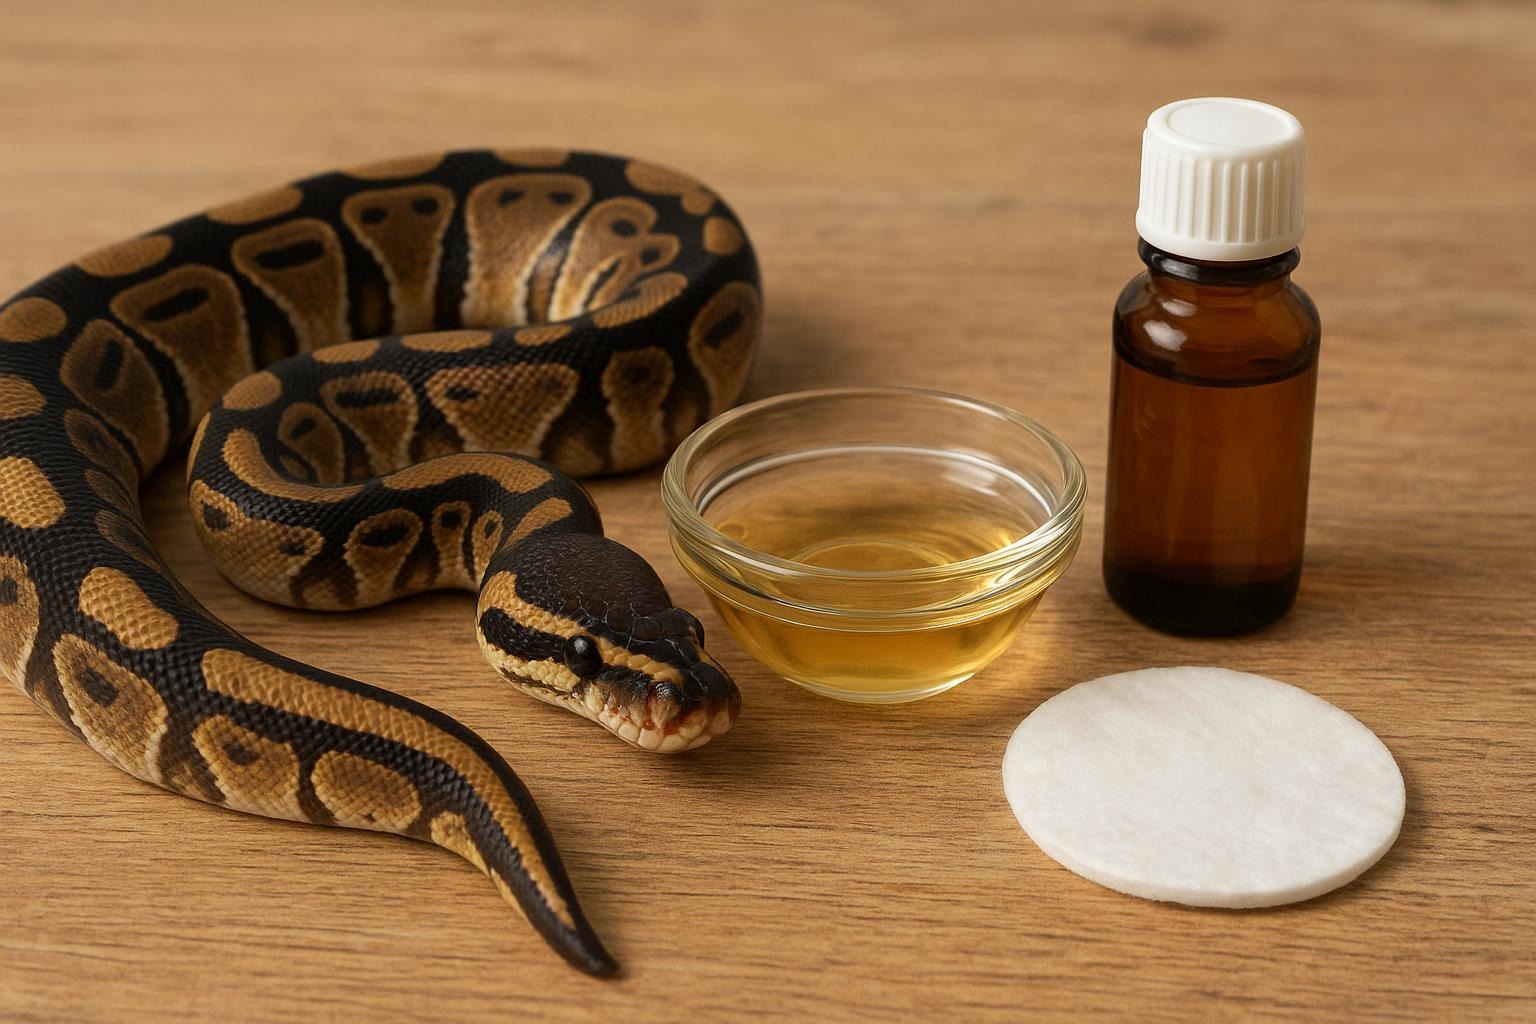
Remember, helping a snake shed isn’t about forcing the process. Never use oils, petroleum jelly, or harsh chemicals to “slip” the skin off; these can interfere with proper skin removal, clog skin pores, and cause infections. Don’t cut retained skin, and don’t pull hard on a stuck shed. If tools are used for localized removal, they should be blunt, sterilized, and employed only by experienced individuals or vets.
## Troubleshooting Common Questions
If the snake had a solid, single-piece shed previously but now has clumps: increase humidity slightly and ensure hides are available. If eye caps remain cloudy: try the humidity hide first, then a soak. For tail retention in heavy-bodied or arboreal species: ensure substrate and hides provide adequate friction and check for constricting shed at the base of the tail.
These practical, low-cost methods for helping a snake shed are designed to be safe, minimally invasive, and effective when used properly and patiently. If anything feels beyond your comfort level, a vet visit is the responsible next step — professional ears and hands beat a stressed snake and worried owner every time.


Leave a Reply