


Keeping a cheerful, clear-water aquarium is one of those small domestic victories that feels like magic—until a slimy film starts turning everything into a retro sci‑fi set. Blue green algae are actually cyanobacteria, and they can be persistent little freeloaders. If you’ve searched for fixes, you probably typed “blue green algae aquarium” into your favorite search bar. Good news: this article will walk you through what that search means and how to manage it without freaking out your fish (or your aesthetic).
## Blue Green Algae Aquarium: What It Is And Why It Happens
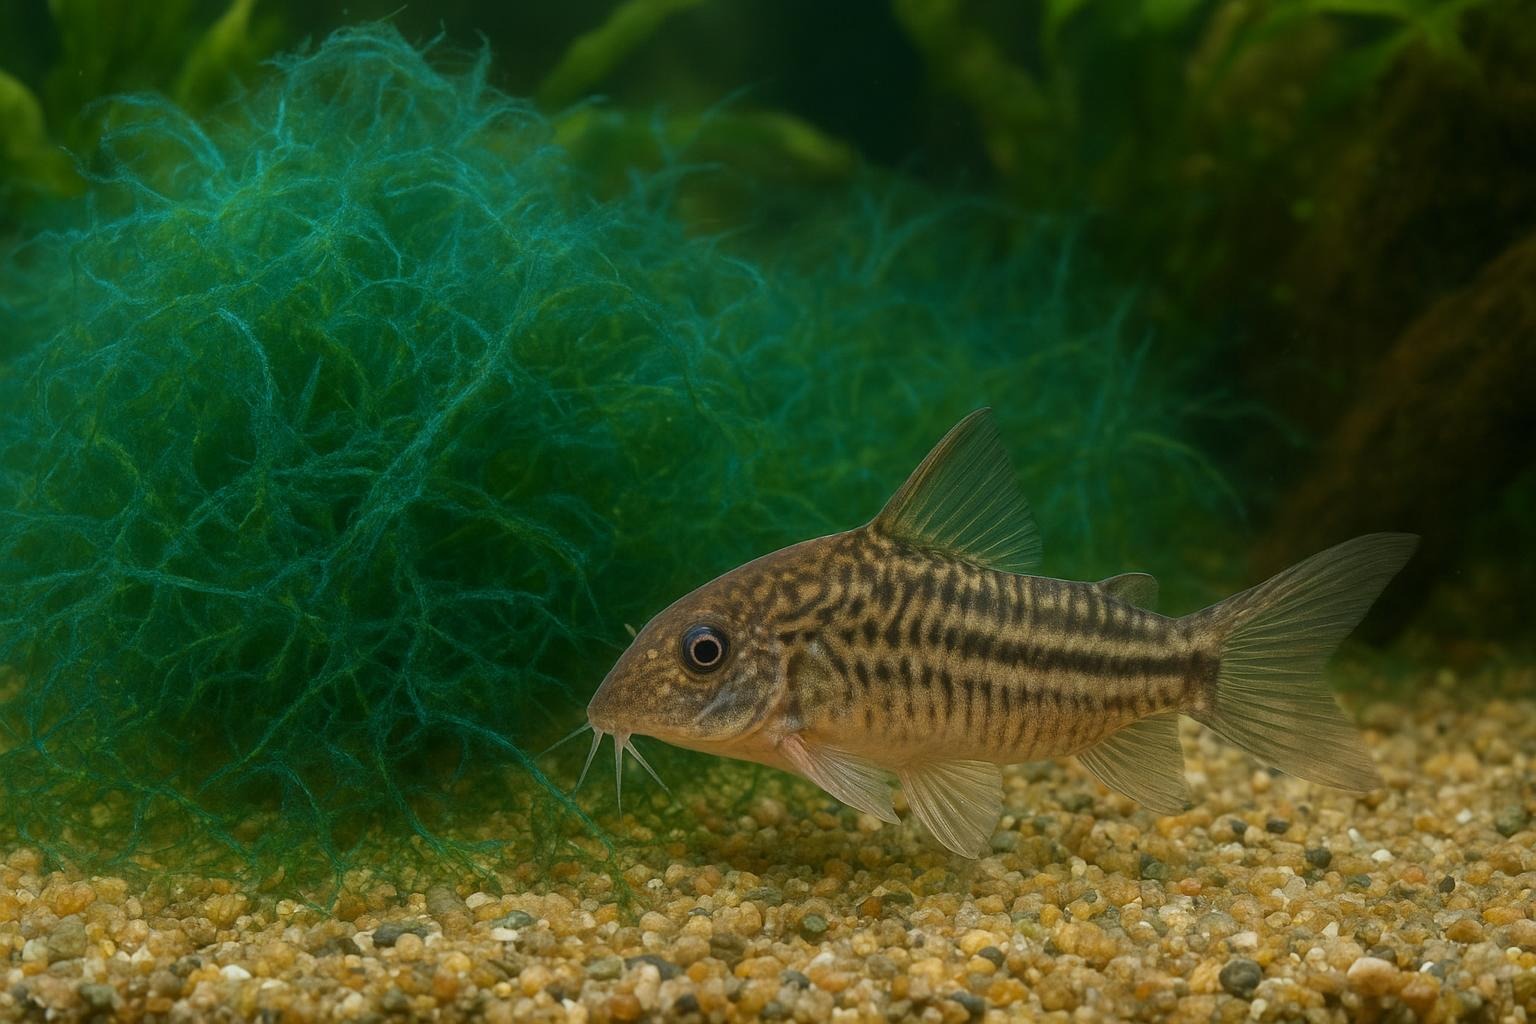
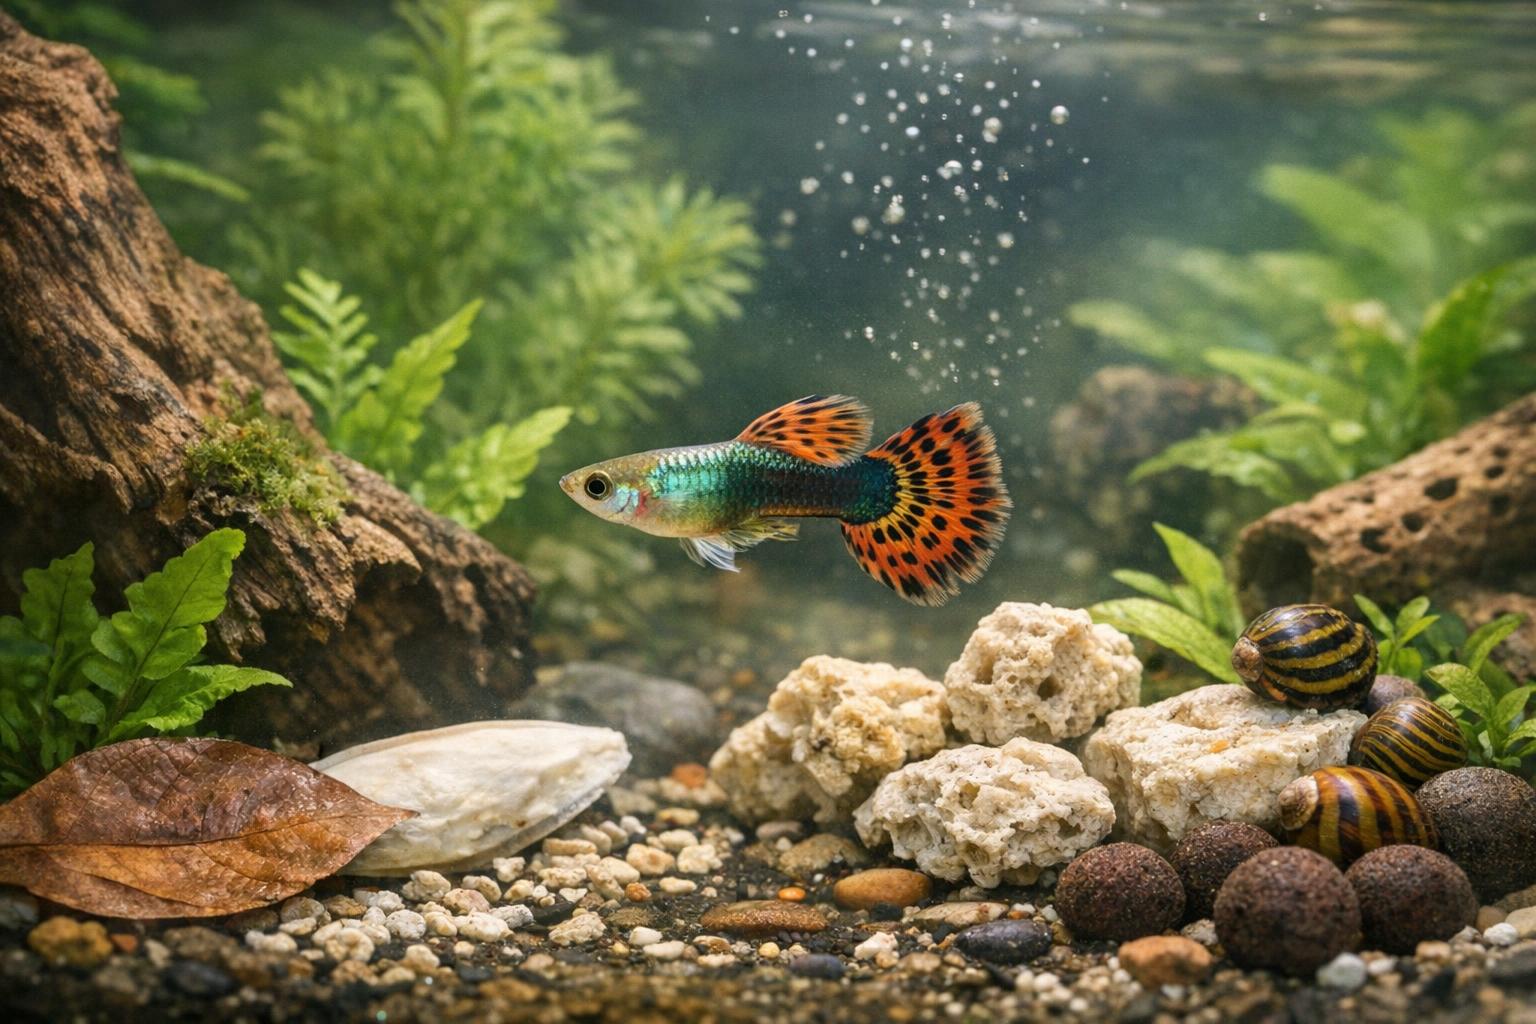
Cyanobacteria (commonly called blue green algae) are not true algae but bacteria that photosynthesize. They can form smelly mats, slimy coatings, and reddish-brown or blue-green scums on gravel, plants, and ornaments. In a home setup, a blue green algae aquarium problem usually shows up when the ecosystem gets out of balance—too many nutrients, too much light, and not enough circulation.
### How Blue Green Algae Aquarium Blooms Start
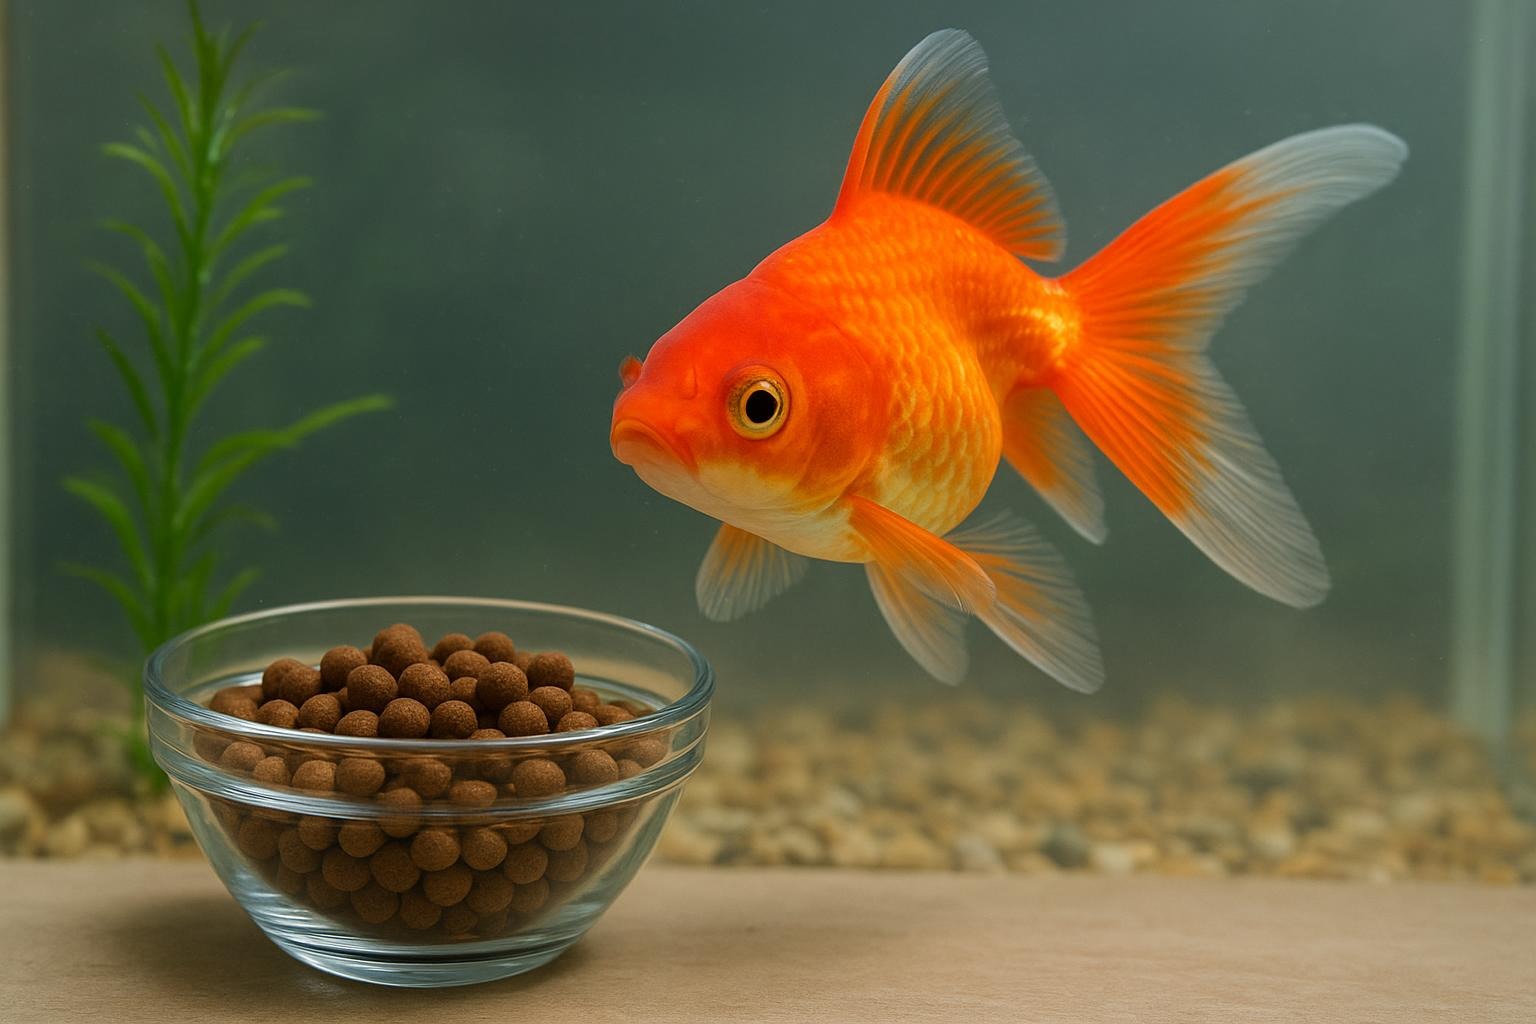
A bloom typically begins when excess nutrients—mainly nitrates and phosphates—accumulate. Common nutrient sources include overfeeding, decaying plant matter, inadequate filtration, and tap water with high mineral content. Add steady bright light (or flashy aquarium lights left on all evening), and cyanobacteria will set up camp. Low flow areas where detritus settles are especially attractive real estate for these microbes.
### Signs It’s A Blue Green Algae Problem
Blue green algae differ from green algae. Look for:
– Slimy, flat mats that can be scooped in sheets.
– A scent that’s more earthy or musty than fresh seaweed.
– Reddish-brown, blue-green, or blackish coloration.
If you see these, you’re likely dealing with a blue green algae aquarium issue rather than a harmless hair-algae cameo.
## Remedy 1: Manual And Environmental Control For Blue Green Algae Aquarium
This first approach focuses on restoring balance. It’s hands-on and eco‑friendly, and it usually needs to be maintained consistently. The next section will be a bit more formal—follow it carefully if you want results that stick.
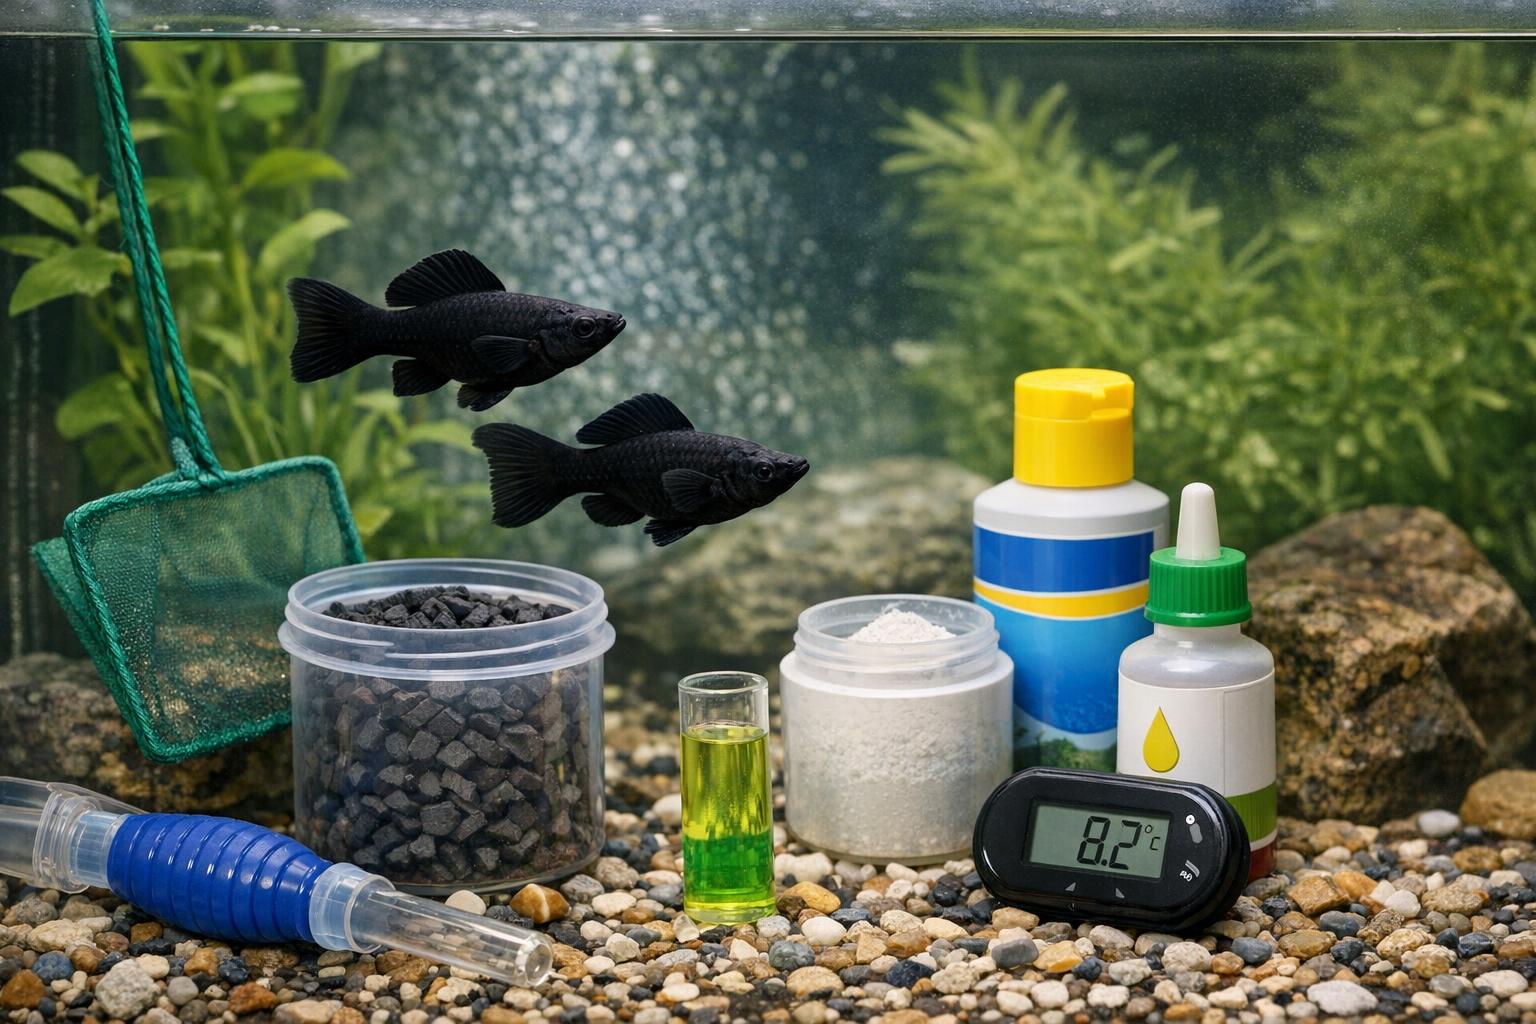
### Materials And Tools
– Siphon gravel vacuum or aquarium siphon
– Algae scrubber or razor blade (for glass/aquarium-safe scraper)
– Toothbrush or small soft-bristled brush
– Buckets reserved for aquarium use
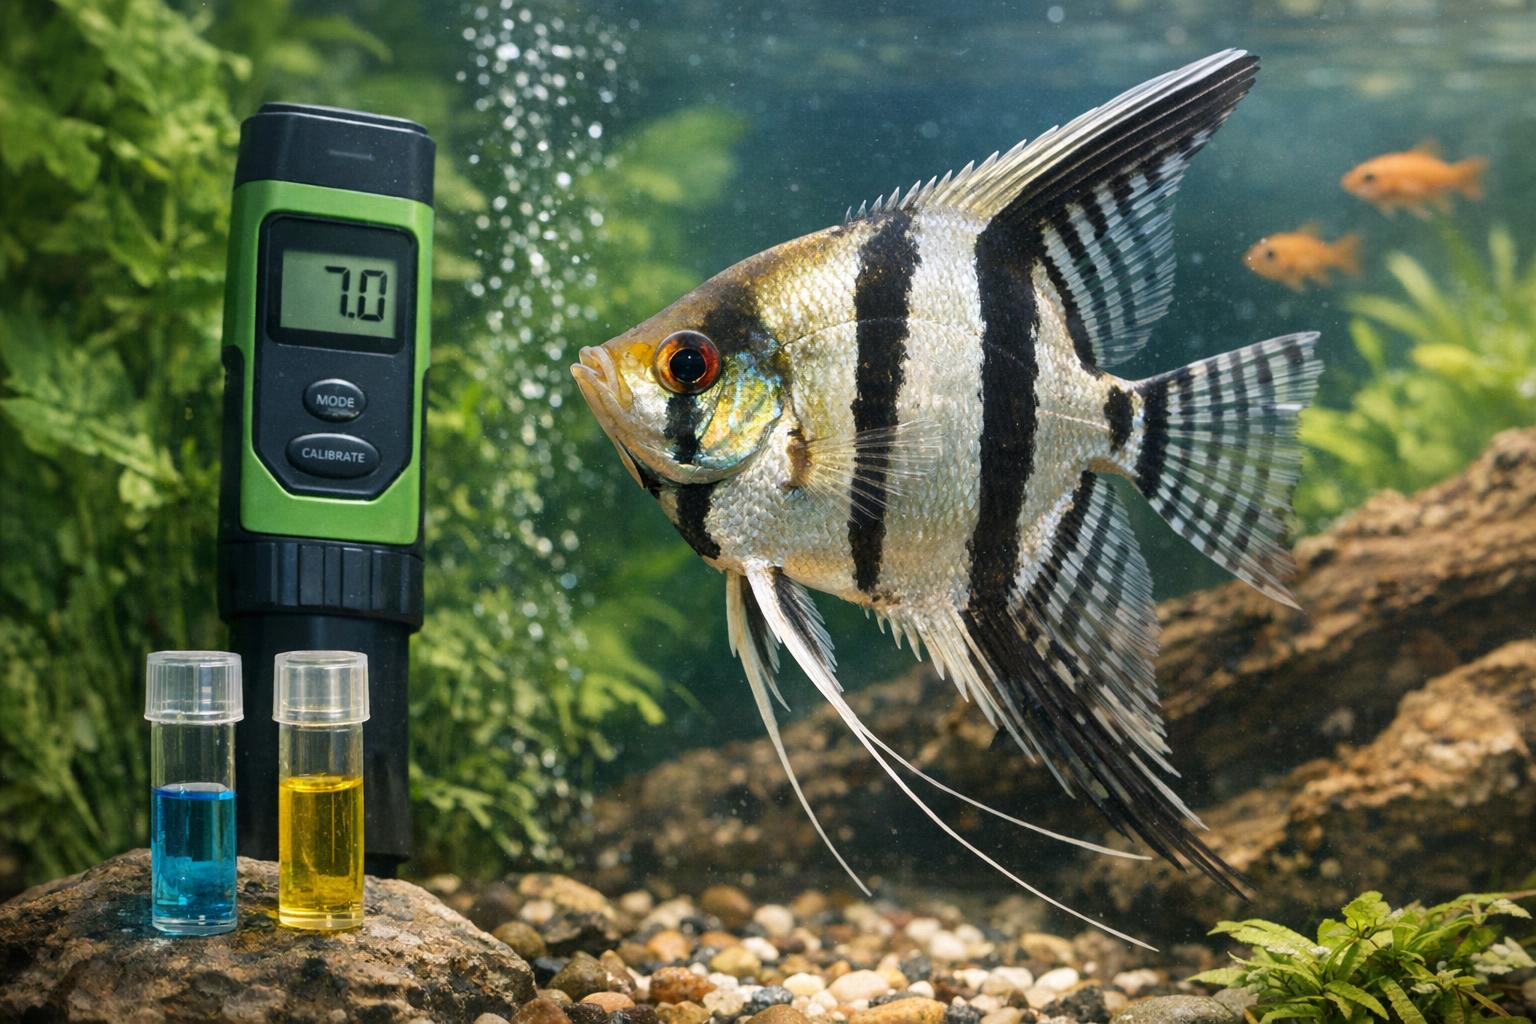
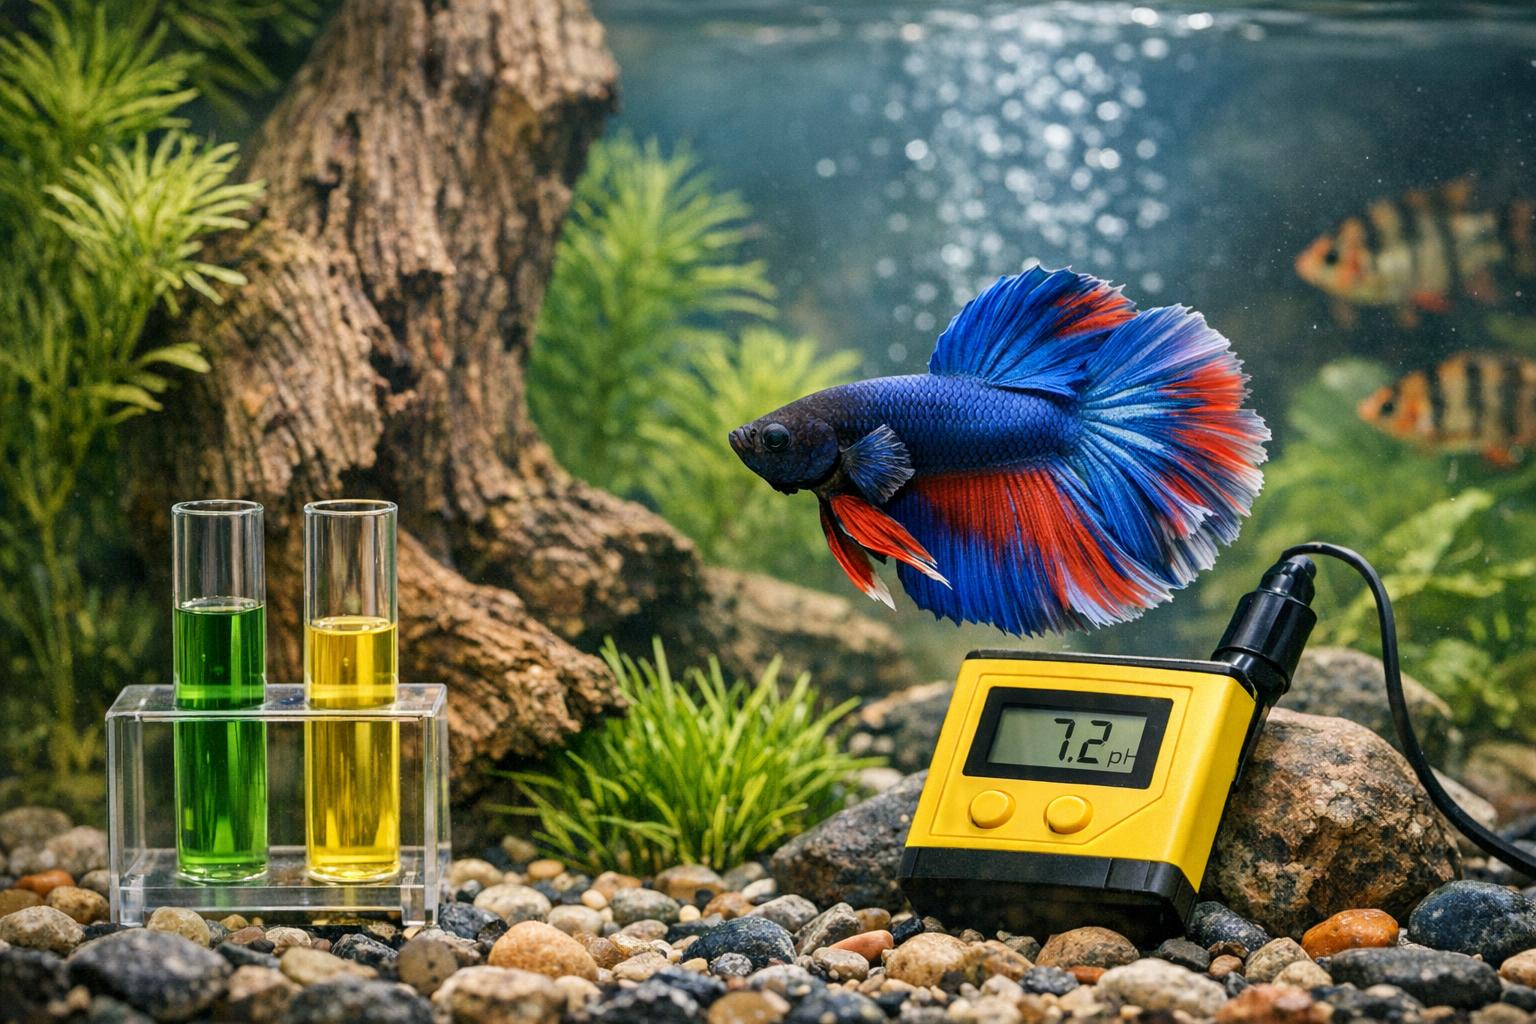
– Water testing kit (nitrate, phosphate, ammonia)
– Dechlorinator/water conditioner
– Aquarium-safe net and tweezers (for plant trimming)
– Optional: small powerhead or circulation pump
#### Step-By-Step: Manual Removal And Habitat Correction (Formal Instructions)
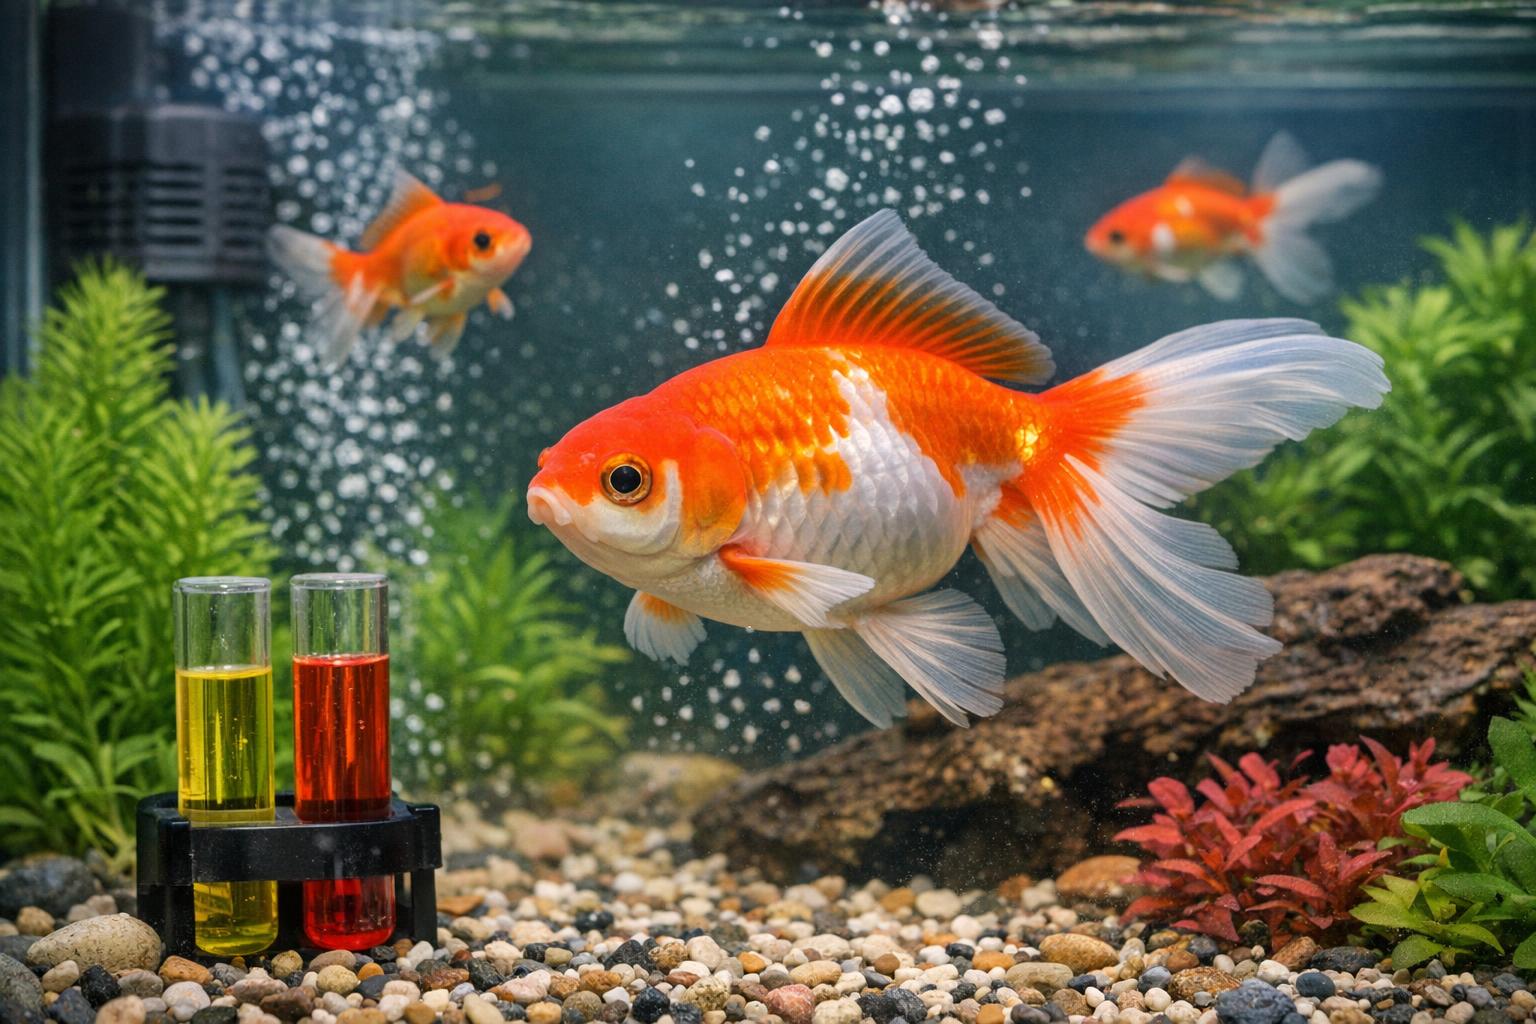
1. Test water parameters. Record ammonia, nitrite, nitrate, and phosphate levels. Accurate data guides your next steps.
2. Perform a partial water change of 25–50% depending on bloom severity. Use a siphon to remove debris from substrate. Replace with dechlorinated water at matching temperature.
3. Physically remove cyanobacterial mats. Use a soft brush or algae scraper to lift mats into the siphon; avoid shredding them and letting fragments float (fragments can recolonize).
4. Trim and remove heavily affected plants. Decaying plant material fuels recurrence, so remove and, if possible, treat valuable plants separately (see plant dip options in the other remedy).
5. Reduce light duration and intensity. Cut lighting by 25–50% immediately and aim for 6–8 hours of moderate light per day. Avoid direct sunlight on the aquarium.
6. Improve circulation. Add a powerhead or reposition filter outflow to reduce low-flow zones where cyanobacteria settle.
7. Adjust feeding. Feed only what fish consume in 2–3 minutes, once or twice daily. Remove uneaten food promptly.
8. Continue frequent small water changes (20–30% weekly) while monitoring nutrient levels. As nitrates and phosphates drop, blooms typically subside.
9. Consider adding fast-growing live plants. Species like hornwort, water sprite, or anacharis will outcompete cyanobacteria for nutrients when established.
10. Monitor and repeat. Manual control is rarely a one‑time fix; keep consistent maintenance until bacterial mats no longer return.
## Remedy 2: Filter Media And UV For Blue Green Algae Aquarium
When manual methods aren’t enough, targeted filtration upgrades can remove nutrients and living cells from the water column. This section describes two complementary interventions—chemical media for phosphate removal and UV sterilization—to reduce and prevent cyanobacterial blooms. Follow these steps precisely.
### Materials And Tools
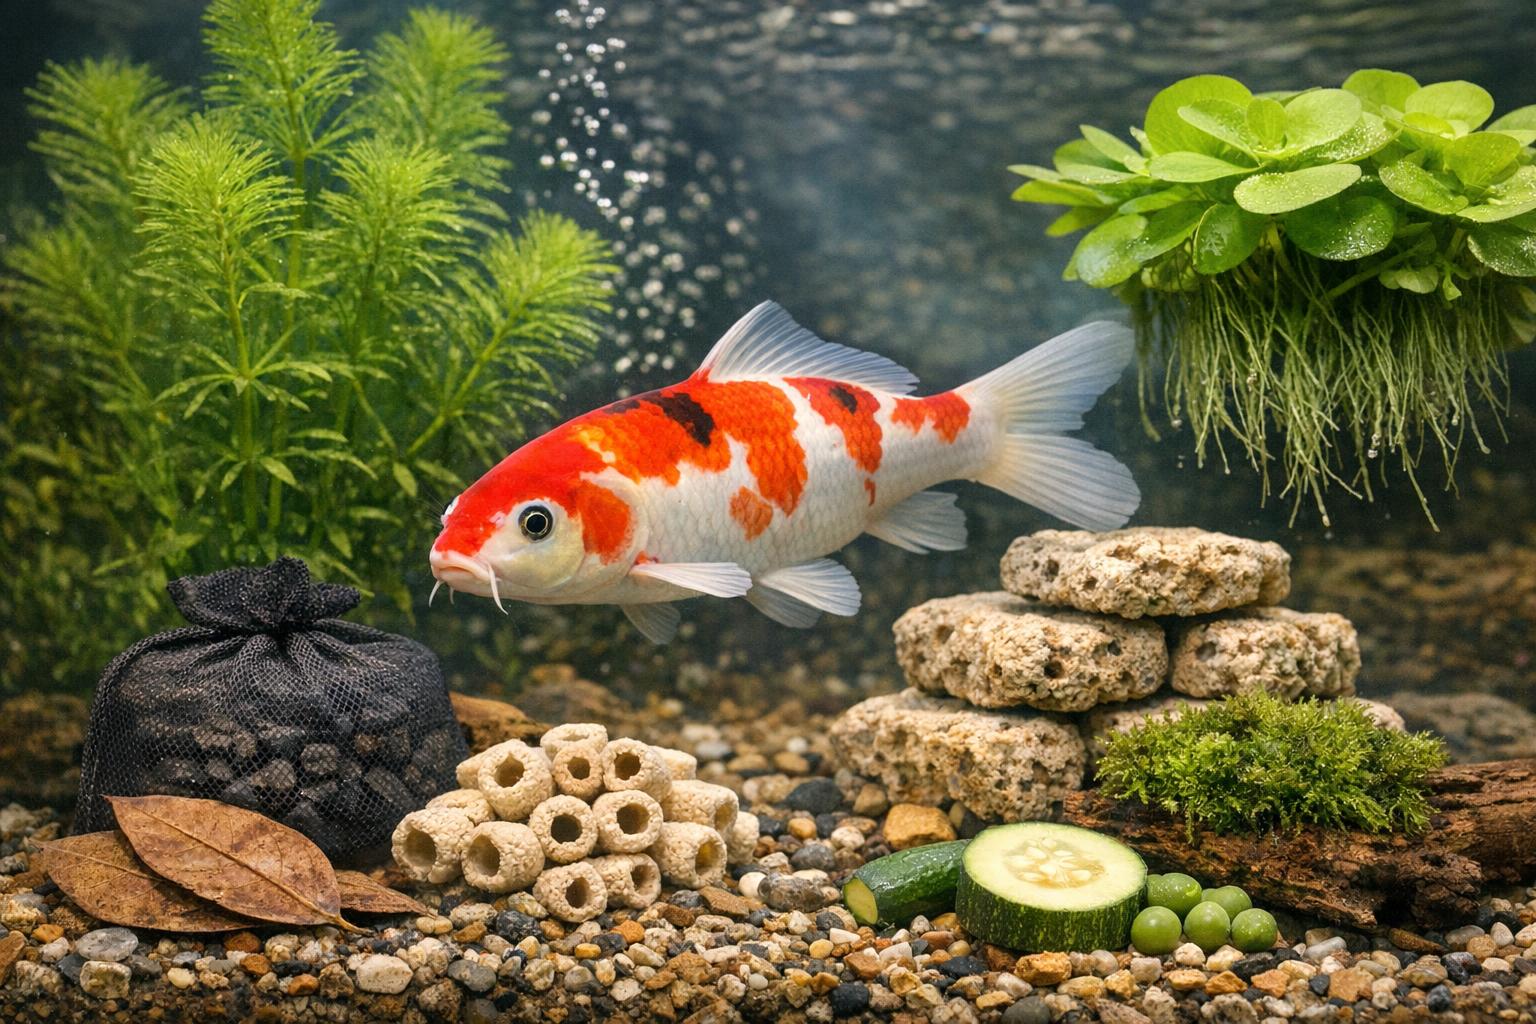
– Granular Ferric Oxide (GFO) media or other phosphate-absorbing resin (aquarium grade)
– Media bag or mesh filter bag
– Activated carbon (optional, to remove odors and organics)
– External or inline UV sterilizer sized for your aquarium flow rate
– Tubing and fittings compatible with your filter/return pump
– Instructions and flow specs from UV manufacturer
– Wrench/pliers for installation
#### Step-By-Step: Installing And Using GFO And UV Sterilizer (Formal Instructions)
1. Pre-treat the media: Rinse GFO thoroughly in dechlorinated water until clarity is reached. Follow manufacturer pre-soak instructions.
2. Place GFO in a mesh media bag and position it in high-flow areas—preferably in a canister filter or sump where water passes readily through the media. This maximizes phosphate removal.
3. Run GFO for 1–2 weeks and monitor phosphate levels. Replace or regenerate media per manufacturer guidelines; GFO effectiveness declines as it becomes saturated.
4. If using activated carbon, place it after the GFO in the filtration sequence to polish the water and reduce organic compounds that can feed cyanobacteria.
5. Install UV sterilizer according to manufacturer specifications. Ensure the unit is sized for aquarium volume and flow rate—underpowered units are ineffective; overpowered units risk stressing beneficial microbes unnecessarily.
6. Prime and run the UV unit continuously for several days to a few weeks, depending on bloom severity. UV will neutralize free-floating bacterial cells and spores, helping break the reproduction cycle.
7. Maintain mechanical and biological filtration while UV is running. Remove removed biomass during regular maintenance to prevent a nutrient spike when it decomposes.
8. Re-test water chemistry weekly. Continue adjustments to dosing and media change intervals until phosphate levels fall within target range (typically <0.1 ppm for sensitive systems).
9. Gradually reduce UV usage as the bloom resolves, but maintain GFO if background phosphate is hard to control. UV can be used periodically for prevention.## Additional Tips And Safe Cleanup Crew Options
A few practical bits that will make your blue green algae aquarium life easier:
- Avoid overcrowding. Overstocked tanks produce more waste and higher nutrient levels.
- Use a phosphate test to diagnose hidden inputs (some foods and supplements add phosphate).
- Consider a cleanup crew: Amano shrimp and nerite snails can help graze some biofilms; however, they are not a cure for cyanobacteria and should be considered supplemental.
- When cleaning ornaments or rocks outside the tank, a brief soak in a diluted bleach solution (followed by long rinses and a dechlorinator soak) removes persistent mats. This is for hardscape only—never bleach live plants or animals.If you want to discuss specific products for your tank size, livestock compatibility, or a dosing schedule tailored to your water test results, tell me your tank volume, inhabitants, and current readings and I’ll draft a plan.


Leave a Reply