


Welcome! If you love your pup but dread the sound of nails clicking across the hardwood, you’re in the right place. This friendly guide walks through practical, safe, and easy home methods for dog nail care that won’t make you or your dog feel like you’re auditioning for a veterinary drama. A little patience, a few simple supplies, and these remedies will keep paws comfy and nails in tip-top shape.
## Dog Nail Care Basics
Understanding the basics makes all the difference. Dog nails are made of keratin and have a sensitive inner quick that contains blood vessels and nerves. Overgrown nails change gait, can snag and split, and sometimes lead to infection. Regular dog nail care prevents these problems, keeps your dog comfortable, and reduces that dreaded click-click sound when they sprint through the house.
### When To Trim And How Often
Most dogs benefit from trimming every 3–6 weeks, but activity level and breed change that timeline. Active dogs who frequently run on hard surfaces often wear down nails naturally and need less trimming. Check nails weekly: if you hear them clicking or see toes splay while walking, it’s likely time for a trim.
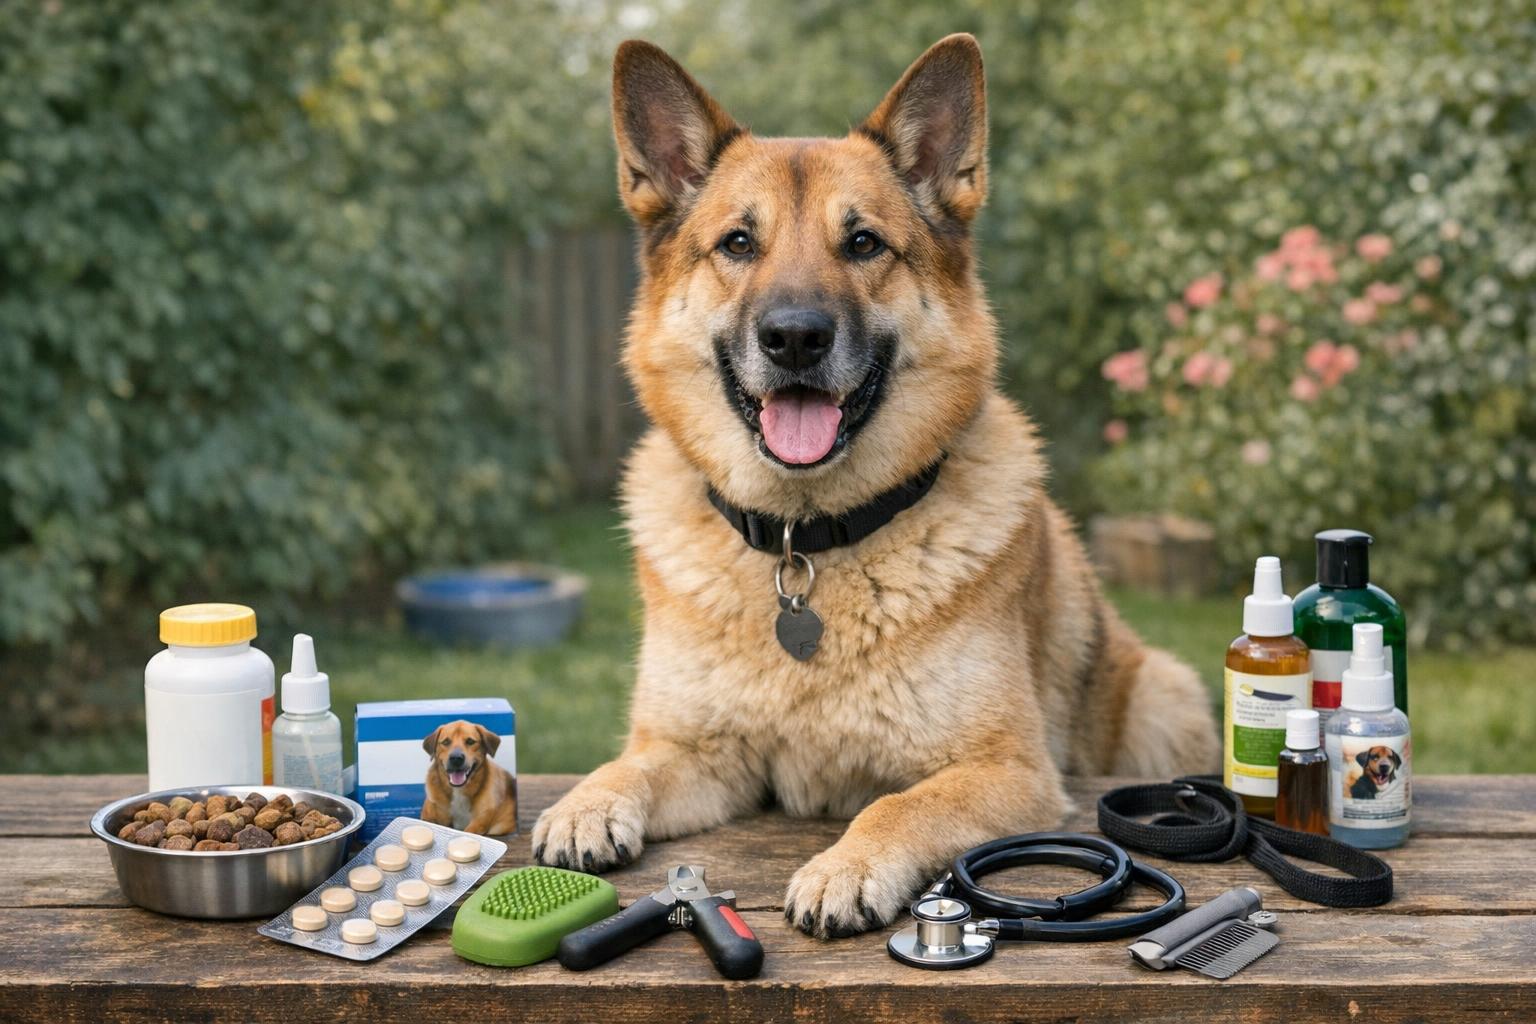
### Tools You’ll Need
Good tools make the job faster and less stressful. For basic dog nail care you’ll want:
– Sharp guillotine or scissor clippers sized for your dog’s nails.
– A coarse nail file or emery board.
– Styptic powder or a home remedy for stopping bleeding (see Remedy 1).
– Cotton, towels, and treats for rewards.
– Optional: pet-safe nail grinder for smoothing and desensitizing.
Clean, sharp clippers reduce crushing and splitting. If you’re unsure which tool to buy, ask your groomer or vet for a recommendation tailored to your dog’s size and nail thickness.
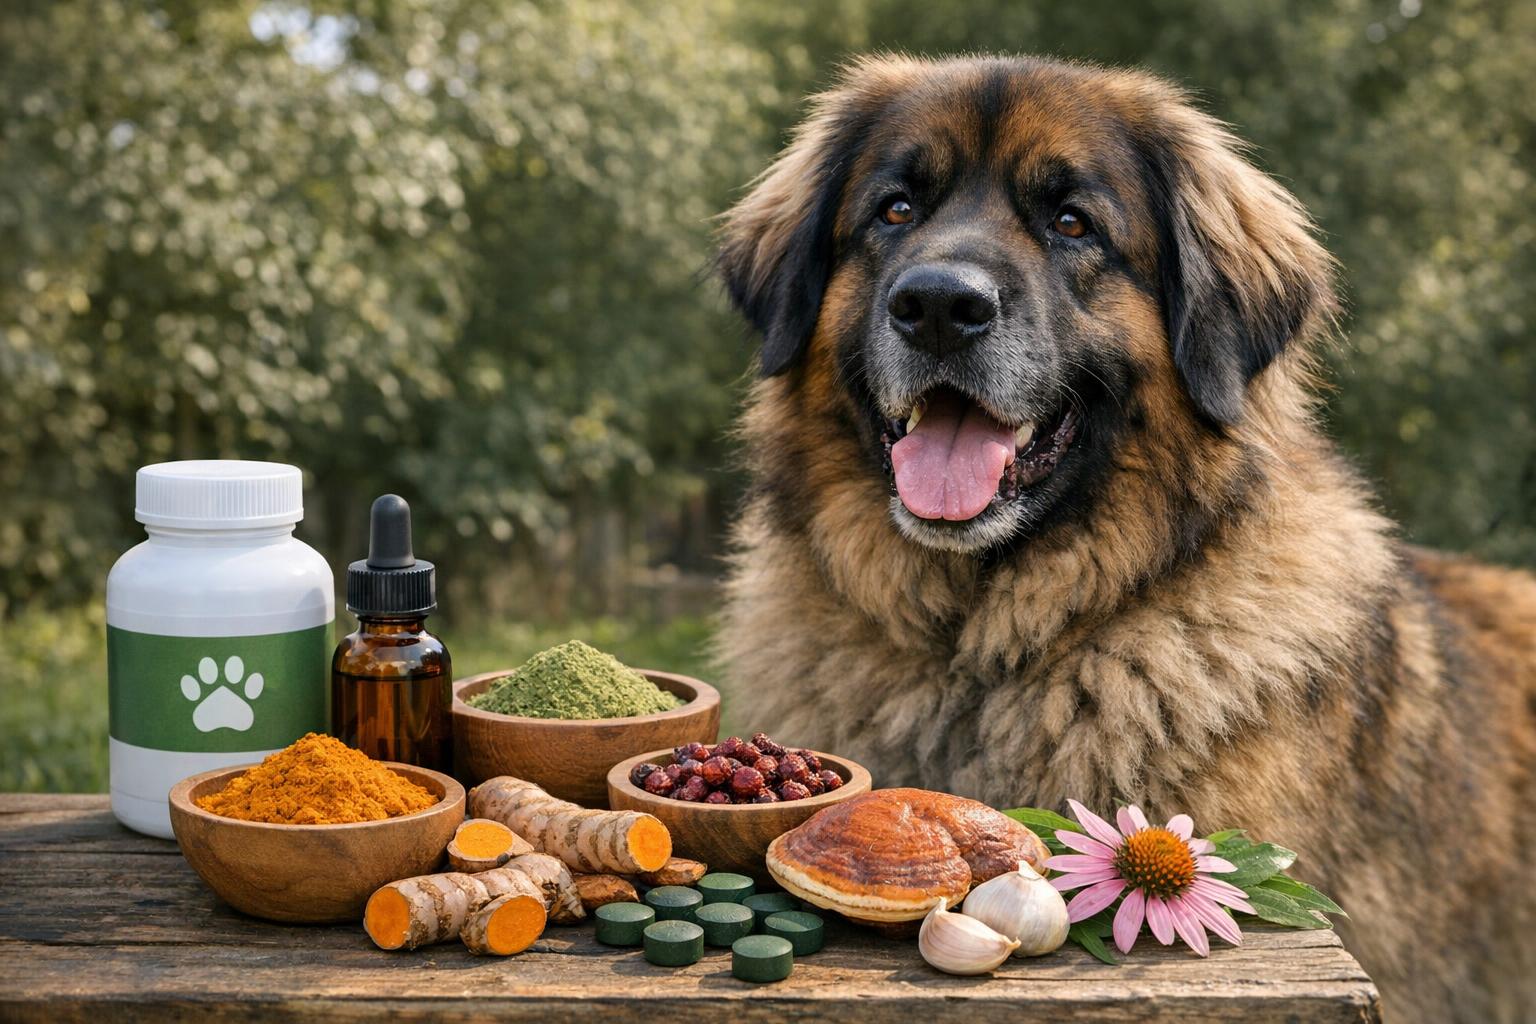
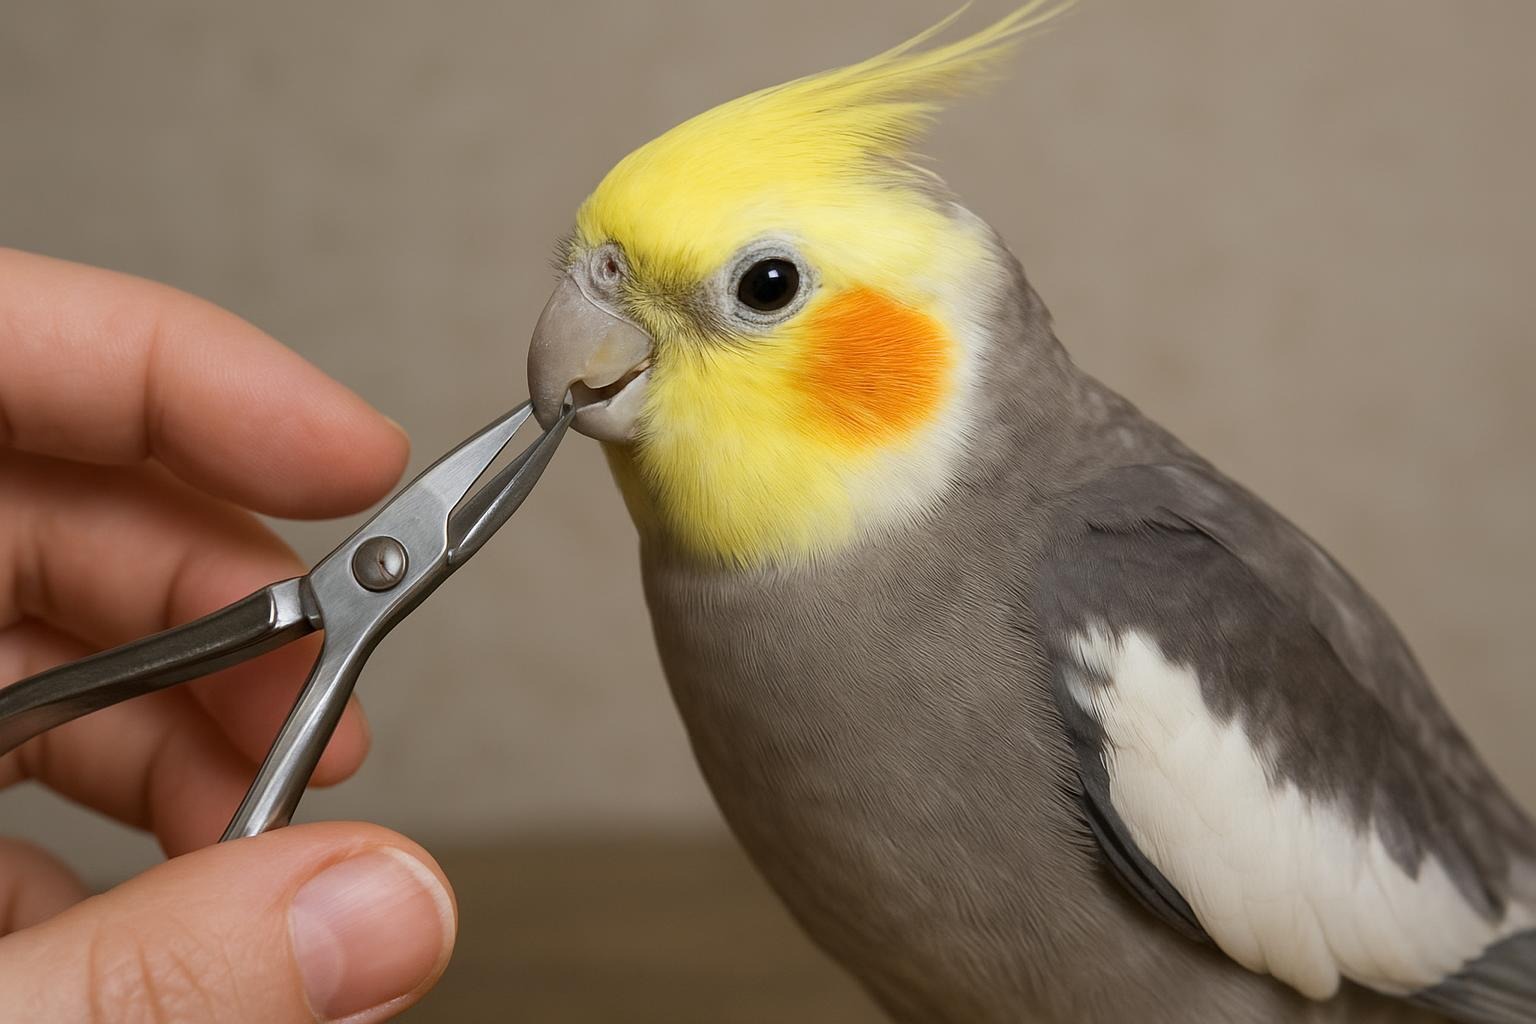
## 1. Quick Bleeding Stopper For Broken Nails
Accidents happen. If you nick the quick or your dog breaks a nail, stopping bleeding promptly prevents infection and calms both of you.
### Ingredients And Materials
– Styptic powder or cornstarch (as an alternative).
– Clean cotton or gauze.
– Antiseptic solution (dilute chlorhexidine or povidone-iodine).
– Tweezers (if there’s a jagged nail edge).
– Muzzle or helper to safely hold the dog, if needed.
### Step-By-Step Application
1. Calmly restrain the dog; have treats ready. Speak softly to lower stress.
2. Apply gentle pressure to the wound with clean gauze for a minute to see if bleeding slows.
3. If bleeding continues, dip a cotton swab into styptic powder and press it gently against the bleeding tip for several seconds. If you’re using cornstarch, pack it lightly into the area with gauze.
4. Once bleeding subsides, clean the area with a dilute antiseptic solution to reduce infection risk. Pat dry with clean gauze.
5. If the nail is jagged, use sterilized clippers or tweezers to remove only loose fragments—do not dig into the quick.
6. Keep the paw clean and dry for 24–48 hours. Apply a light protective bandage if the dog will be active outside. Seek veterinary care if bleeding won’t stop after 20 minutes, if there’s swelling, or if the dog appears to be in severe pain.
(When in doubt, contact your veterinarian. A persistent bleed or a badly cracked nail may require professional treatment.)
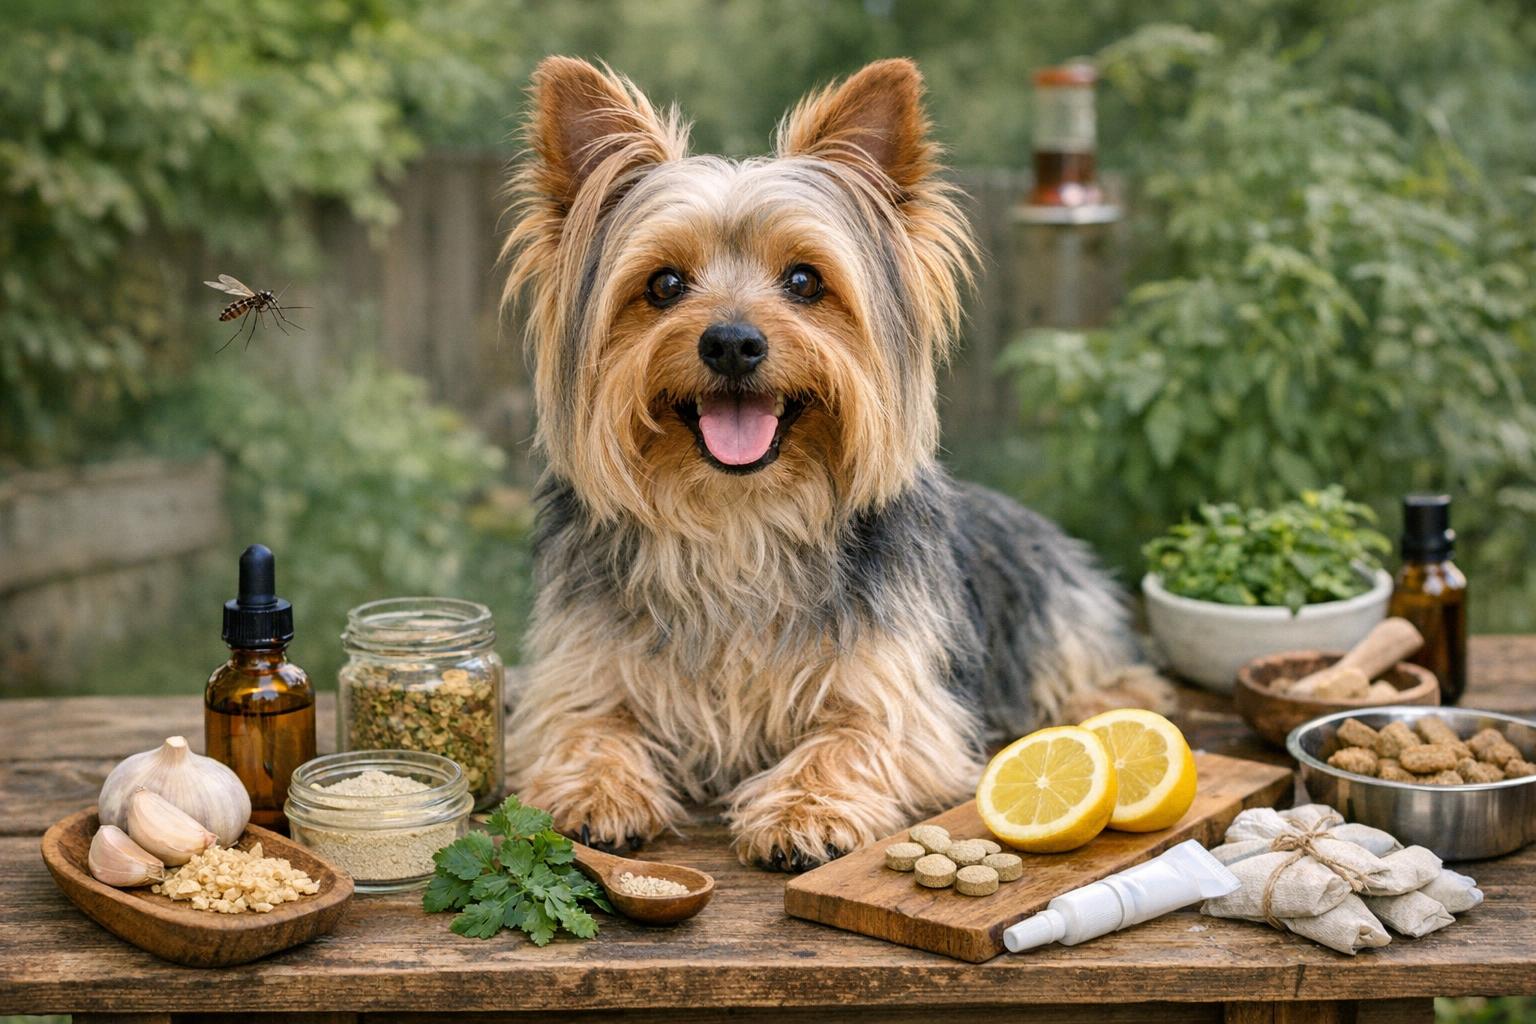
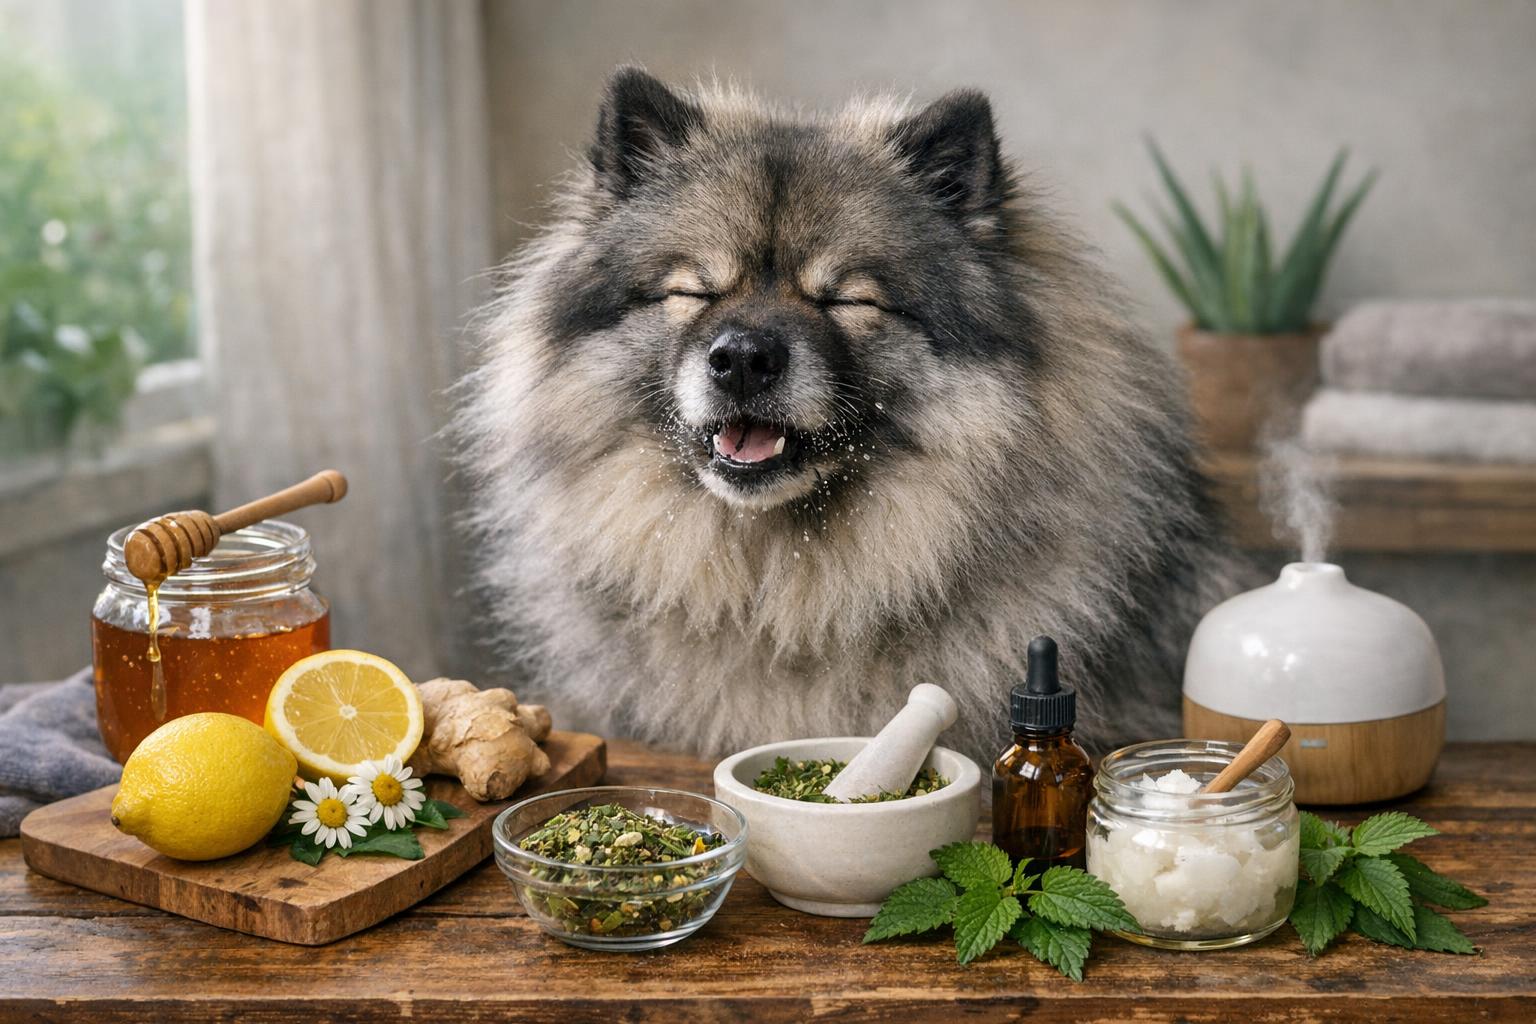
## 2. DIY Natural Moisturizing Nail Balm
Dry, brittle nails are prone to cracks and splits. A regular moisturizing balm can strengthen the nail and soothe the surrounding skin.
### Ingredients And Materials
– 1 tablespoon coconut oil (virgin, unrefined).
– 1 tablespoon shea butter.
– 1 teaspoon beeswax pellets.
– 3–4 drops lavender or chamomile essential oil (optional—use only if your dog tolerates scent; avoid if reactive).
– Small clean container or tin.
– Double boiler or heatproof bowl and saucepan.
### Step-By-Step Creation And Application
1. In a double boiler, gently melt the beeswax, shea butter, and coconut oil together until fully liquid.
2. Remove from heat and allow to cool slightly. If using, add essential oil and stir thoroughly.
3. Pour into a small sterile container and allow to solidify at room temperature.
4. To apply: warm a small pea-sized amount between your fingers, then gently massage onto each nail and the adjacent skin for 1–2 minutes. Do this 2–3 times weekly.
5. Monitor for any skin irritation. Discontinue use if redness, itching, or rash appears. Store balm in a cool, dry place; it should last several months.
This balm helps lock in moisture, making nails more flexible and less likely to split during routine dog nail care.
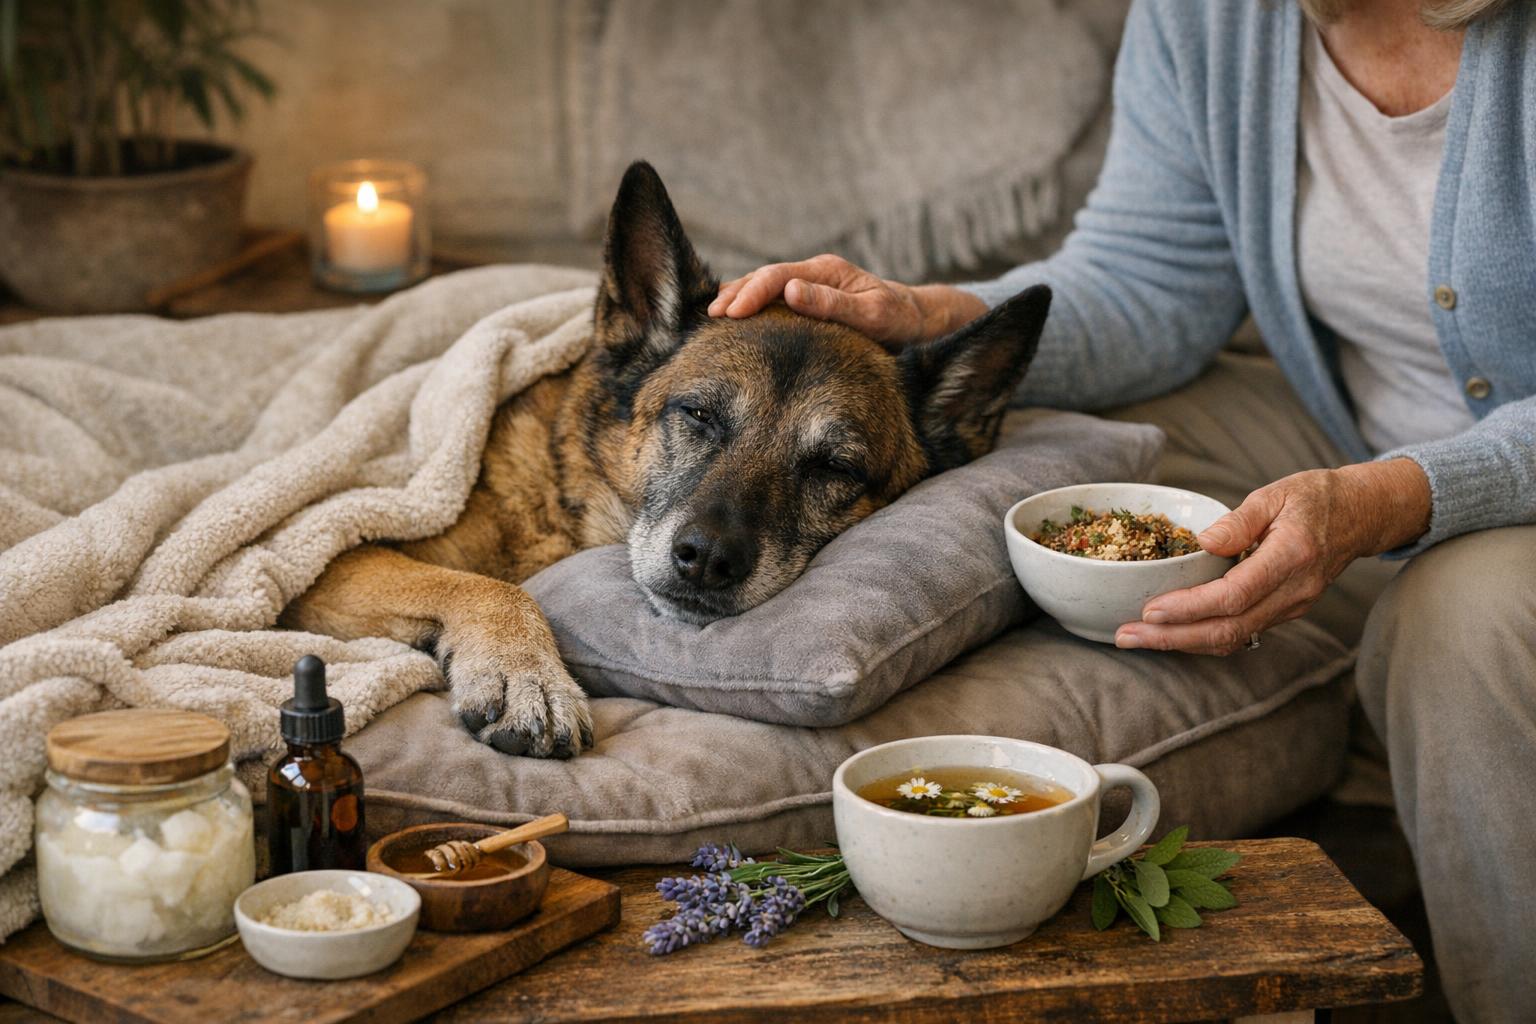
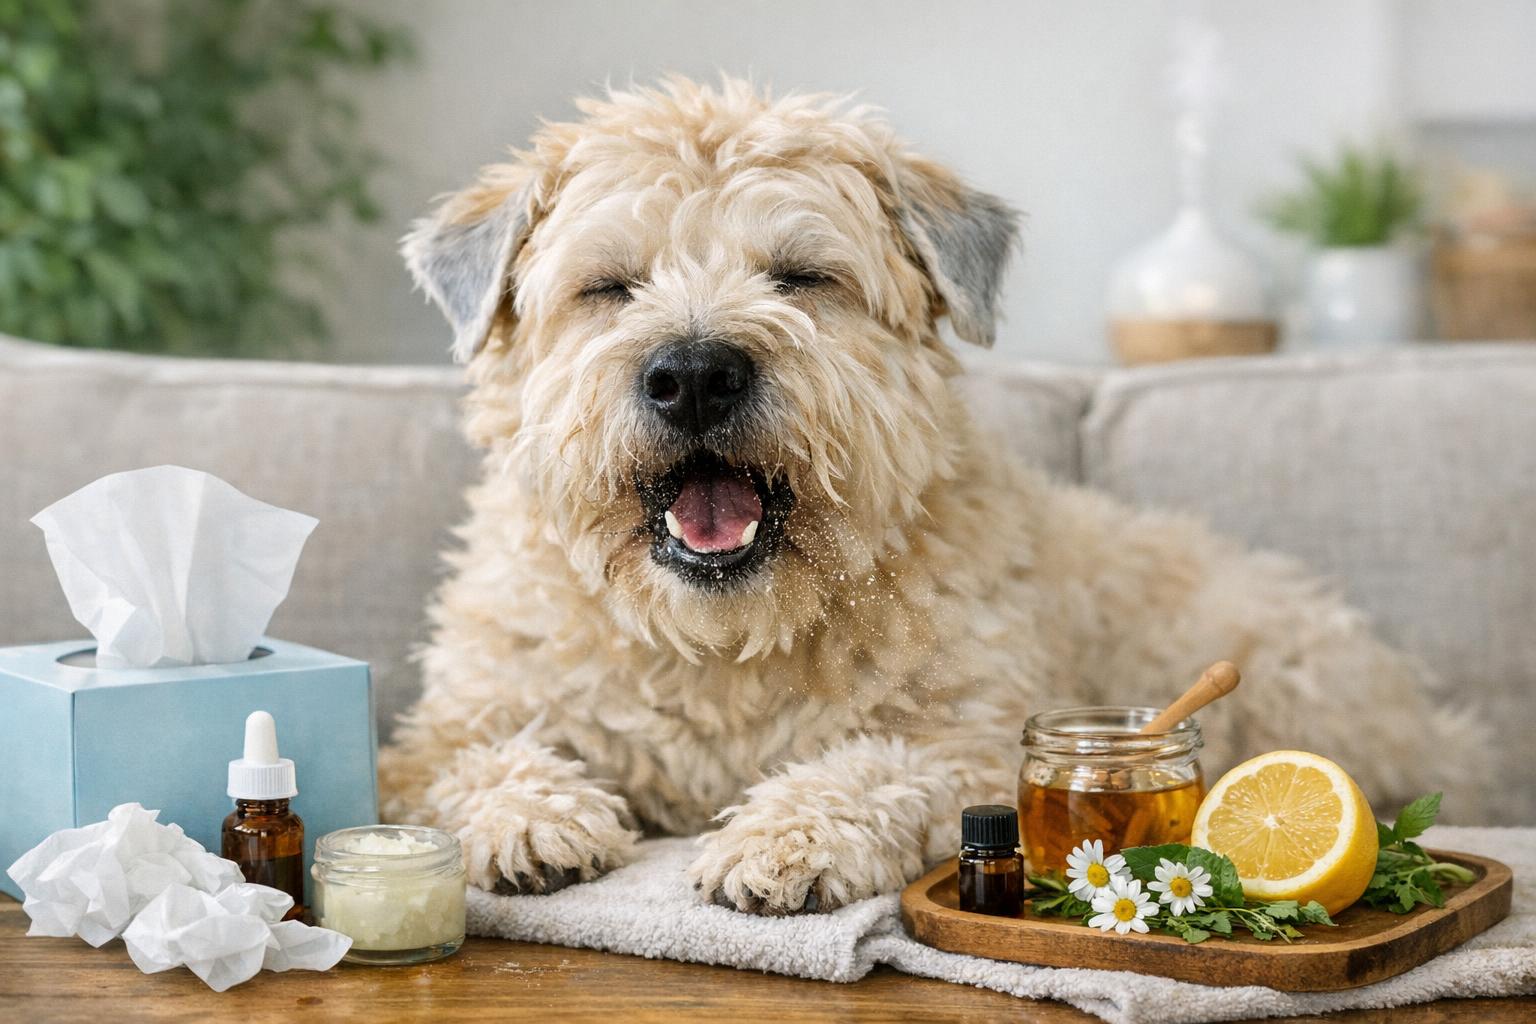
## 3. Gentle Desensitizing Soak Before Trimming
If your dog is nervous about nail trims, a soothing soak can relax them and soften nails for easier cutting.
### Ingredients And Materials
– Warm water (comfortable to the touch).
– 1–2 tablespoons Epsom salts.
– Shallow basin or pet bath.
– Towel and clicker or treats for positive reinforcement.
### Step-By-Step Application
1. Fill a shallow basin with warm water and dissolve the Epsom salts.
2. Encourage your dog to sit and place one paw at a time into the basin for 2–3 minutes. Speak in calming tones and offer treats.
3. Gently massage each paw to help soften the nail and surrounding skin.
4. Dry the paw thoroughly before trimming or filing to reduce slipping and to clearly see the quick.
5. Repeat for each paw. Use this soak as part of a regular pre-trim routine to build positive associations and reduce nail sensitivity.
This method is especially useful for older dogs with thicker or more brittle nails, and for pups who are just learning to tolerate handling.
## Handling Nervous Dogs During Nail Care
Patience and conditioning are your best tools. Start slow: touch paws during calm moments, offer tiny treats for cooperative behavior, and incorporate short handling sessions rather than long, stressful ones. Use a calm voice, and stop before your dog becomes anxious. Gradually pair nail handling with rewards and praise. If your dog pulls away, step back and reward for simply allowing you to touch the paw; small wins build trust.
### When To See The Veterinarian
If you notice persistent lameness, swollen toes, foul odor, discharge, or chronic bleeding despite home care, contact your veterinarian. Severe cracks, signs of infection, or repeated problems with the quick may require professional trimming, pain management, or treatment. Your vet or a certified groomer can also demonstrate proper technique if you’re nervous about trimming.
## Maintenance Tips For Healthy Paws
– Check paws weekly for cracks, debris, or foreign objects.
– Keep nails filed between trims to smooth sharp edges; a grinder can help without cutting close to the quick.
– Reward good behavior—positive reinforcement makes future sessions easier.
– Trim the outer white of the nail and avoid the pink quick on light nails; with dark nails, trim small bits gradually until you see a chalky center.
– Maintain regular exercise on varied surfaces to encourage natural nail wear (but don’t rely on it exclusively).
Proper dog nail care is a routine habit. With consistent practice and these simple remedies, your dog’s paws will stay healthy and comfortable—and your floors will thank you too.


Leave a Reply