


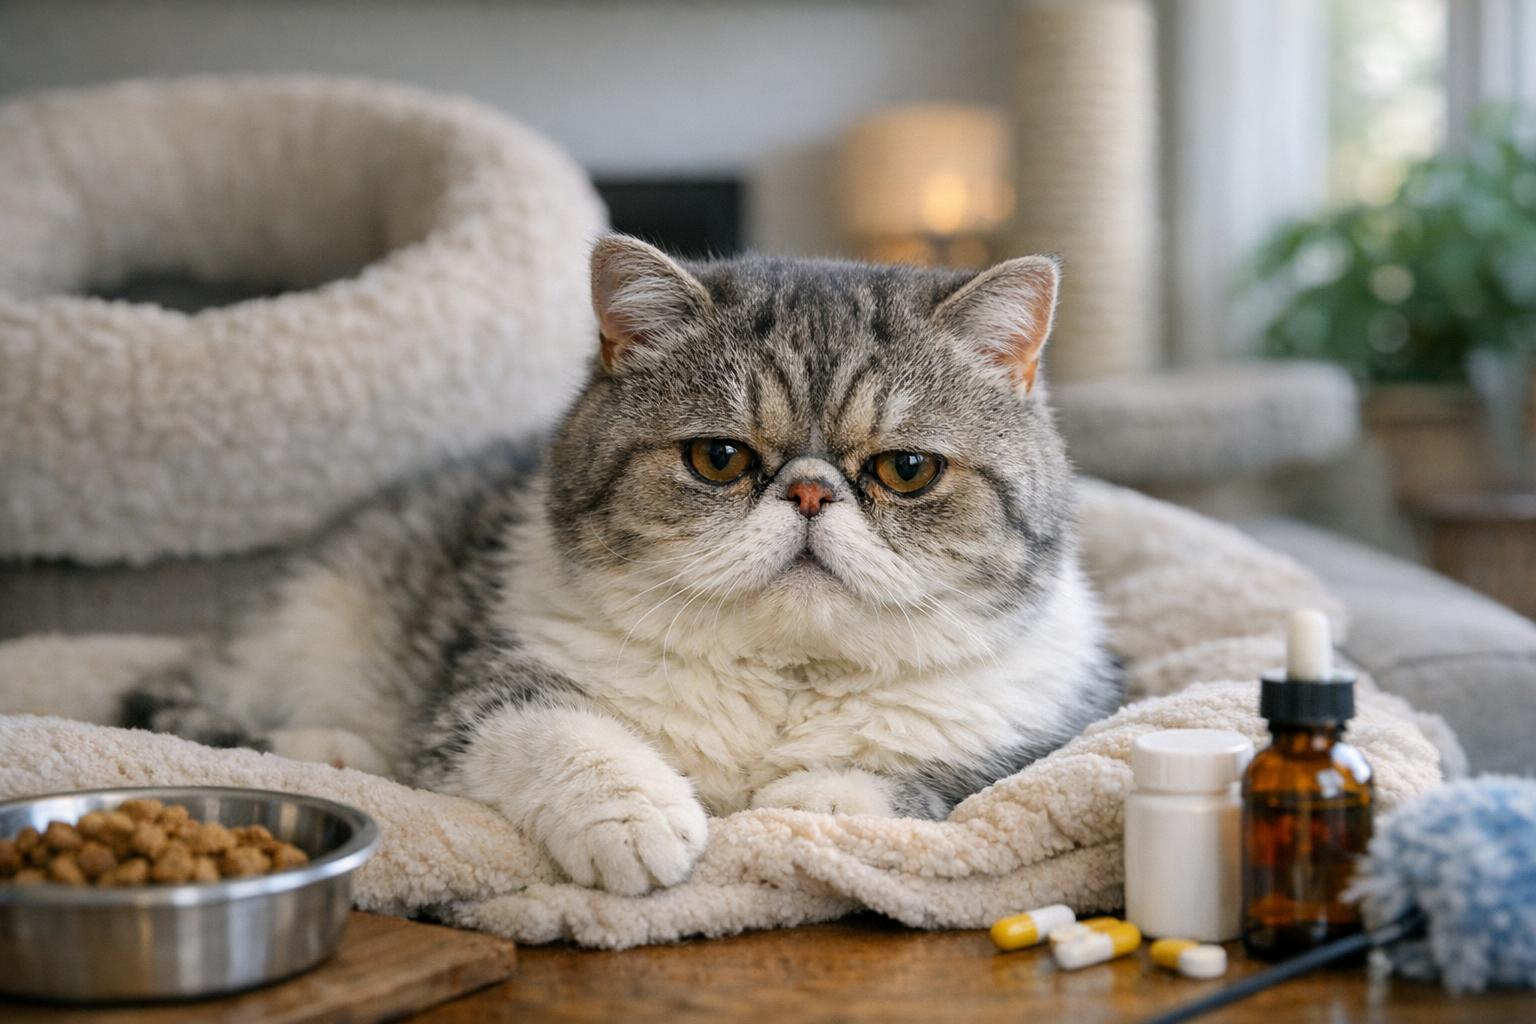
Hey there — if you’ve ever watched your pup hop like they’re auditioning for a ballet class after a walk, you might be staring at a cracked, bleeding, or split pad and wondering what on earth to do next. This article brings calm, practical home-care tips for a dog split paw pad open situation, with easy remedies you can make and apply safely at home. A little TLC and the right materials go a long way.
## Dog Split Paw Pad Open: Quick Overview
When you say dog split paw pad open, you’re describing a condition where one of the paw pads has a crack or tear that’s exposed. It can range from a shallow fissure to a deeper split that bleeds or traps debris. Causes include dry weather, hot pavement, rough terrain, chemical exposure (like de-icers), allergies, or sudden trauma. The immediate goals are to stop bleeding, clean the wound, prevent infection, and support healing while keeping your dog comfortable.
### Why Paw Pads Split And Go Open
Paw pads are tough but not invincible. They’re made of thick skin and fat, but factors like chronic dryness, overuse, and certain medical conditions (e.g., autoimmune disease, hypothyroidism) weaken them. Improper trimming, walking on sharp surfaces, or repeated irritation (salt, rocks, or ice) can create a crack that widens and becomes a dog split paw pad open scenario. If your dog is licking excessively, limping, or guarding a paw, take that as a clear “help me” sign.
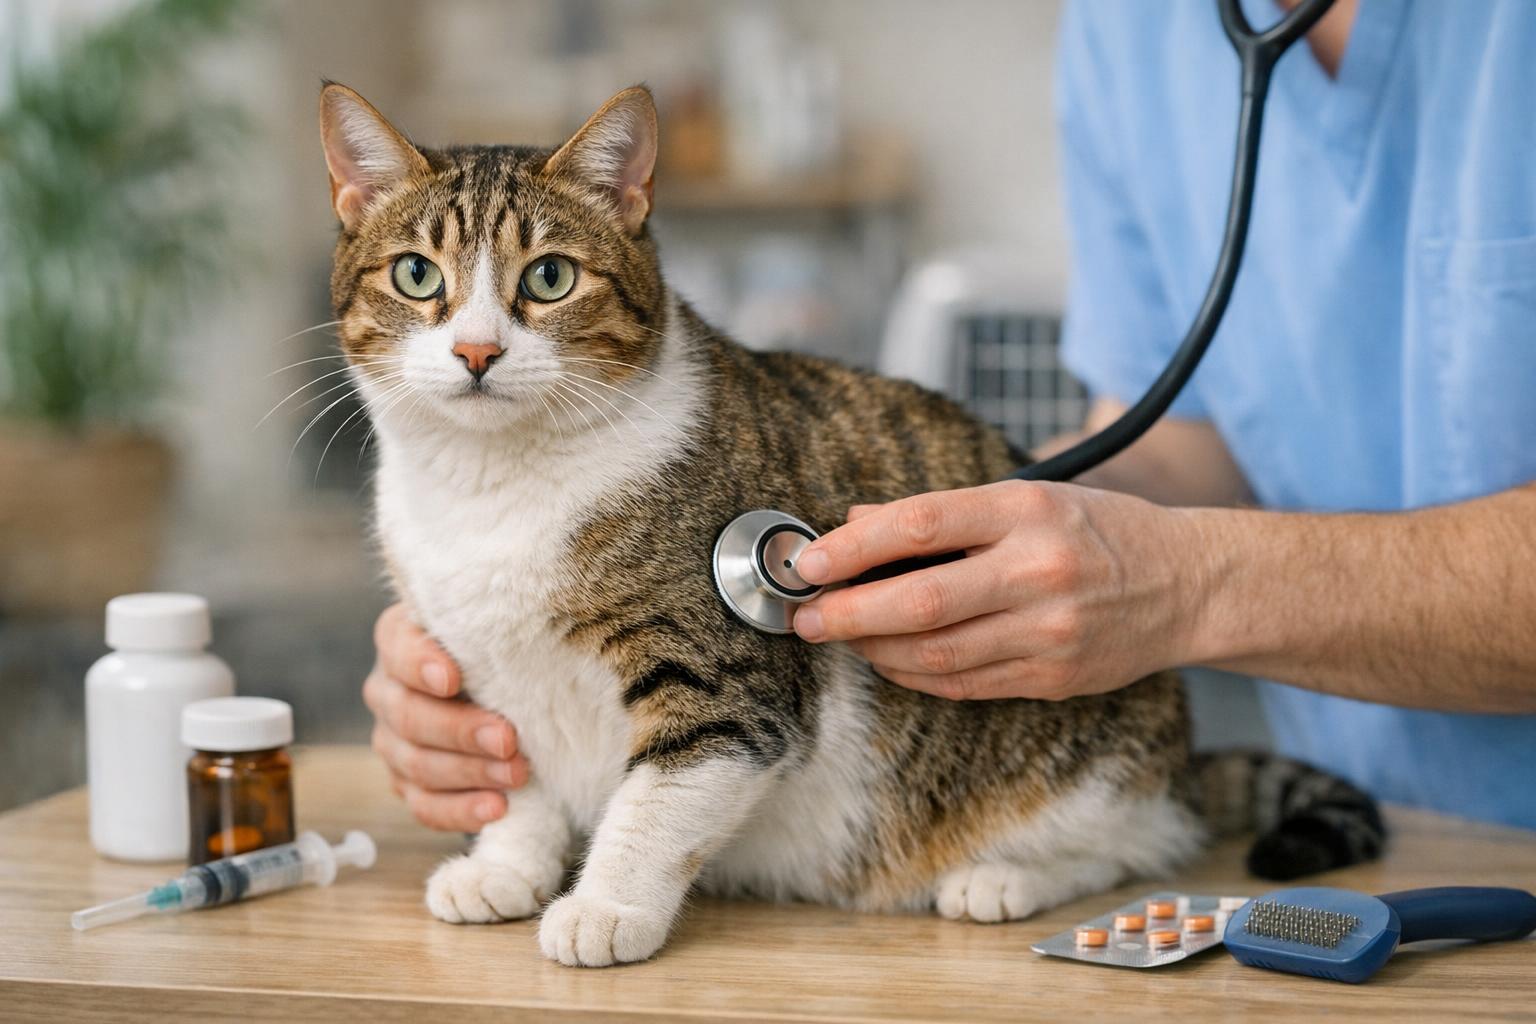
### When To See A Veterinarian
If the pad is deep, won’t stop bleeding after a few minutes of pressure, shows signs of infection (pus, swelling, heat, bad smell), or your dog is in obvious severe pain, see a vet. Also get professional help if the wound is near a joint or if your dog is lame. Home remedies are great for mild to moderate splits, but professional evaluation is necessary for more severe injuries.
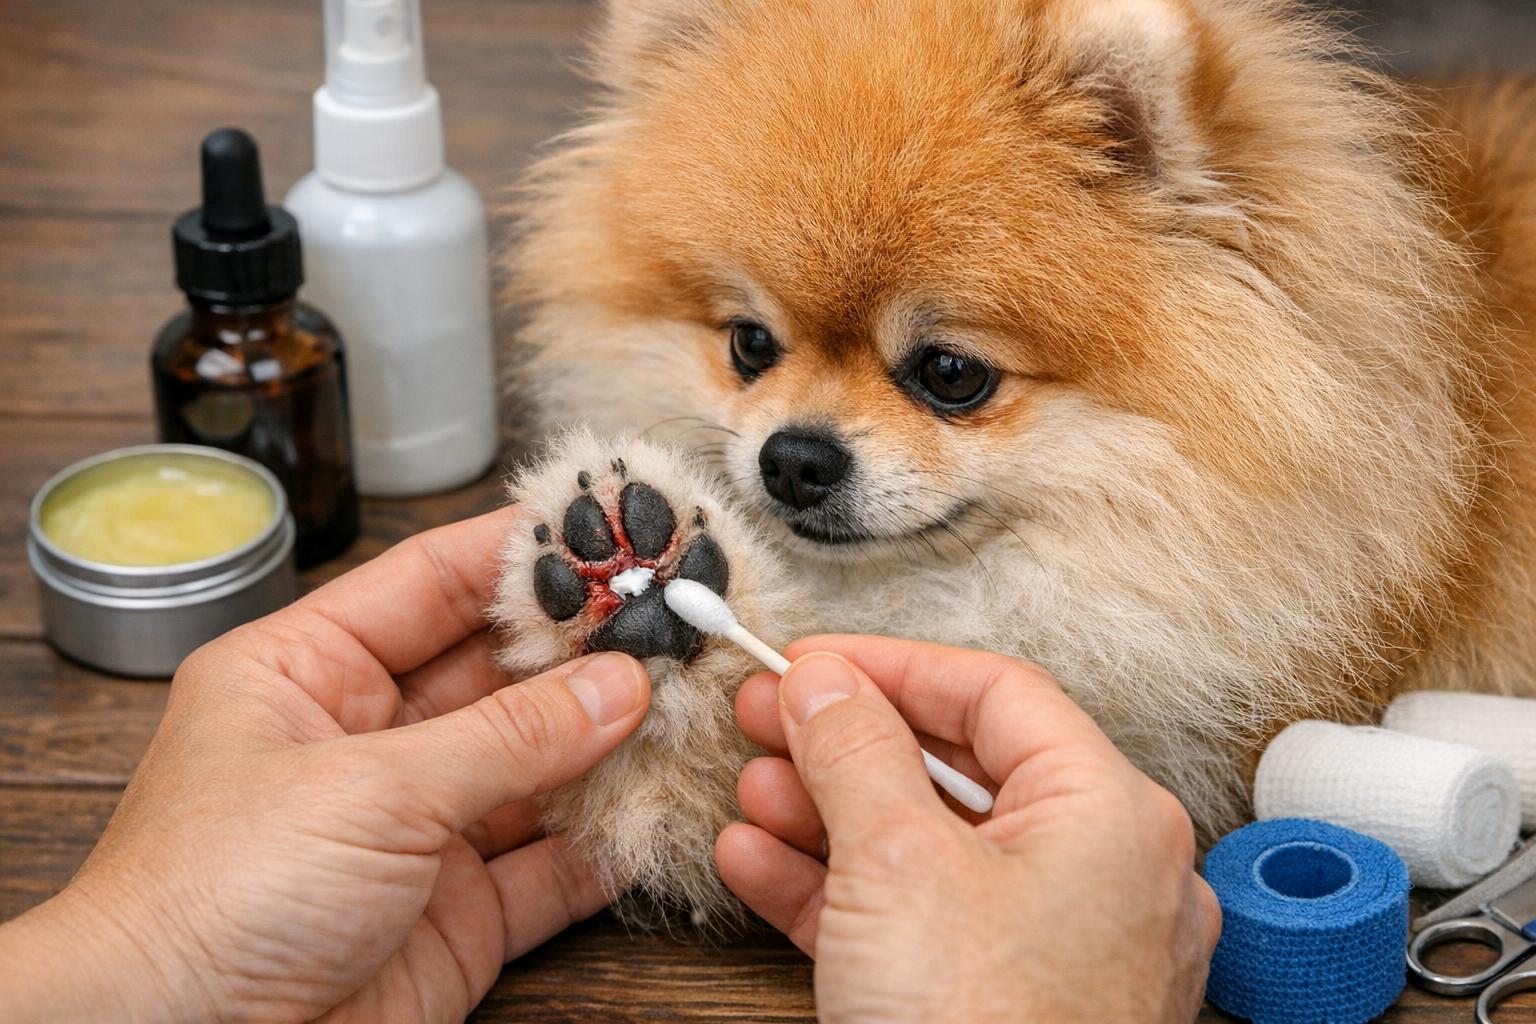
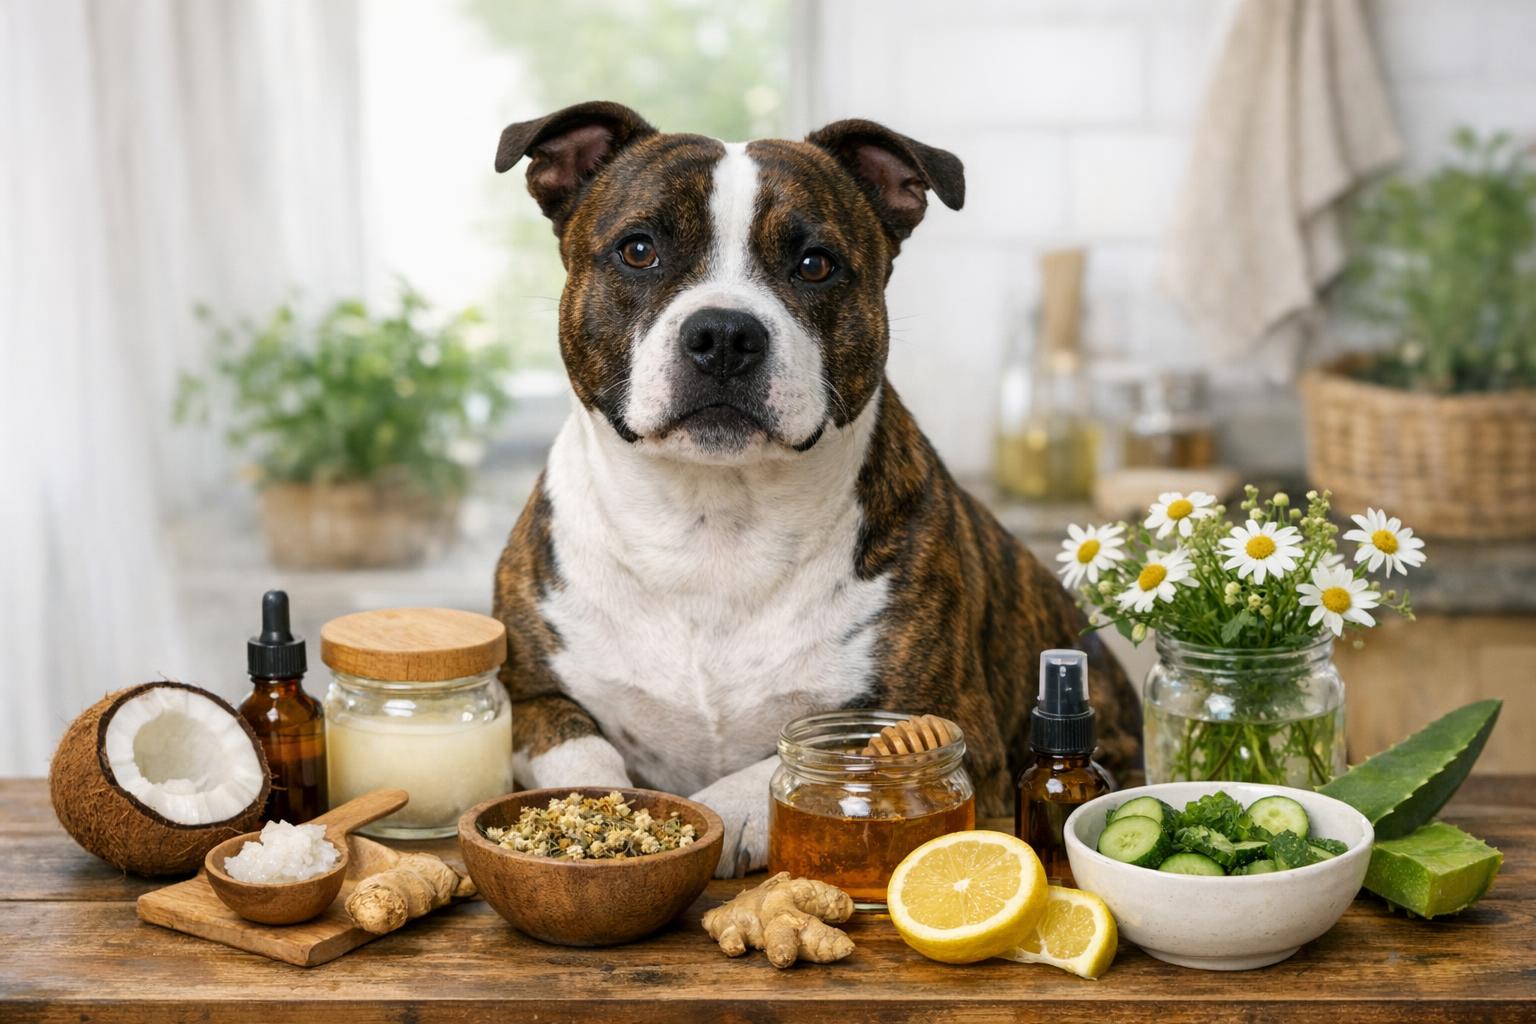
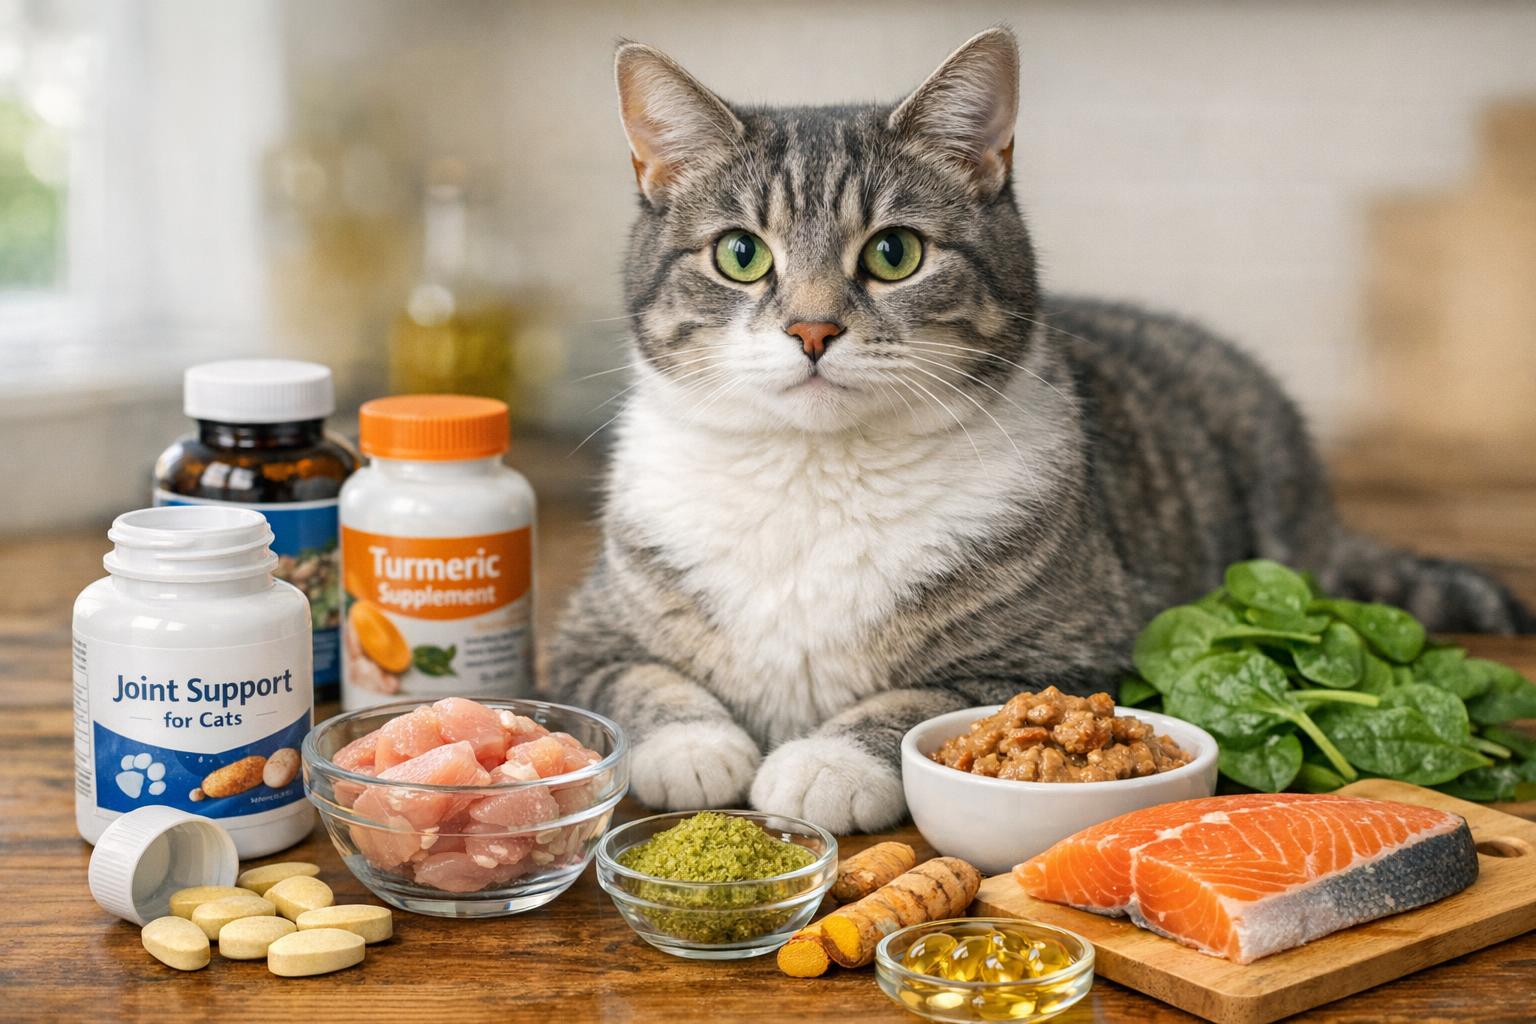
## 1. Soothing Honey-Oat Balm For Mild Cracks
This remedy is best for shallow splits where skin is open but not heavily bleeding. It’s gentle, antimicrobial, and moisturizing.
Ingredients / Materials:
– 2 tablespoons raw honey (medical-grade if available)
– 1 tablespoon organic rolled oats, finely ground
– 1 teaspoon coconut oil (virgin, unrefined)
– Sterile gauze pads
– Non-stick adhesive bandage or self-adhesive wrap
– Clean bowl and spoon
Creation And Application Steps:
1. Wash your hands and gently clean the paw with lukewarm water to remove dirt. Pat dry with a clean towel — don’t rub the wound.
2. In the bowl, blend the ground oats with honey and coconut oil until you have a paste. Honey acts as a natural antimicrobial and moisturizer; oats soothe irritation.
3. Apply a thin layer of the paste over the split pad using a clean finger or sterile spatula. Be formal and careful: avoid forcing material into deep wounds.
4. Place a sterile gauze pad over the treated area and secure it with a non-stick adhesive bandage or self-adhesive wrap. Don’t wrap too tight — you want circulation.
5. Keep the bandage on for a few hours to protect the area. Replace the dressing twice daily, reapplying fresh paste each time until the skin shows consistent healing (usually several days).
6. Monitor for signs of infection. If symptoms worsen, stop home treatment and contact a vet.
## 2. Aloe-Vet Antiseptic Compress For Moderate Splits
This is a more antiseptic, supportive method for moderate splits that are open but not severely bleeding. It focuses on reducing inflammation and preventing microbial growth.
Ingredients / Materials:
– Pure aloe vera gel (plant-extracted or 99% pure commercial gel)
– 1 teaspoon colloidal silver gel (optional, for additional antimicrobial effect; avoid if your vet advised against)
– Sterile saline solution for initial cleaning
– Sterile non-stick pads and vet wrap
– Tweezers and antiseptic wipes
Creation And Application Steps:
1. Flush the wound initially with sterile saline to remove debris. Use gentle pressure; do not use hydrogen peroxide directly on the pad repeatedly (it can delay healing).
2. If debris remains, use tweezers sterilized with alcohol to carefully remove visible particles. If unsure, leave and see a vet.
3. Mix a small amount of aloe vera gel with colloidal silver gel if using. Aloe reduces inflammation and promotes epithelialization; colloidal silver provides broad antiseptic support.
4. Apply a thin layer of the mixture to the split. Be measured and formal: apply only what the pad can absorb externally.
5. Cover with a sterile non-stick pad and secure with vet wrap. Leave dressing in place for 12–24 hours depending on activity level and cleanliness. Change daily.
6. Continue treatment until the split has filled in and skin appears healthy. If redness, swelling, or discharge increases, discontinue and consult a veterinarian.
### Practical Tips For Bandaging A Paw
#### Keeping A Bandage On Without Drama
– Use a comfortable bootie or sock over the bandage if your dog dislikes wraps; this reduces chewing and moisture loss.
– Limit walks on rough surfaces until healing is complete. Short leash potty breaks are ideal.
– Replace wet or soiled dressings immediately to prevent infection.
## 3. Beeswax And Shea Butter Sealant For Deep But Clean Splits
This remedy acts as a protective seal for cleaner, deeper splits that are not infected. It creates a breathable barrier and preserves moisture for healing.
Ingredients / Materials:
– 1 tablespoon beeswax pellets
– 1 tablespoon shea butter (refined or unrefined)
– 1 teaspoon olive oil or avocado oil
– Small double boiler or microwave-safe container
– Sterile gauze and adhesive wrap
Creation And Application Steps:
1. Clean the wound thoroughly with sterile saline and pat dry. If there is active bleeding, apply pressure first until controlled.
2. Melt beeswax and shea butter together in a double boiler on low heat. Stir in oil until blended. Allow mixture to cool but remain liquid for ease of application.
3. Test a small amount on your wrist to ensure it’s not too hot. Apply a thin layer over the split using a clean utensil. The mixture should form a soft seal; don’t stuff it into the wound.
4. Cover with sterile gauze and secure gently. The beeswax-shea barrier reduces moisture loss and shields the pad from dirt and further abrasion.
5. Replace the dressing daily, reapplying fresh sealant each time. Keep the dog’s activity moderate to prevent the seal from breaking.
6. If any sign of infection occurs, remove the sealant and seek veterinary care.
### Managing Pain, Licking, And Activity
#### Gentle Pain Management And Lick Prevention
– Do not give human painkillers — they can be toxic. Contact your vet for safe analgesics.
– An Elizabethan collar or inflatable collar works well to stop licking and picking, which delays healing.
– Keep walks short and surfaces soft. Consider paw boots for protection once the dressings come off.
### Preventing Future Cracks
Preventative care is straightforward. Regularly moisturize paw pads with vet-approved balms, trim excess hair between pads, avoid extreme pavement heat, rinse paws after salty or chemical exposure, and ensure a balanced diet with adequate fatty acids. A little maintenance prevents many dog split paw pad open events.
### Red Flags You Can’t Remedy At Home
If you notice persistent bleeding, lameness that doesn’t improve, fever, spreading redness, or systemic signs like lethargy or poor appetite, these are reasons to stop home care and see a vet. A dog split paw pad open can sometimes hide deeper tissue damage or foreign bodies that require professional intervention.
A cracked pad is unpleasant to see, but with calm attention and the right, sanitary remedies you have a good chance of helping your dog heal quickly. Keep those supplies stocked, use gentle methods, and don’t be shy about calling the vet if things don’t look better within a few days — your pup needs you steady and sensible, not playing amateur surgeon beyond safe limits.


Leave a Reply